Changing a bike tire, especially a dirt bike tire, might seem daunting at first. Many riders shy away from this essential maintenance task, often opting for professional services. However, with the right tools and a bit of know-how, changing your bike tire at home can be straightforward, arguably as simple as performing an oil change. For years, I’ve personally handled my tire changes. Driven by a desire to be self-sufficient and intimately understand my bike’s mechanics, I dove into DIY tire replacements early on. I vividly recall my initial attempts, armed with just a couple of tire irons, which unfortunately led to more punctured inner tubes than successful changes. It would have indeed been cheaper to visit a shop back then!
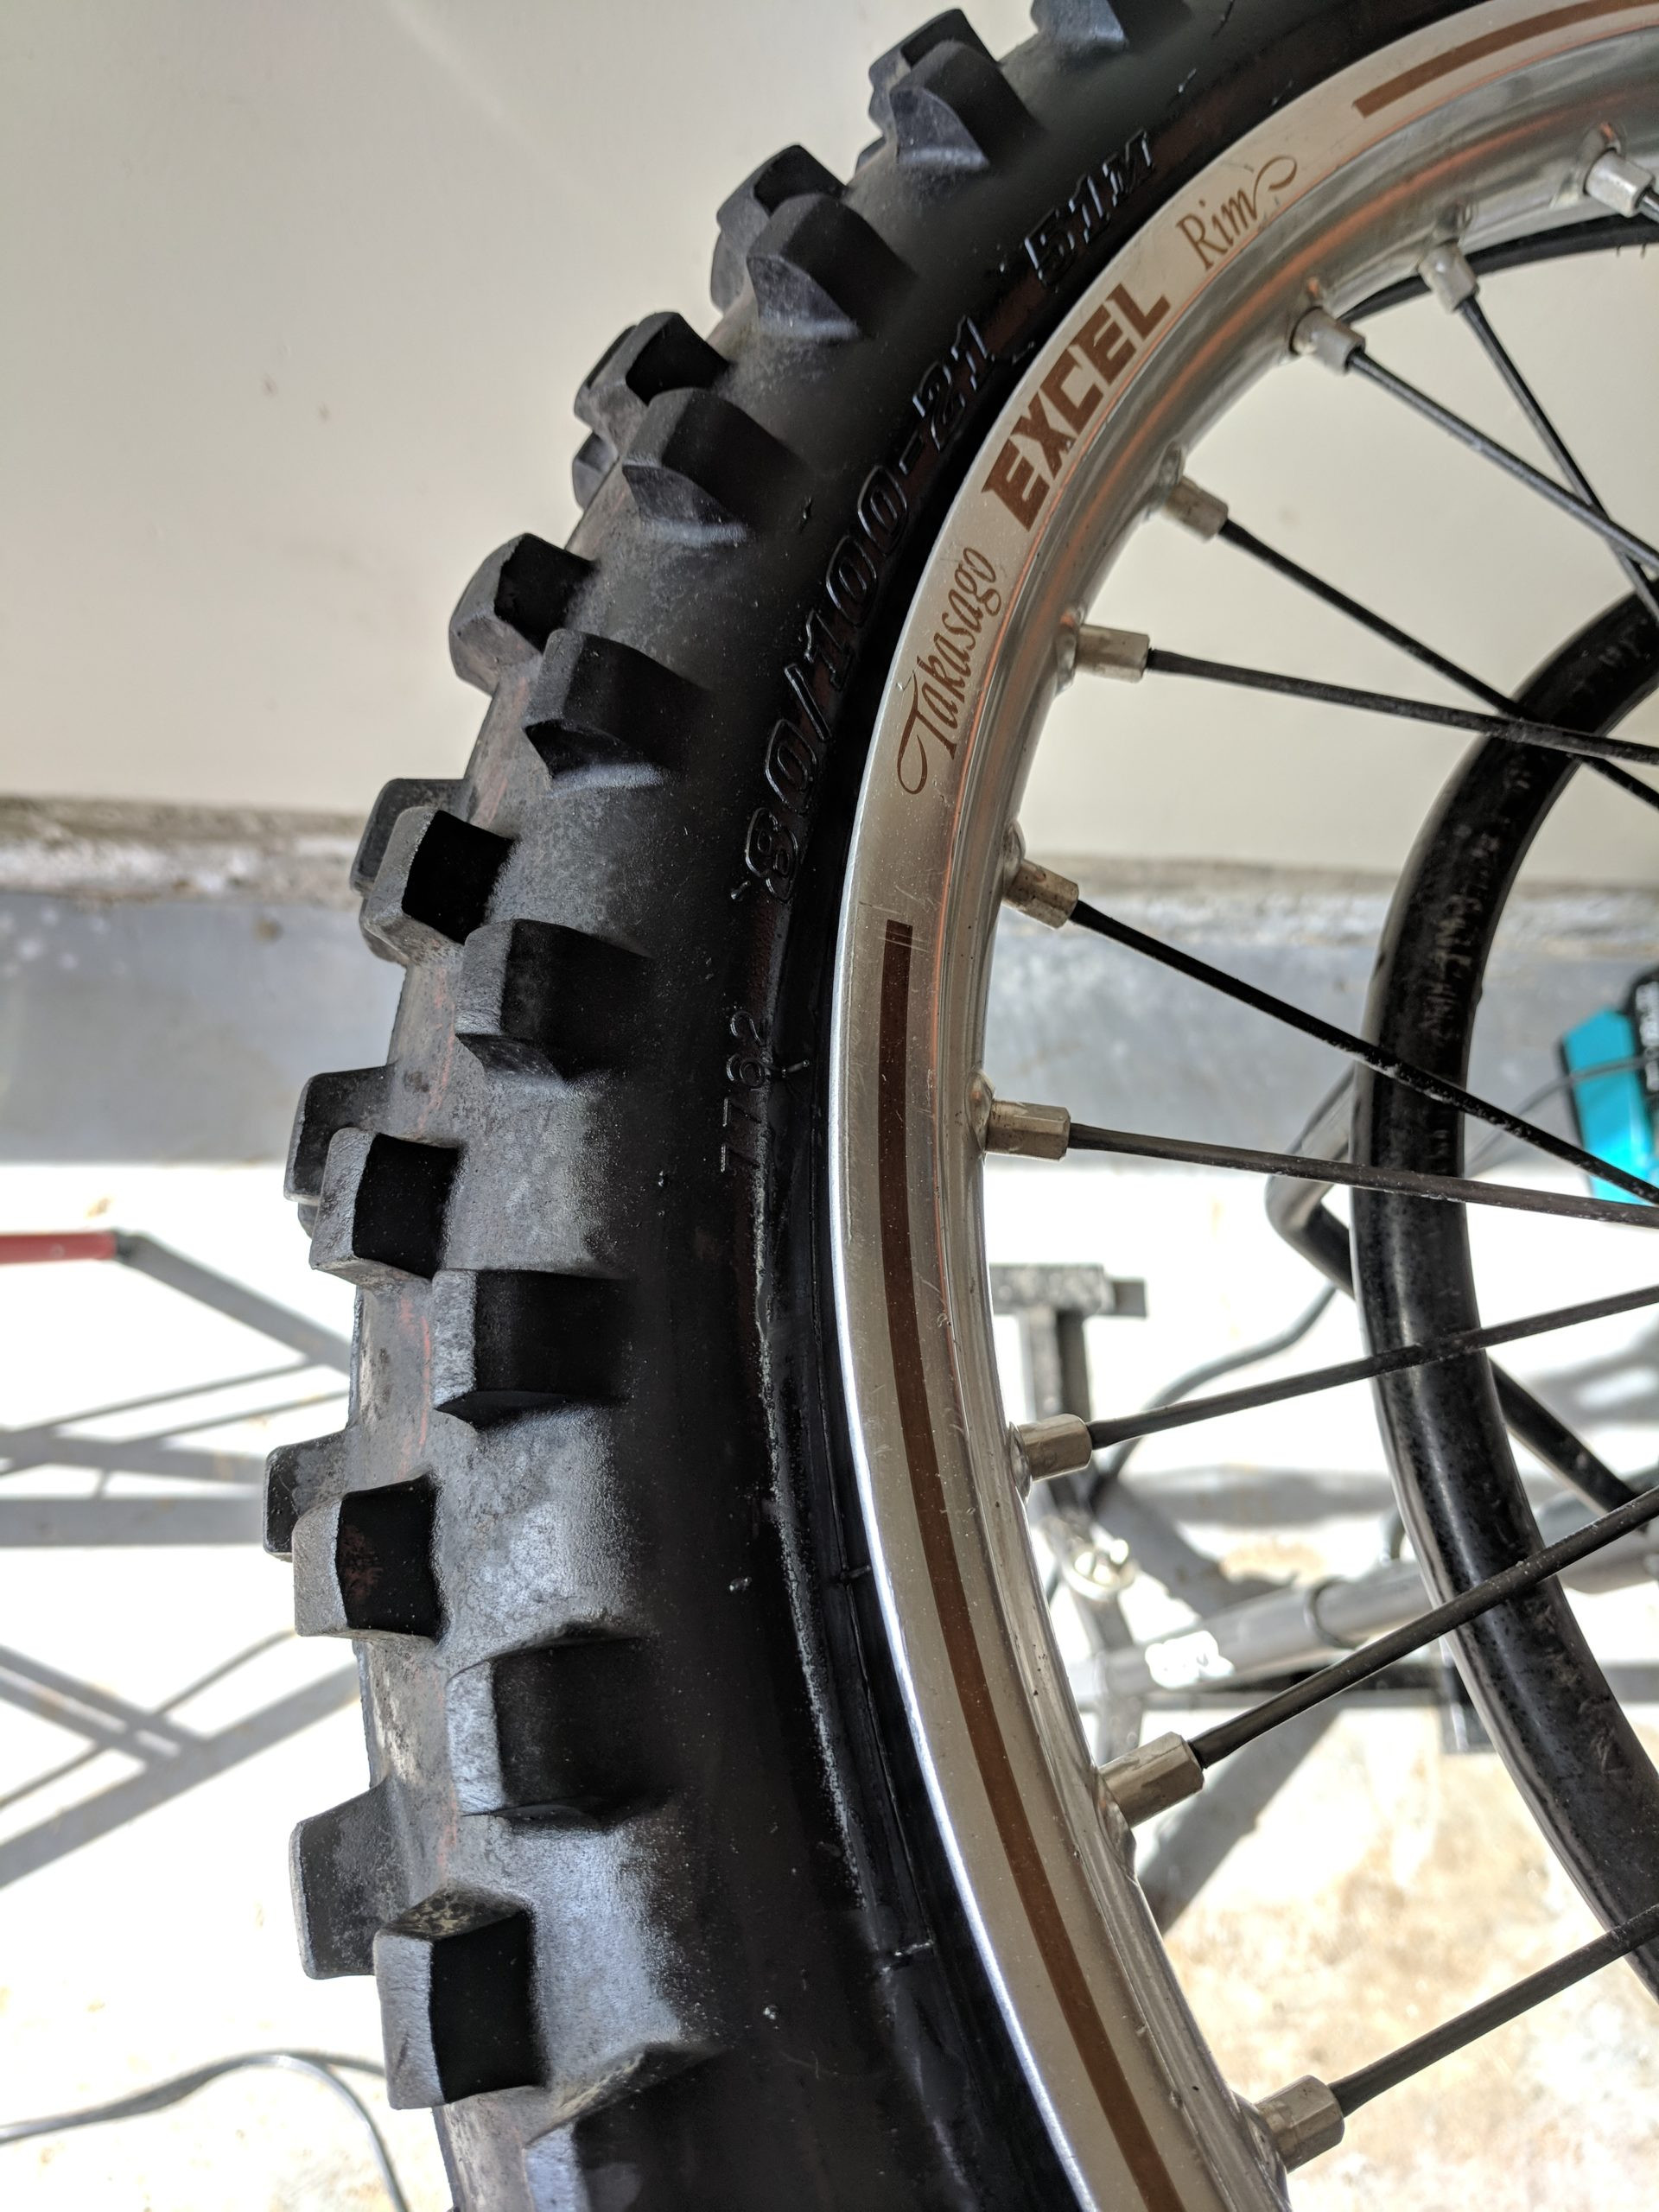
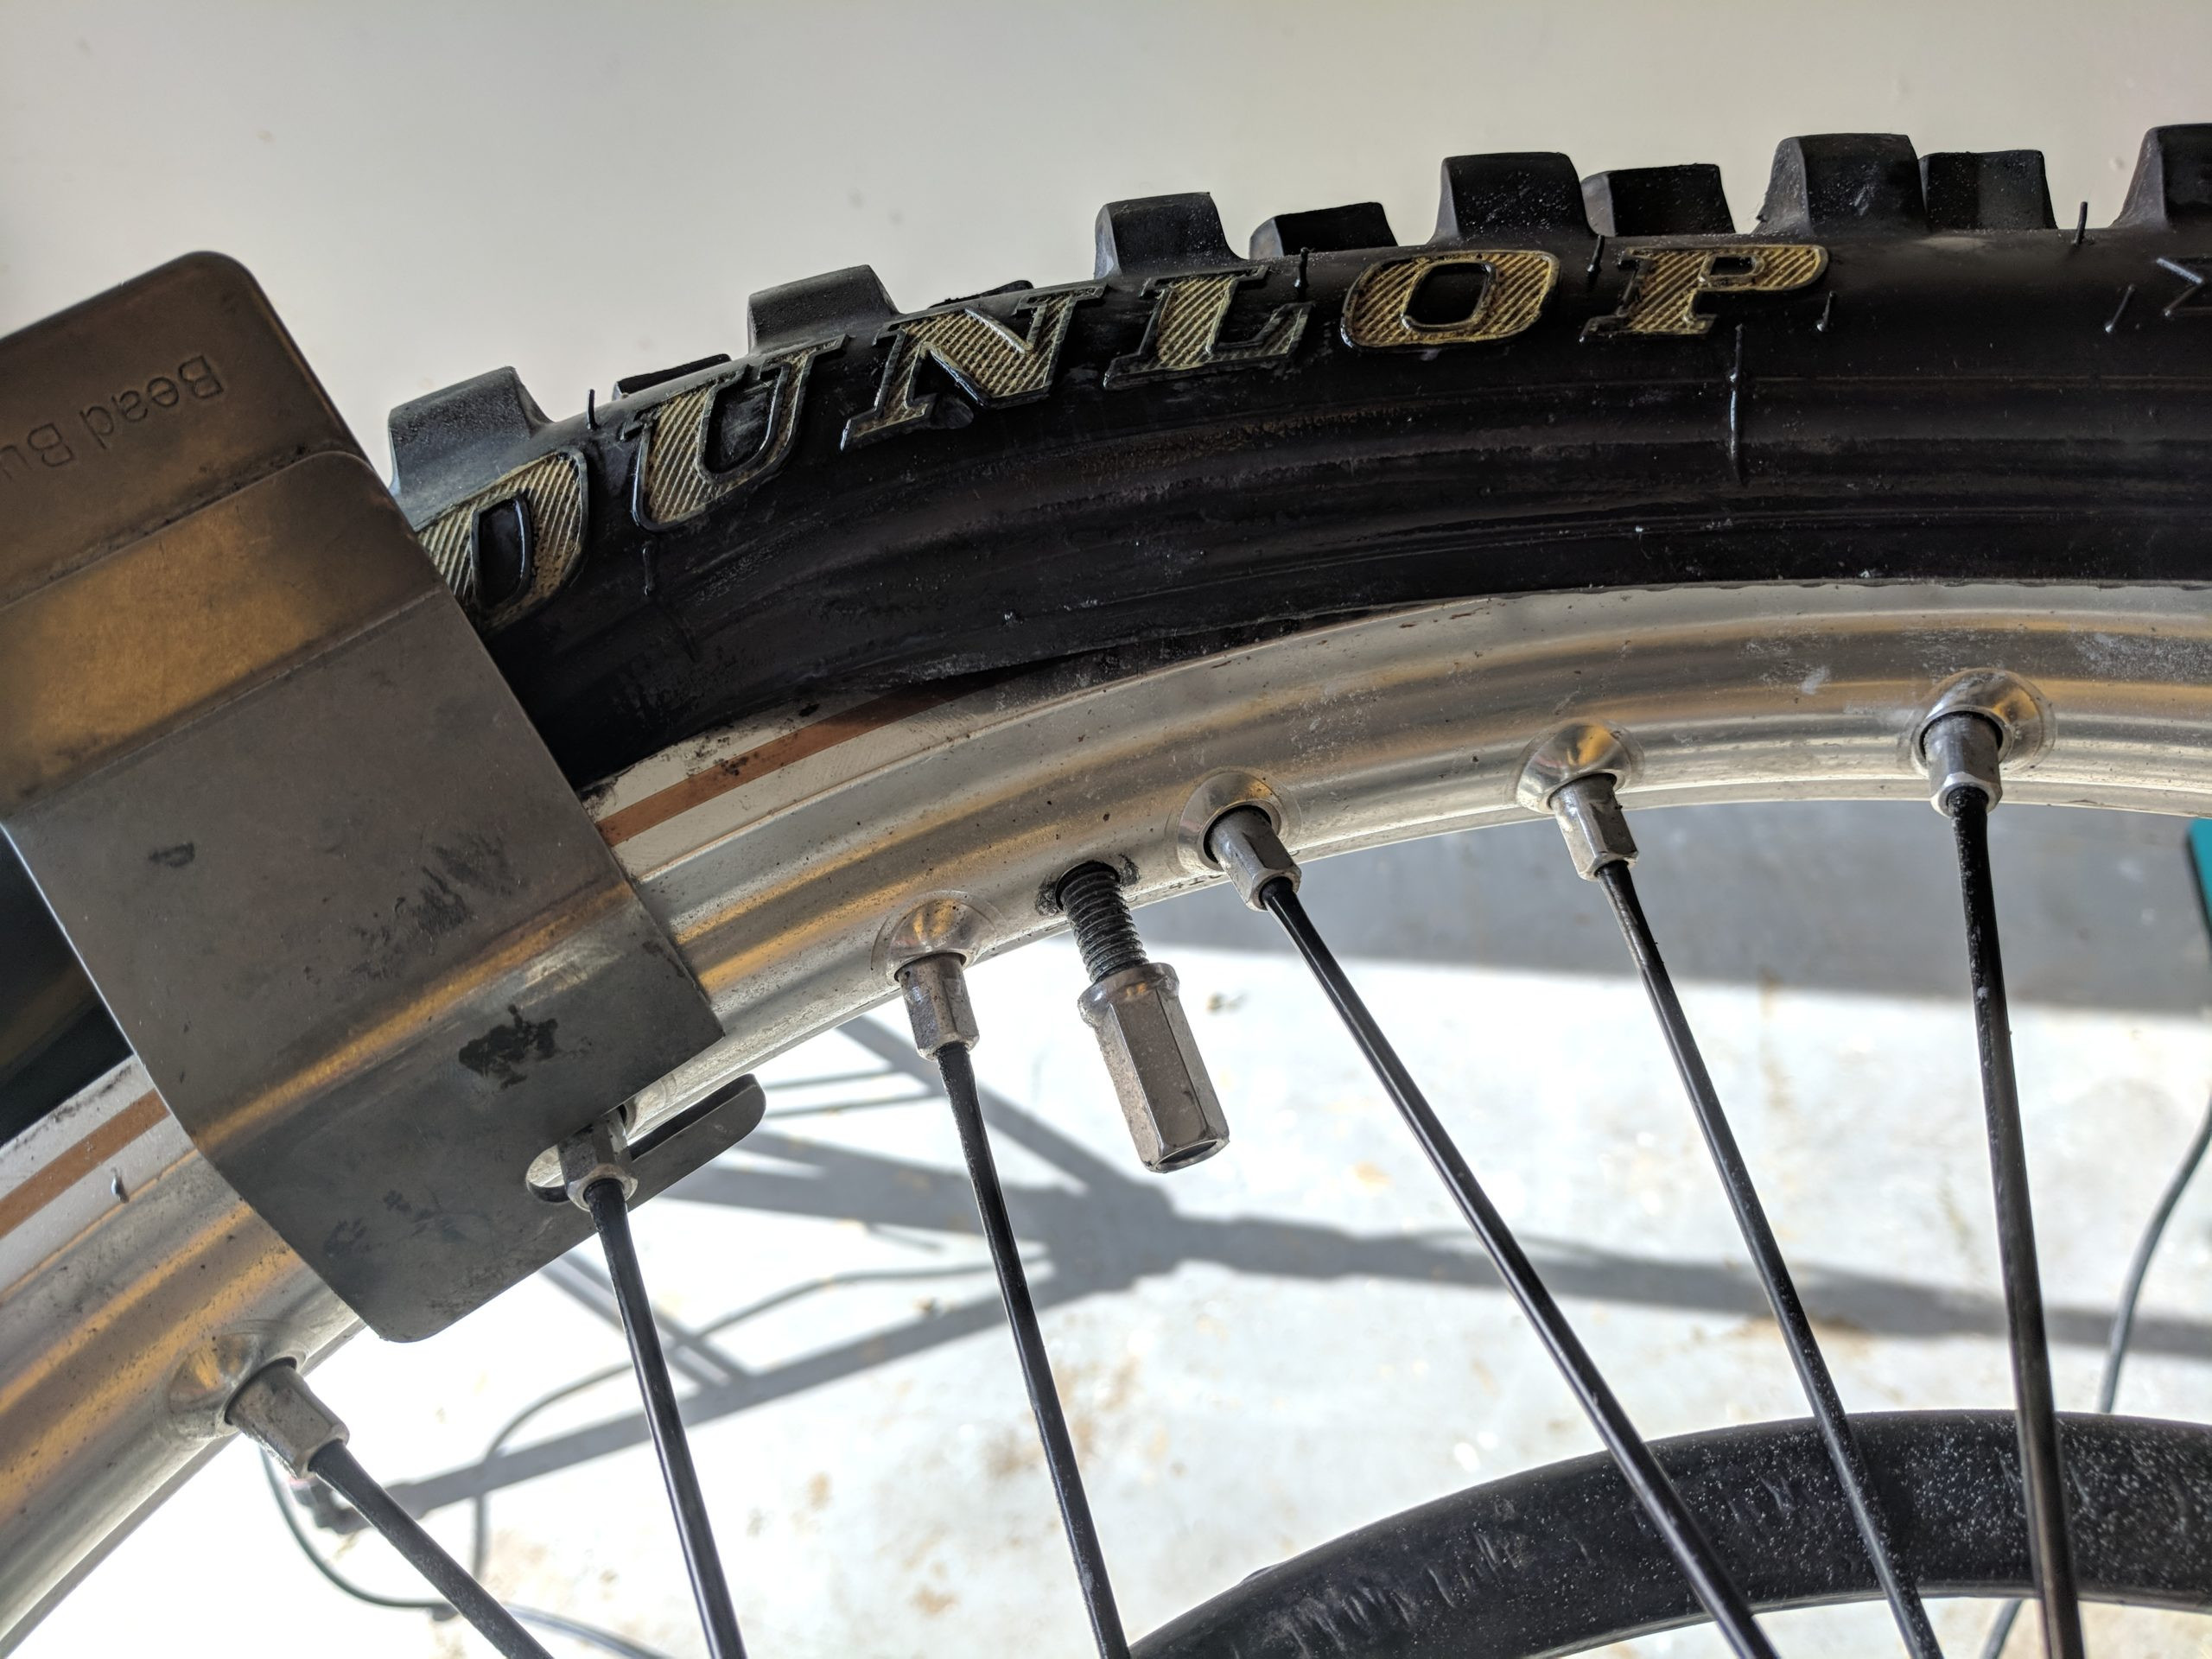
Fast forward to today, and I can confidently change a bike tire in about 20 minutes without a second thought. There’s a certain satisfaction in being able to mount new tires as soon as they arrive, swap tires to suit different riding conditions, or even reverse tires to maximize the lifespan of the knobs. This guide provides a step-by-step walkthrough for changing a dirt bike tire, detailing the process from removing the old tire to reinstalling a fresh one, using my 2014 KTM 450 SXF as an example, where I’m replacing a Dunlop Geomax MX32.
Essential Tools for Bike Tire Change
Over time, I’ve gathered a collection of tools that make the bike tire changing process considerably easier. I began with the basic curved tire irons, then progressed to spoon-type irons as I learned a few techniques to simplify things. Frustration often breeds innovation, and thinking, “There must be an easier way!”, led me to discover invaluable tools like the Bead Buddy, a tire stem puller, tire changing lube, and ultimately, a dedicated tire stand. Investing in these tools significantly reduces the struggle and potential damage to your rims and tubes.
Selecting Your Tire and Inner Tube
For this tire change, I’m using Dunlop Geomax MX32 front tires for both replacement and installation. I had a spare set with minimal race use, perfect for this task. I’m also going to reuse my reliable Bridgestone Ultra Heavy Duty Motorcycle Tube.
Besides tires and tubes, a few other items are beneficial: Rim Strip Tape to protect the inner tube from spoke nipples, baby powder to reduce friction inside the tire, and tire mounting lube for easier bead manipulation. In a pinch, I’ve used tire black spray as mounting lube, but dedicated tire mounting lubes are readily available. Window cleaner can also work, though it tends to evaporate quickly, potentially drying out before you’re finished.
Rim Tape is crucial for protecting your inner tube from spoke damage.
Step 1: Unmounting the Wheel from Your Bike
The first step in changing a bike tire is to safely remove the wheel from your motorcycle. For the front wheel, use a bike stand or a motorcycle lift to elevate the front end, ensuring the wheel is off the ground. Begin by removing the axle nut, followed by loosening the four axle pinch bolts on the fork legs. To push the axle out, you can use a T-wrench or a ratchet extension, gently tapping it through the fork lugs. Ensure you support the wheel as you remove the axle to prevent it from dropping.
Dirt bike lift to safely elevate your bike.
Locate and remove the Axle Nut.
Axle nut removal is the first step in wheel removal.
Fork pinch bolts need to be loosened before axle removal.
Using a T-Wrench for Axle Removal.
T-Wrench can be used to push the axle out.
Pushing the axle through the forks to remove the front wheel.
The Front Axle after removal.
Front Axle, ready for tire change.
Step 2: Disconnecting the Inner Tube and Rim Lock
With the wheel securely placed on a tire stand, the next step is to prepare for tire removal by deflating the inner tube and disengaging the rim lock. Start by using a valve core tool to remove the valve core. It’s crucial to completely remove the core, not just depress the valve, as this ensures all air is expelled from the inner tube. Removing the core allows for complete deflation, making tire manipulation much easier. After removing the valve core, unscrew and remove the valve stem nut. For the rim lock, simply loosen its nut; there’s no need to remove it entirely at this stage. Once loosened, push down on the rim lock itself to confirm it moves freely within the tire. This ensures it’s not seized and will come out smoothly during tire removal.
Tire stand providing a stable base for tire changing.
Using a Valve Core Removal Tool.
Valve core removal tool for deflating the tire.
Remove the valve core completely for full deflation.
Removing the Valve Stem Nut.
Valve stem nut needs to be removed to free the tube.
Loosen the rim lock nut to prepare for tire bead breaking.
Checking Rim Lock for Free Movement.
Press the rim lock to ensure it’s moving freely.
Step 3: Breaking the Tire Bead from the Rim
Now, you’re ready to unmount the tire from the rim. The initial and crucial step is breaking the tire bead. This involves separating the tire bead from the rim edge, allowing the tire to be removed. The goal is to push the tire bead into the drop center of the rim. Rims have a U-shape, and this center channel provides the necessary slack to maneuver the tire bead over the rim edge. Begin this process near the rim lock area. As you push the bead inwards, make sure to hold down the rim lock, allowing the tire bead to move behind it and into the rim’s center. If the tire is proving stubborn, applying some tire lube to the bead area can significantly ease the process.
Positioning the Tire Iron on the wheel to break the bead.
Ensuring the Tire Bead is behind the Rim Lock.
Hold down the rim lock while pushing the bead in.
Dropping the tire bead into the center of the wheel for easier removal.
Step 4: Lifting the Tire Over the Rim
This is often considered the most challenging part when you change a bike tire. Patience, technique, and liberal use of tire lube are your best allies here. Generously spray tire lube on both the tire bead and the rim. Start working at the rim lock area. Insert your tire irons approximately 4 inches apart. The key is to work in small increments. Getting the initial section of the tire bead over the rim is the toughest part, but once you successfully lever a section over, the rest of the tire will become progressively easier to remove.
Using the cupped end of the Tire Iron.
Insert tire iron with the cup facing down.
Slip the tire iron between the wheel and rim.
Tire Iron Inserted Past the Lip of the Tire Bead.
Push the tire iron in past the bead lip.
Using 3 tire irons to initiate tire removal.
Maintaining Small Spacing Between Tire Irons.
Pull small sections of the bead at a time.
First 3 tire irons successfully levering the bead over the rim.
Moving the Middle Tire Iron along the rim.
Remove the middle iron and reposition it.
Move to the next small section of the tire bead.
Working the Tire Bead Around the Whole Rim.
Continue working the bead around the entire rim.
Step 5: Pulling the Wheel Through the Tire
With one side of the tire bead now off the rim, flip the wheel over and repeat the bead breaking and levering process on the other side. The objective is to have both tire beads positioned outside the rim on one side of the wheel. Once both beads are off on one side, firmly push the wheel down into the tire. Then, maneuver and pull the wheel through the center of the tire, effectively separating the tire completely from the wheel.
Pushing the wheel into the tire to remove it.
Wheel Pushed Down Into the Tire.
Wheel now positioned inside the tire.
Top of the tire showing clearance after pushing the wheel in.
Pulling the Rim Through the Wheel.
Pull the wheel through the center of the tire.
Tire completely removed from the wheel.
Step 6: Inspecting the Inner Tube, Rim Tape, and Rim Lock
After removing the tire, it’s essential to inspect several components. Check the rim tape to ensure it’s in good condition and hasn’t torn or shifted, exposing the spoke nipples. Damage to the rim tape can allow dirt and dust to penetrate, acting like sandpaper against the inner tube during rides. With standard inner tubes, it’s generally recommended to replace them with each tire change for optimal reliability. However, with extra heavy-duty inner tubes, you might get away with two or even three tire changes before replacement is necessary, depending on wear. I personally use Bridgestone heavy-duty inner tubes and typically replace them every 3-4 tire changes. Like tires, inner tubes wear out, becoming thinner and potentially developing weak spots over time.
Close-up of Inner Tube Wear.
Inspect the inner tube for signs of wear or damage.
Rim Tape condition check is important for tube protection.
Inspecting the Rim Lock for damage or wear.
Rim Lock should be inspected for proper function.
Step 7: Inner Tube and Tire Preparation
Before installing the new inner tube and tire, take a moment to clean both components. Ensure the inner tube is free of any debris, and thoroughly inspect the inside of the tire for any embedded sand, stones, or foreign objects. If you’re mounting a new tire or reusing an older one, a helpful tip is to apply a bit of baby powder inside the tire before inserting the inner tube. The baby powder acts as a dry lubricant, minimizing friction between the tire and inner tube, which can reduce wear and prevent pinch flats. Sprinkle a small amount of baby powder into the tire and rotate it to evenly distribute the powder across the inner surface. Also, note the light spot marker on most tires, often a yellow or red dot. This mark indicates the lightest part of the tire and should ideally be positioned near the valve stem or rim lock during installation to aid in wheel balancing.
Applying Baby Powder inside the tire before tube insertion.
Identifying the Light Mark on the Tire.
Marker indicating the light spot to align with the valve stem.
Inner tube pre-positioned before mounting the tire onto the wheel.
Step 8: Setting the Inner Tube on the Wheel
Position the inner tube inside the tire and align the valve stem with the valve stem hole in the rim. Depending on your wheel size and tube type, you might find a valve stem puller incredibly useful for drawing the valve stem through the rim hole. This tool is inexpensive and can save your knuckles from scrapes and frustration. Once the valve stem is pulled through, loosely tighten the valve stem nut to hold the tube in place. After ensuring the valve stem is correctly positioned, re-insert the valve stem core to add a small amount of air into the tube. This slight inflation gives the tube shape and helps prevent pinching during tire mounting.
Valve Stem Puller Handle Inserted Through the Rim.
Valve stem puller inserted through the valve hole.
Close-up of the Valve Stem Puller end ready to engage the valve core threads.
Valve Stem Puller Engaged and Pulling the Stem Through the Rim.
Screw the puller into the valve core threads.
Pull the valve stem through the rim hole using the puller.
Tightening the Valve Stem Nut and Re-inserting Valve Core.
Tighten the valve stem nut to secure the tube.
Re-insert the valve core after positioning the tube.
Step 9: Setting the Tire onto the Wheel
Mounting the tire back onto the wheel requires a slightly different approach than unmounting. For the initial part of mounting, you can use two long curved tire irons effectively. Begin by positioning the tire bead in the rim’s drop center, specifically between the rim lock and the rim edge. This positioning is crucial as it allows the tire bead to sit in the deepest part of the rim channel, providing the maximum slack needed to stretch the tire over the rim. Using a tire stand can be beneficial for mounting most of the tire. However, for the final, often tightest section, many find it easier to work with the tire on the ground, using body weight or a knee to keep the tire bead pressed into the rim’s drop center. To lever the last section over, reach through the tire with the curved end of a tire iron and carefully lift the tire bead over the rim edge.
Dropping the rim onto half of the tire for mounting.
Ensuring the Rim Lock is Inside the Tire during mounting.
Make sure the rim lock is positioned correctly inside.
Reach through the tire with the curved end of the tire iron.
 Tire bead dropped into rim low section
Tire Bead Dropped into the Rim’s Low Section.
Ensure the tire bead is in the rim’s drop center.
Tire now approximately half mounted onto the wheel.
Step 10: Mounting the Remaining Tire Bead
This is where tools like a bead buddy and a quality set of tire irons truly prove their worth. Start at the rim lock area. Ensure the tire bead is pushed down into the drop center of the wheel rim. The bead buddy is designed to hold the tire bead securely in this drop center, preventing it from slipping back out as you work around the rim. Position the bead buddy adjacent to your working area, making sure the rim lock is out of the way. Then, using your tire irons, work the tire bead over the rim in small, manageable sections. The final section near the rim lock is typically the most challenging. Apply plenty of tire lube to this area and continue working in small increments. It’s often helpful to hold the rim lock down and out of the way as you lever the last part of the tire bead over the rim.
Mounting the tire under the rim lock area.
Proper Bead Buddy Placement.
Insert the Bead Buddy to keep the tire in the drop center.
Work with tire irons around the rim in small sections.
 Rim lock last section
Mounting the Last Section Near the Rim Lock.
Final section of tire to be mounted near the rim lock.
Hold down the rim lock while mounting the last section of the bead.
Step 11: Inflating the Inner Tube to Set the Tire Bead
The final steps involve setting the tire bead correctly and ensuring everything is properly tightened. First, tighten down the valve stem nut to secure the valve stem. Then, inflate the inner tube. Initially, inflate to a pressure higher than your recommended riding pressure – you’ll need to over-inflate slightly to help seat the tire bead evenly against the rim. You should hear a distinct “pop” sound as the bead seats into place on both sides of the rim. To verify complete seating, run a finger around the rim edge on both sides to feel if the tire bead is consistently seated and flush against the rim. Once you’re satisfied that the bead is correctly set all around, deflate the tire to your desired riding pressure, typically between 12-15 psi for dirt bikes, but always check your tire and bike manufacturer’s recommendations. Finally, tighten the rim lock nut to the recommended torque to prevent tire slippage on the rim during riding.
Tightening the Valve Stem Nut after mounting.
Tighten the valve stem nut to secure it.
Inflate the tire to set the bead properly.
Tightening the Rim Lock after bead setting.
Tighten the rim lock to prevent tire slippage.
Tire bead fully set and properly seated on the rim.
Step 12: Mounting the Wheel Back onto Your Bike
The last step in the process of changing your bike tire is remounting the wheel onto your motorcycle. This is generally straightforward, but here’s a helpful tip to simplify things: use a flat blade screwdriver to gently spread the brake pads apart in the caliper. This creates a wider gap for the brake rotor, making it much easier to align the rotor with the caliper and slide the wheel into position without struggling against brake pad friction. Spreading the pads also helps prevent the fork from rotating while you’re trying to line up the brake disc. Once aligned, slide the axle back through the fork lugs and wheel hub. Tighten the axle nut to the manufacturer’s specified torque, and then tighten the axle pinch bolts. Double-check that everything is secure before taking your bike off the stand.
Close-up of Brake Pads before spreading.
Brake pads within the caliper.
Spread the brake pads using a flat blade screwdriver.
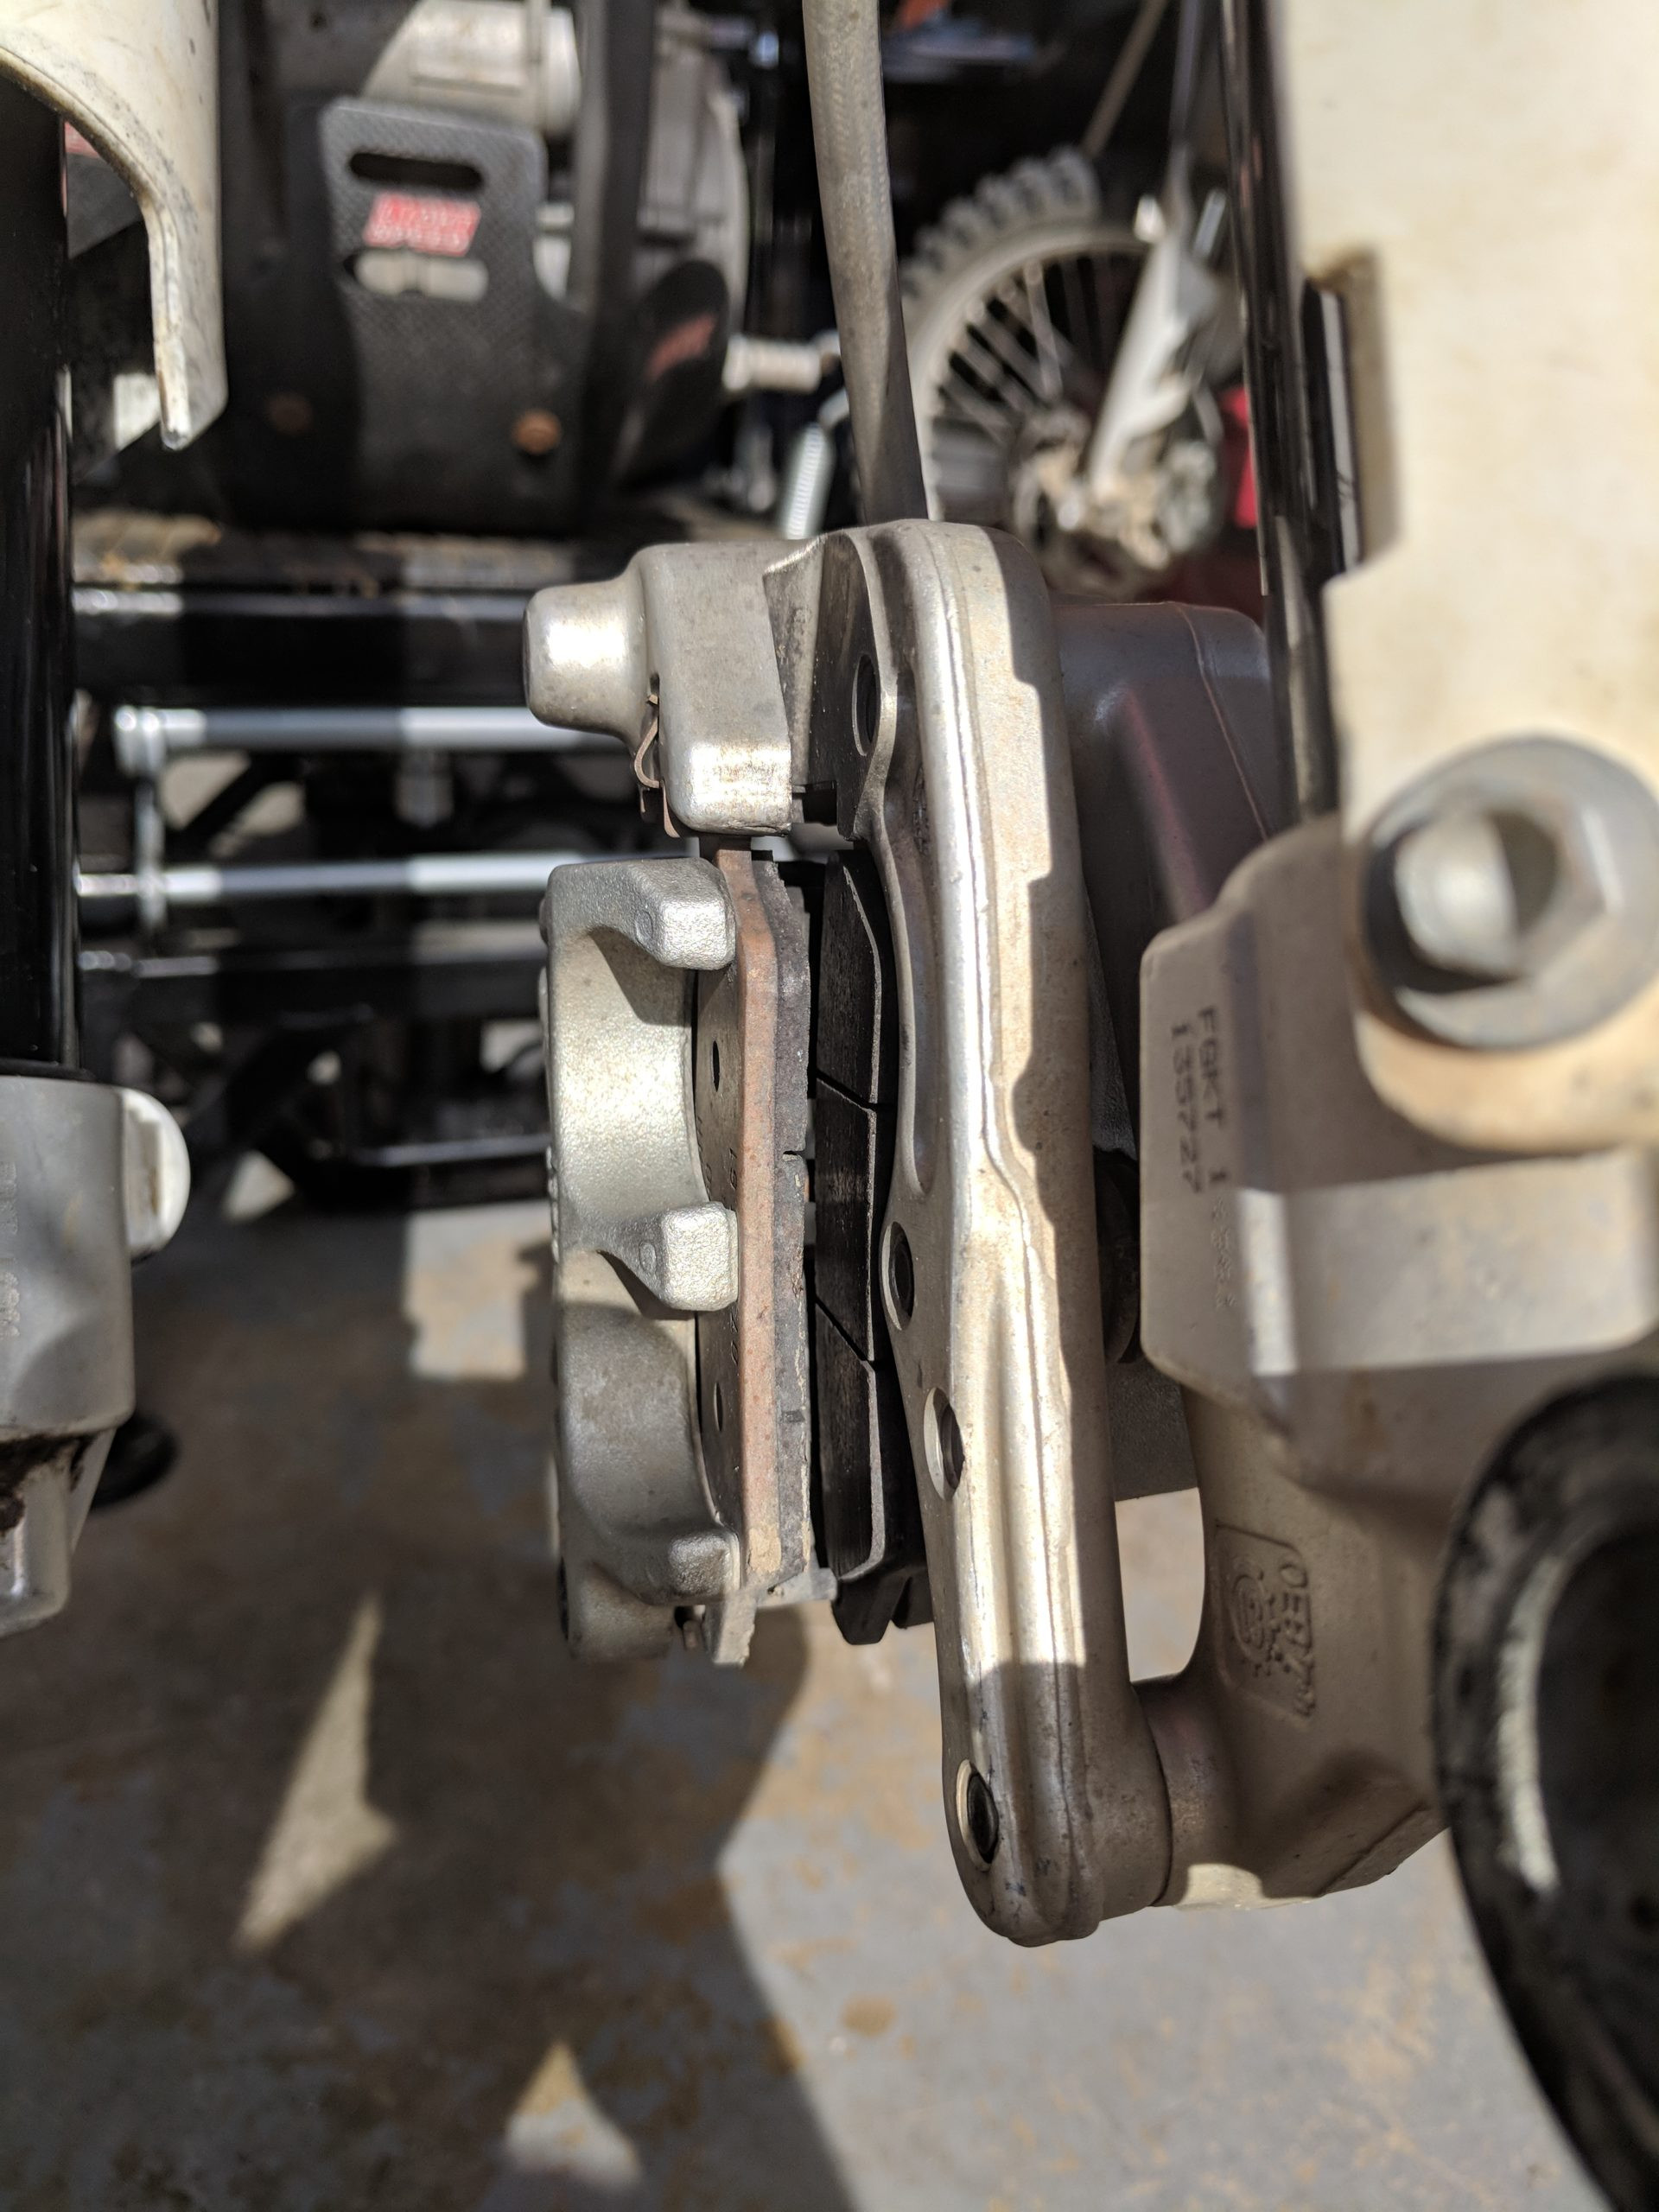 Brake pads separated for wheel mounting
Brake Pads Separated for Easier Wheel Mounting.
Pads now have adequate clearance for rotor insertion.
Wheel mounted and tire changed – All done!