
Riding a road bike that’s the wrong size is a recipe for discomfort and potential injury. Feeling cramped or overstretched can quickly turn enjoyable rides into painful experiences. Choosing the correct road bike size might seem daunting, but with the right guidance, you can navigate this process with confidence. This guide will provide you with the essential advice to find the perfect road bike size, ensuring comfort, efficiency, and enjoyment on every ride.
Finding the right fit starts with understanding frame geometry – whether it’s traditional, semi-compact, or compact – and the corresponding frame size. It’s crucial to remember that stated sizes can vary significantly between different bike models, even within the same size designation. Delving into the key measurements of road bike geometry, understanding their meaning, and how they influence fit and handling is vital. This knowledge empowers you to select the best road bike tailored to your specific needs and body proportions.
Achieving an optimal bike fit goes beyond just frame size. It encompasses ensuring your bike is properly adjusted at all primary contact points: the saddle, handlebars, and pedals. Exploring our comprehensive guide to achieving the ideal road bike position will further refine your understanding of bike fit.
Beyond these contact points, standover height is another important consideration. When straddling the top tube with both feet flat on the ground, you should have at least one centimeter (approximately half an inch) of clearance at your crotch. This ensures comfortable mounting and dismounting.
Remember, everyone’s body is unique. Use the information provided here as a starting point and a flexible guideline. Once you’ve identified a bike size that seems appropriate and established a preliminary position, fine-tuning with minor adjustments is key. Bike shops offer in-person bike fit consultations, which can be invaluable.
We strongly recommend test riding any bikes you are considering purchasing. This allows you to assess comfort and handling firsthand. Confirm that the bike offers sufficient adjustment range to allow for personalized fit adjustments after purchase. A reputable bike shop should provide objective advice, and our guide on how to buy a bike offers further assistance.
Road Bike Size Chart: A General Guide
The chart below serves as a general guideline for determining frame size based on rider height. It’s crucial to understand that this is a starting point. If you are uncertain, seeking advice from a local bike shop is always recommended.
| Rider Height | Rider Height (cm) | Effective Top Tube (cm) | Bike Size |
|---|---|---|---|
| 4ft 10in – 5ft | 148-152 | 47-48 | XXS |
| 5ft – 5ft 3in | 152-160 | 49-50 | XS |
| 5ft 3in – 5ft 6in | 160-168 | 51-53 | S |
| 5ft 6in – 5ft 9in | 168-175 | 54-55 | M |
| 5ft 9in – 6ft | 175-183 | 56-58 | L |
| 6ft – 6ft 3in | 183-191 | 58-60 | XL |
| 6ft 3in – 6ft 6in | 191-198 | 61-63 | XXL |
Understanding Manufacturer Size Guidelines
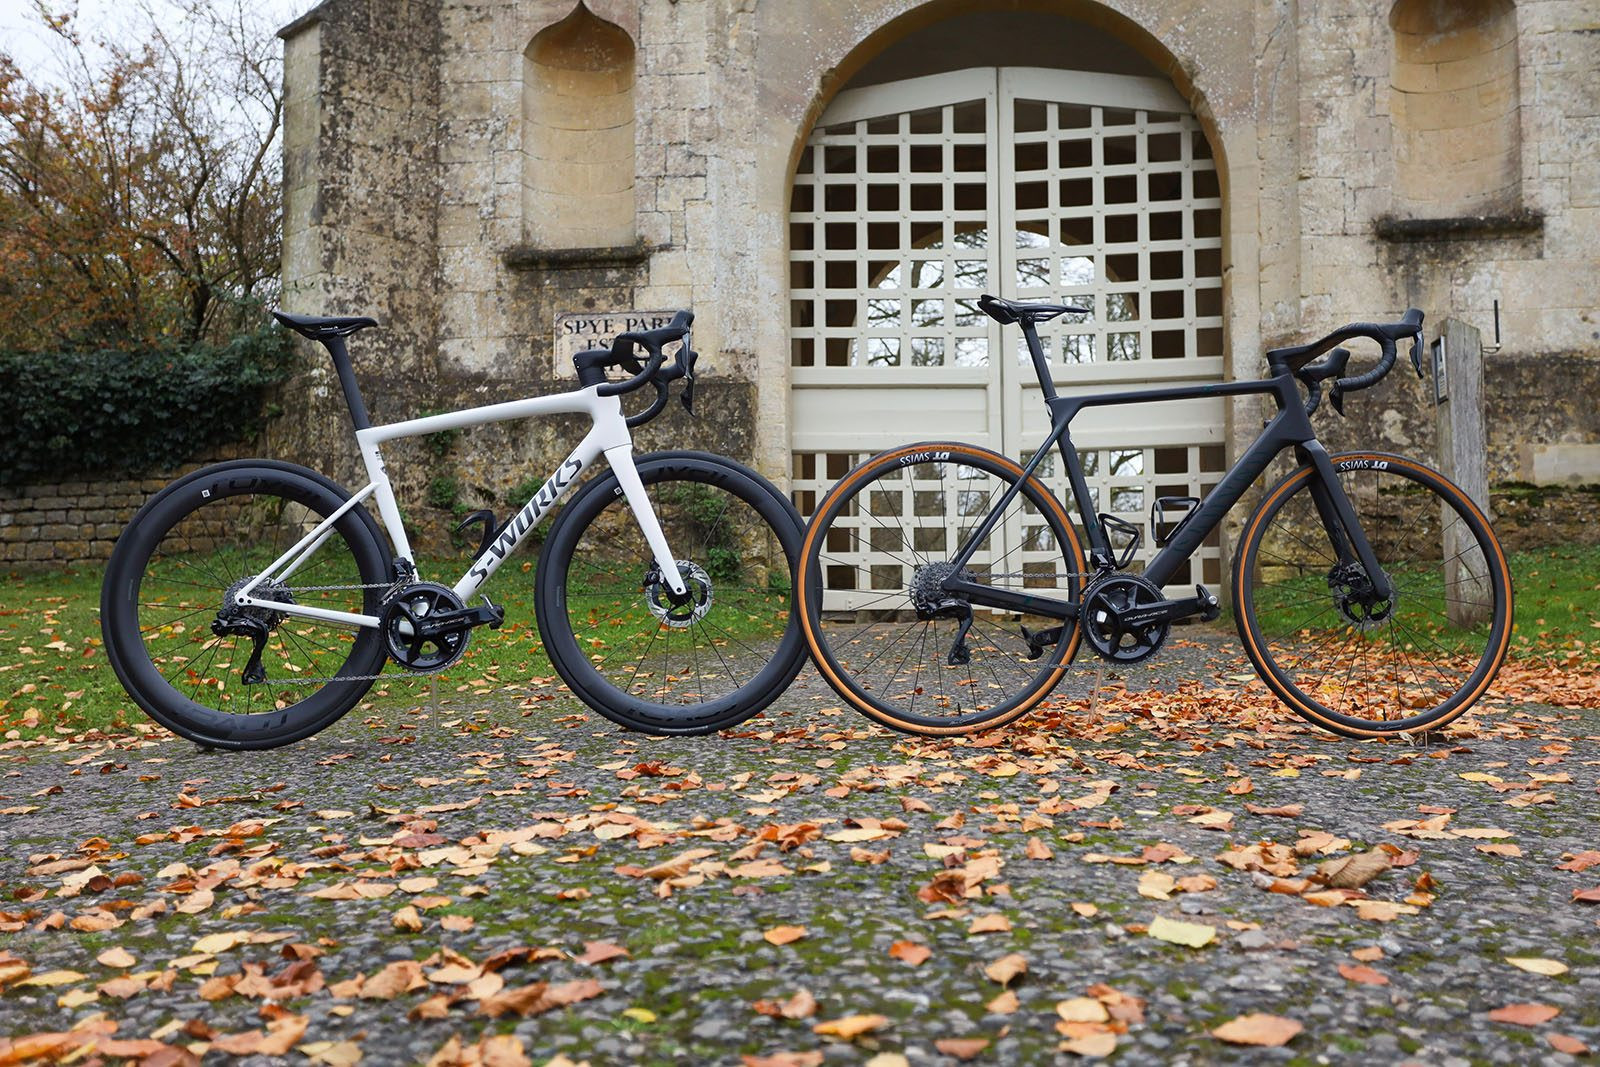 Two different road bikes, Specialized Tarmac and Canyon Ultimate, illustrating frame size variation between brands
The most straightforward approach to Road Bike Sizing is often to consult the manufacturer’s size guidelines. Bike manufacturers typically provide charts correlating height ranges with their specific bike sizes. These guidelines are a valuable starting point, but it’s important to remember that frame sizes are not standardized across the industry.
Bike brands differ significantly in their design philosophies and sizing conventions. Therefore, understanding bike geometry is crucial. A size M from one brand might feel completely different from a size M from another. Never assume that a particular size will translate consistently across different brands or even different models within the same brand.
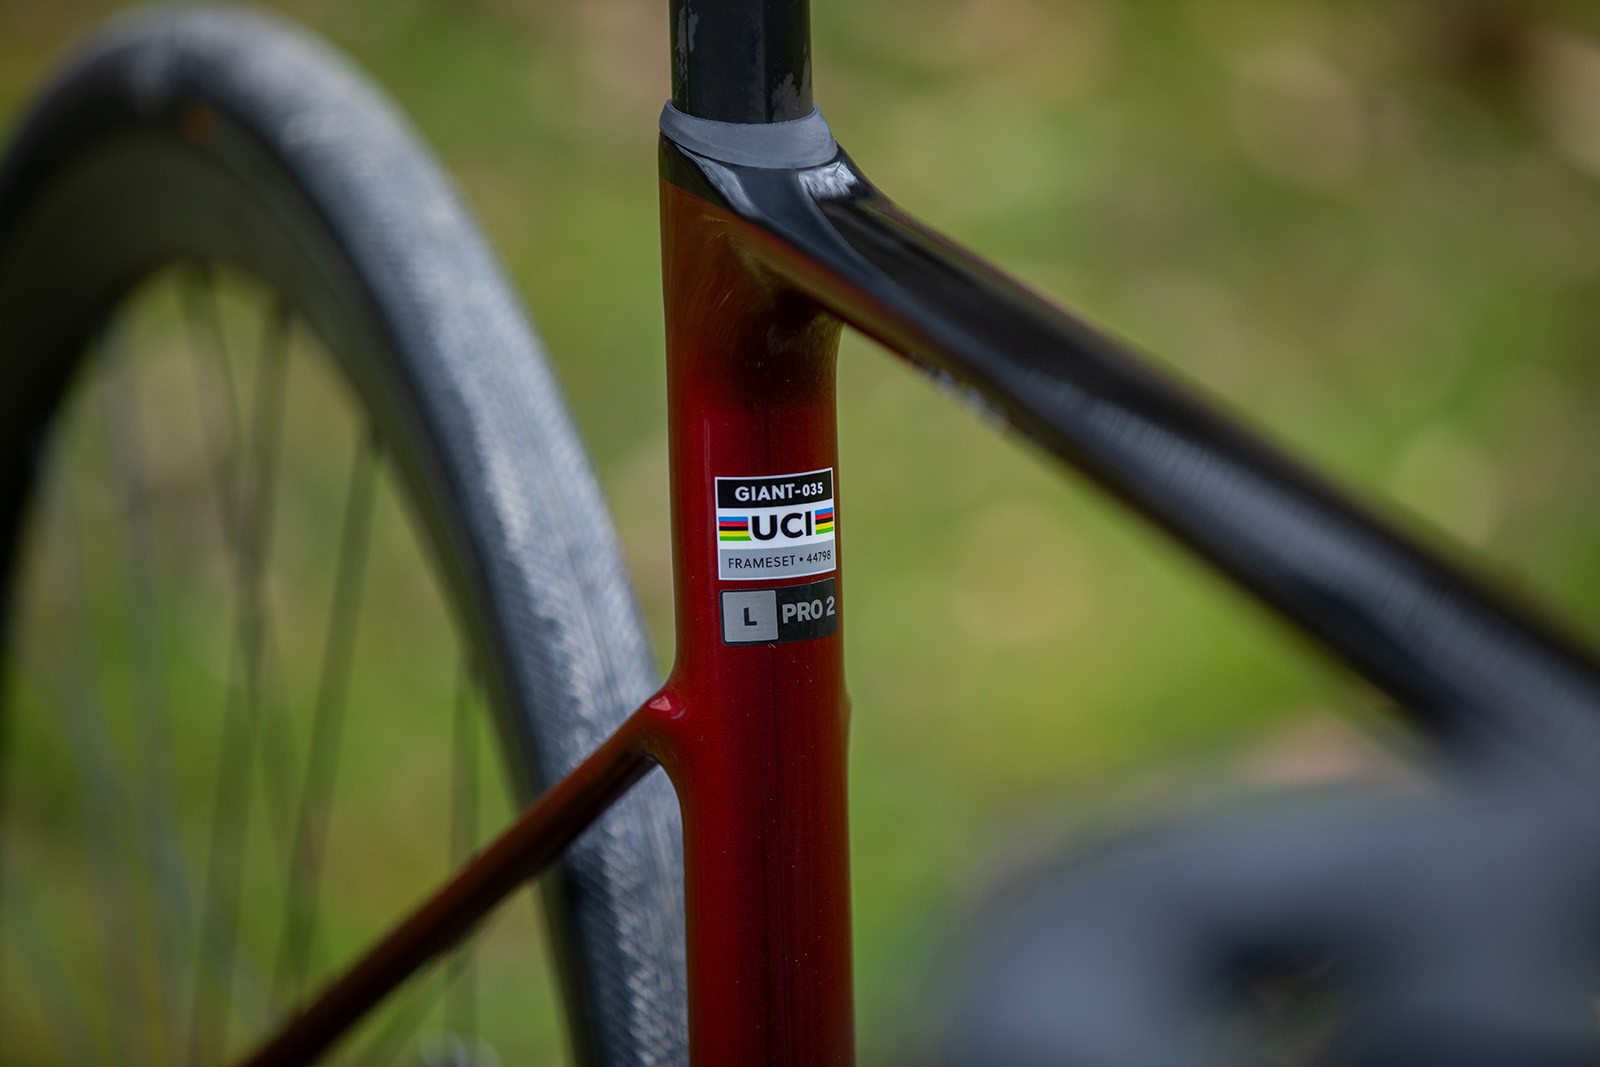 Close-up view of the seat tube area of a Giant Defy Advanced Pro 2 road bike, showing frame size markings.
Road bike frame sizes are often indicated by the seat tube length, or a nominal seat tube length that assumes a horizontal top tube, even on bikes with sloping top tubes. Mountain bikes are typically sized using S, M, L, etc., a system also adopted by some road bike manufacturers. This variety in sizing conventions can be confusing.
Most manufacturers also provide “stack” and “reach” measurements for their bikes. Stack and reach are essential for comparing sizes and geometries across different brands. These measurements are independent of frame angles, offering a more accurate comparison than top tube length alone. Two frames might have different top tube lengths but identical reach due to variations in frame angles.
 Diagram illustrating seat tube length measurement on a road bike frame.
If you plan to buy a bike online, accurate sizing is even more critical. Many online retailers offer size recommendations based on height and a few other body measurements. This can be adequate if you have average proportions and fall within the middle of a suggested height range. However, if you are outside the average range, a professional bike fit and test ride are highly recommended to guarantee you purchase the correct size.
Understanding Road Bike Frame Anatomy
 Detailed view of a Specialized S-Works Tarmac SL8 road bike frame, highlighting various frame tube names and components.
Bike manufacturers typically provide detailed geometry charts listing measurements for each frame component. Understanding these measurements is the first step to grasping bike sizing.
Refer to the diagram below to identify the different tubes that constitute a road bike frame.
While seat tube length is often used for sizing, top tube length, particularly the effective top tube length, is more critical for determining proper fit.
It’s important to note that geometry charts may list two top tube lengths: the actual top tube length and the effective top tube length. The effective top tube is relevant for bikes with sloping top tubes (common in semi-compact and compact geometries).
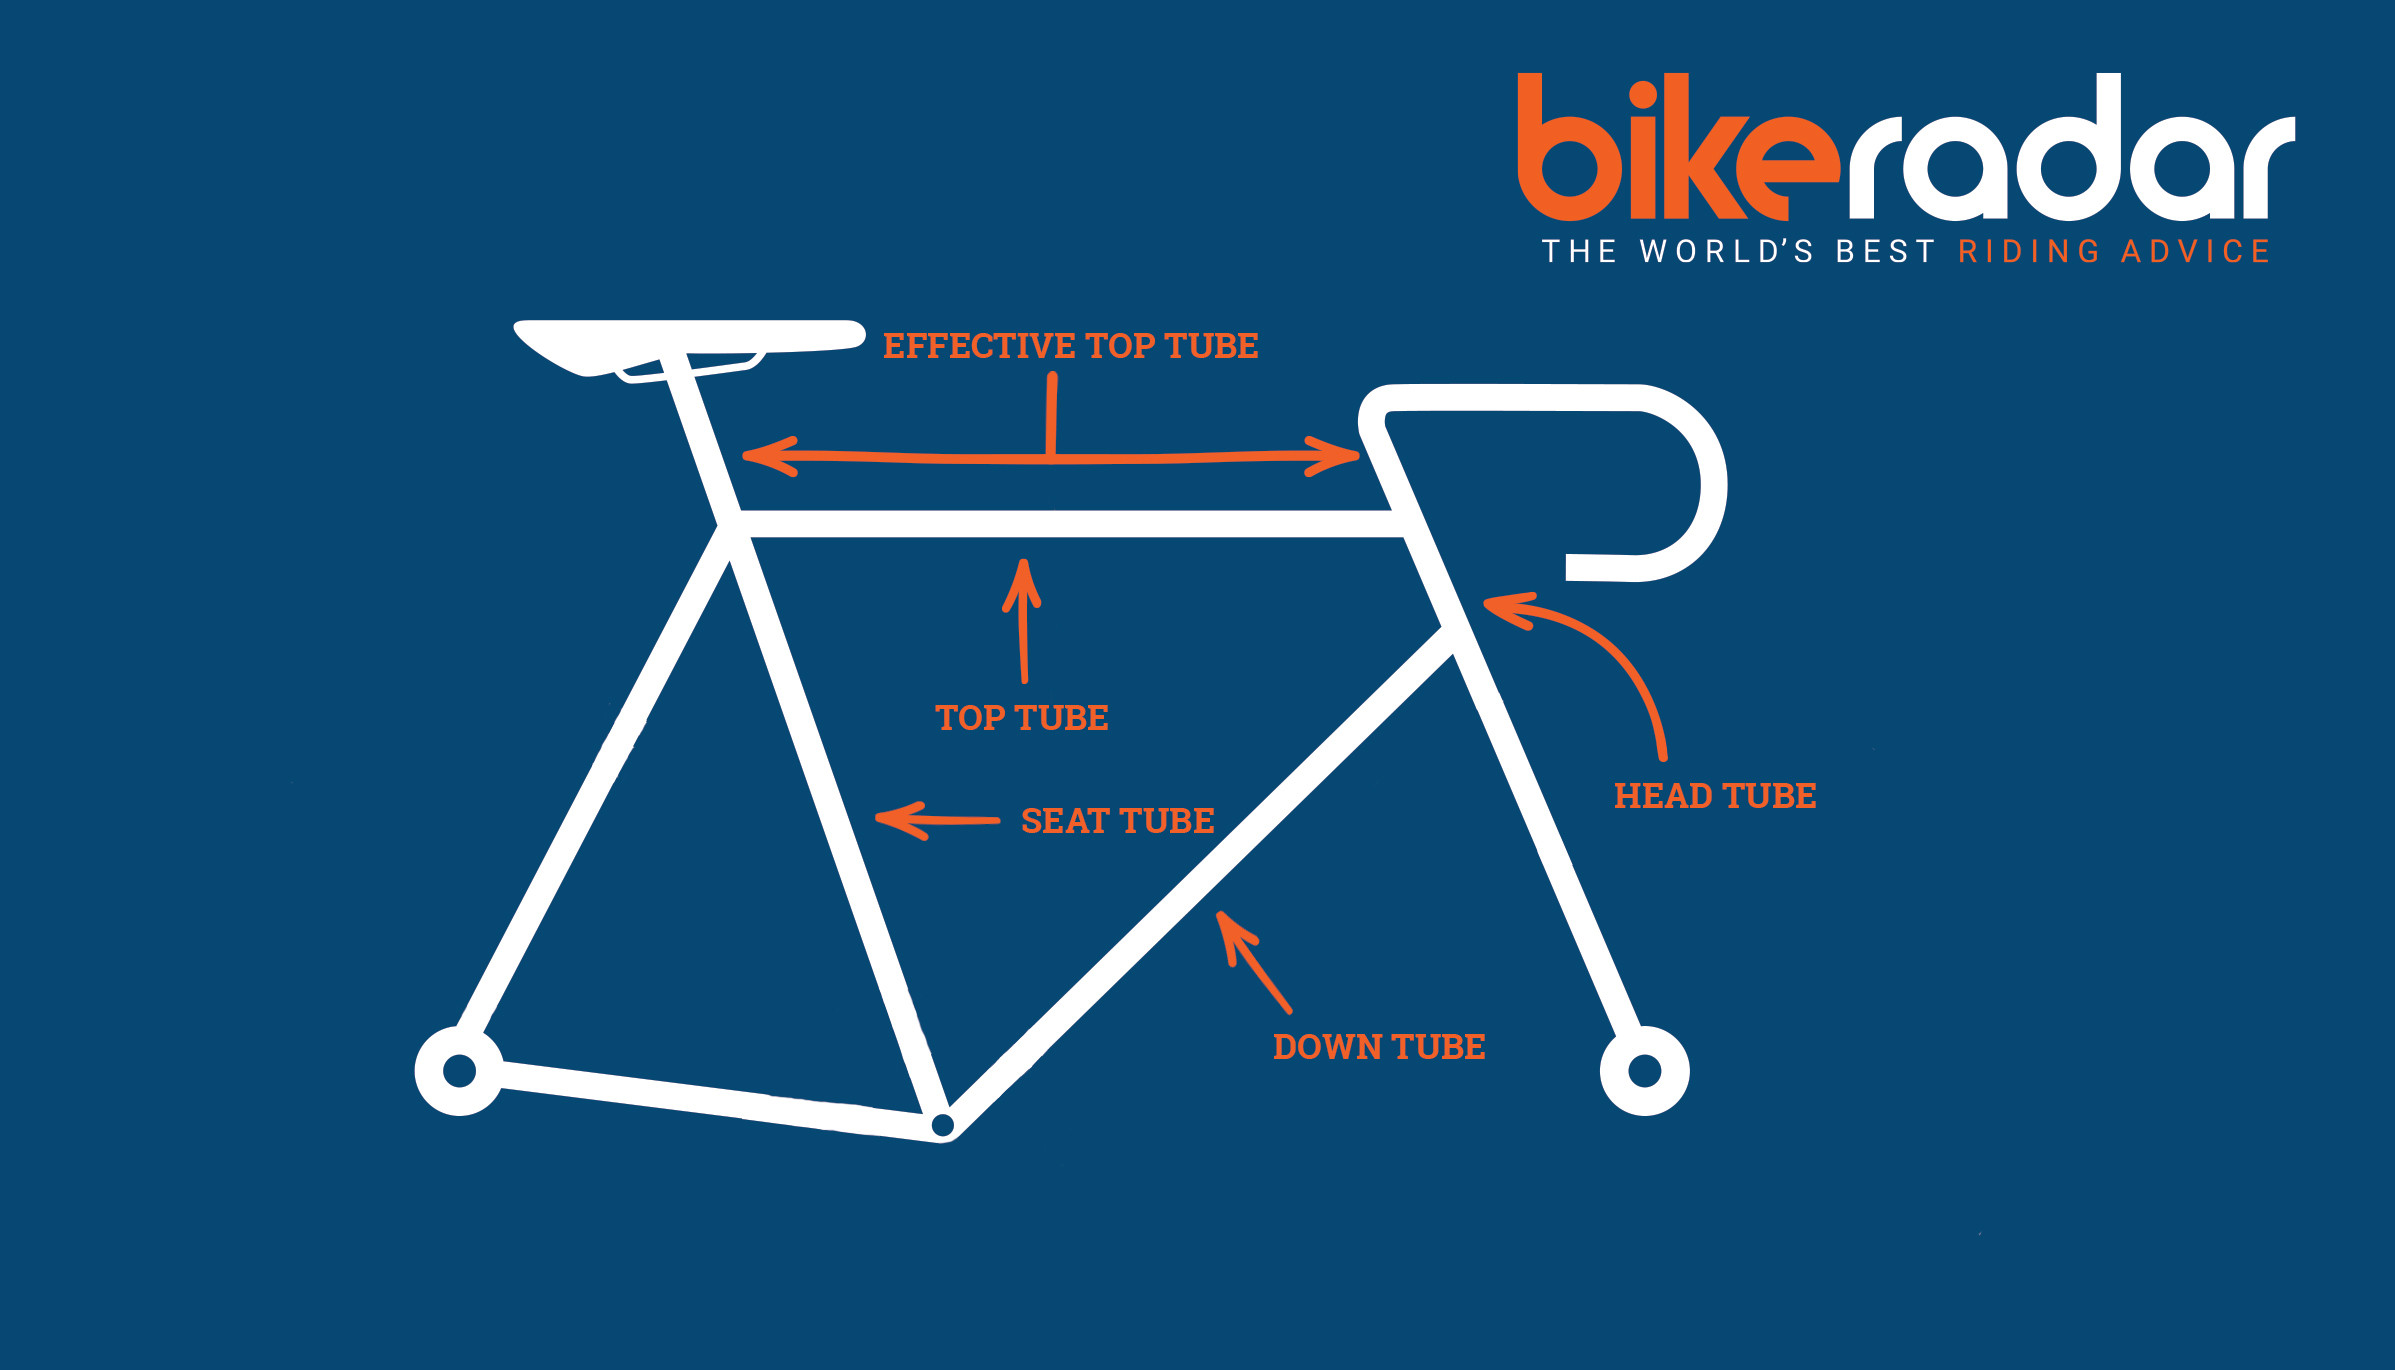 Diagram illustrating different parts of a road bike frame, including top tube, seat tube, head tube, down tube, and seat stays.
Exploring Frame Geometries: Traditional, Compact, and Semi-Compact
When selecting your first road bike, consider the three primary frame geometries: traditional, semi-compact, and compact.
Traditional Bicycle Frames
 Ti Raleigh 40th anniversary replica road bike with a classic horizontal top tube.
Traditional frames are defined by a horizontal top tube that runs parallel to the ground. These frames offer less standover clearance, making precise sizing more critical.
Historically prevalent, traditional frames are now less common, with compact and semi-compact designs dominating modern road bikes.
Compact Bicycle Frames
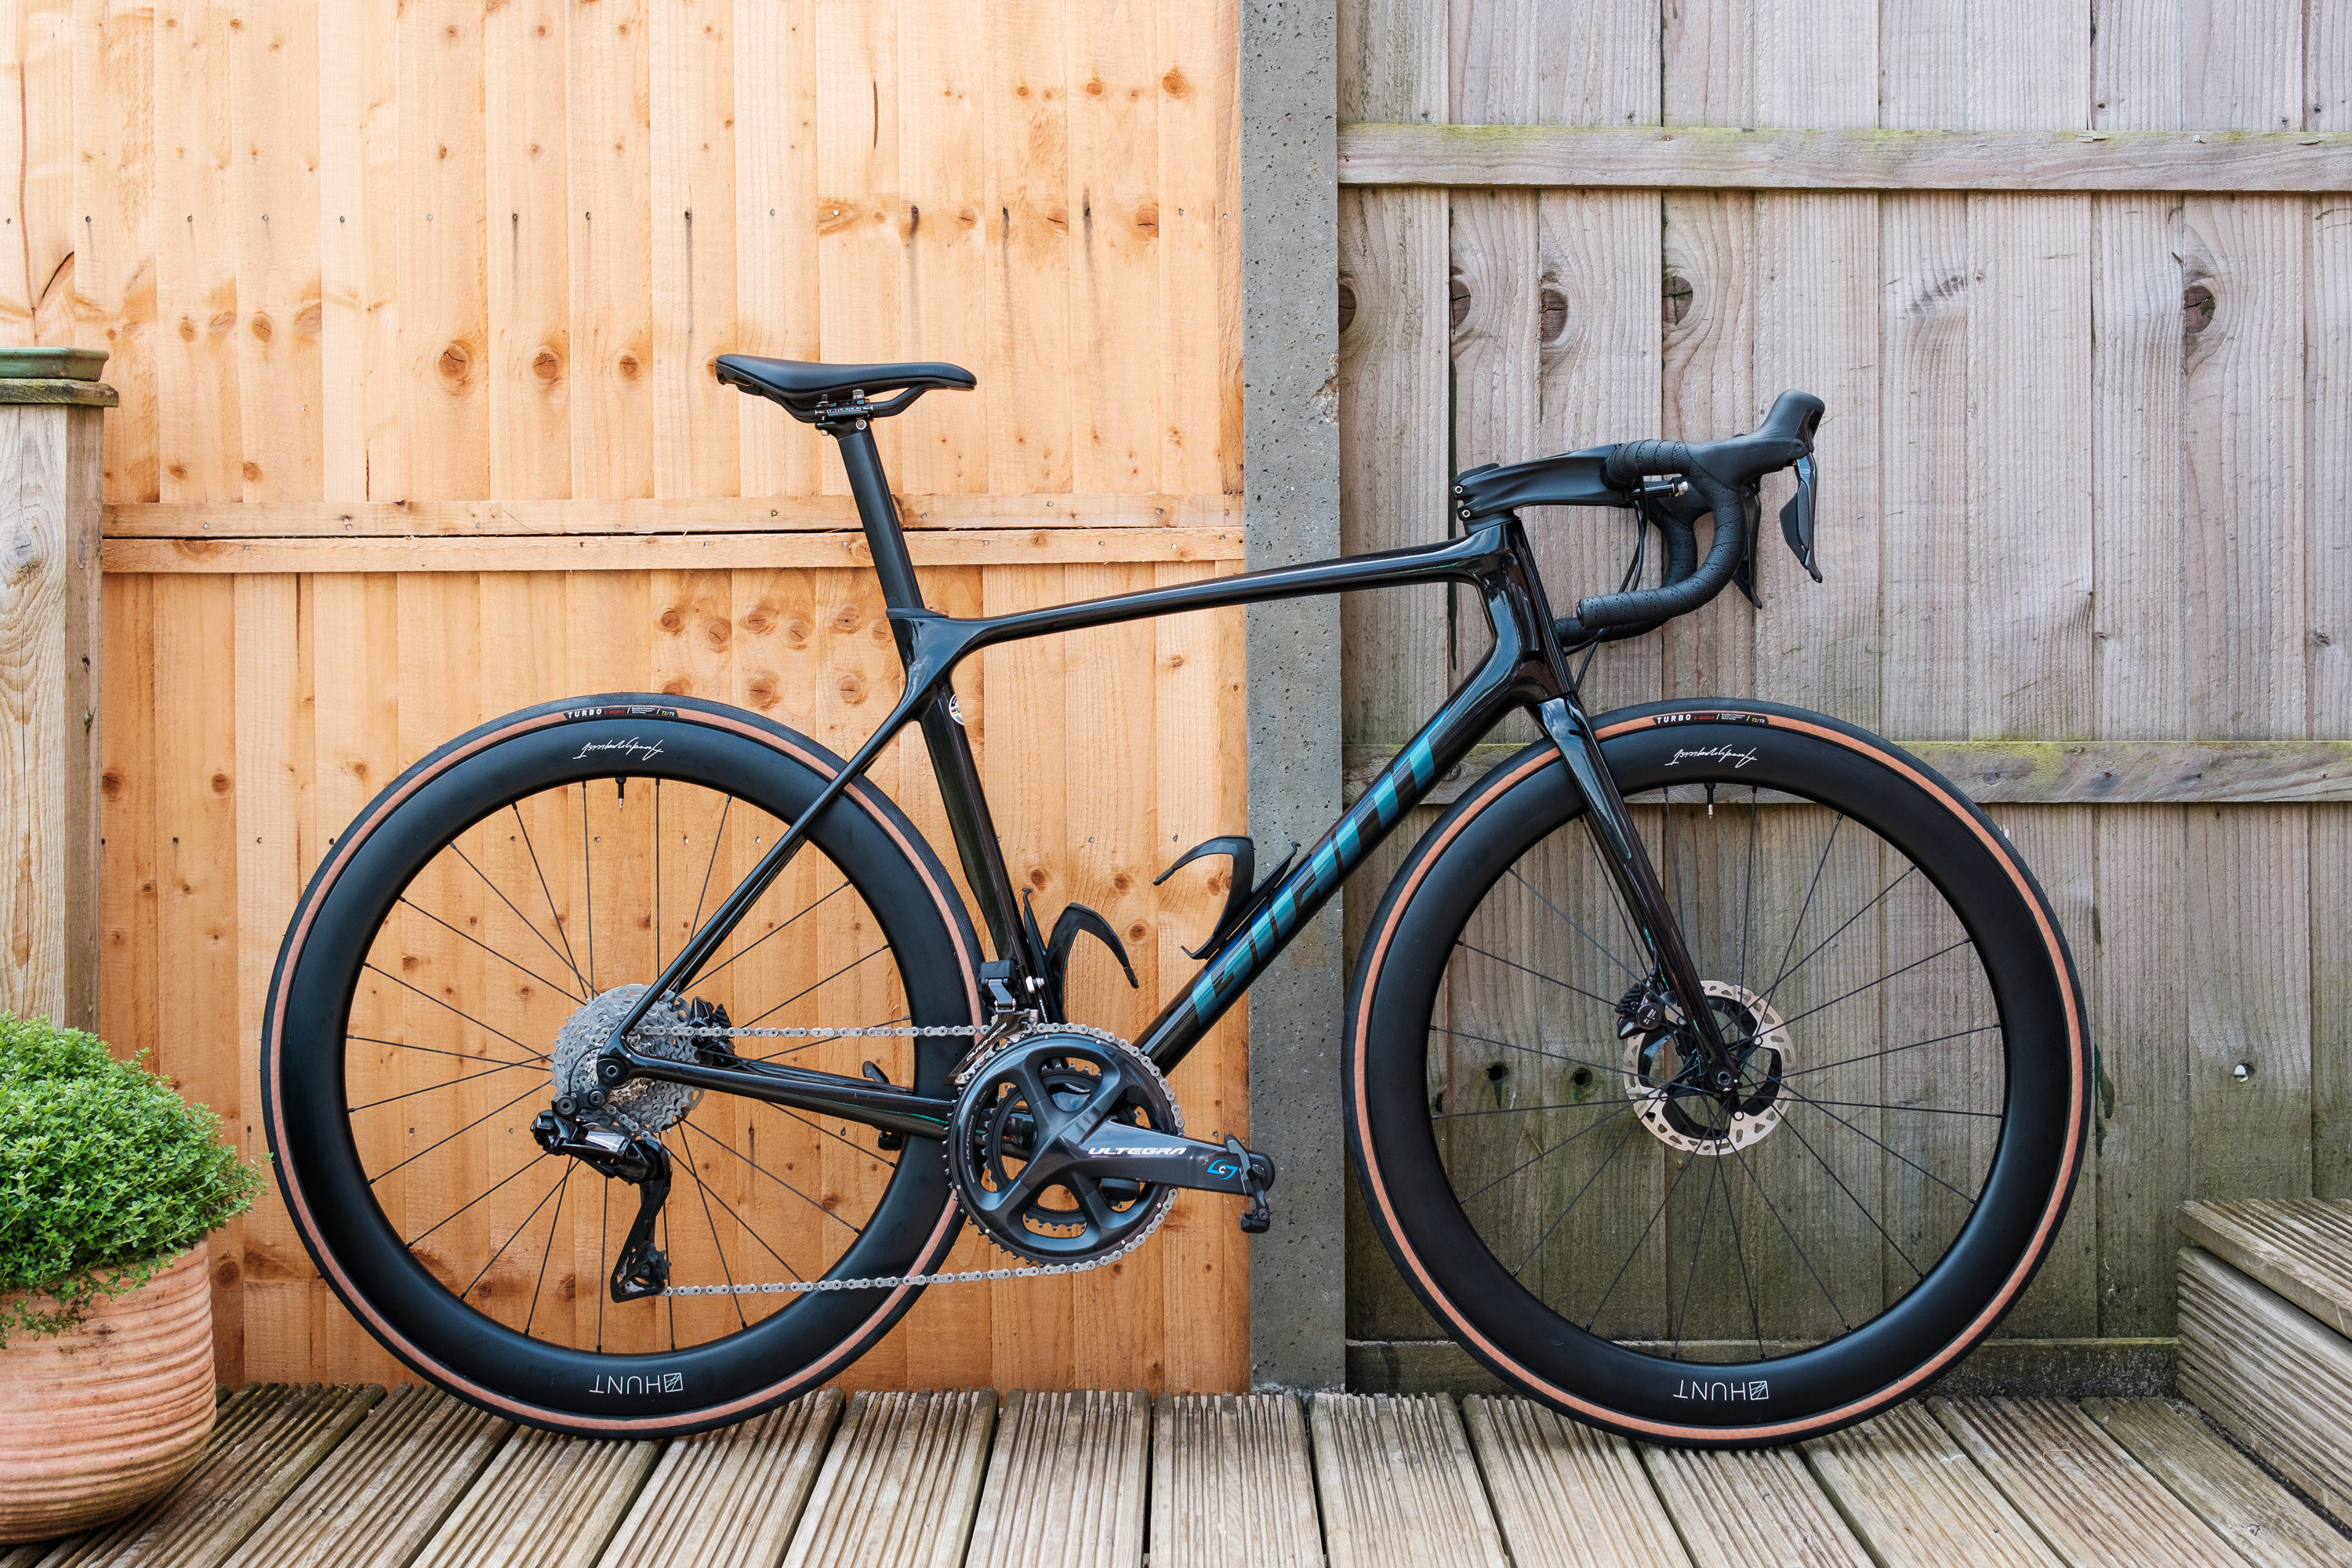 Giant TCR Advanced Pro 2 Disc road bike leaning against a garden fence, showcasing its compact frame geometry.
Compact geometry frames feature a sloping top tube, a shorter wheelbase, and a smaller rear triangle. This design provides greater standover clearance compared to traditional frames and can result in a stiffer, more responsive ride.
Giant revolutionized road bike geometry with the introduction of the compact frame on their TCR (Total Compact Road) model. Compact and semi-compact designs are now standard across the majority of contemporary road bikes.
The sloping top tube in compact frames typically results in an extra two to three inches of exposed seatpost compared to traditional frames with horizontal top tubes.
Semi-Compact Bicycle Frames
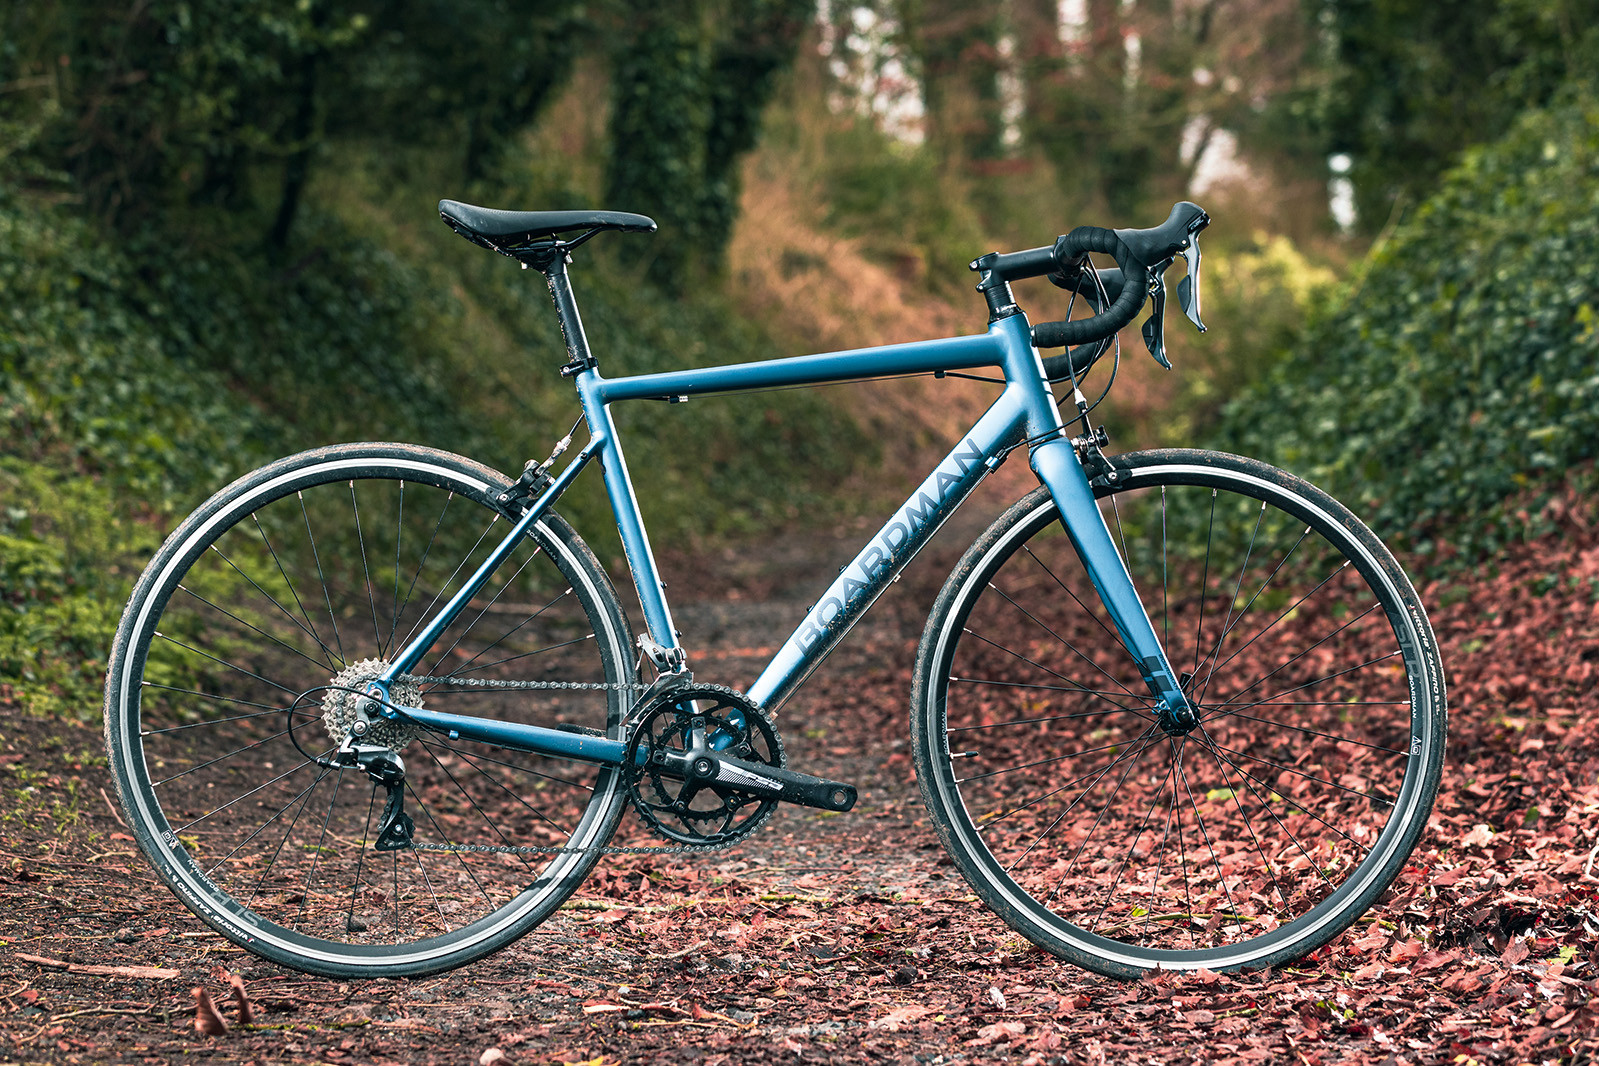 Pack shot of a Boardman SLR 8.6 road bike, demonstrating semi-compact frame geometry.
Semi-compact geometry is similar to compact, but the top tube’s slope is less pronounced. This results in slightly reduced standover clearance and a marginally longer effective top tube.
The distinction between semi-compact and compact frames is often subtle.
The Importance of Top Tube Length
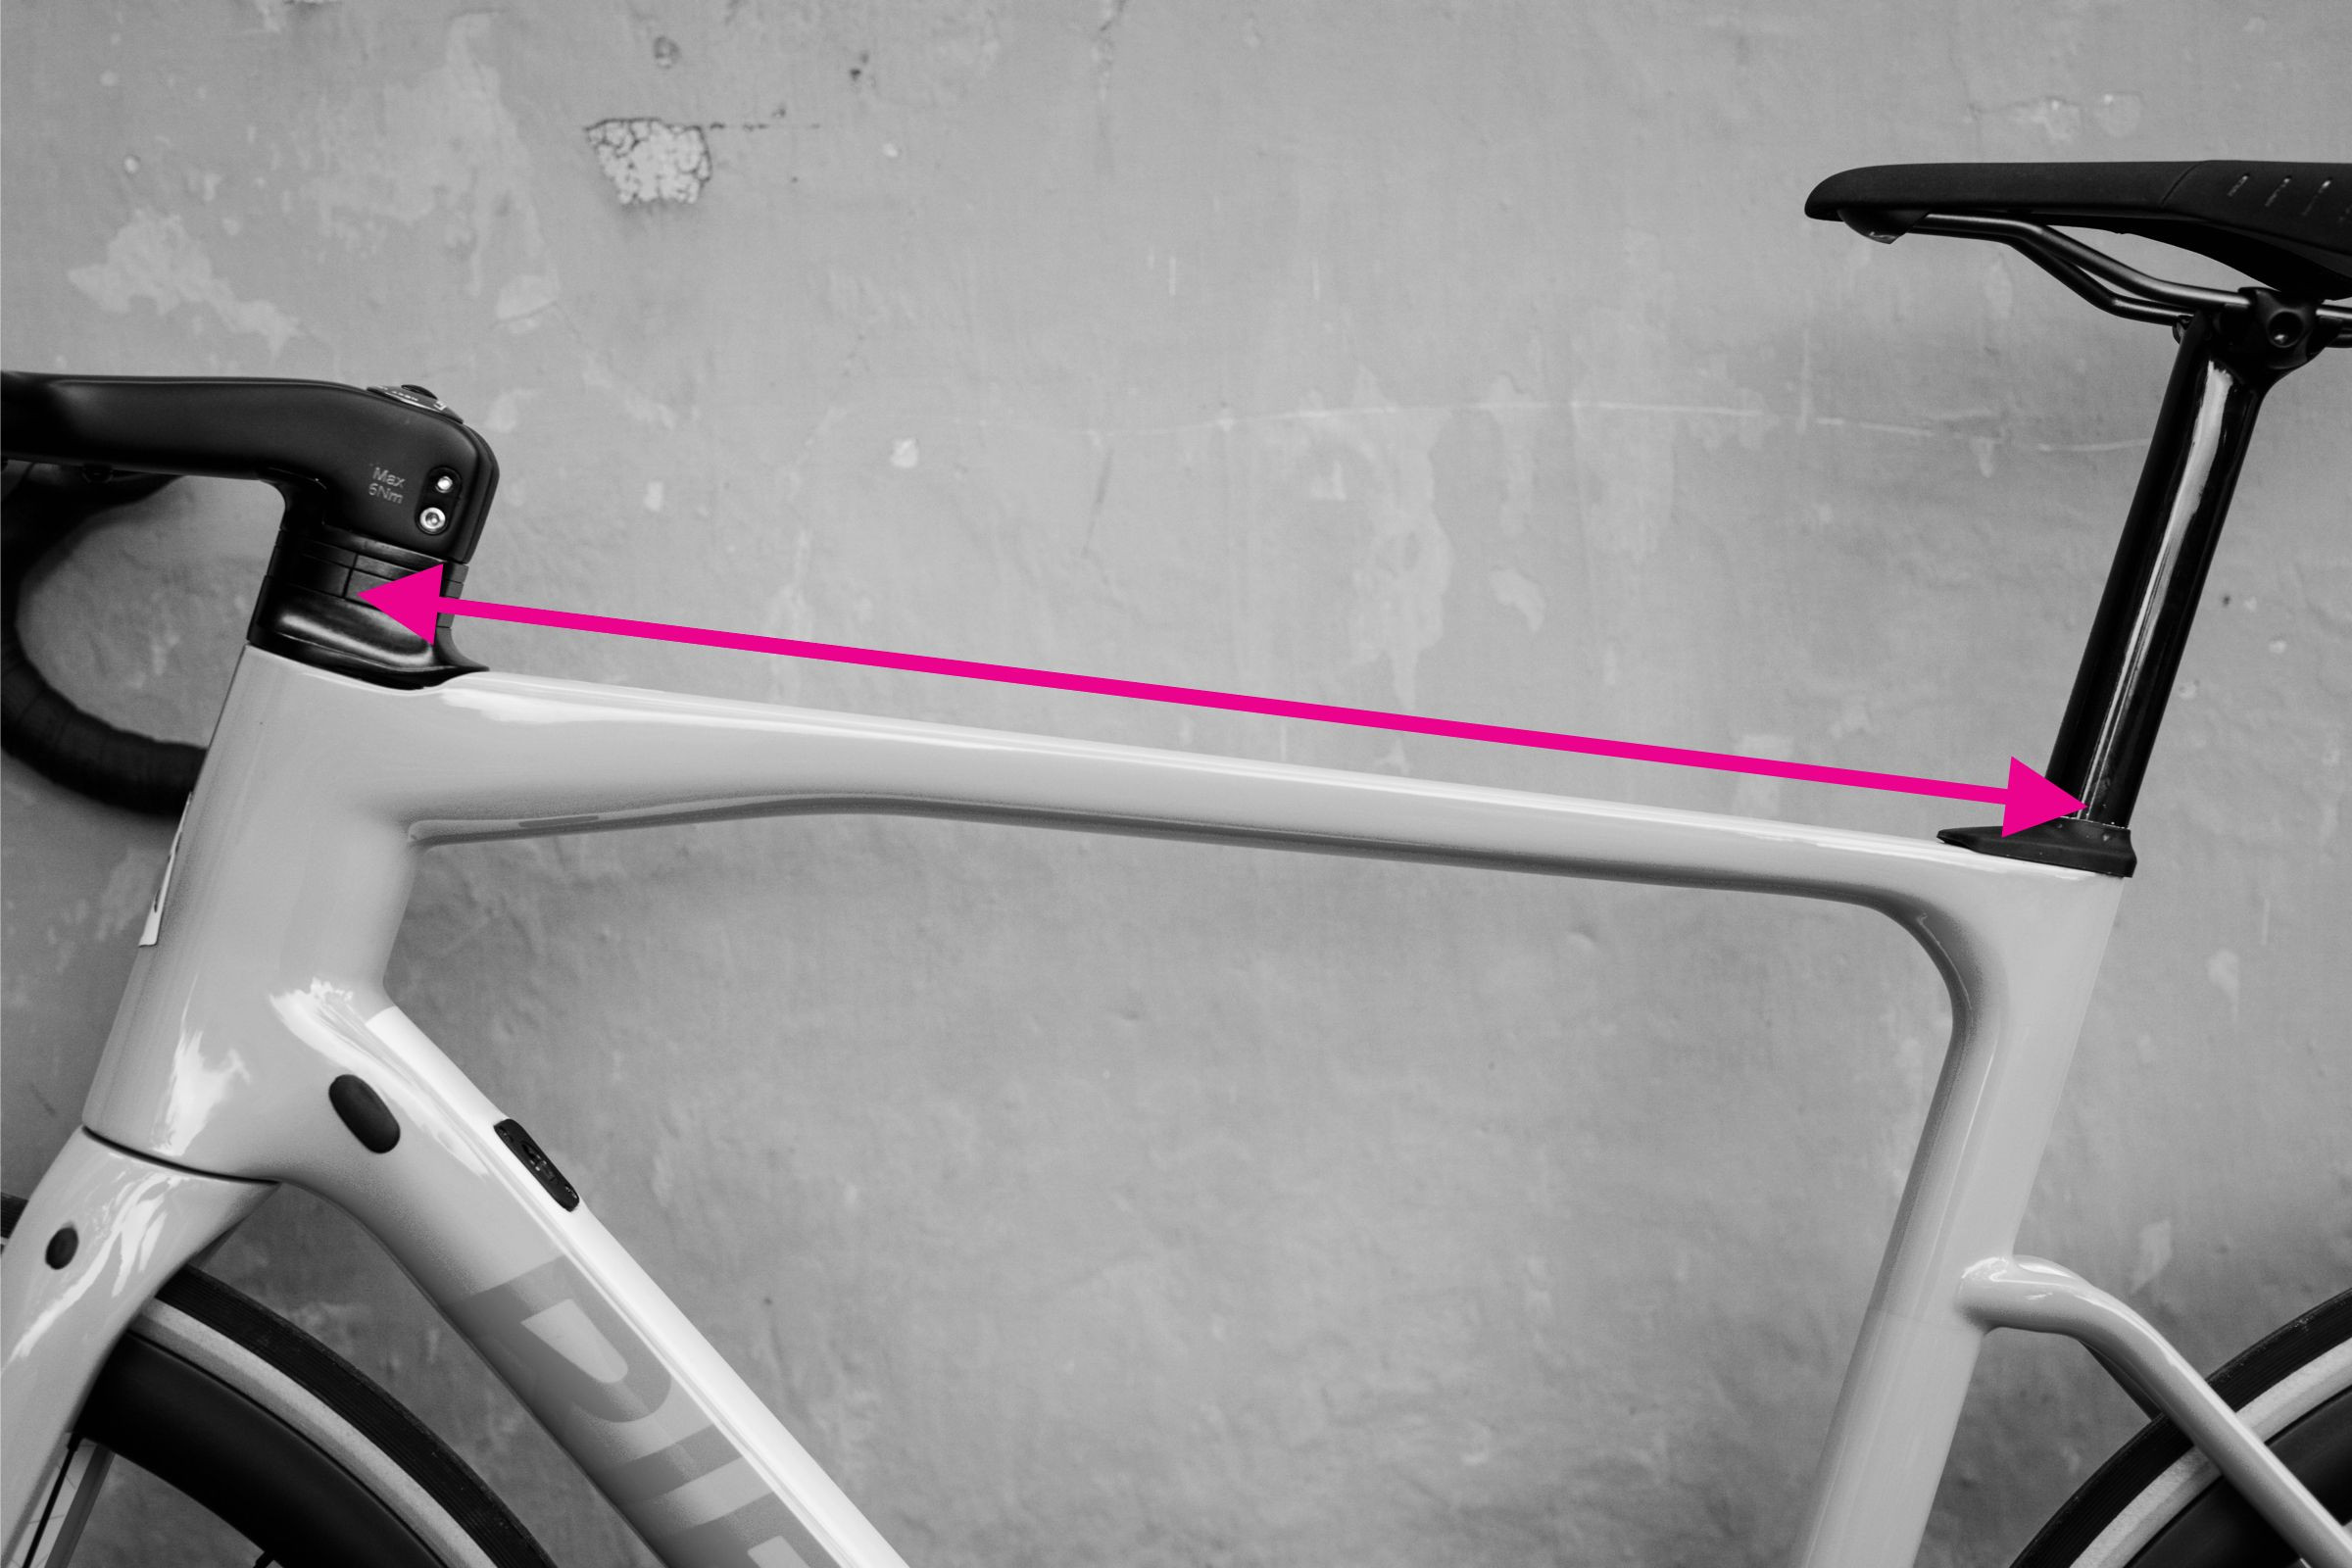 Close up on the top tube of a road bike, highlighting top tube length measurement.
The effective top tube length is paramount when determining the correct frame size. It’s the distance from the head tube to the seatpost on bikes with sloping top tubes, or simply the top tube length on traditional frames.
A top tube that is too long will cause you to overreach for the handlebars, leading to a more aggressive riding position that can be uncomfortable, especially on longer rides.
If a more upright and comfortable riding posture is desired, opting for a shorter effective top tube length is advisable.
Fine-Tuning Your Road Bike Fit
 Cyclist adjusting stem height on a Kinesis road bike as part of fine-tuning bike fit.
Once you have selected the appropriate frame size, fine-tuning your bike fit is the next crucial step.
Adjusting the handlebar and saddle height are primary adjustments. Consult our guides on adjusting handlebar height and setting correct saddle height.
Consider adjusting or replacing the stem length, as this affects your reach to the handlebars, influencing both comfort and bike handling.
Further adjustments include saddle fore/aft position and tilt, handlebar angle, and brake lever reach. If the stock handlebar shape isn’t ideal, upgrading might be beneficial.
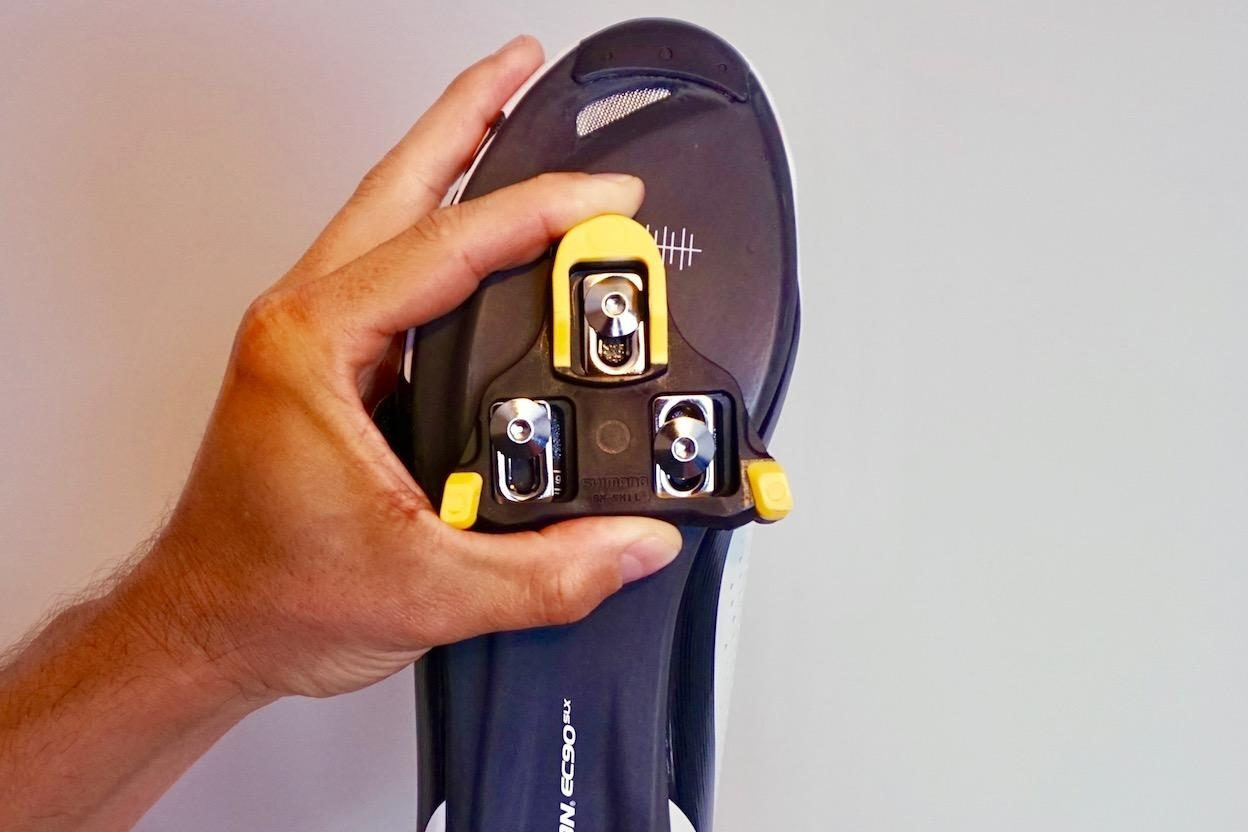 Close-up of cycling cleats being adjusted on cycling shoes, highlighting cleat position's impact on bike fit.
Don’t overlook your pedals. If you use clipless pedals, cleat position is critical for comfort and performance.
Many of these adjustments can be made at a bike shop. A professional bike fit is highly recommended for precisely dialing in your position. During a bike fit session, experts will assess your riding position on a stationary trainer and make adjustments for an optimal fit.
For women riding unisex bikes, our guide on adjustments to make bikes more female-friendly can be helpful. We also offer a guide to women’s bike sizes.