
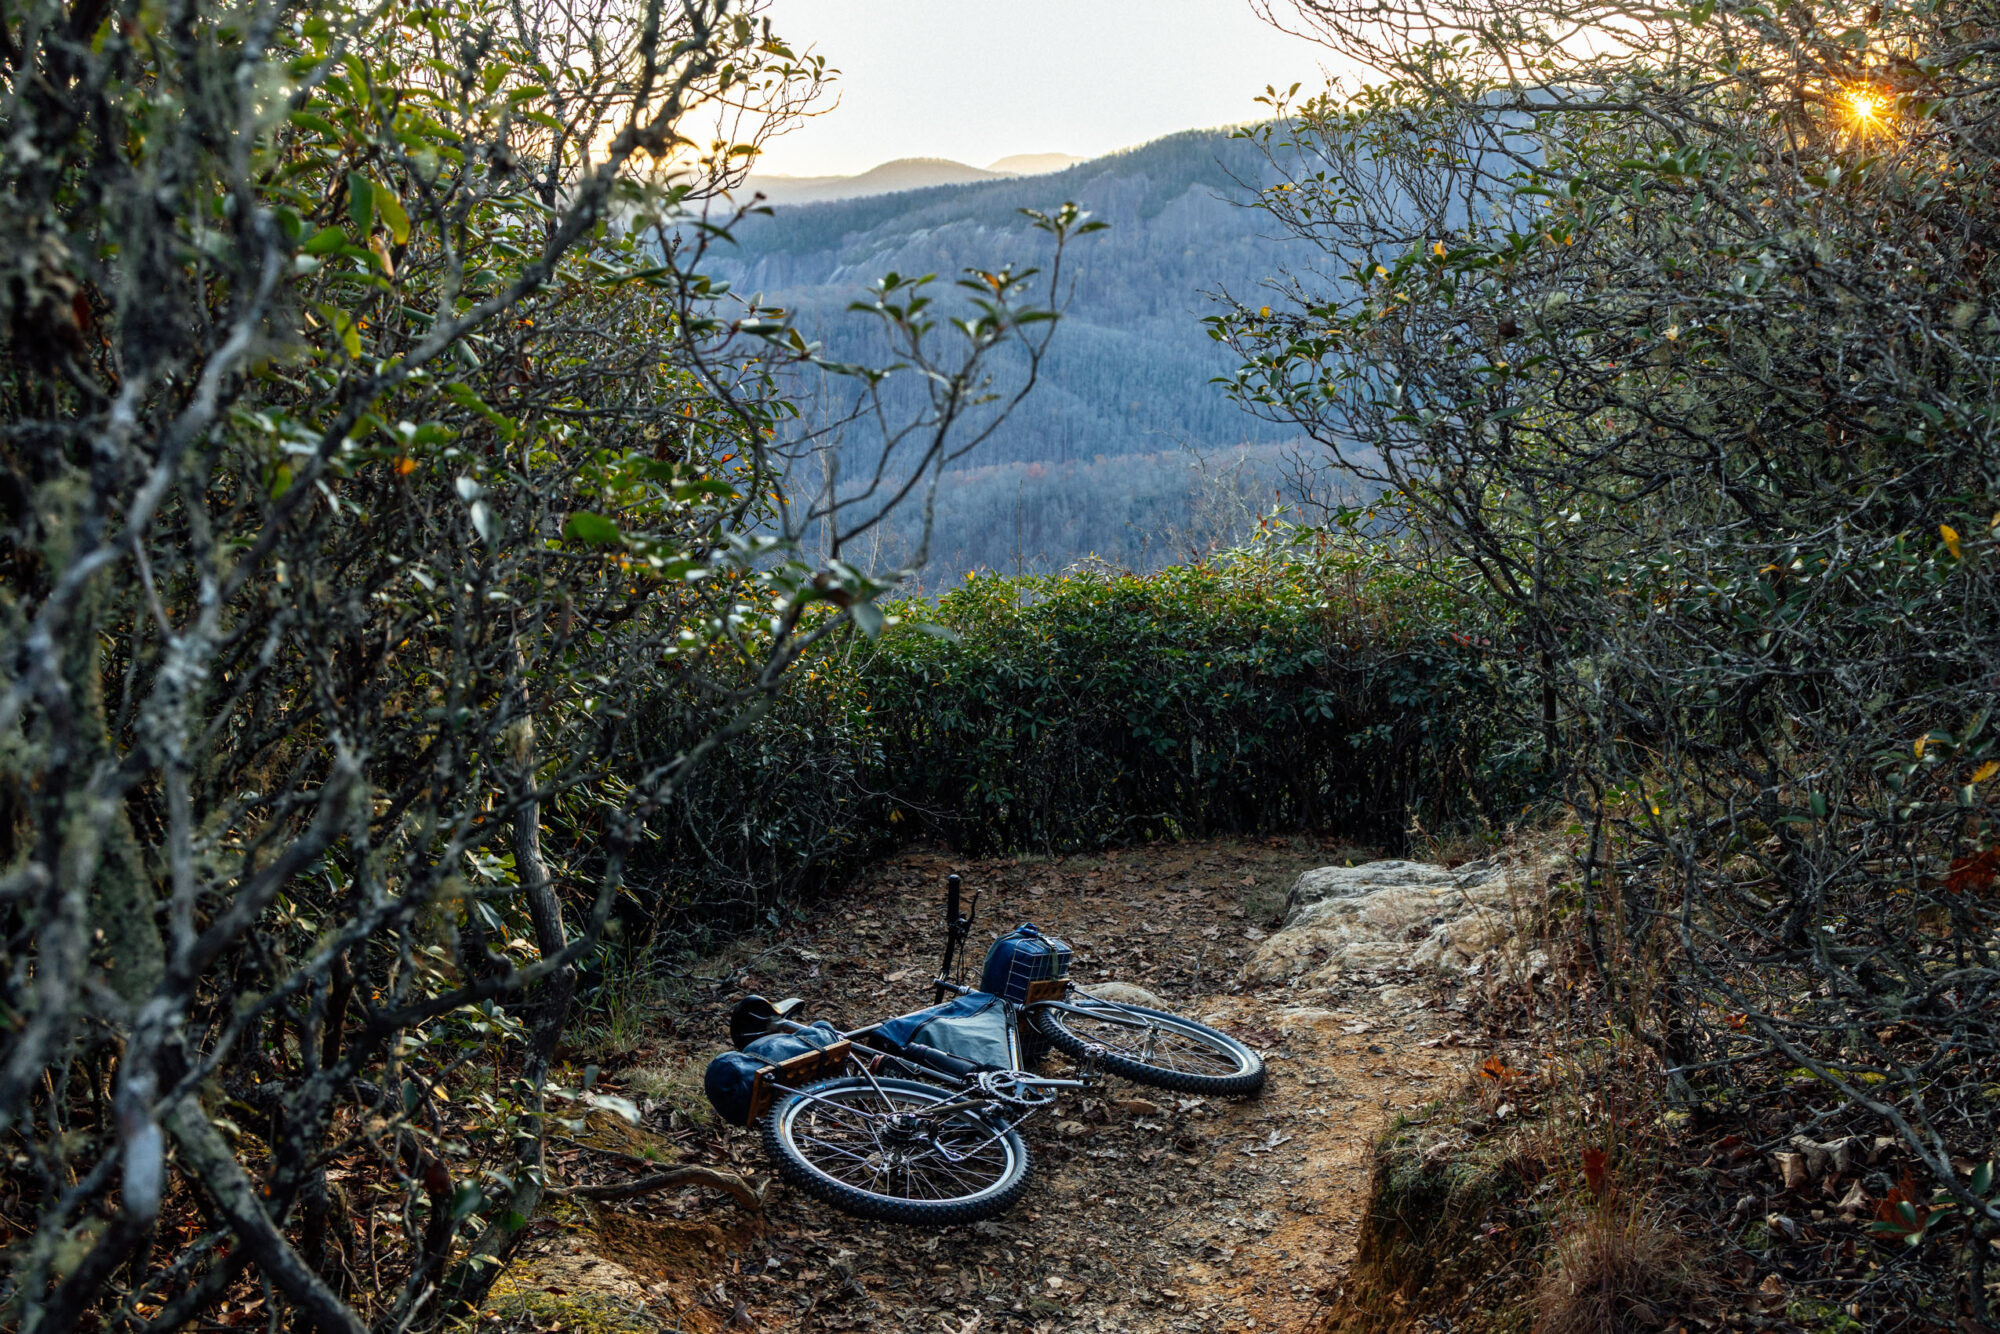
The Budget Bikepacking Build-Off is more than just a challenge; it’s a testament to resourcefulness and creativity in the world of adventure cycling. For this year’s build, the mission was clear: create a functional and reliable bikepacking setup for under $500, using no freebies, pro deals, or parts bin components. The goal? To inspire newcomers and seasoned riders alike to see what’s possible with limited funds and readily available resources, proving that you don’t need the most expensive gear to embark on incredible journeys. This project highlights the potential of a vintage gem – the Schwinn High Sierra – as the foundation for an affordable bikepacking rig.
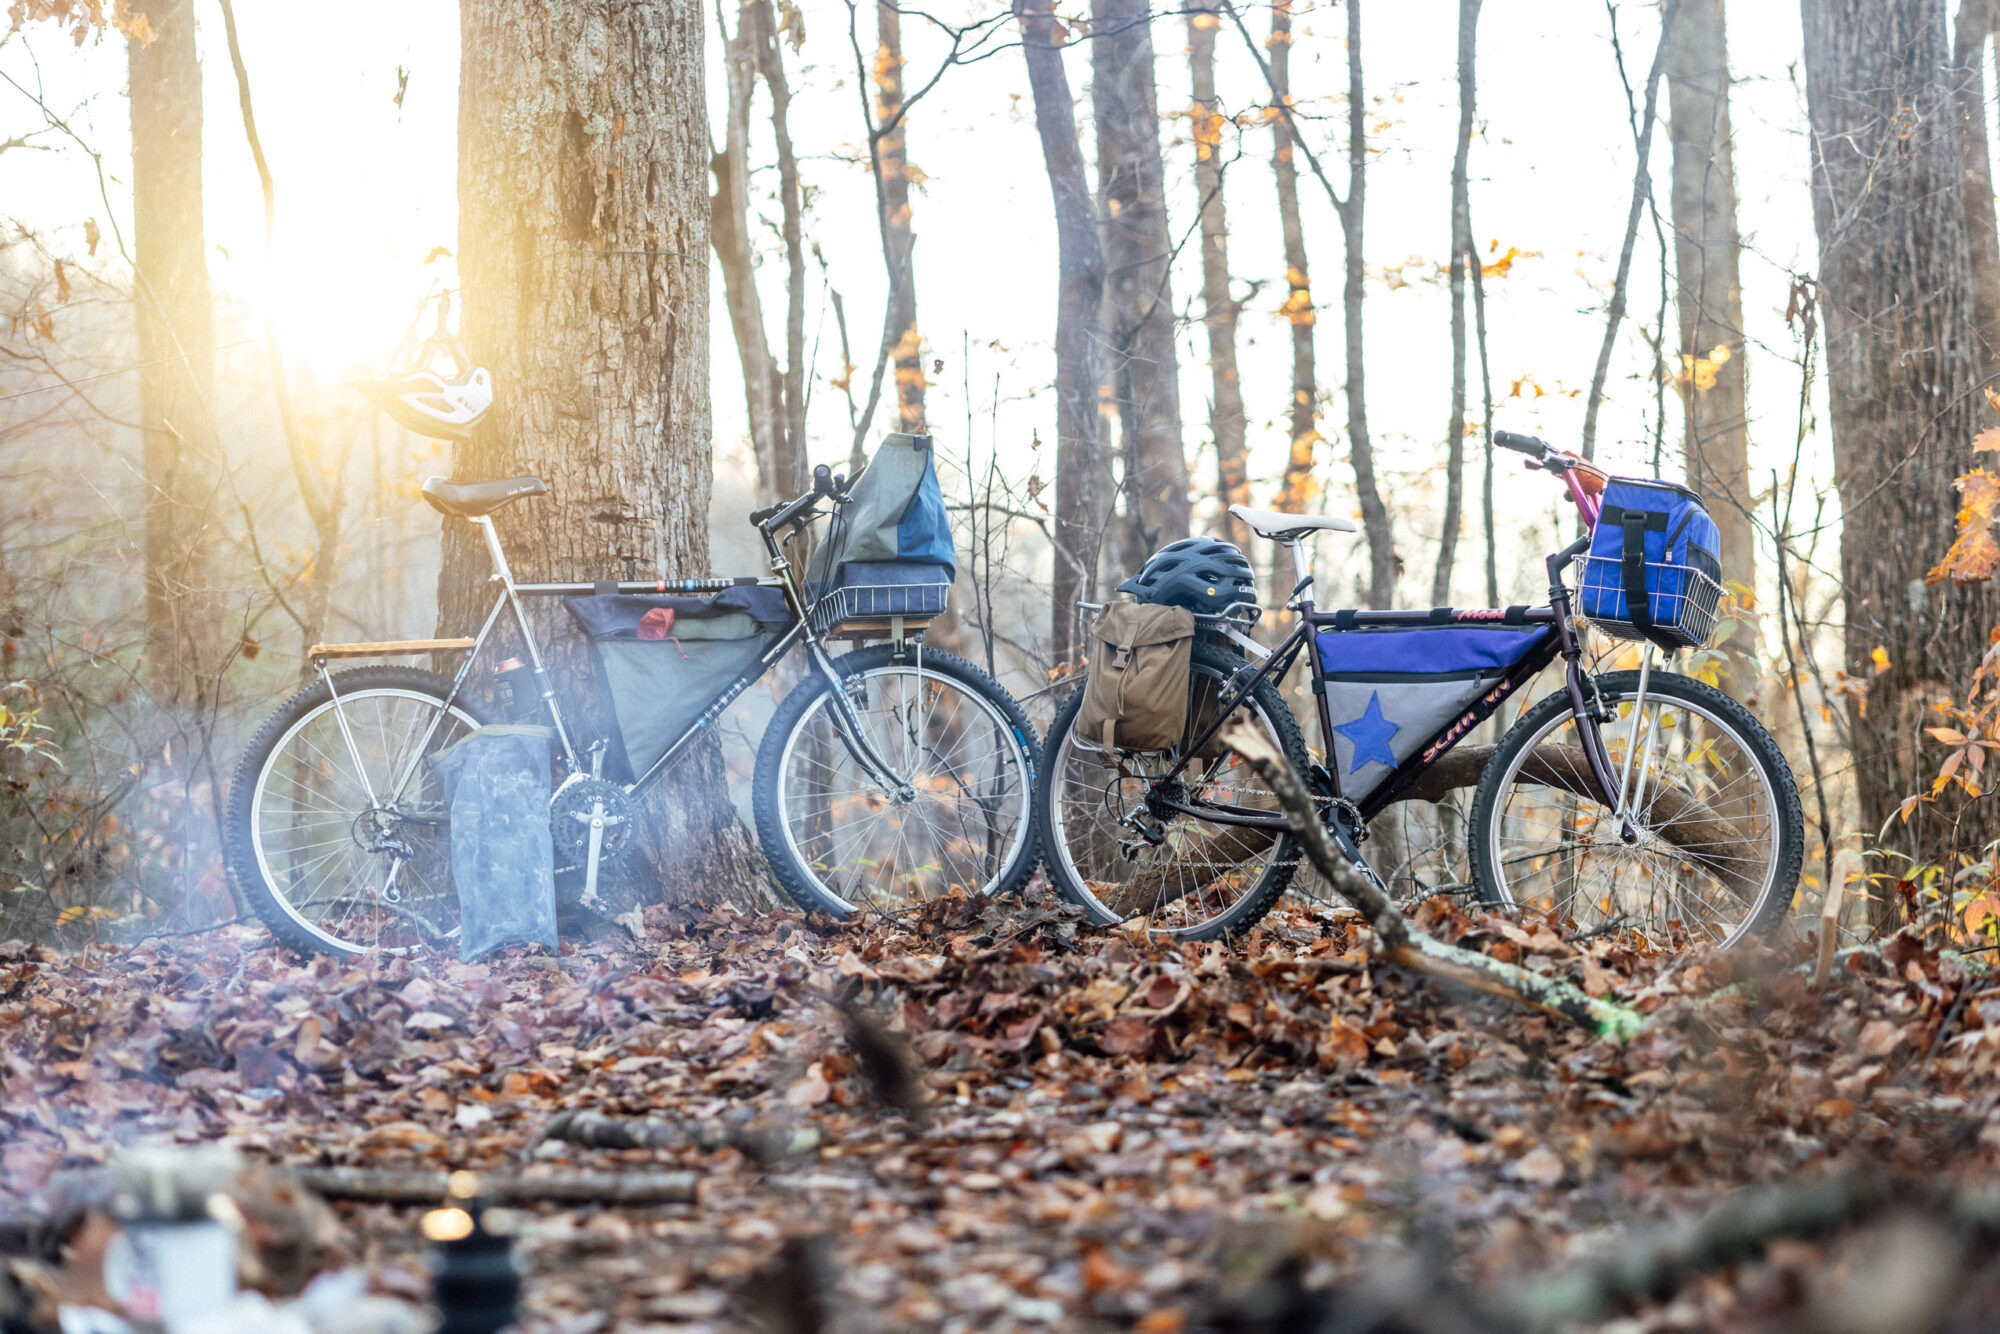 Budget Bikepacking Build-Off Logan Watts
The Quest for a Vintage Schwinn Mountain Bike: Finding the High Sierra
The most challenging part of this budget build was finding the right bike. The search for a suitable frame in a small town isn’t always easy, especially when looking for older mountain bikes in larger sizes. Vintage mountain bikes from the 80s and 90s often run small, making the hunt for an XL or XXL frame particularly difficult. Just as a promising contender emerged, nature intervened.
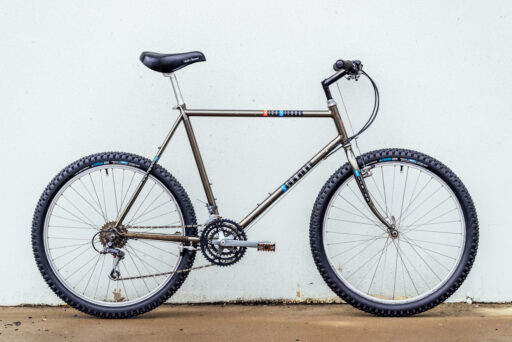
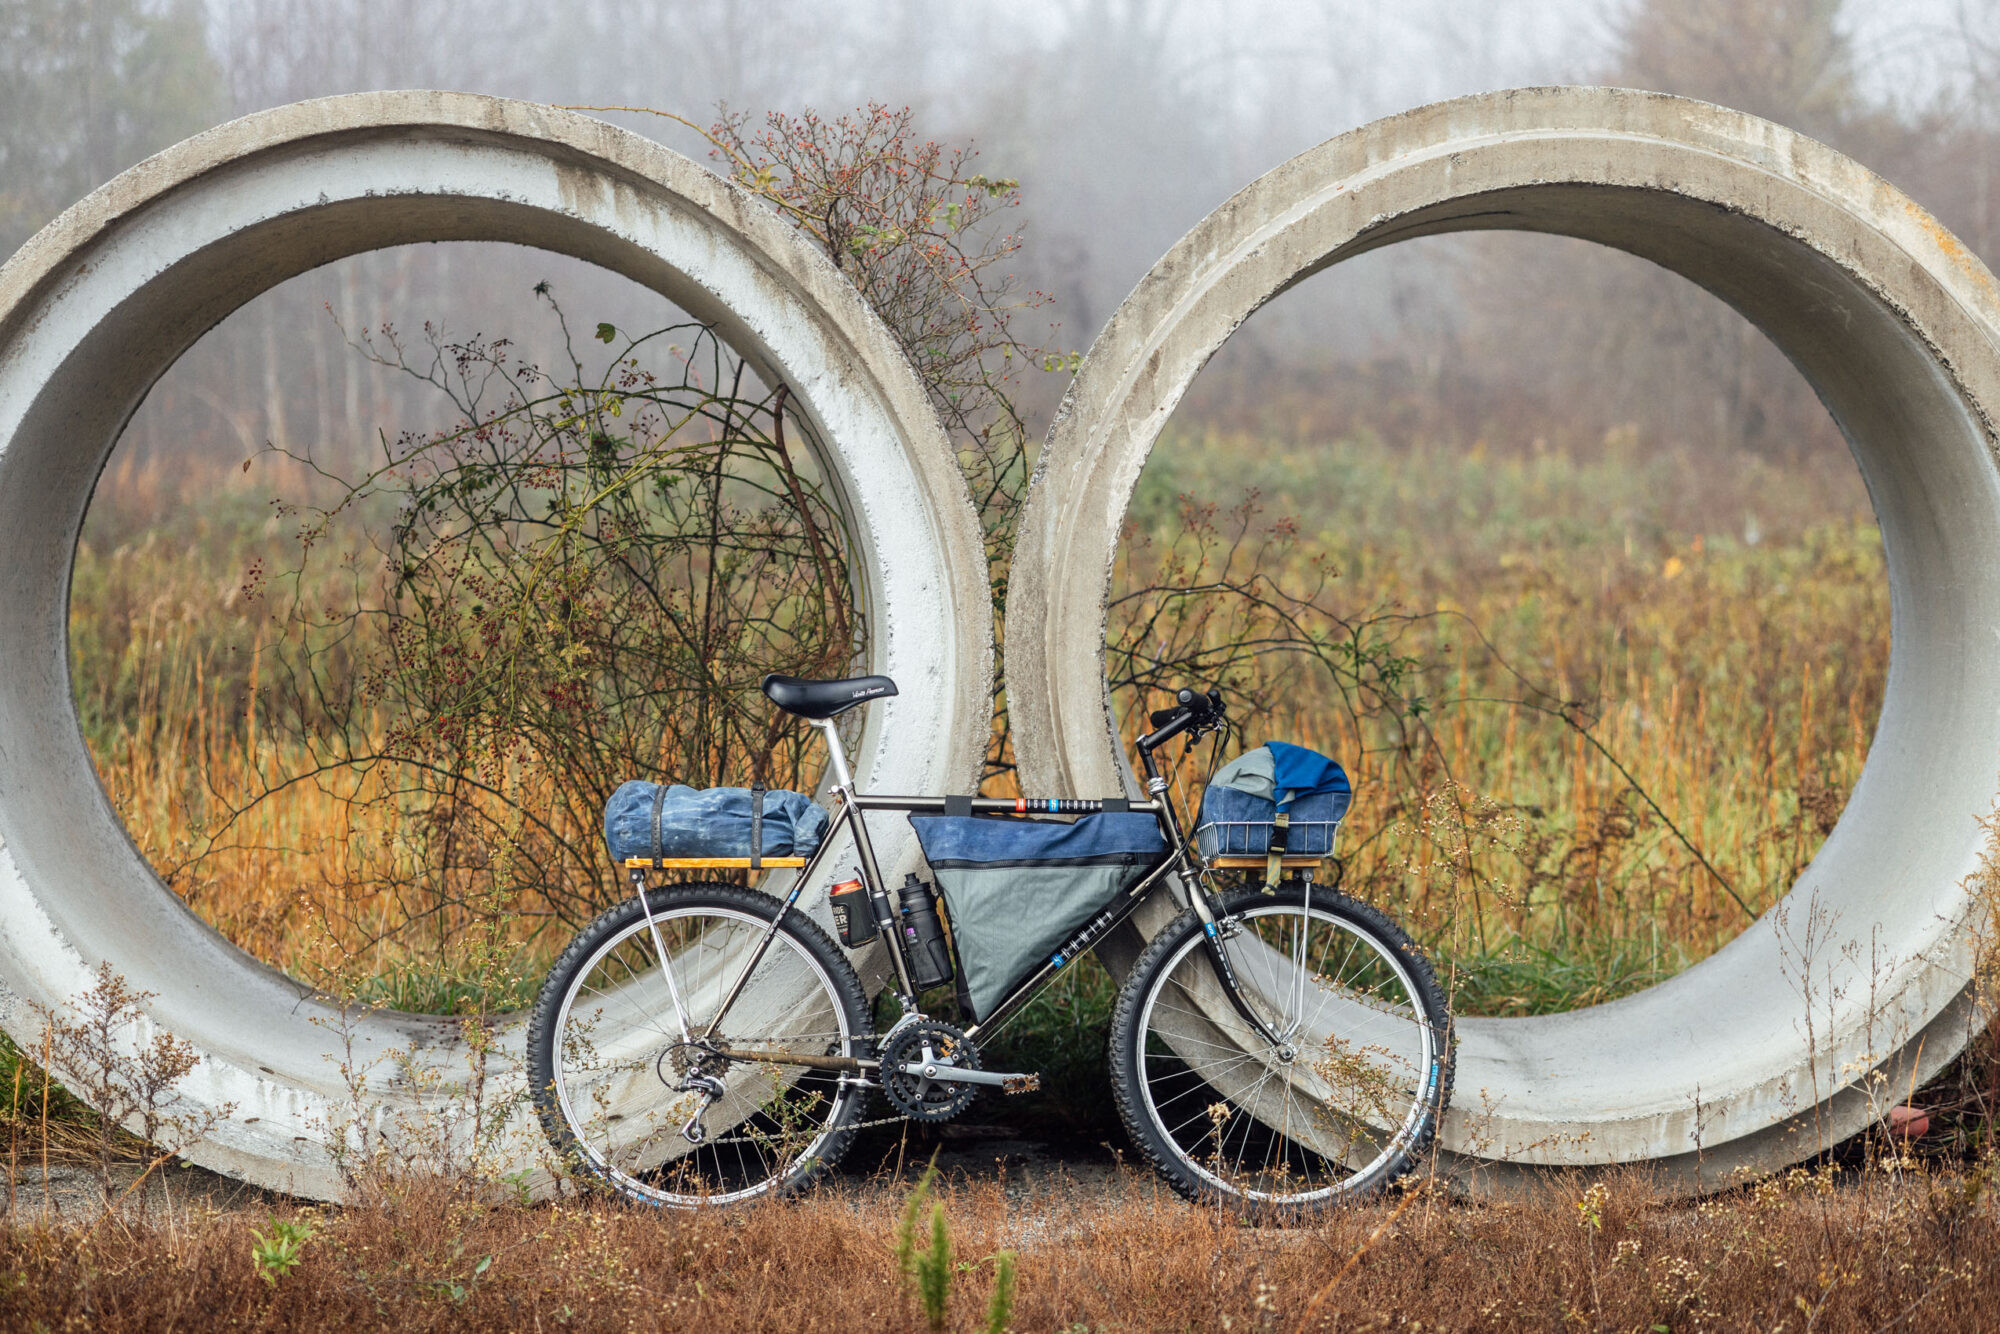
A 22” 1988 Schwinn High Sierra appeared on Facebook Marketplace. An immediate message and a meeting arranged across state lines in Tennessee seemed like perfect timing. However, an unprecedented weather system, the precursor to Hurricane Helene, unleashed record rainfall, making the trip impossible. Communication went silent for a week as the region was hit hard, and it took nearly a month for roads to reopen. Thankfully, the seller was patient and held onto the bike. This 22” black chrome beauty, a 1988 Schwinn High Sierra, was in excellent condition for its age and represented a fantastic piece of off-road cycling history – the perfect canvas for this budget bikepacking build.
 1988 Schwinn High Sierra, Budget Bikepacking Build-Off Logan Watts
The 1988 Schwinn High Sierra: A Bikepacking Bike Pedigree
The Schwinn High Sierra boasts a rich history within the Schwinn lineage. Initially introduced in 1963 as a road bike model, the “Sierra” name took a turn in 1983 when it became the cornerstone of Schwinn’s All-Terrain Bike (ATB) lineup. By 1984, the Sierra, along with the new High Sierra, were officially branded as “mountain bikes,” becoming Schwinn’s flagship off-road models, with the High Sierra leading the charge. While Schwinn briefly shifted back to ATB terminology in 1985 with the Cimarron, the High Sierra remained a consistent model from 1984 to around 1996, typically positioned as a high-value offering in their range.
 1988 Schwinn High Sierra, Budget Bikepacking Build-Off Logan Watts
The 1988 Schwinn High Sierra model specifically stood out, even positioned as the third tier in Schwinn’s 1988 ATB catalog behind the Project KOM and Cimmaron. Its striking black chrome fillet-brazed chrome-moly frame with triple-butted main tubes, ovalized seat tube, and fork blades made it a visually appealing and structurally sound choice. Equipped with SunTour XCD-6000 derailleurs, Accushift shifters, Dia-Compe brakes, and Weinmann rims, this Schwinn bike was a well-specced machine for its time.
 1988 Schwinn High Sierra, Budget Bikepacking Build-Off Logan Watts
 1988 Schwinn High Sierra, Budget Bikepacking Build-Off Logan Watts
Purchased for just $150, this particular 1988 Schwinn High Sierra was in excellent, rideable condition. Aside from slick tires, it retained all original components, including narrow 24” handlebars and Weinmann rims. While replacement parts weren’t strictly necessary, knobbier tires were added for enhanced aesthetics and durability. The strategy when sourcing a used bike for a budget build is crucial: target bikes priced under $100 requiring upgrades or slightly more expensive models ($150-$250) needing minimal replacements to stay within budget.
DIY Bikepacking Racks and Bags: Mastering the Art of Frugality
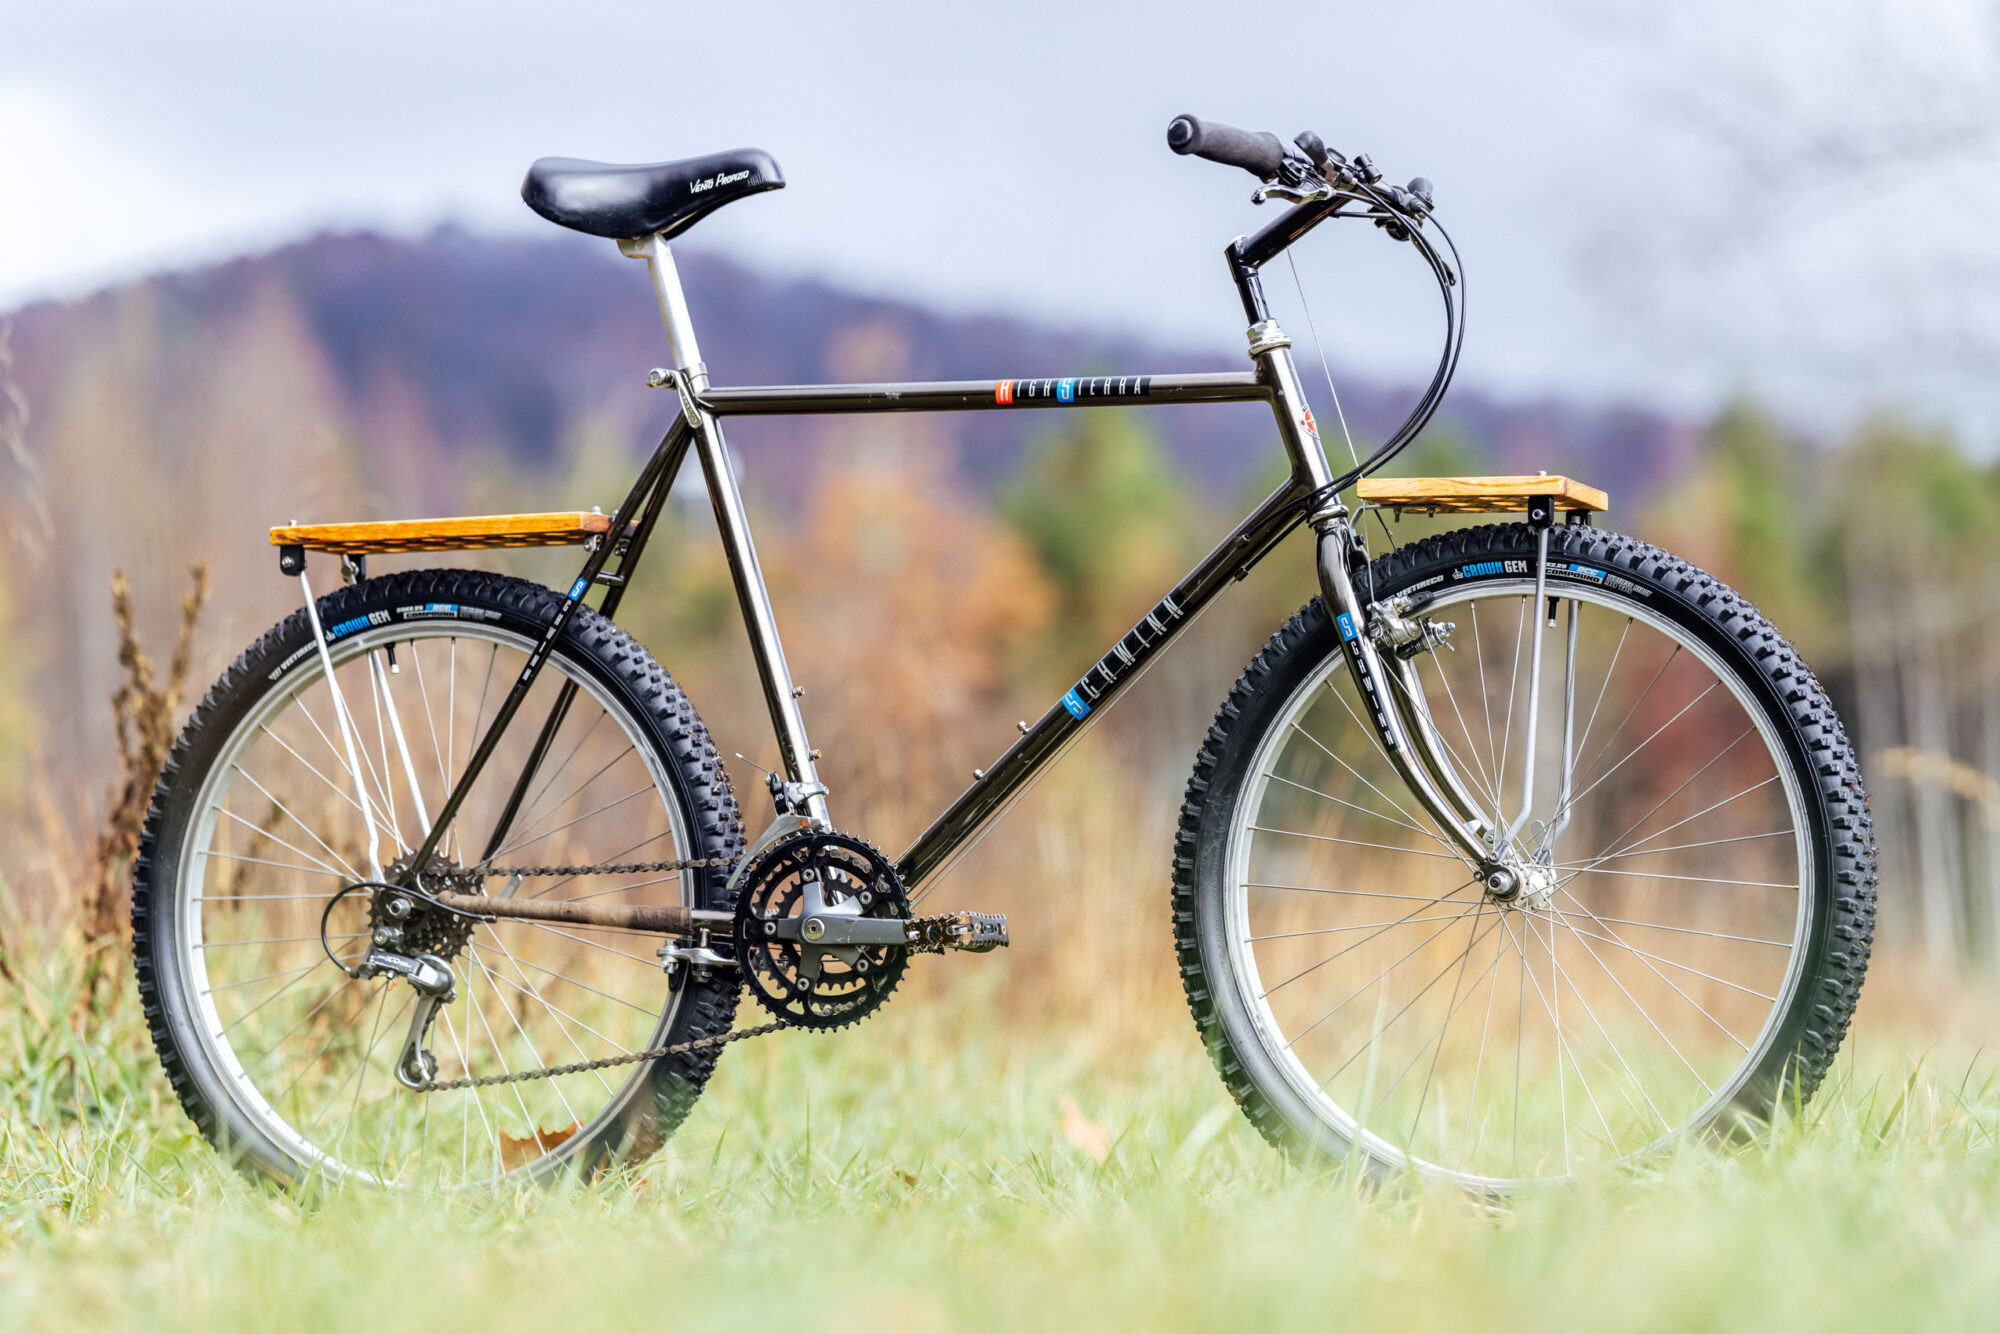
The vision for a bag system came even before acquiring the Schwinn bike. A rack-top bag was a priority, necessitating a rack. Opting for a DIY approach, a rear rack was constructed using an OEM rack strut kit and reclaimed hardwood. To reduce weight, “drillium” techniques were employed, and for symmetry, a matching front basket carrier was also fabricated. Tutorials for these DIY racks are forthcoming, but the photos provide a preview.
 DIY Pants Leg Stuff Sack Rack Bag
 Budget Bikepacking Build-Off Logan Watts
 Budget Bikepacking Build-Off Logan Watts
For bags, a $5 pair of thrift store jeans provided the material for a waxed jean-leg stuff sack rack-top bag, with a tutorial also on the way. Leftover denim formed the basis for a Wald 137 basket bag, a frame bag, and a tool roll. Otter Wax was used to give the denim a water-resistant finish.
The frame bag design involved some deliberation, settling on a wedge shape. Repurposed Cordura, straps, and a zipper from an old frame bag provided the materials. For those without such resources, an old backpack can serve as a material source. The blue jeans, pocket included for a knife sheath, and leftover X-Pac were utilized for the side panels.
 1988 Schwinn High Sierra, Budget Bikepacking Build-Off Logan Watts
Budget Camping Gear: Staying Warm Without Breaking the Bank
Camping gear, often the priciest and bulkiest part of a bikepacking kit, required careful budgeting. While used inflatable sleeping pads were available for $20-$30 (needing repair), a used Nemo Tensor was sourced for $70.75 to avoid purchasing an unnecessary pad, matching one already owned.
 Budget Bikepacking Build-Off Logan Watts
For a sleeping bag, the North Face Cat’s Meow, a common and affordable used model, was chosen. Opting for a 20° model for cold weather camping, a balance between warmth and budget was necessary. Although bulkier than modern options, it fit the budget and temperature requirements.
Lacking a compression sack, a thick polyethylene bag (likely from suspension fork packaging) and a nylon belt were repurposed to create a DIY compression sack. This worked effectively to minimize the sleeping bag’s size for basket bag storage. Durability remains to be seen, but for now, it functions perfectly.
A borrowed DIY tarp and reclaimed Tyvek groundsheet completed the sleep system. DIY aluminum tent stakes were crafted from leftover flat aluminum bar, adding to the resourcefulness of the build. These were cut, shaped, and organized with a rubber band made from discarded inner tube.
The $4.50 DIY Camp Kitchen: Cooking on a Budget
Perhaps the most impressive element of the build is the $4.50 camp kitchen. While some opted for no-cook meals, a functional cooking setup was desired to demonstrate budget possibilities.
 Budget Bikepacking Build-Off Logan Watts
 Budget Bikepacking Build-Off Logan Watts
Thrift store finds included a $1 enamel camp mug, a $2 pot/lid, and a $0.50 spoon, modified into a spork. The pot lid was replaced with a smaller wooden piece for a lower profile frame bag fit. A DIY can stove and windscreen/pot stand made from recycled cans completed the kitchen. While the windscreen could be sturdier, the kitchen performed well, perfect for morning coffee.
 Budget Bikepacking Build-Off Logan Watts
Budget Breakdown: The Sub-$500 Bikepacking Rig
Here’s a detailed budget breakdown, noting that many bag materials were on hand from previous projects. While these were leftovers, a value was assigned based on research to maintain budget accuracy.
Bike
- $150 – 1988 Schwinn High Sierra on Facebook Marketplace
- $91.55 – Vee Crown Gem Tires from Walmart
Racks
- $35 – Wald Half Basket
- $34 – 2 x Rack Rear Strut Kit
- $0 – Reclaimed wood
- $0 – Found steel bar
- $16 – 2x Voile Straps
Bags
- $5 – Jeans from Goodwill
- $13 – 1/2 yard X-Pac from Ripstop by the Roll
- $10 – Miscellaneous scraps
- $0 – Repurposed materials from junked pack
- $0 – Repurposed political sign
- $20 – Otter Wax
Camping
- $0 – Borrowed tarp*
- $50 – The North Face Cat’s Meow 20° sleeping bag from Facebook Marketplace
- $70.75 – Nemo Tensor Insulated sleeping pad
- $0 – Sheet of Tyvek leftover from construction
Camp Kitchen
- $1 – Denatured alcohol
- $1 – Mug from thrift store
- $0.50 – Spoon from thrift store
- $2 – Pot/lid from thrift store
- $0 – Can Stove
—————————————— $499.80
Beyond the Budget: Upgrades for Extended Bikepacking Adventures
The budget challenge was met, but for a truly comprehensive, multi-week touring setup, some upgrades would be beneficial. These weren’t included in the initial build to adhere to the $500 limit but are worth considering for serious bikepacking trips.
 1988 Schwinn High Sierra, Budget Bikepacking Build-Off Logan Watts
Wider handlebars would be a key upgrade. The stock 610mm bars are too narrow for comfort. The 740mm Steve Potts Camper or Magic Mothbar are good wider options for a more comfortable and controlled ride.
 1988 Schwinn High Sierra, Budget Bikepacking Build-Off Logan Watts
While not required for the challenge, a tool kit is essential for longer trips. A budget-friendly, comprehensive tool kit was assembled using used components. A DIY tool roll from leftover jeans pocket keeps it organized.
Other upgrades include a custom-made tarp, a Hite Rite (or dropper post), and tubeless tire setup. Tubeless is highly recommended for serious off-road touring in 2025.
Upgrades (Estimated $134-154)
- $44 – Hite Rite
- $90 to $110 – Steve Potts Camper or Magic Mothbar
Tubeless Setup (Estimated $20)
- $11 – Tubeless Schrader Valves
- $9 – Sealant
Camping (Estimated $80)
- *$80 – DIY tarp materials cost
Tools (Estimated $55)
- $26 – Crank Bros M19 multi-tool
- $10 – Leatherman tool
- $10 – Blackburn Pump
- $4 – Tire Lever
- $3 – Tubeless plugs
- $2 – Plugger
—————————————— Estimated $289 to $309 Total Upgrades
These upgrades bring the total cost for a fully capable multi-month dirt touring setup to approximately $788 to $808. While exceeding the initial $500 challenge, it remains a remarkably affordable price for a complete bikepacking setup. Access to tools, scrap materials, and sewing equipment are acknowledged privileges, but the core principle remains: creativity and resourcefulness can make bikepacking accessible to everyone. You don’t need to buy new; repurposed materials and ingenuity can create a reliable and personalized bikepacking rig ready for adventure.
Thanks for reading! Stay tuned for upcoming tutorials on the DIY racks and blue jean rack bag, and more Budget Build-Off bike features!
Further Reading
Explore these related budget bikepacking builds for more inspiration…
[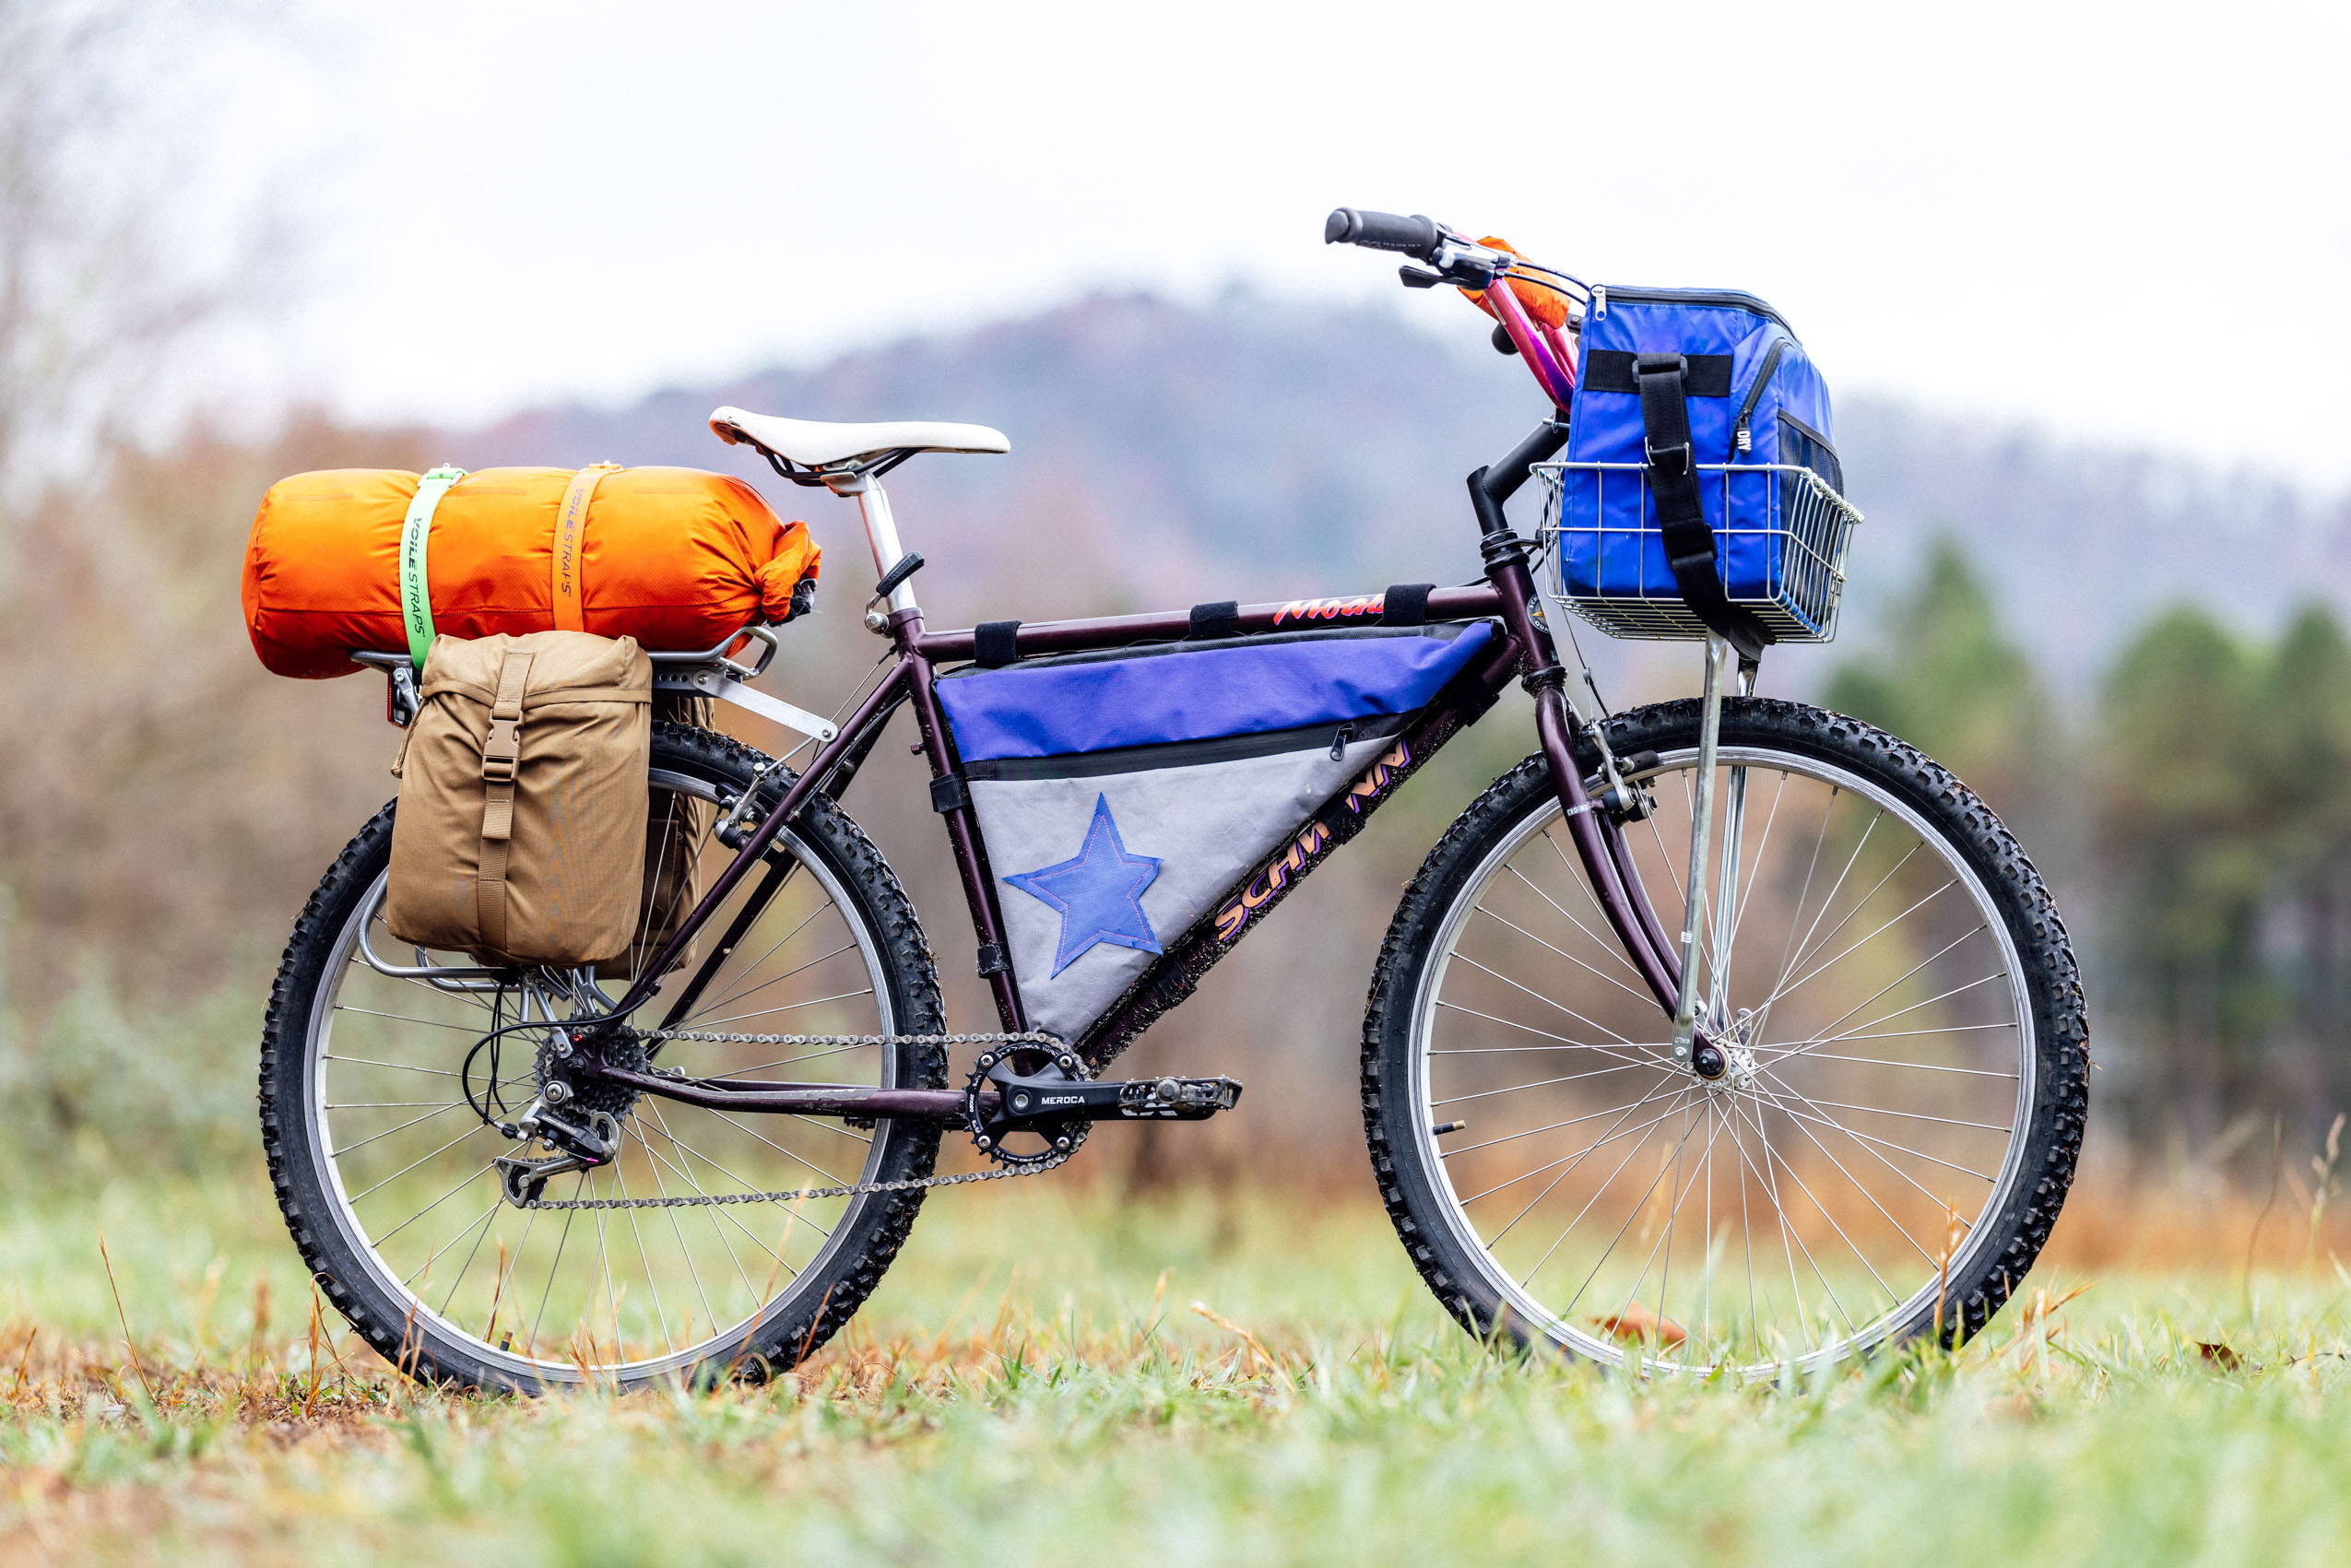 1994 Schwinn Moab, budget bikepacking build-off44
Bikepacking Bikes
Budget Bikepacking Build-Off: Virginia’s 1994 Schwinn Moab](https://bikepacking.com/bikes/budget-bikepacking-build-off-1994-schwinn-moab-virginia-krabill/)
[ 1986 Diamondback Ascent, Budget Bikepacking Build-Off93
Bikepacking Bikes
Budget Bikepacking Build-Off: Lucas’s 1986 Diamondback](https://bikepacking.com/bikes/budget-bikepacking-build-off-lucas-diamondback/)
[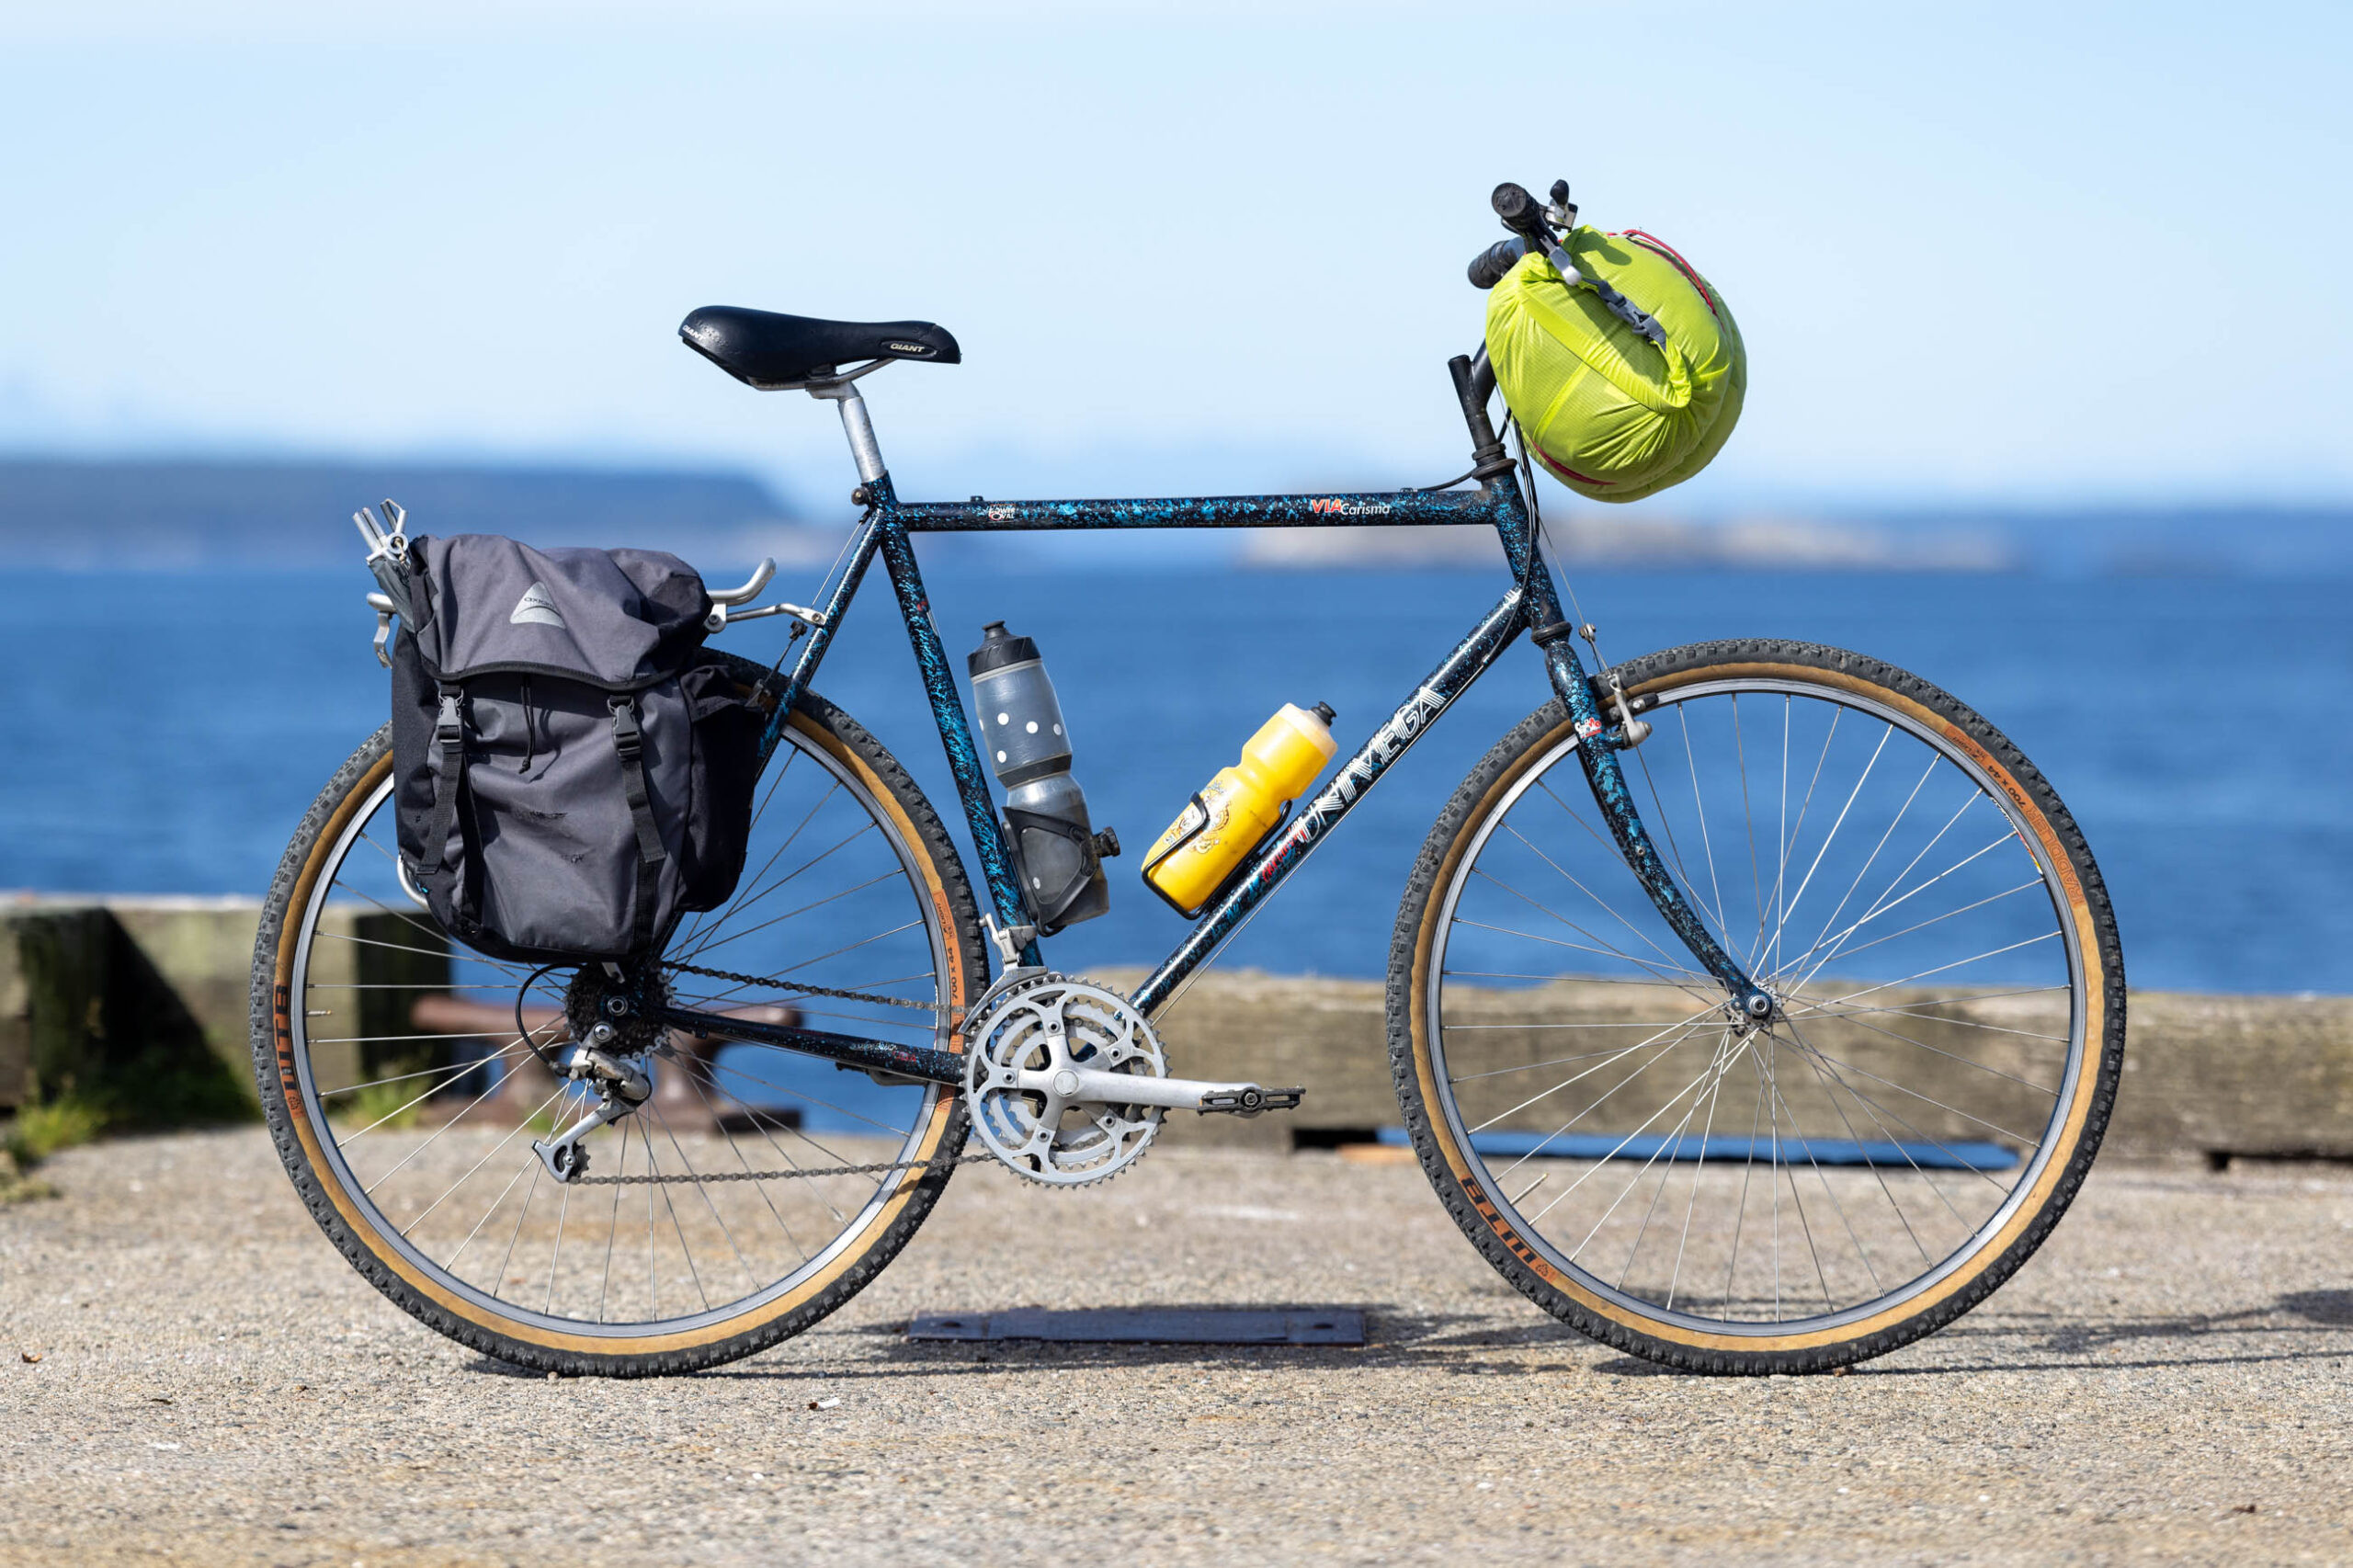 budget bikepacking build miles univega25
Bikepacking Bikes