
Changing a dirt bike tire might seem like a daunting task, often avoided by riders who prefer to leave it to professionals. However, with the right tools and a bit of know-how, changing your dirt bike tire at home can be surprisingly straightforward, no more complicated than a routine oil change. For many dirt bike enthusiasts, including myself, the desire to be self-sufficient and hands-on with bike maintenance makes learning this skill invaluable. Initially, armed with just a couple of tire irons, I faced the frustrating experience of pinched inner tubes and questioned if paying a shop would have been more economical.
But persistence pays off. Now, changing a dirt bike tire takes me around 20 minutes, and it’s a task I undertake without hesitation. The convenience of mounting new tires as soon as they arrive, swapping tires for different terrains, or even flipping tires to maximize knob edge usage is a significant advantage. This guide will walk you through each step of changing a dirt bike tire, from removing the old one to installing a fresh tire, using my 2014 KTM 450 SXF as an example while fitting a Dunlop Geomax MX32.
Essential Tools for Changing a Dirt Bike Tire
Over time, I’ve gathered a collection of tools that simplify the dirt bike tire changing process. I began with basic curved tire irons and progressed to spoon-type irons as I learned techniques to make the job easier. Thinking there must be a better way, I discovered essential tools like a Bead Buddy, a valve stem puller, specialized tire changing lube, and a dedicated tire stand. Investing in the right tools is crucial for making tire changes efficient and preventing damage to your rims or inner tubes.
- Tire Irons: Essential for levering the tire bead over the rim. Spoon-type tire irons are generally easier to use than basic curved ones. Having at least three tire irons is recommended.
- Tire Stand: A tire stand provides a stable base to work on, lifting the wheel off the ground and saving your back.
- Bead Buddy: This tool is invaluable for keeping the tire bead down in the drop center of the rim while mounting the tire, making the last section much easier to install.
- Valve Core Removal Tool: Used to quickly and completely deflate the inner tube by removing the valve core.
- Valve Stem Puller: Helps to pull the valve stem through the rim hole during installation, especially useful for stiff tubes.
- Tire Lube: Specifically designed to lubricate the tire bead and rim, reducing friction and making it easier to maneuver the tire. Soapy water can be used as a substitute in a pinch.
- Rim Tape: Protects the inner tube from abrasion against the spoke nipples inside the rim. Ensure it’s in good condition or replace it.
- Rim Lock Wrench: For loosening and tightening the rim lock nut.
- Wrench or Socket Set: To remove the wheel axle nut and pinch bolts.
- Motorcycle Stand or Lift: To safely lift the bike and remove the wheel.
- Baby Powder: Acts as a dry lubricant between the inner tube and tire, reducing friction and heat buildup.
Step-by-Step Guide to Changing Your Dirt Bike Tire
1. Unmounting the Wheel
The first step in changing your dirt bike tire is to safely remove the wheel from your bike.
-
Secure the Bike: Position your dirt bike on a stand or motorcycle lift to elevate the front wheel off the ground. Ensure the bike is stable and secure before proceeding.
-
Loosen Axle Components: Locate the axle nut and the axle pinch bolts on the front forks. Use the appropriate wrench or socket to loosen the axle nut. Next, loosen the axle pinch bolts, usually four in total, on the fork legs. These bolts clamp the axle in place.
-
Remove the Axle: Once the axle nut and pinch bolts are loosened, the axle can be pushed out. You can use a T-wrench or a ratchet extension inserted into the axle to push it through the fork lugs. If the axle is slightly stuck, gentle taps with a soft mallet can help. Be mindful of brake lines and sensor wires (if applicable) as you remove the wheel.
-
Remove the Wheel: With the axle removed, carefully lift the front wheel out from between the fork legs. Set the wheel on your tire stand, ready for tire removal.
2. Disconnecting Inner Tube and Rim Lock
With the wheel on the tire stand, the next step is to prepare for tire removal by deflating the inner tube and loosening the rim lock.
-
Deflate the Tire Completely: Use the valve core removal tool to remove the valve core from the valve stem. Removing the core allows for rapid and complete deflation of the inner tube, which is crucial for easier tire manipulation. Keeping the core out ensures the tube remains fully deflated throughout the unmounting process.
-
Remove Valve Stem Nut: After the tire is fully deflated, remove the valve stem nut. This nut secures the valve stem to the rim and needs to be removed before pushing the valve stem into the rim.
-
Loosen Rim Lock Nut: Locate the rim lock, typically positioned opposite the valve stem. Use a wrench to loosen the rim lock nut. You don’t need to remove the nut completely, just loosen it enough to allow the rim lock to move freely.
-
Check Rim Lock Movement: Press down on the rim lock to ensure it moves freely within the tire. This confirms it’s no longer clamping the tire bead to the rim and will allow for easier bead breaking.
3. Breaking the Tire Bead from the Rim
Breaking the tire bead is the initial step in separating the tire from the rim. This involves pushing the tire bead into the drop center of the rim, creating slack for levering the tire over the rim edge.
-
Position for Bead Breaking: Place the wheel on the tire stand. Focus on breaking the bead near the rim lock area first. This is often the tightest section.
-
Break the Bead: Use a tire iron or a bead breaker tool if you have one. Position the tire iron between the tire bead and the rim edge. Push down firmly on the tire iron to force the tire bead inwards, towards the center of the rim. Work around the circumference of the tire, gradually pushing the bead off the rim seat and into the rim’s drop center. Applying tire lube to the bead area can significantly ease this process if the tire is stiff or sticking. Ensure the rim lock is pushed down and out of the way as you break the bead in that area.
-
Repeat on Both Sides: Flip the wheel and repeat the bead-breaking process on the opposite side of the tire. It’s essential to break both beads completely to allow for tire removal.
4. Lifting Tire Over the Rim
This is often considered the most challenging part of changing a dirt bike tire. Patience, proper technique, and ample lubrication are key to success.
-
Lubricate Generously: Apply tire lube liberally to both sides of the tire bead and the rim edge. This reduces friction and makes it significantly easier to lever the tire over the rim. Don’t be shy with the lube; it’s better to use too much than too little.
-
Starting Point: Begin at the rim lock area, as this is often a tight spot. Insert the cupped end of your first tire iron under the tire bead, close to the rim lock. Ensure the cupped end is facing downwards to hook the bead effectively.
-
Insert Second and Third Tire Irons: Insert a second tire iron about 4 inches away from the first, also under the bead and levering it outwards. If needed, use a third tire iron a similar distance from the second. Work in small sections, taking your time. The initial section is usually the toughest.
-
Lever and Work Around: Once you have a section of the bead over the rim, maintain tension with one tire iron while using the others to work your way around the rim. Take small bites, levering a little section of the bead over at a time. Keep the tire bead in the drop center of the rim as you work to provide maximum slack.
-
Remove One Bead Completely: Continue working around the rim until one entire bead is removed from the rim.
5. Pull Wheel Through the Tire
With one bead removed, the tire should be loose enough to remove the wheel completely.
-
Flip the Wheel: Flip the wheel over so the unmounted bead is facing down.
-
Remove Second Bead: Repeat the tire iron technique from step 4 to remove the second tire bead from the rim.
-
Push and Pull: With both beads now off the rim edge, push the wheel down into the tire carcass. Then, maneuver the wheel and pull it out through the tire. You may need to flex the tire to create enough clearance to remove the wheel.
6. Inspect Inner Tube, Rim Tape, and Rim Lock
With the tire removed, take the opportunity to inspect the condition of the inner tube, rim tape, and rim lock.
-
Inspect Inner Tube: Check the inner tube for any signs of wear, punctures, or damage. Examine for thin spots or areas that appear stretched. For standard tubes, it’s generally recommended to replace them with each tire change. Heavy-duty tubes can often last for a few tire changes, but should still be inspected for wear.
-
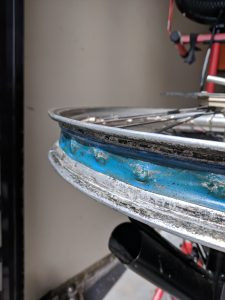
Check Rim Tape: Inspect the rim tape for tears, cracks, or shifting. Damaged rim tape can expose the spoke nipples and cause punctures. Replace the rim tape if it’s worn or damaged.
 Rim Tape
 -
Examine Rim Lock: Ensure the rim lock is in good working order and not damaged. Check the rubber is not cracked or perished.
7. Inner Tube and Tire Prep
Before installing the new tire, prepare the inner tube and tire for mounting.
-
Clean Tire and Tube: Wipe down the new inner tube and inspect the inside of the new tire for any debris, dirt, or foreign objects. Remove anything that could potentially damage the inner tube.
-
Apply Baby Powder: Lightly dust the new inner tube with baby powder. Also, sprinkle a bit of baby powder inside the tire carcass. This acts as a dry lubricant, reducing friction between the tire and inner tube, which helps to prevent chafing and heat buildup during riding.
-
Align Tire Marking: Locate the light spot marker on the tire sidewall, usually a colored dot or line. Align this mark with the valve stem hole on the rim when installing the tire. This helps with tire balance, as the light spot should ideally be positioned near the heaviest part of the wheel assembly (valve stem and rim lock).
8. Setting the Inner Tube on Wheel
Carefully place the new inner tube inside the tire and prepare to mount the tire onto the rim.
-
Partially Inflate Tube: Inflate the inner tube just enough to give it some shape, but not fully inflated. This prevents pinching during tire mounting.
-
Insert Valve Stem: Carefully insert the valve stem into the valve stem hole in the rim. If you encounter resistance, use a valve stem puller. Thread the valve stem puller onto the valve stem, guide the handle through the rim hole, and use the tool to pull the valve stem through.
-
Secure Valve Stem Nut (Lightly): Once the valve stem is through the rim, install the valve stem nut and tighten it down finger-tight. This will hold the inner tube in place during tire mounting. Re-insert the valve core at this point to prevent air from escaping, but keep it loose for now.
9. Setting Tire on the Wheel
Mounting the tire involves levering the tire beads back over the rim edges. This is the reverse of the unmounting process, but often requires more force and technique.
-
Position Tire and Wheel: Place the wheel on the tire stand. Drape the tire over the wheel, aligning the light spot marker with the valve stem. Ensure the rim lock is positioned inside the tire, not obstructing the bead seating.
-
Start with One Bead: Using your hands, try to push as much of the first tire bead onto the rim as possible. Tire lube is crucial here. Work the bead around the rim, using your thumbs to push it over the edge.
-
Use Tire Irons for the Rest: Once you can no longer push the bead on by hand, use tire irons to lever the remaining section of the first bead over the rim. Work in small sections, using tire lube and keeping the opposite bead in the drop center of the rim.
10. Mounting the Rest of the Tire
Mounting the second bead is usually more challenging, especially the last section. The Bead Buddy tool becomes particularly useful here.
-
Position Bead Buddy: Start mounting the second bead opposite the rim lock. Use the Bead Buddy to hold the already mounted bead down in the drop center of the rim. This creates more slack for mounting the final section.
-
Lever with Tire Irons: Using tire irons, start levering the second bead over the rim, working towards the rim lock area. Take small sections at a time, using plenty of tire lube. Keep the Bead Buddy positioned to maintain slack.
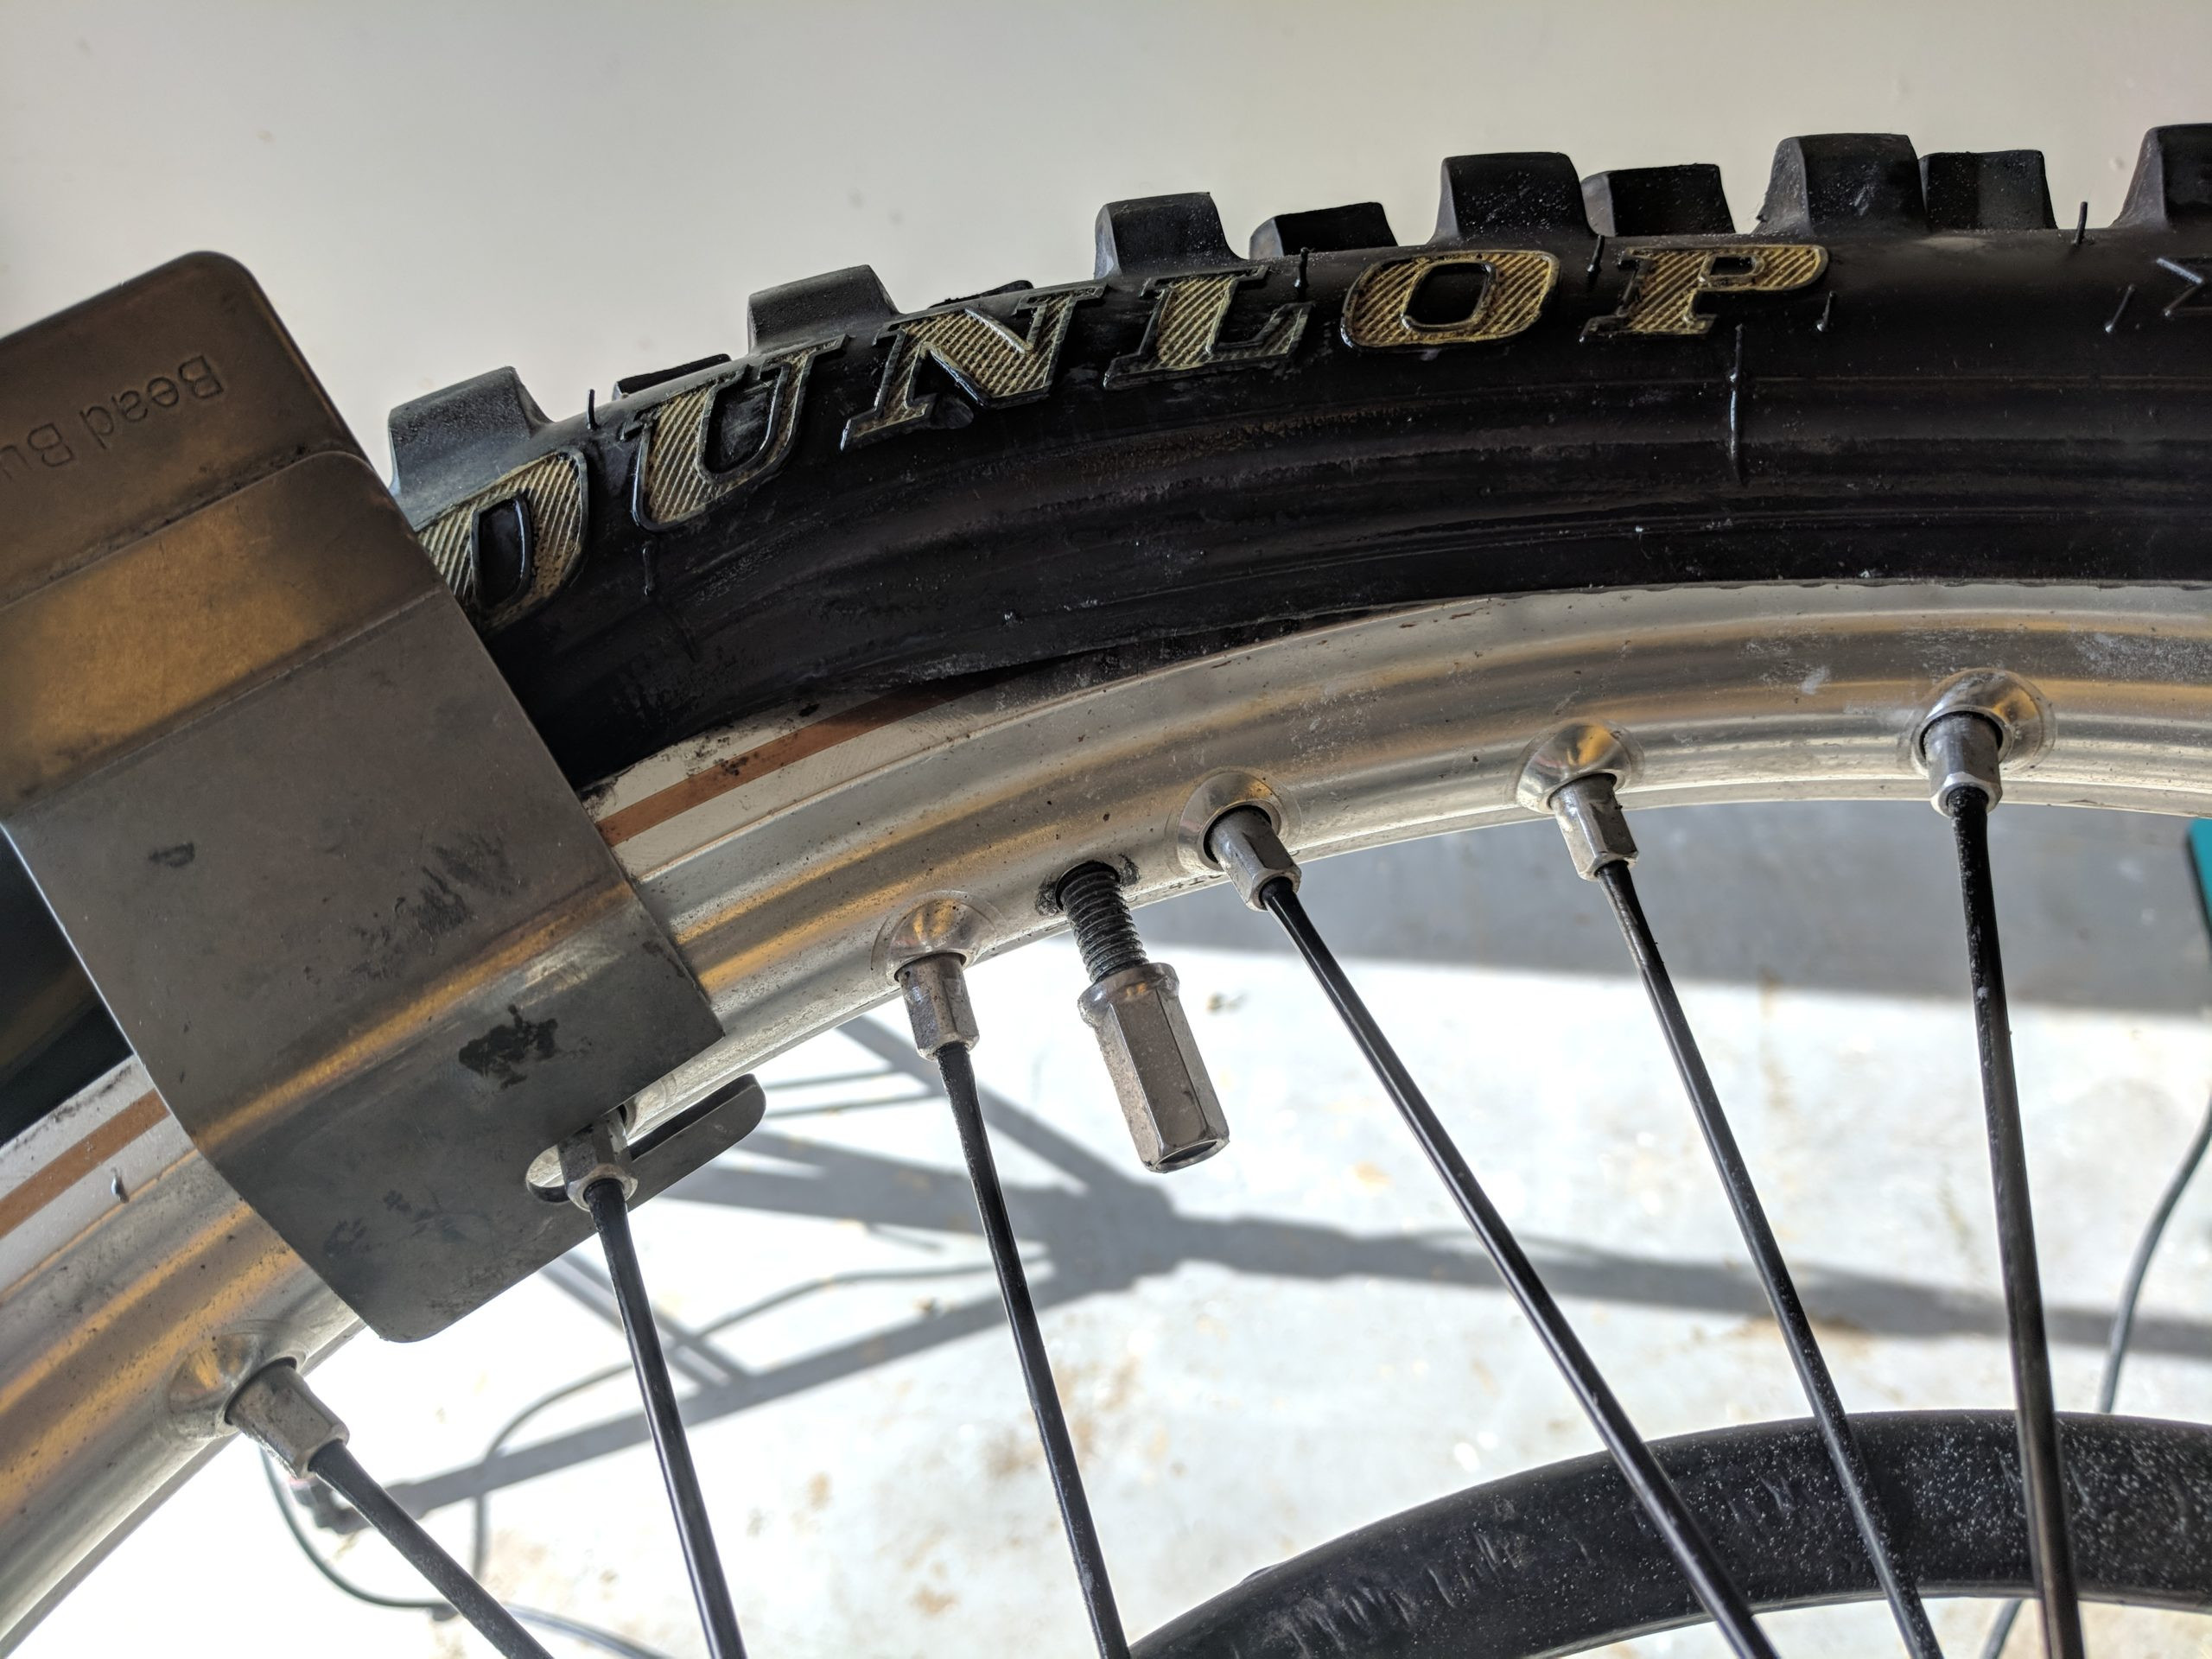 Rim lock last section
 -
Final Section: The last section near the rim lock is often the tightest. Ensure the rim lock is pushed up and out of the way as much as possible. Use short, controlled levering motions with the tire irons, and don’t try to take too large of a section at once. Patience and persistence are key.
11. Inflate Inner Tube to Set the Bead
Once the tire is fully mounted, the final steps involve inflating the tire to seat the beads and securing all components.
-
Tighten Valve Stem Nut: Tighten the valve stem nut securely, but avoid over-tightening, which could damage the valve stem.
-
Inflate Tire: Re-insert the valve core into the valve stem. Inflate the tire beyond the recommended riding pressure, typically to around 30-40 PSI, to help seat the tire beads properly against the rim. You should hear a distinct “pop” sound as the beads seat.
-
Check Bead Seating: Inspect both sides of the tire to ensure the bead is evenly seated around the entire circumference of the rim. Look for a uniform gap between the rim edge and the tire bead. You can also run your finger along the rim edge to feel for consistent seating.
-
Deflate to Riding Pressure: Once you are satisfied that the beads are properly seated, deflate the tire to your desired riding pressure, typically between 12-15 PSI for dirt bikes, but check your tire and bike manufacturer’s recommendations.
-
Tighten Rim Lock: Finally, tighten the rim lock nut to the manufacturer’s recommended torque specification. This prevents tire slippage on the rim, especially when riding aggressively at lower pressures.
12. Mounting the Wheel
The final step is to remount the wheel back onto your dirt bike.
-
Prepare Brake Pads: Use a flat blade screwdriver to gently spread the brake pads slightly apart. This creates extra clearance for the brake rotor and makes wheel installation easier, preventing the brake pads from dragging.
-
Align and Insert Wheel: Carefully lift the wheel back into position between the fork legs, aligning the brake rotor with the brake caliper. Slide the axle through the fork lugs and wheel hub.
-
Install Axle Nut and Pinch Bolts: Install the axle nut on the axle and tighten it to the manufacturer’s specified torque. Then, tighten the axle pinch bolts to their specified torque.
-
Final Checks: Ensure the wheel spins freely and that the brakes are functioning correctly. Double-check that all bolts are tightened to the correct torque specifications.
Congratulations!
You have successfully changed your dirt bike tire at home. With practice, this task will become quicker and easier, saving you time and money while giving you a greater understanding of your bike maintenance. Enjoy your next ride with your freshly changed tire!
[