
Welcome, art enthusiasts and aspiring cyclists! Ever tried to draw a bike and ended up with something that looks more like abstract art than a bicycle? You’re not alone! Bikes, with their complex geometry, can seem impossible to capture on paper. But fear not! This guide will break down the process into super Bike Drawing Easy steps, perfect for beginners. Let’s ditch the frustration and get sketching!
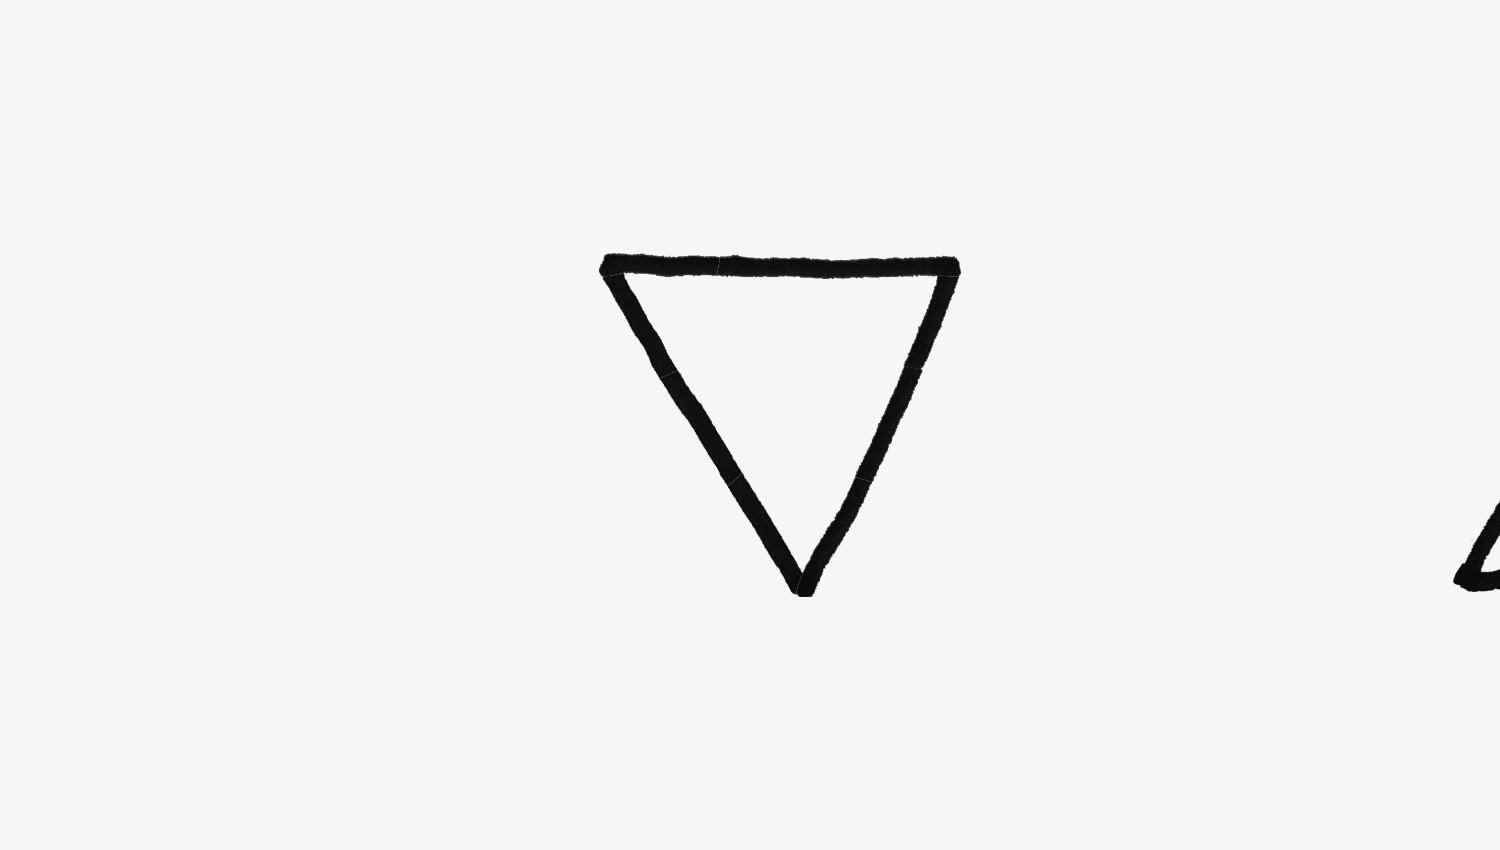
 Start with an upside down triangle to begin your easy bike drawing.
Step 1: The Basic Frame – Triangles and Diamonds
We’re going to start with shapes, making drawing a bike easy right from the get-go. Begin by drawing an upside-down triangle. This will form the main part of your bike frame. Don’t worry about perfection; we’re aiming for a simple, fun sketch.
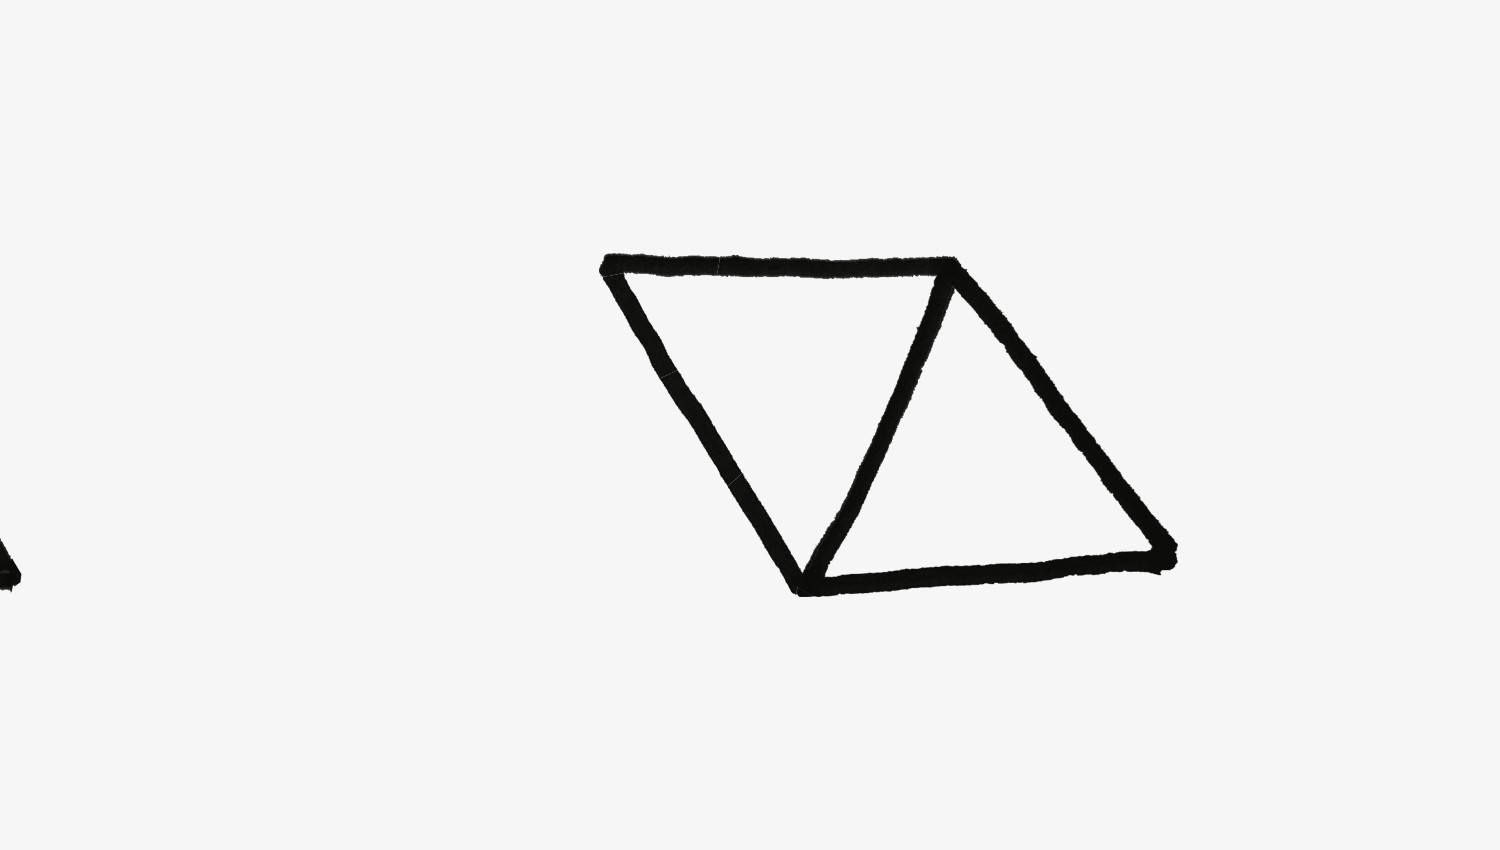
Next, let’s add another triangle to the side of your first one. Imagine we’re creating a diamond shape, but only drawing half of it. This adds to the frame’s structure and gives it that recognizable bike silhouette.
 Add a bisected diamond shape next to the initial triangle for the bike frame drawing.
Step 2: Completing the Frame Shape
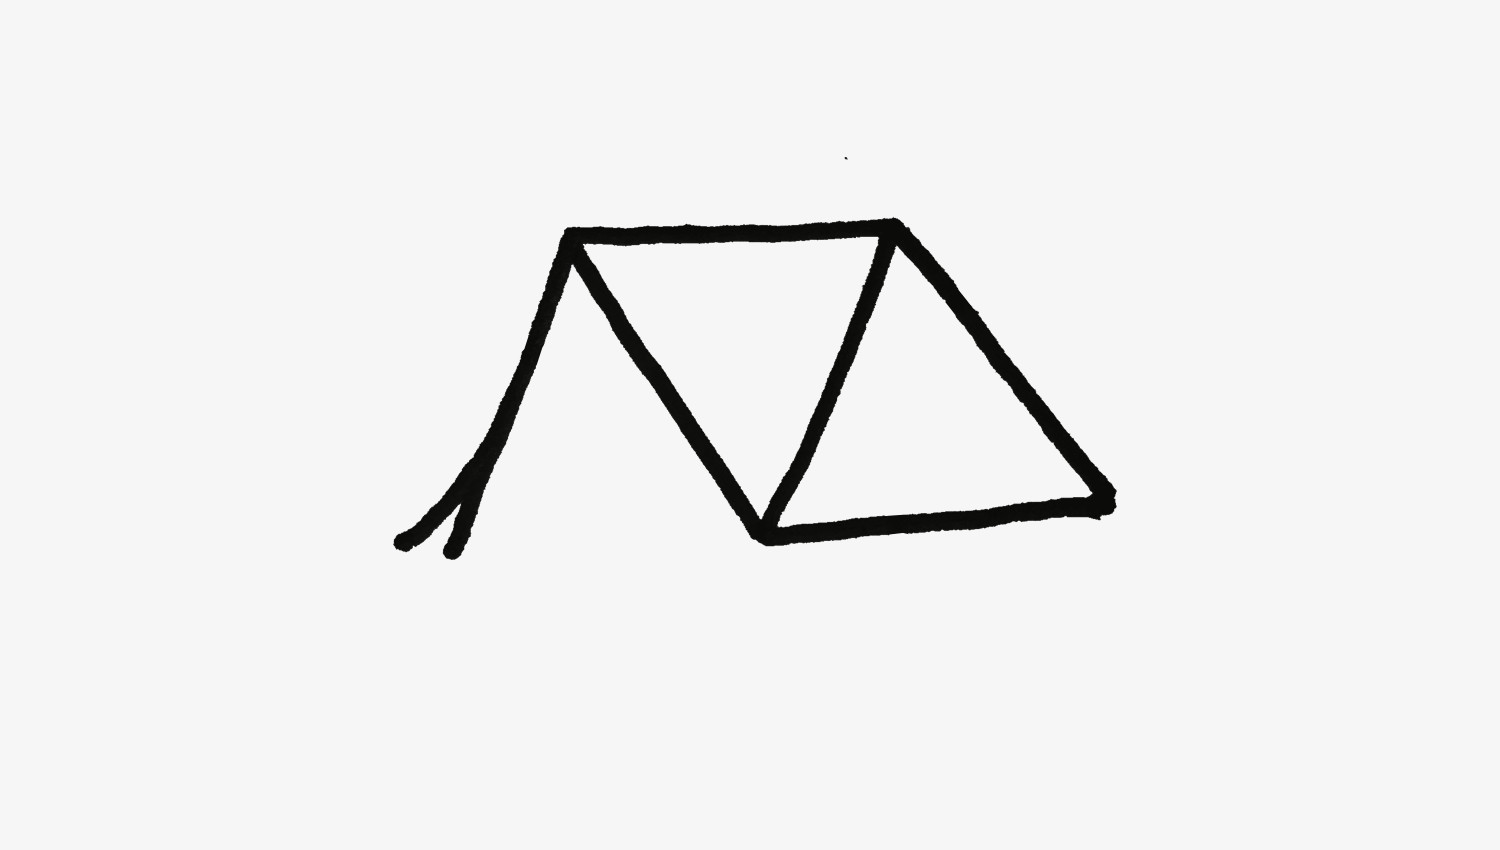
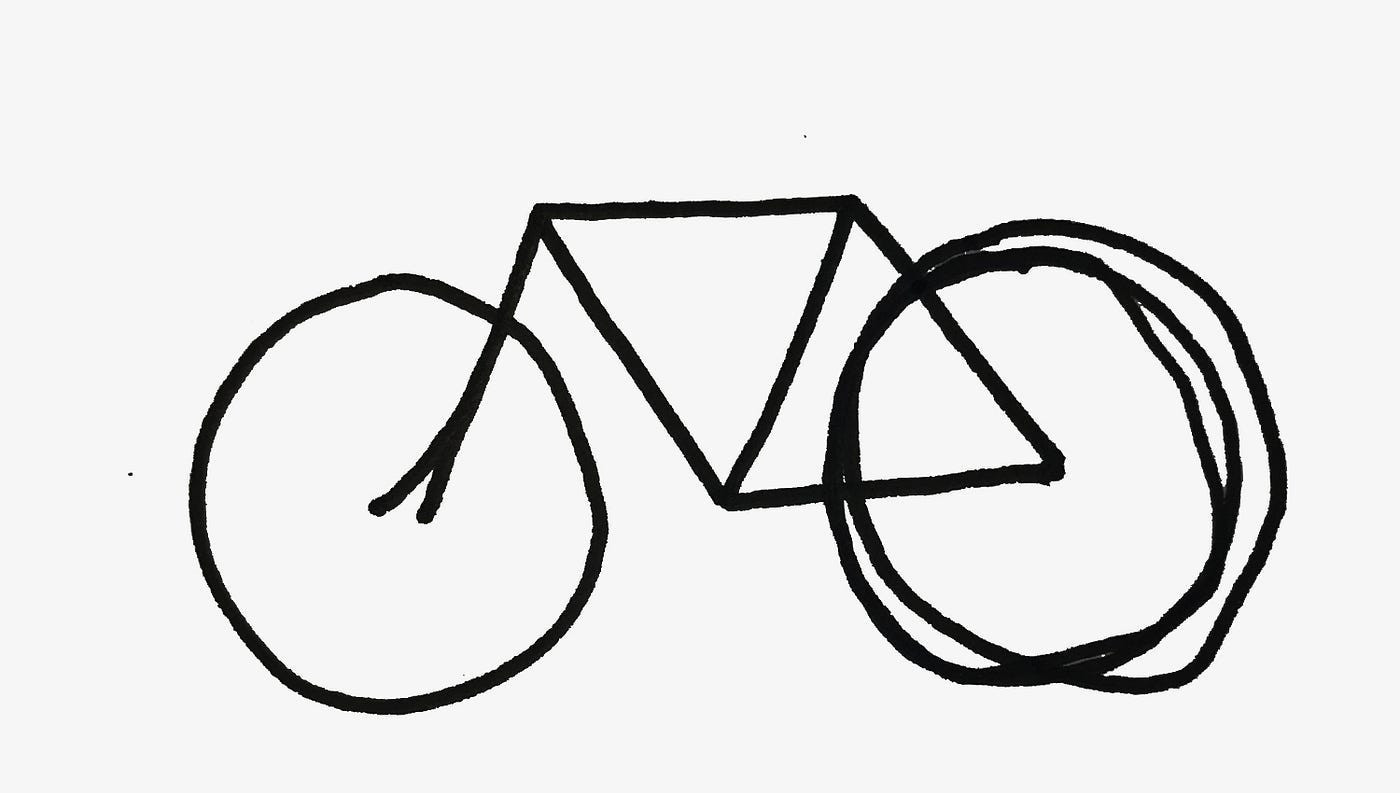
Now, for the other side of the frame. Draw another triangle, mirroring the first one, but this time, leave off the bottom line. We’re shaping the rear part of the bike frame here.
And about that leftover line from the first triangle? Let’s soften it! Turn that straight line into a gentle curve. Small changes can make a big difference in your easy bike drawing.
 Draw a partial triangle and curve the frame line for a simple bicycle drawing.
Step 3: Wheels – Circles (Mostly!)
Time for the wheels! Wheels are circles, right? Mostly. Draw a circle where the first triangle point is. That’s your front wheel.
Now for the back wheel… Oops! Maybe the first attempt at the back wheel wasn’t perfect. Don’t worry if your circles aren’t flawless, especially when you’re learning easy bike drawing techniques. Just draw a better circle over it. It’s all part of the process!
 Draw circles for the wheels in this easy to follow bike drawing tutorial.
Step 4: Frame Correction and Details
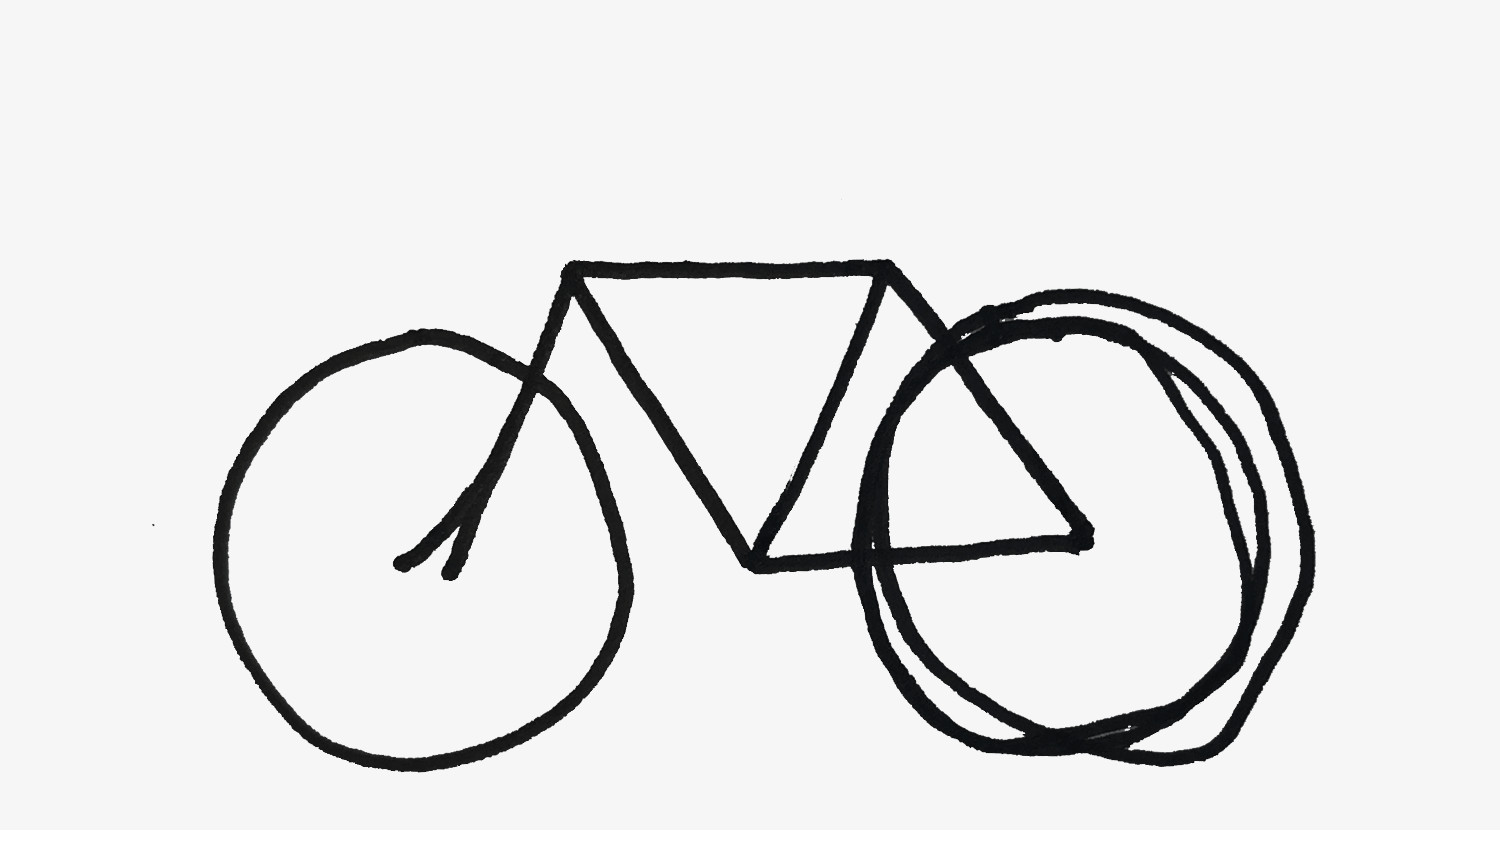
Looking at our frame, the angles might seem a bit off now with the wheels in place. No problem! We can adjust it. Simply tweak the lines of your frame to make it look more balanced and bike-like. This is still bike drawing easy, we’re just refining our shapes.
 Correct the frame geometry to refine your easy bicycle drawing.
Step 5: Saddle and Handlebars – Comfort and Control
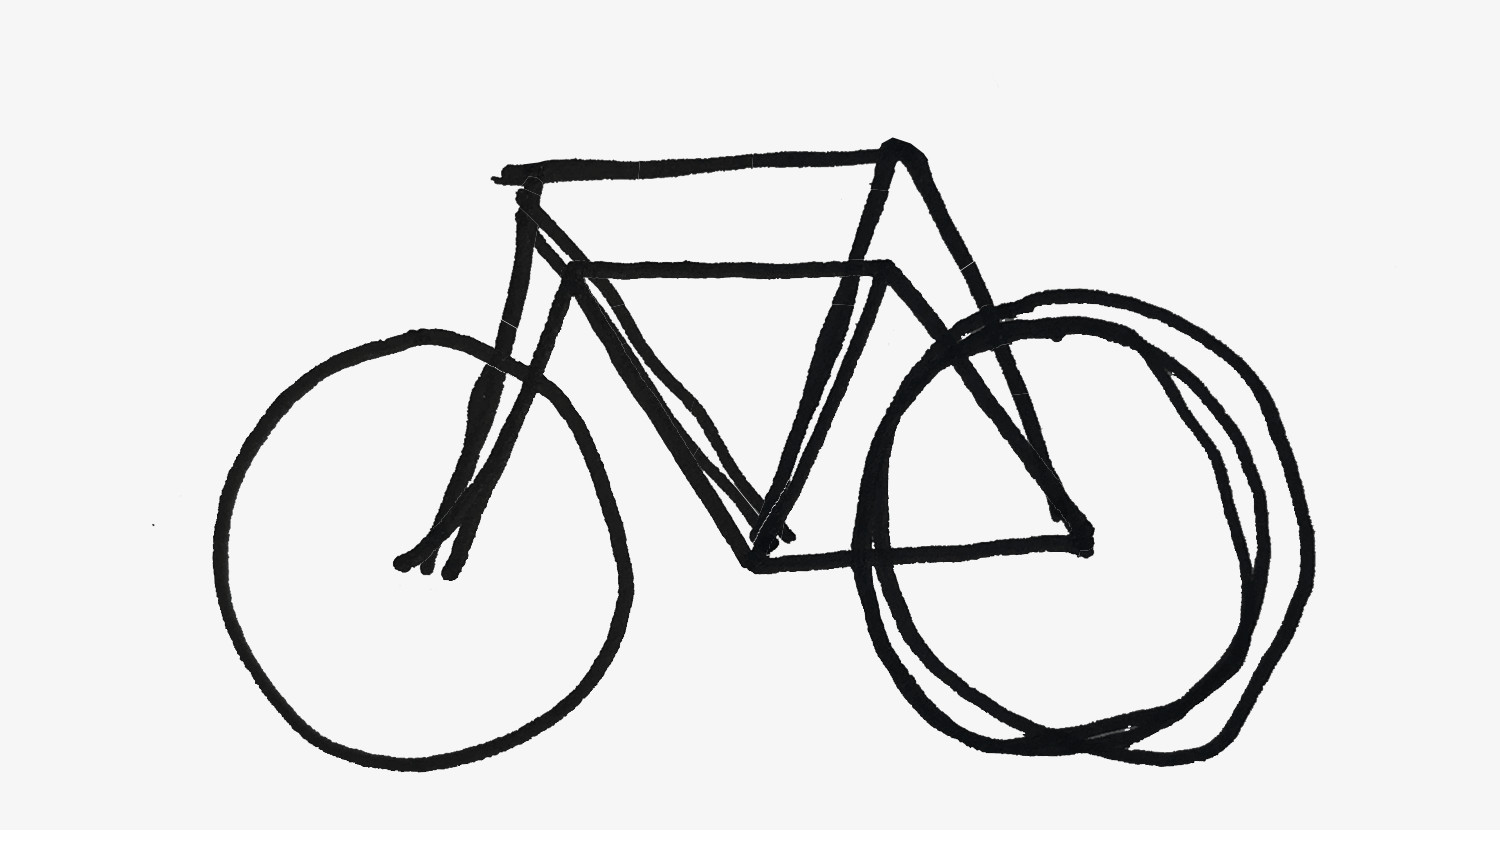
Every bike needs a seat and handlebars! Add a small curved line for the saddle (the seat) extending from the top frame line. Then, draw handlebars starting from the front of the frame. These are essential for any simple bike drawing. Remember, a place to sit and something to hold on to are key!
 Add handlebars and a saddle to your simple bike drawing for key details.
Step 6: Adding Depth and Style
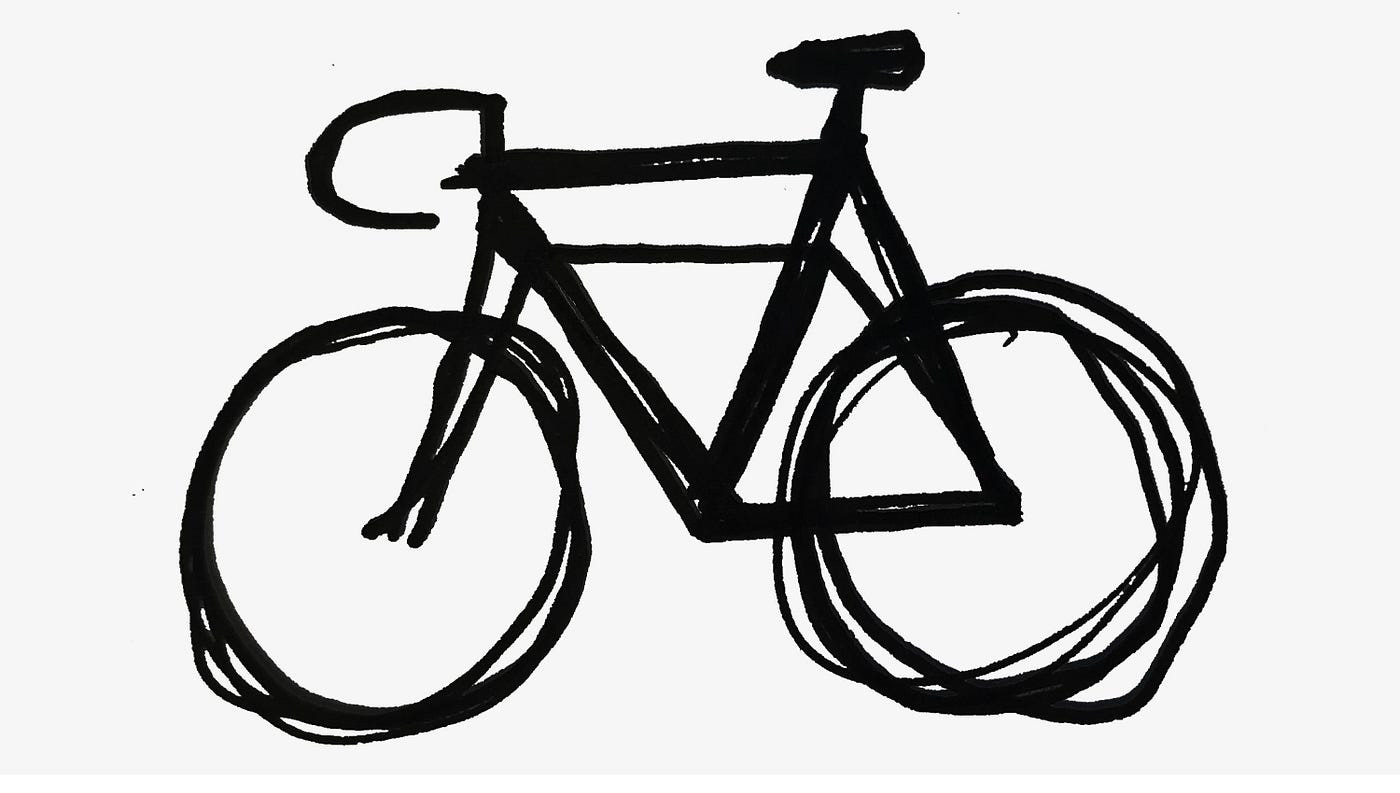
To make our bike drawing easy but also visually interesting, let’s add some thicker lines. Go over parts of the bike frame with a darker or thicker pen or pencil. This technique helps to hide any wobbly lines and gives your drawing a more defined, stylish look. Think of it like adding bold outlines to make things pop!
 Use bold lines to enhance your bike drawing and make it visually appealing.
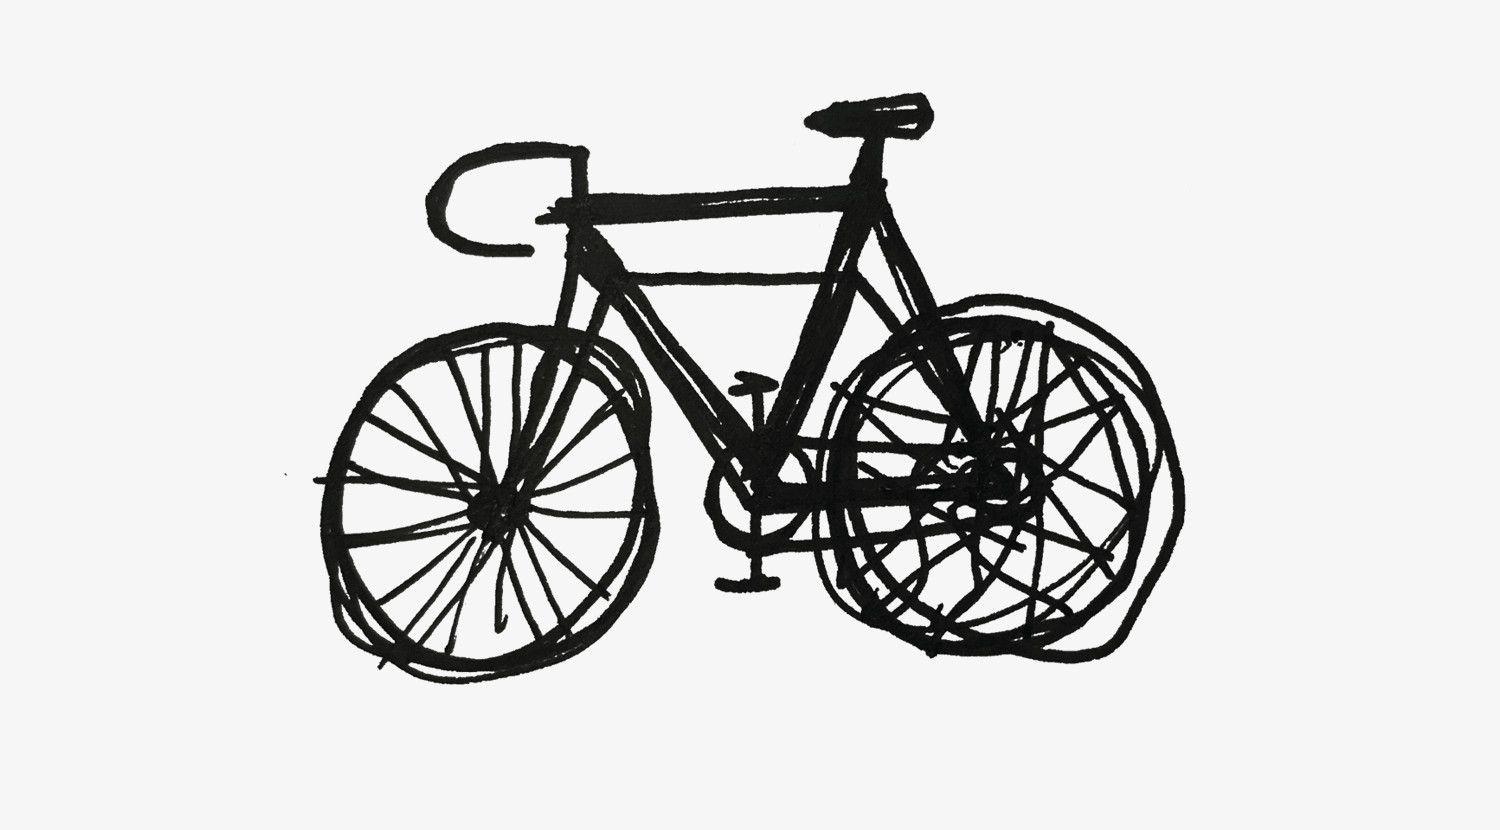
Step 7: Pedals and Chain – The Power Train
Now, let’s add the pedals and chain. Draw small rectangles for the pedals, positioned under the center of the frame. Then, sketch a simple line representing the chain connecting the pedals to the back wheel area. Even in an easy bike drawing, these details bring it to life.
 Include pedals and a chain in your bike sketch to show the drivetrain.
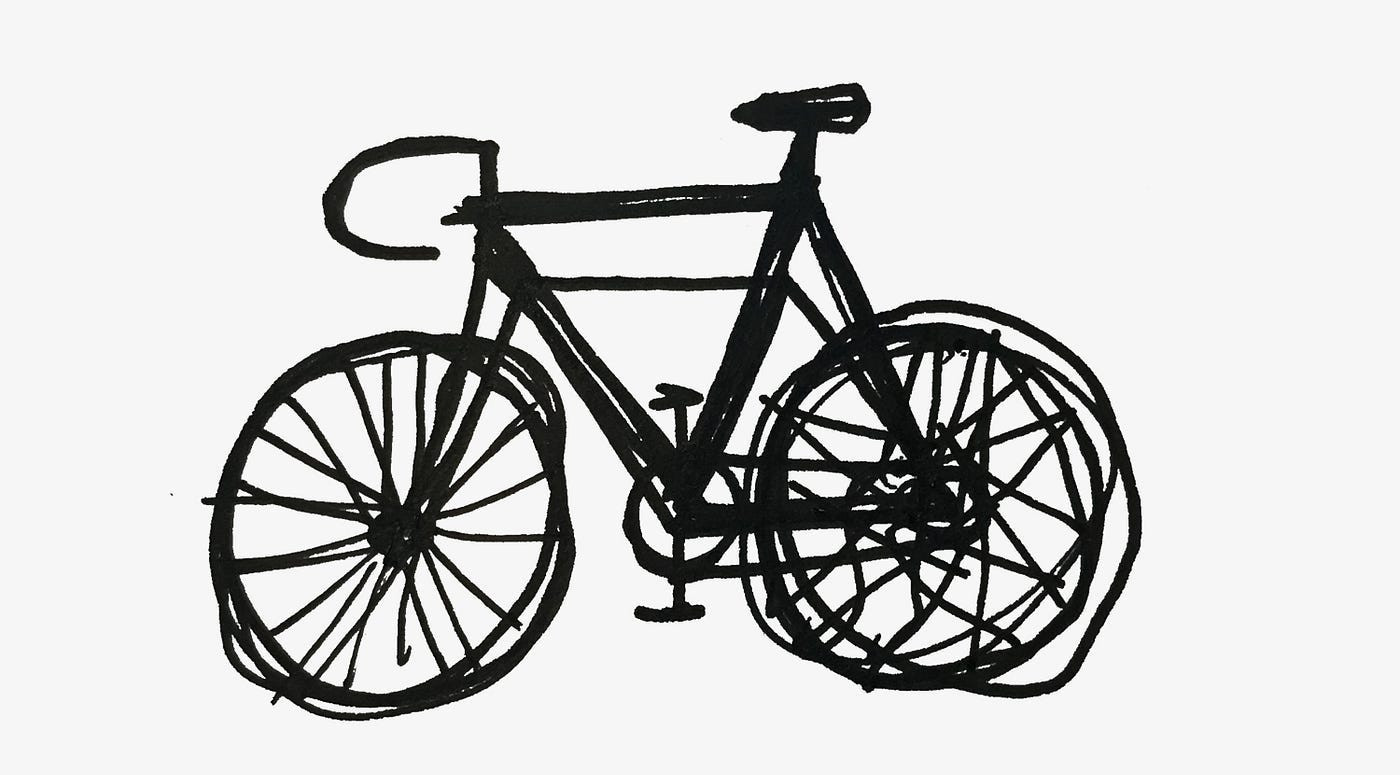
Step 8: Spokes – Wheel Details
Spokes! These can seem complicated, but for our simple bike drawing, we’ll simplify them. Draw lines radiating from the center of each wheel to the rim. Don’t worry about making them perfectly even or counting them. A rough approximation works great.
 Add spokes to the wheels for a more complete and detailed bike drawing.
Step 9: Rear Wheel Spokes – A Little More Detail
The rear wheel spokes are often a bit more detailed in real bikes. But for our bike drawing easy approach, we can still keep it simple. Just add a few more lines, perhaps crossing some of the existing ones, to give the impression of more complexity. It’s all about suggestion!
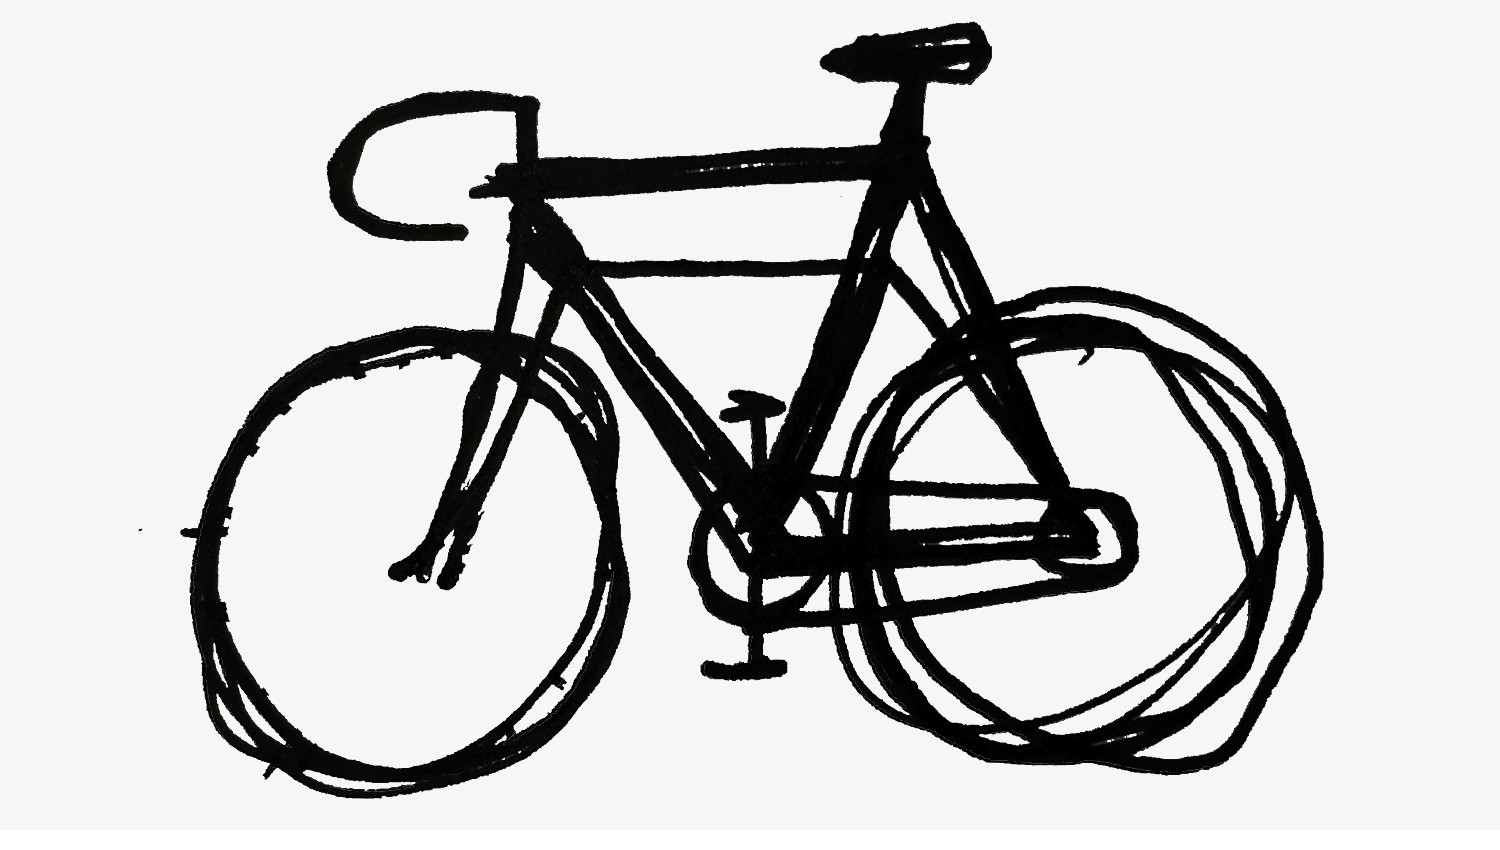 Detail the rear wheel spokes to add a touch of realism to your bicycle drawing.
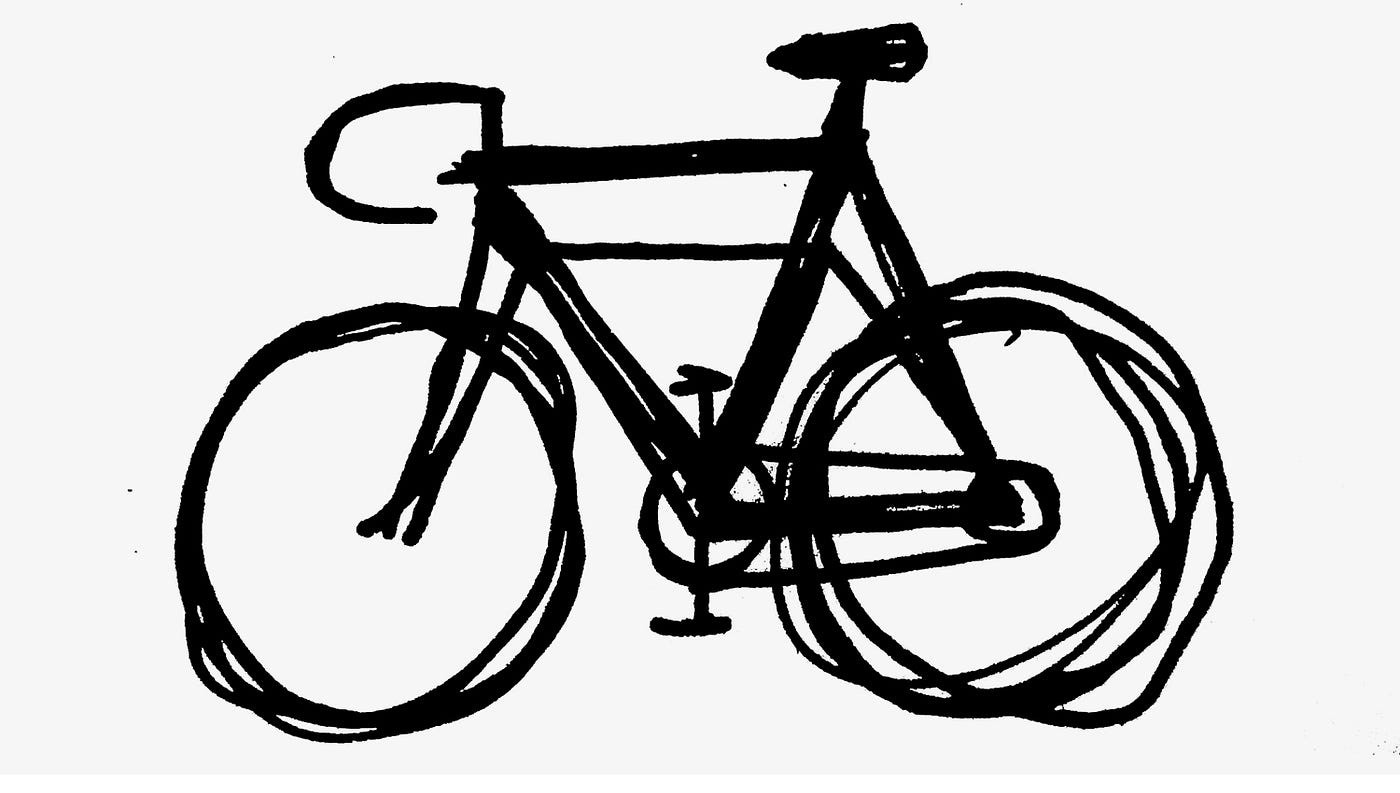
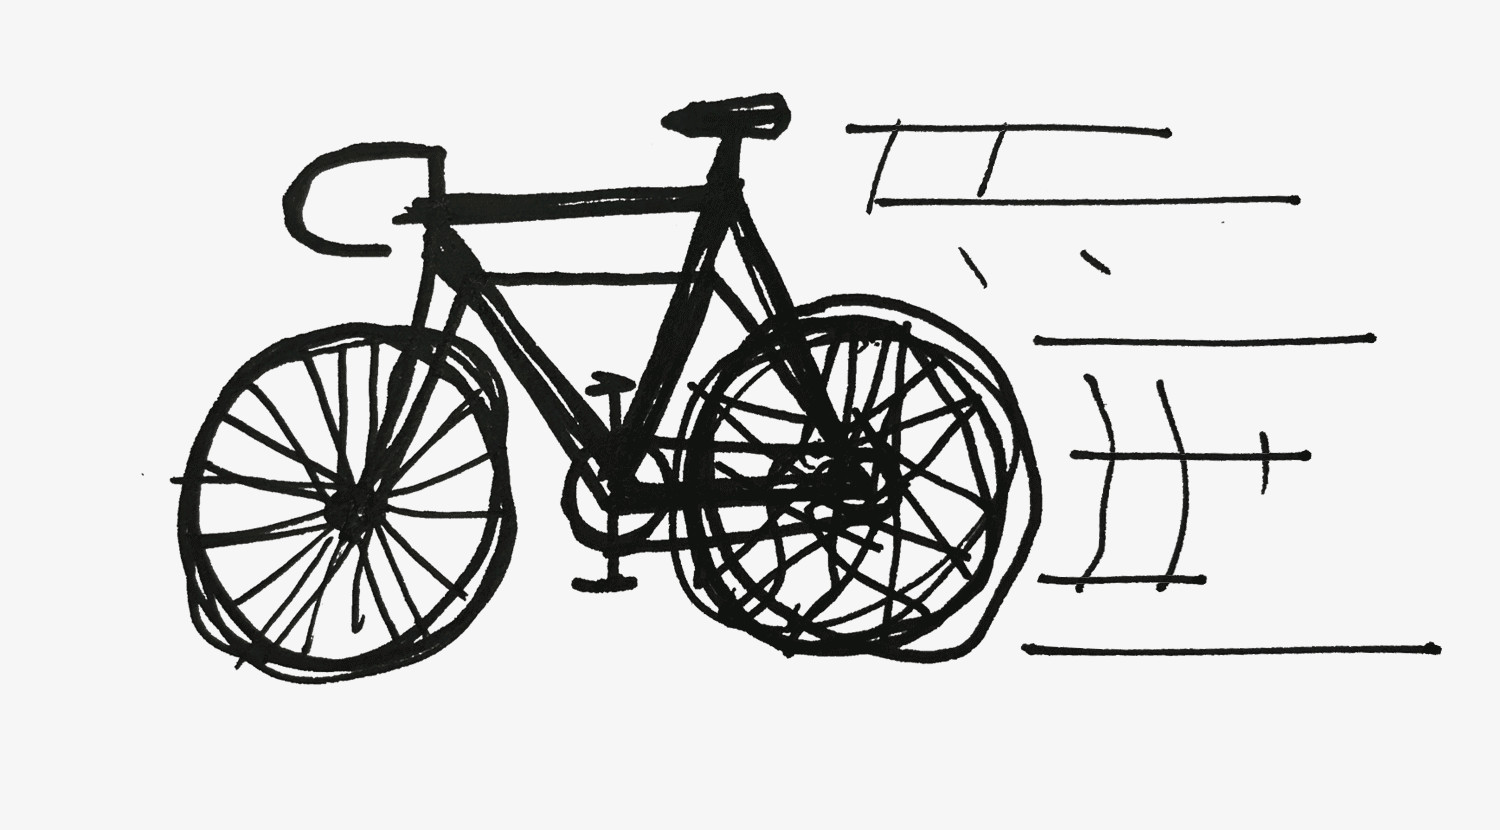
Step 10: Speed Lines and Fire (Optional!)
Feeling like your bike needs some action? Add speed lines! Draw lines trailing behind the bike to show motion. And for extra fun… why not add flames? Okay, maybe flames are optional, but they definitely add a unique touch to your easy bike drawing! This is where you can get creative and have fun.
 Use speed lines and fire effects for a dynamic and fun bike drawing.
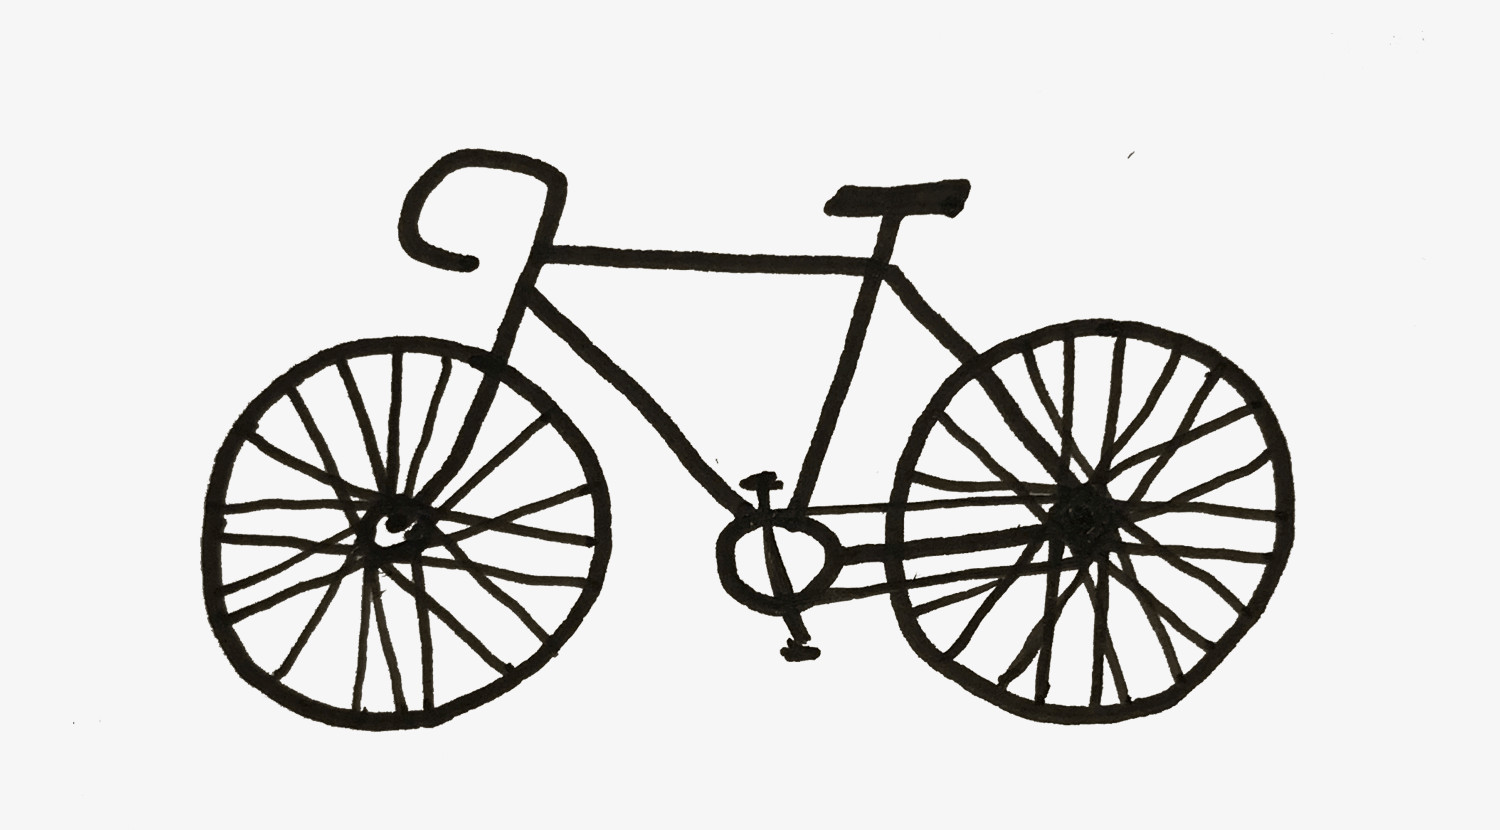
Conclusion: You Did It!
And there you have it! You’ve conquered the bicycle and created your own bike drawing easy masterpiece. It might not be perfect, but that’s the beauty of sketching. It’s about having fun and capturing the essence of a bike without getting bogged down in details.
So, grab your pencils, keep practicing, and most importantly, enjoy the ride of drawing!
 Celebrate your accomplishment of creating an easy bike drawing.
 Encourage viewers to try drawing bikes and have fun with the process.