
Is your Razor Mx350 Dirt Bike not starting or running as expected? Electrical issues can often be the culprit. This guide will walk you through a systematic troubleshooting process to help you pinpoint and address the problem. We’ll focus on checking the wiring, battery connections, fuse, and switch to get your electric dirt bike back in action.
First, examine the battery wiring. It’s crucial to ensure the wires are correctly connected to the battery terminals. A common observation is the use of red wire terminals which are typically designed for 22-18 gauge wire, while the Razor MX350 dirt bike battery harness uses thicker 14 gauge wires. This mismatch can lead to poor connections.
 Close-up of battery terminals and wiring connections, highlighting the potential mismatch in wire gauge and terminal size.
To ensure a solid connection, carefully remove any tape from the wire terminals and gently try to pull the wires and terminals apart. A secure connection will resist pulling. If you suspect the red terminals are indeed too small for the 14 gauge wires, it’s highly recommended to replace them with blue terminals, which are designed for 14-16 gauge wires. This will ensure a safe and reliable crimp that won’t come loose during operation of your razor mx350 dirt bike.
For further diagnosis, you’ll need a multimeter to perform voltage and continuity tests.
Testing with a Multimeter
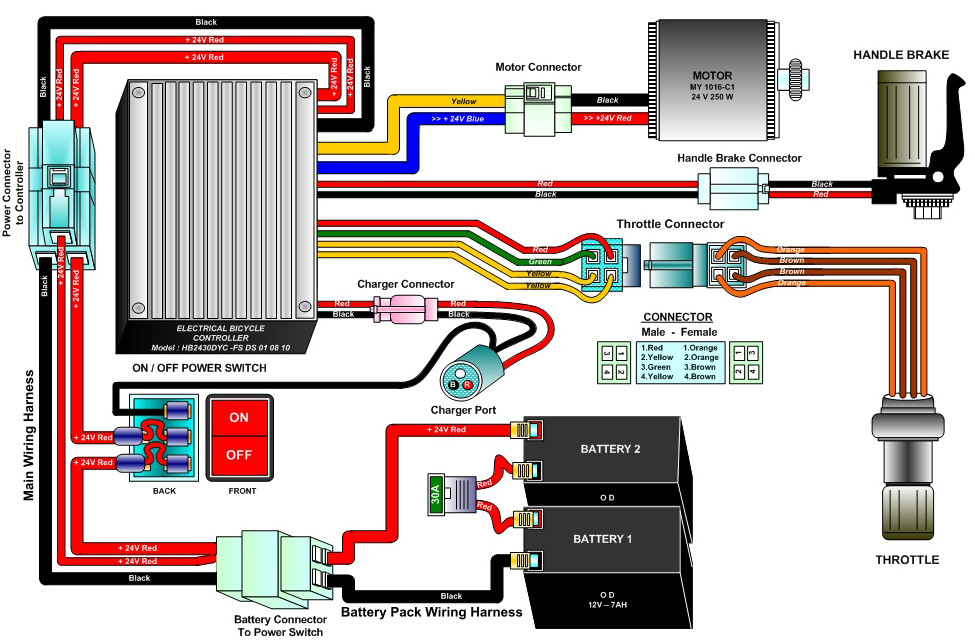
Fuse Test: Begin by checking the fuse located between the two batteries. Use your multimeter to test the fuse for continuity. If the fuse is blown (no continuity), replace it with a new 30 Amp ATO or ATC fuse. A blown fuse is a common reason for electrical failures in a razor mx350 dirt bike.
Battery Pack Voltage Test: Next, disconnect the battery pack wiring harness from the main wiring harness. Using your multimeter, test the voltage at the connector terminals of the battery pack wiring harness. You should read approximately 27 Volts, indicating a fully charged 24V system. If there’s no voltage, investigate further: check the continuity of the harness itself and test each battery individually to determine if they are holding a charge.
Main Harness Voltage Test: If the battery pack harness shows the correct voltage, reconnect it to the main wiring harness. Now, disconnect the other end of the main harness from the controller. With the power switch turned ON, test the voltage at the connector terminals of the main harness (the end that would connect to the controller). You should again see the same voltage as the battery pack. If there is no voltage at this point, the power switch is likely faulty and needs to be replaced.
By following these steps, you should be able to isolate the source of the electrical problem in your razor mx350 dirt bike. Remember to always prioritize safety when working with electrical components and if you’re unsure at any point, consult a qualified technician.