
Riding with properly inflated bike tires is crucial for any cyclist. Underinflated tires can lead to a sluggish ride, reduced grip, and an increased risk of punctures. This guide provides a comprehensive, step-by-step approach on how to inflate your bike tires effectively, covering everything from valve types to pump selection and optimal tire pressure.
Step-by-Step Guide to Inflating Your Bike Tire
1. Identify the Right Pump for Your Valve
 Close-up of a bike pump head compatible with Presta and Schrader valvesMake sure your pump is compatible with your bike’s valve type, as many modern pumps are designed for both Presta and Schrader valves.
First, you need to determine what type of valve your bike has. Most bike pumps are designed to work with both Schrader and Presta valves, and some accommodate Dunlop valves as well. Examine your valve to ensure your pump head is compatible. If your valve has a dust cap, remove it. These caps are primarily for keeping dirt out and are not essential for inflation.
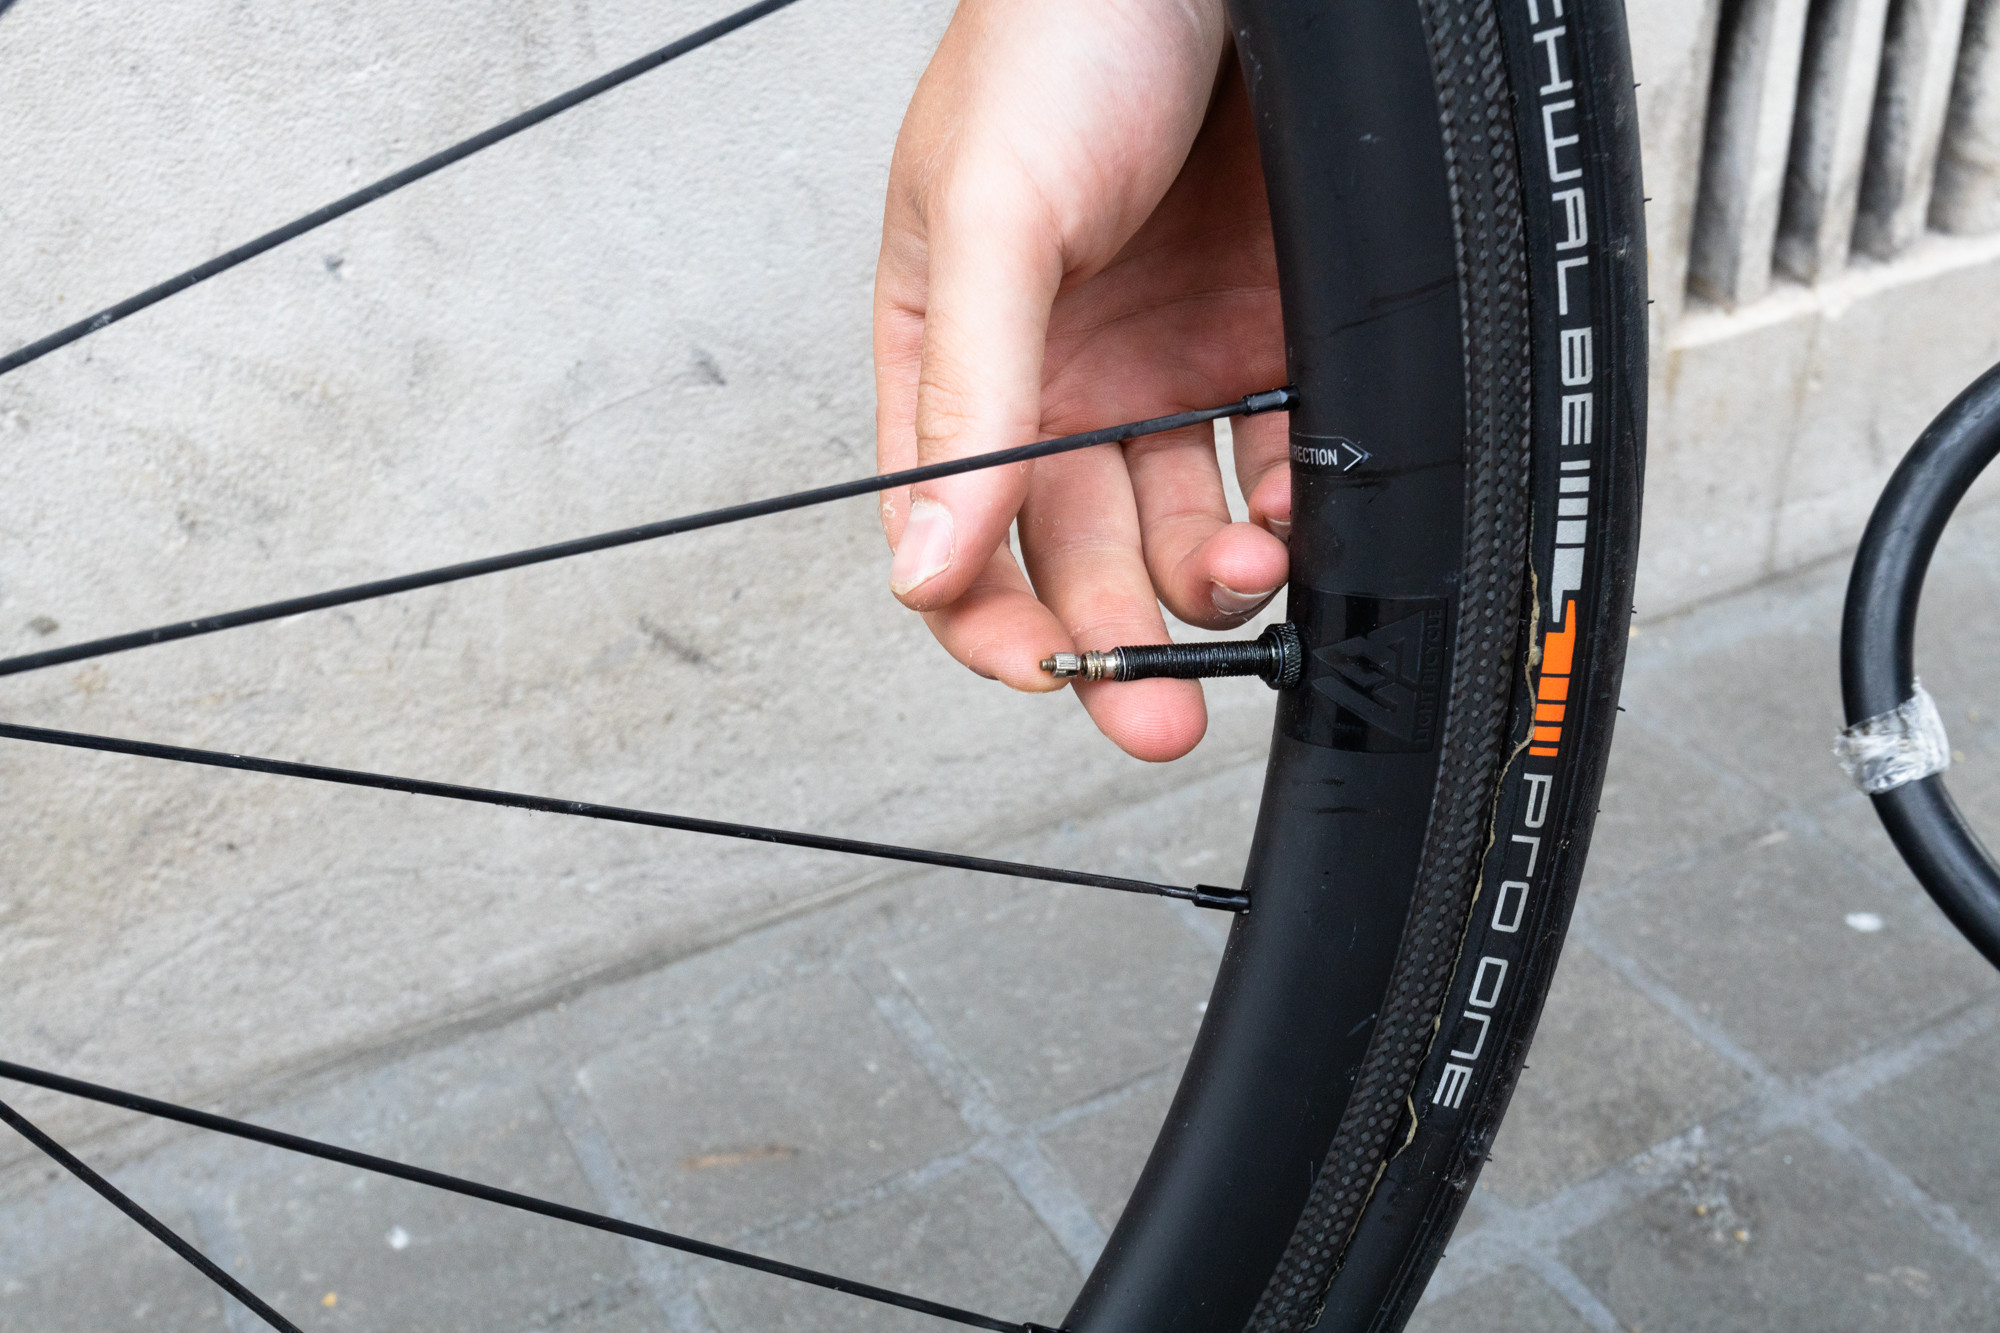
2. Prepare Your Bike Tire Valve
 Carefully preparing a Presta valve by unscrewing the valve core lockringPresta valves are delicate, so handle them with care during preparation to avoid bending the valve core.
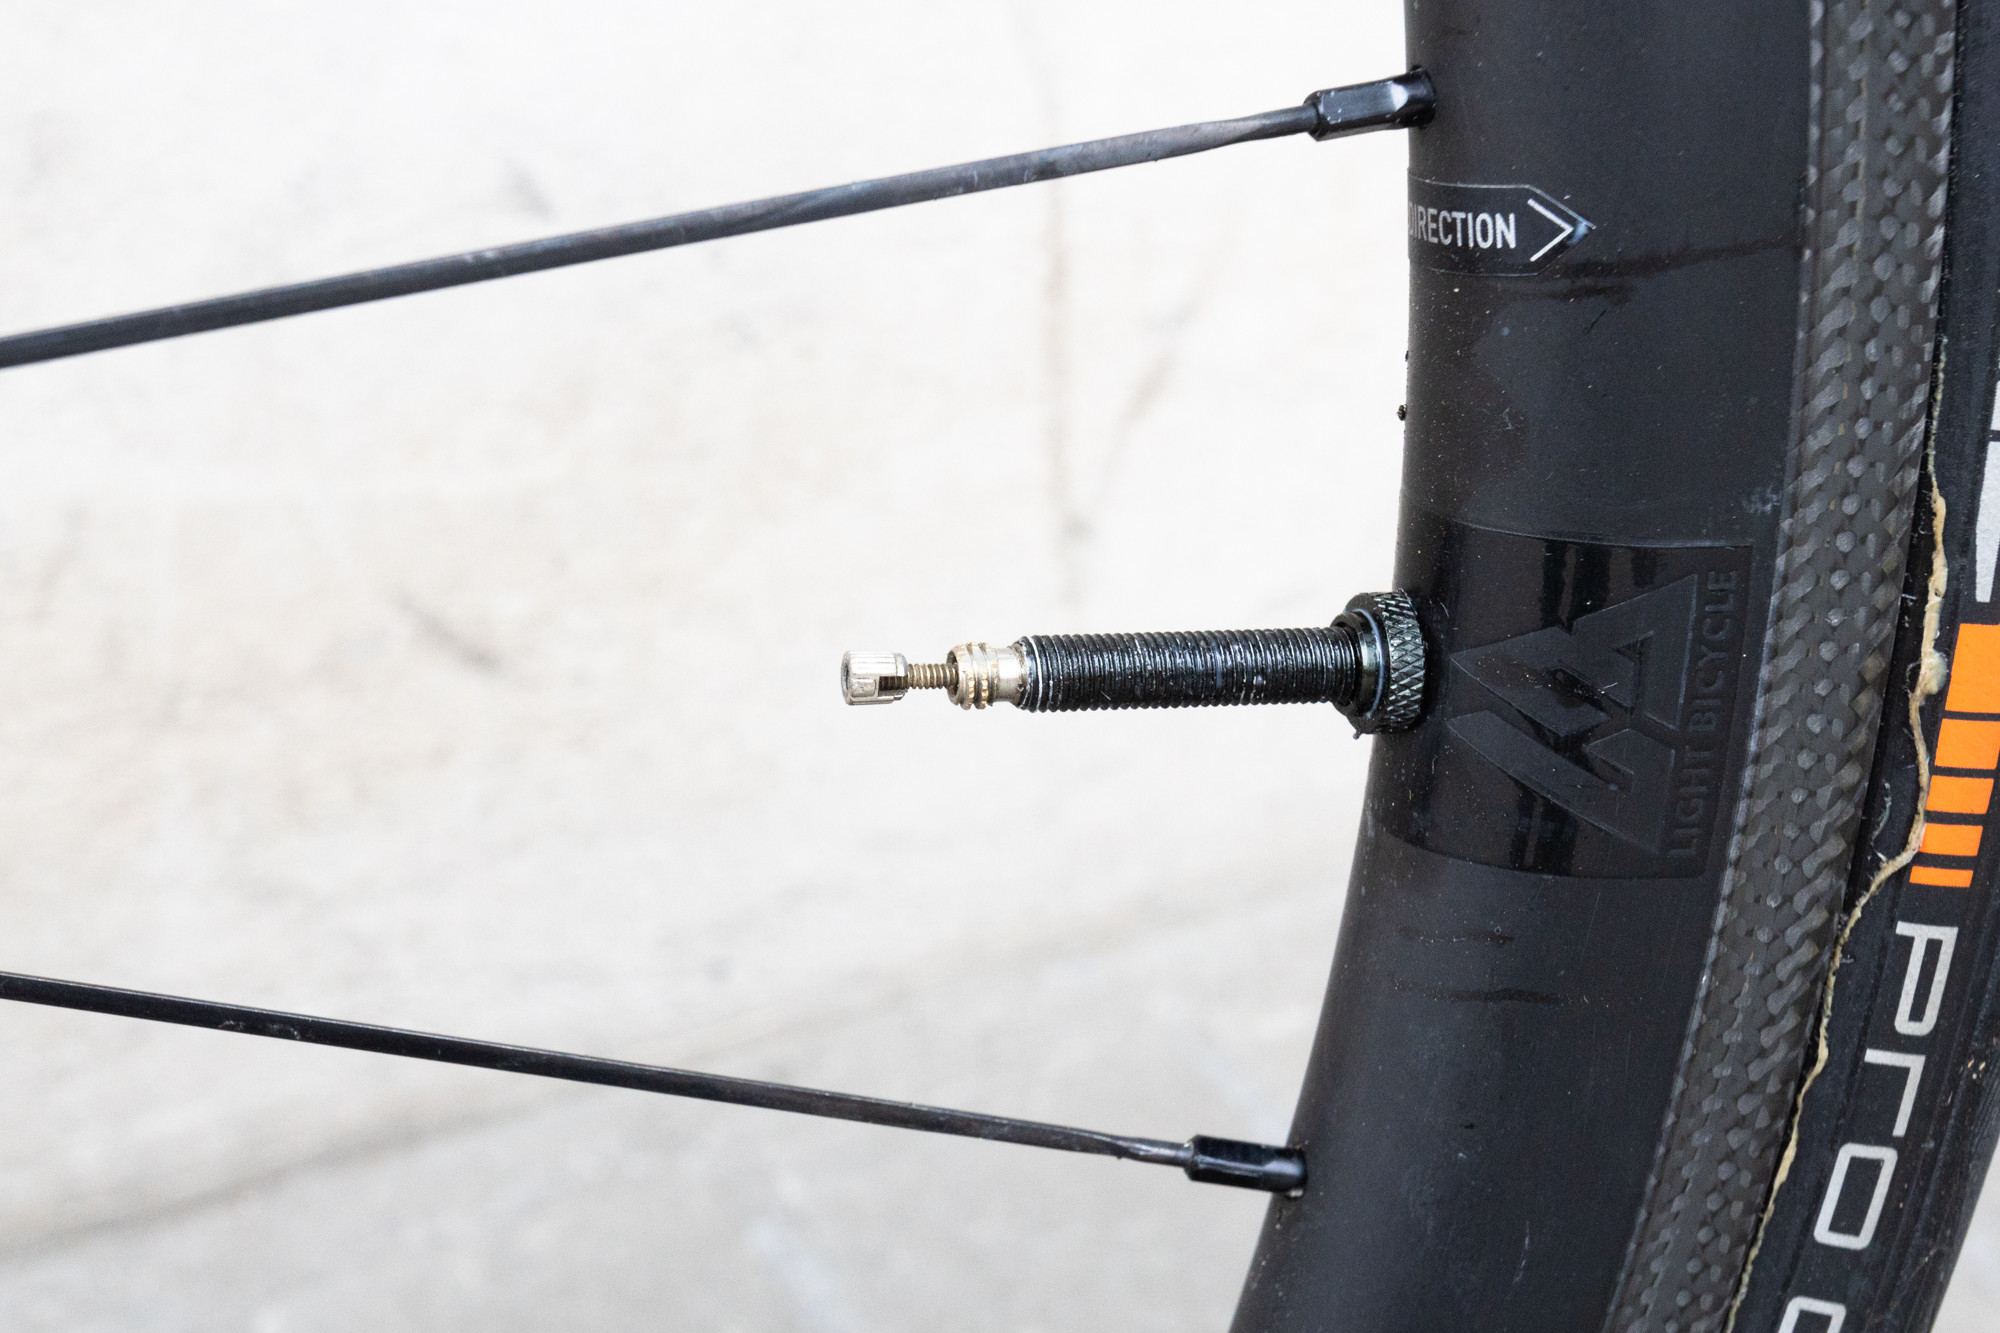
If you have Schrader valves, similar to those on car tires, you can proceed directly to attaching the pump. For Presta valves, after removing the dust cap, you’ll find a small threaded lockring. This lockring must be unscrewed to allow air to enter or exit the tire. Carefully unscrew the lockring, being gentle as Presta valves can be somewhat delicate.
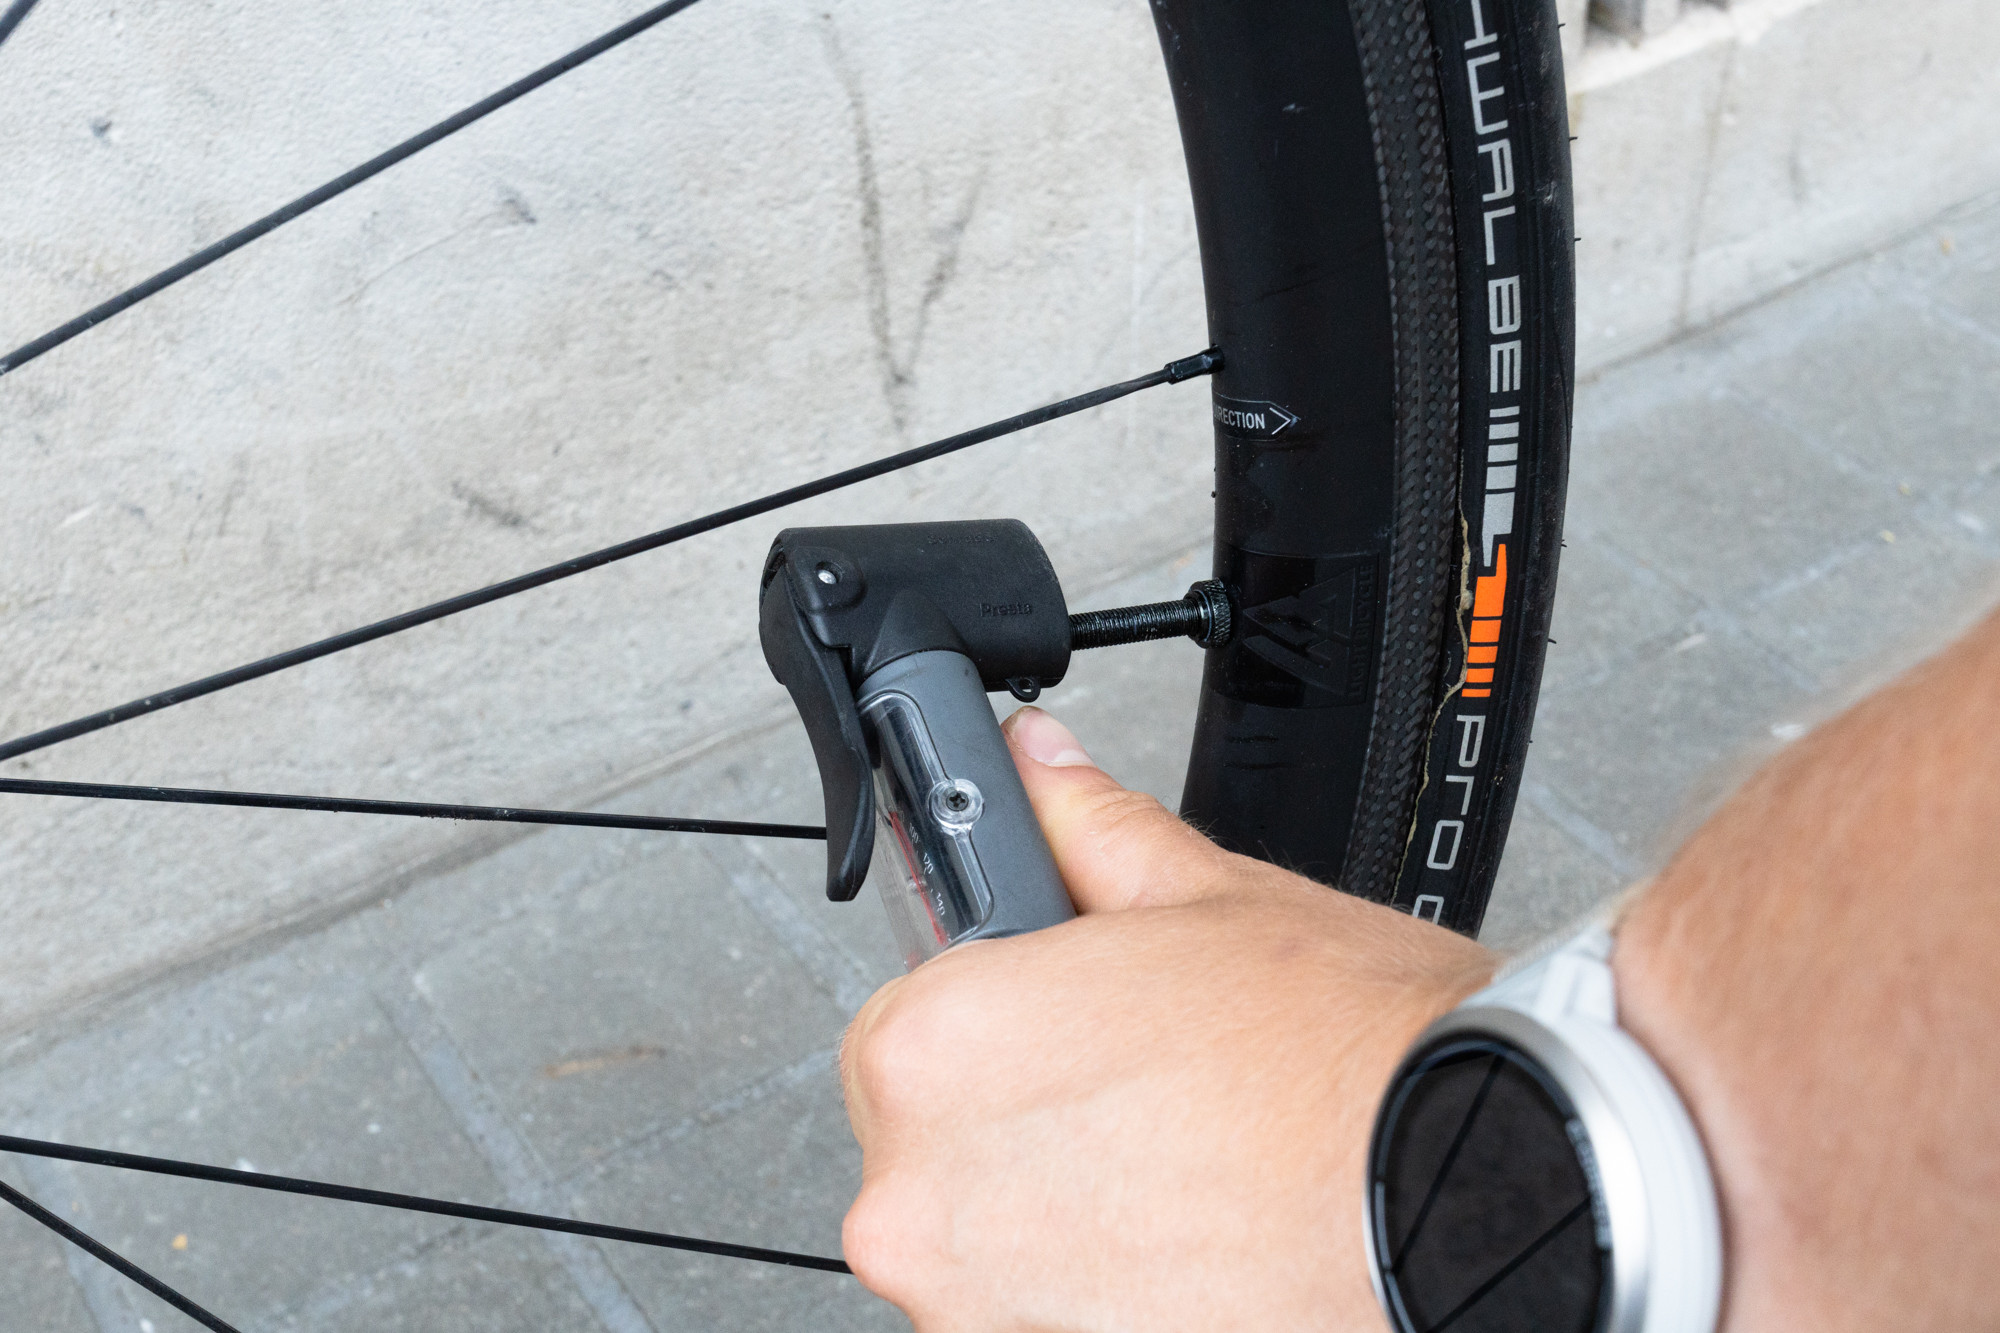
3. Securely Attach the Pump Head to the Valve
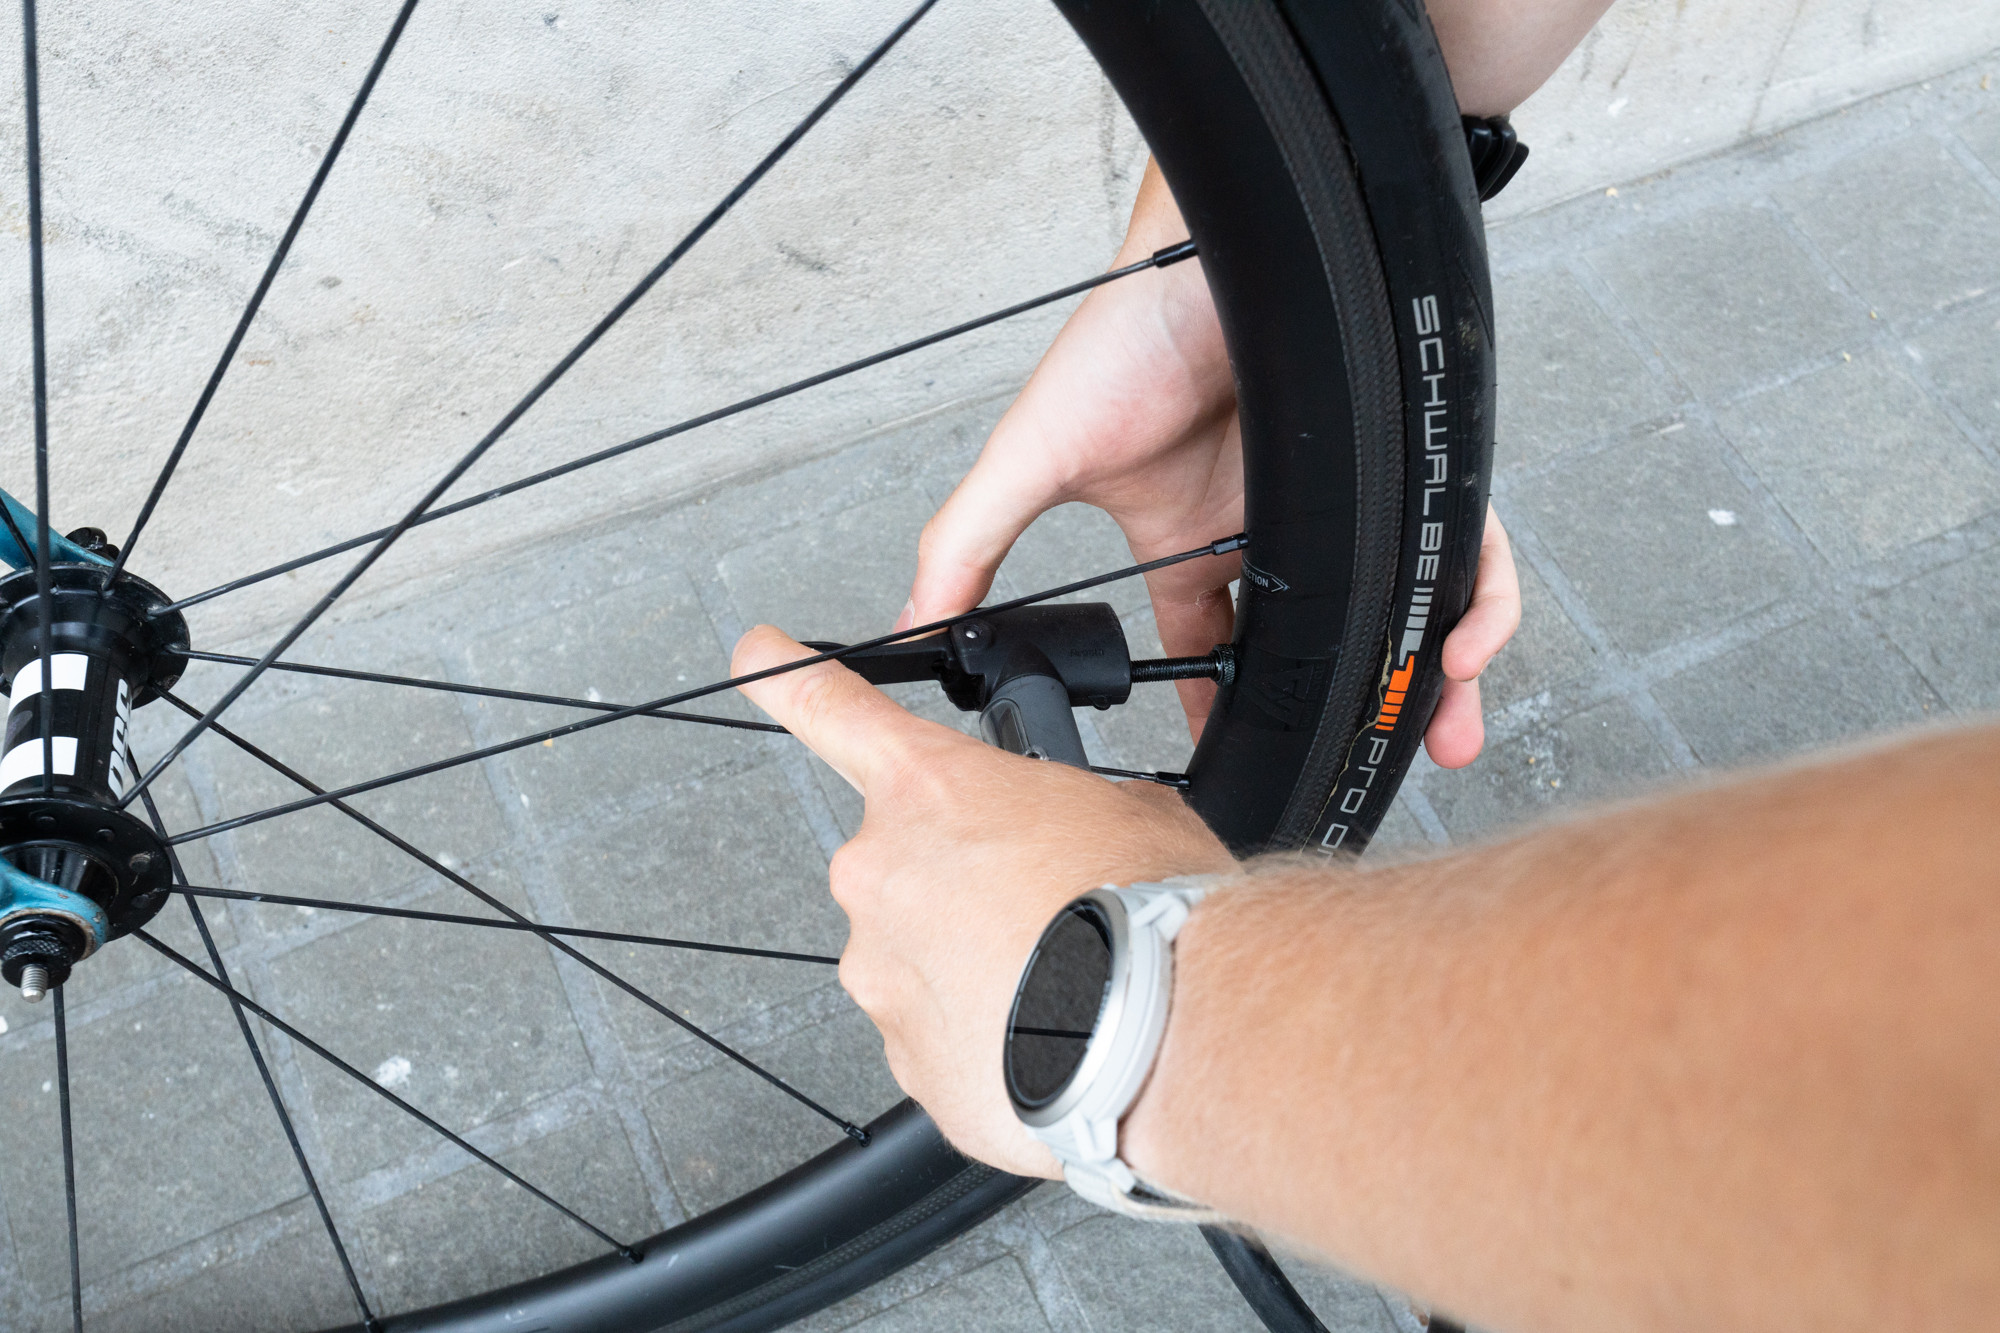 Attaching the pump head and locking the lever onto a Presta valve for inflationEnsure the pump head is properly attached and locked onto the valve to create an airtight seal before inflating.
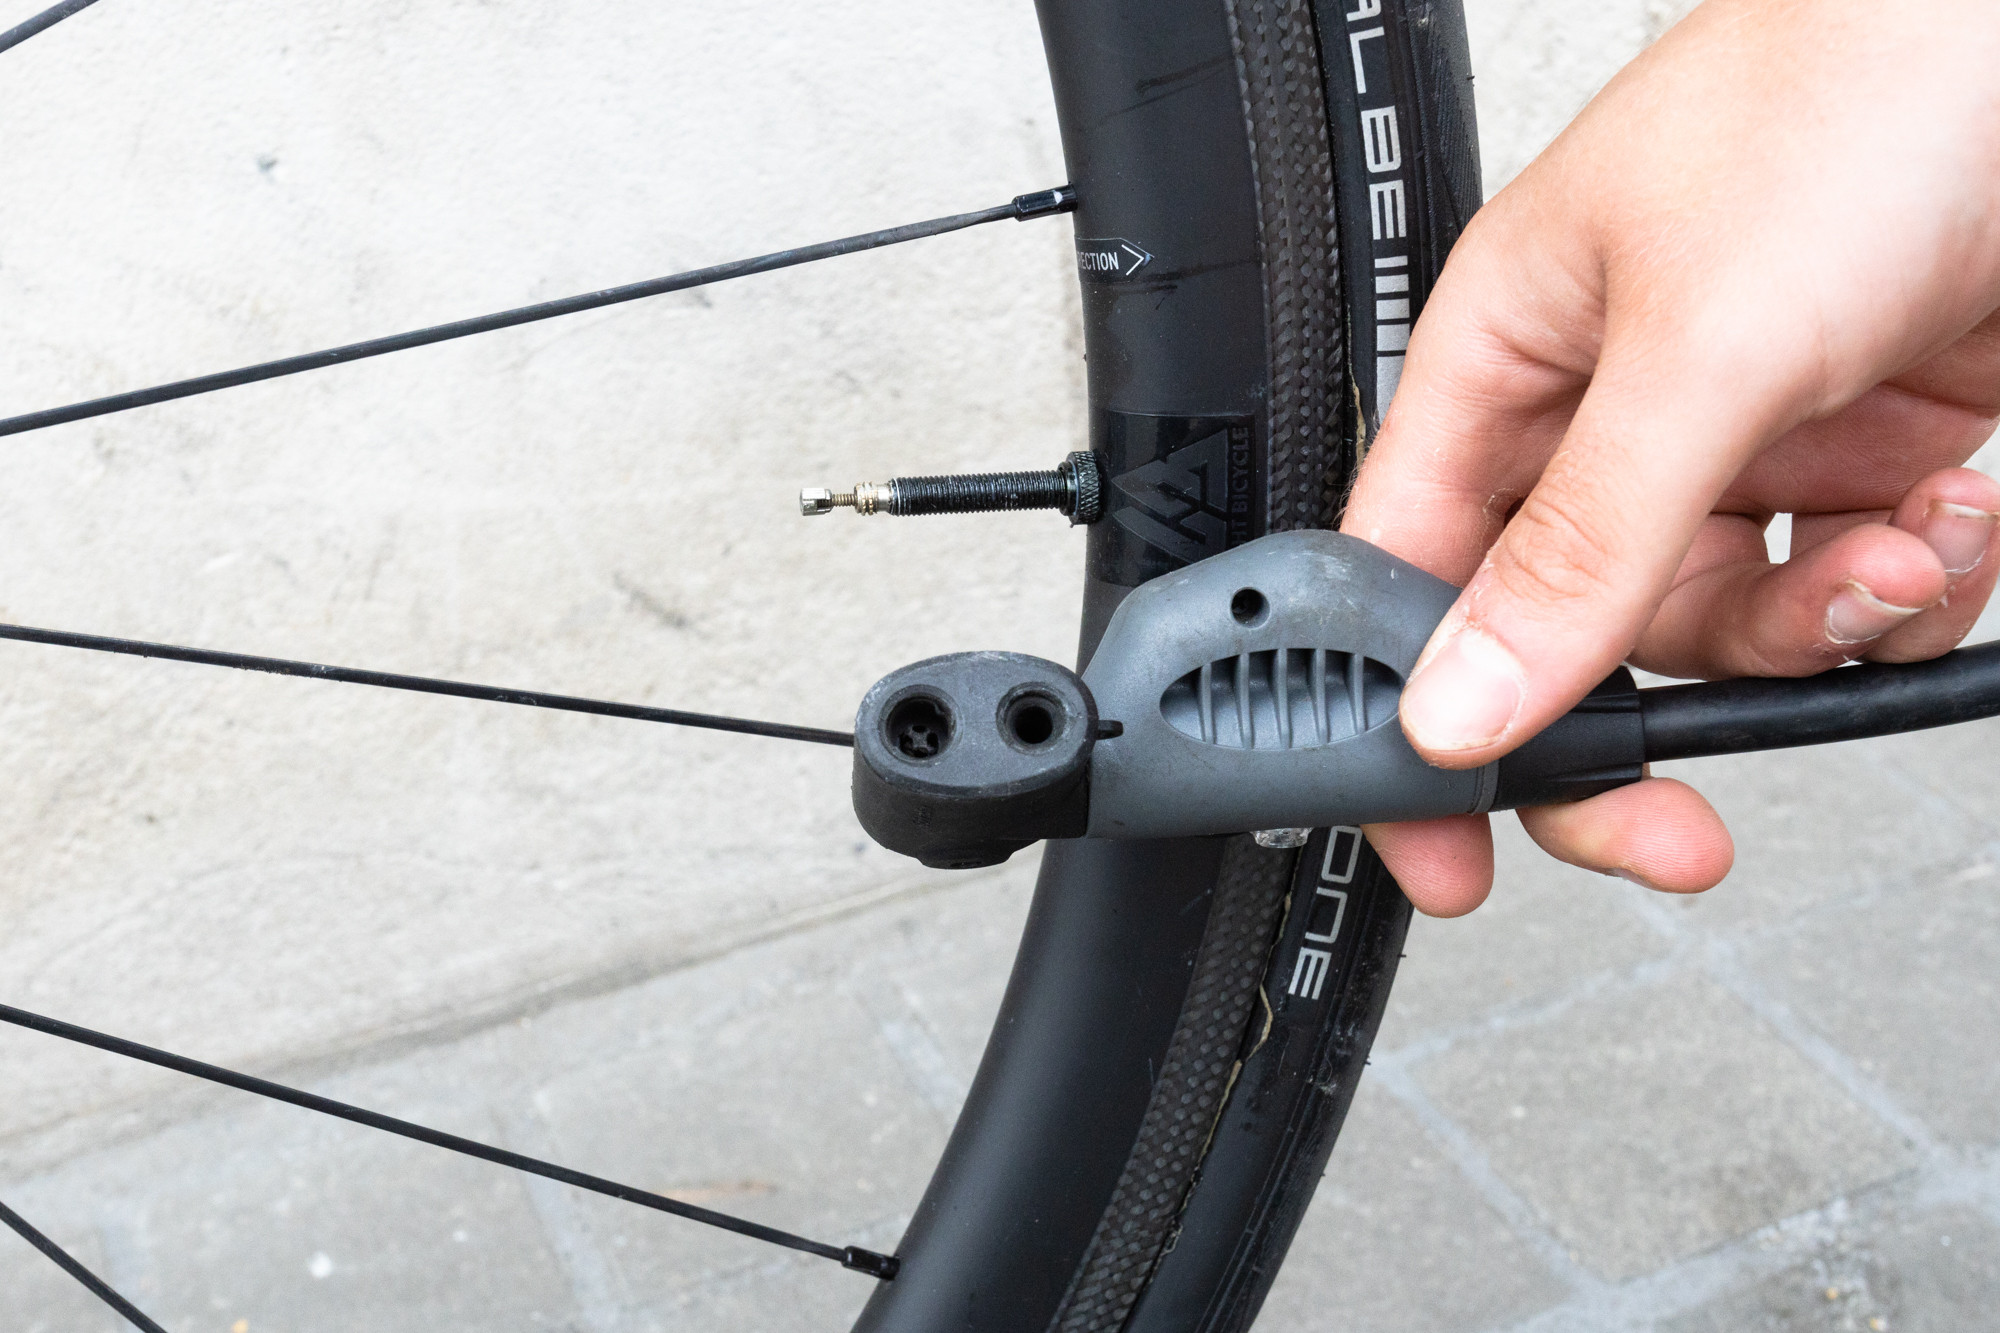
Position the pump head squarely onto the valve. When working with Presta valves, avoid applying excessive force as they are more susceptible to bending. Pump head designs vary; some require flipping a lever to lock them onto the valve, while others secure themselves simply by pressing firmly onto the valve.
If you are inflating a completely flat tire, you might encounter resistance when attaching the pump head, as the valve can recede into the rim. To counter this, gently hold the valve in place from behind the tire with your fingers to facilitate a secure pump head attachment.
Once correctly attached, the pump head should create an airtight seal around the valve. Hearing a slight hiss of air during attachment is normal and usually indicates the pump is properly engaging with the valve.
4. Inflate the Bike Tire to the Correct Pressure
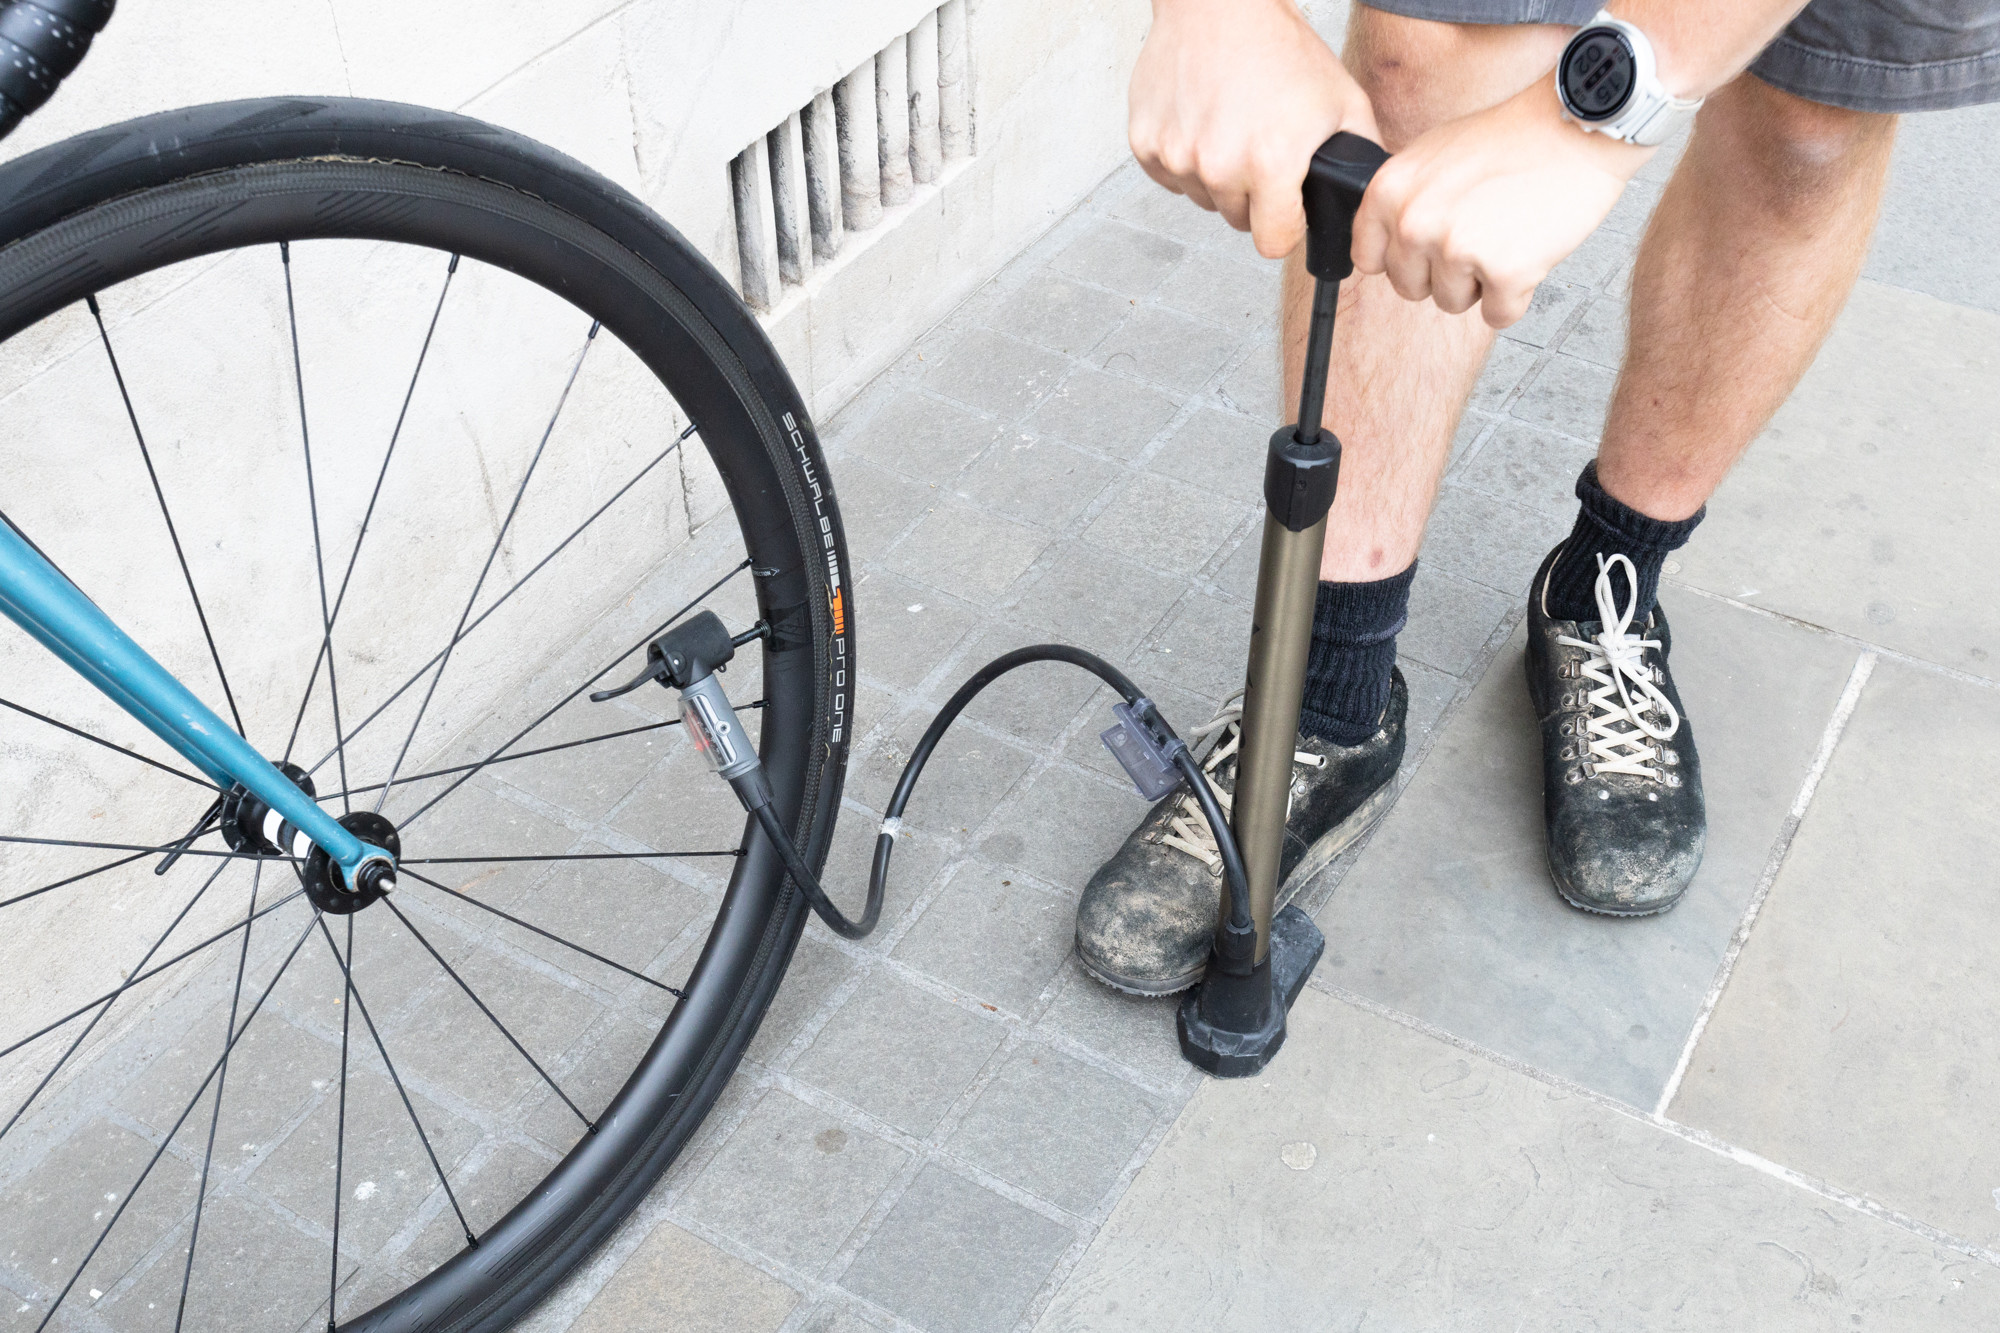 Inflating a bike tire using a track pump to reach the desired pressure levelUse smooth, full strokes of the pump, leveraging body weight for efficiency, especially with track pumps.
Begin pumping air into the tire until you reach the desired pressure. For track pumps, using your full range of motion and incorporating your body weight on the downstroke will make inflation easier and faster.
If you find the tire is not inflating, double-check that the pump head is correctly and securely attached to the valve. If inflation remains unsuccessful, or if the tire quickly loses air after pumping, the inner tube might be punctured and require repair or replacement.
5. Detach the Pump Head from the Valve
 Removing the pump head from a Presta valve after inflation is completeQuickly remove the pump head after releasing any locking mechanism, a slight hiss is normal as air escapes from the pump.
Remove the pump head from the valve. If your pump has a locking lever, disengage it first before quickly pulling the pump head off. A brief hissing sound when detaching the pump is normal, as it is just air escaping from the pump itself, not the tire valve.
6. Securely Close the Tire Valve
 Closing a Presta valve by screwing the threaded cap clockwise and replacing the dust capEnsure the valve is closed and protected with the dust cap to maintain pressure and prevent debris from entering.
For Presta valves, screw the threaded lockring clockwise until it is finger-tight to ensure the valve is fully closed. Then, replace the dust cap. For Schrader valves, simply replace the dust cap.
Understanding Bicycle Valve Types
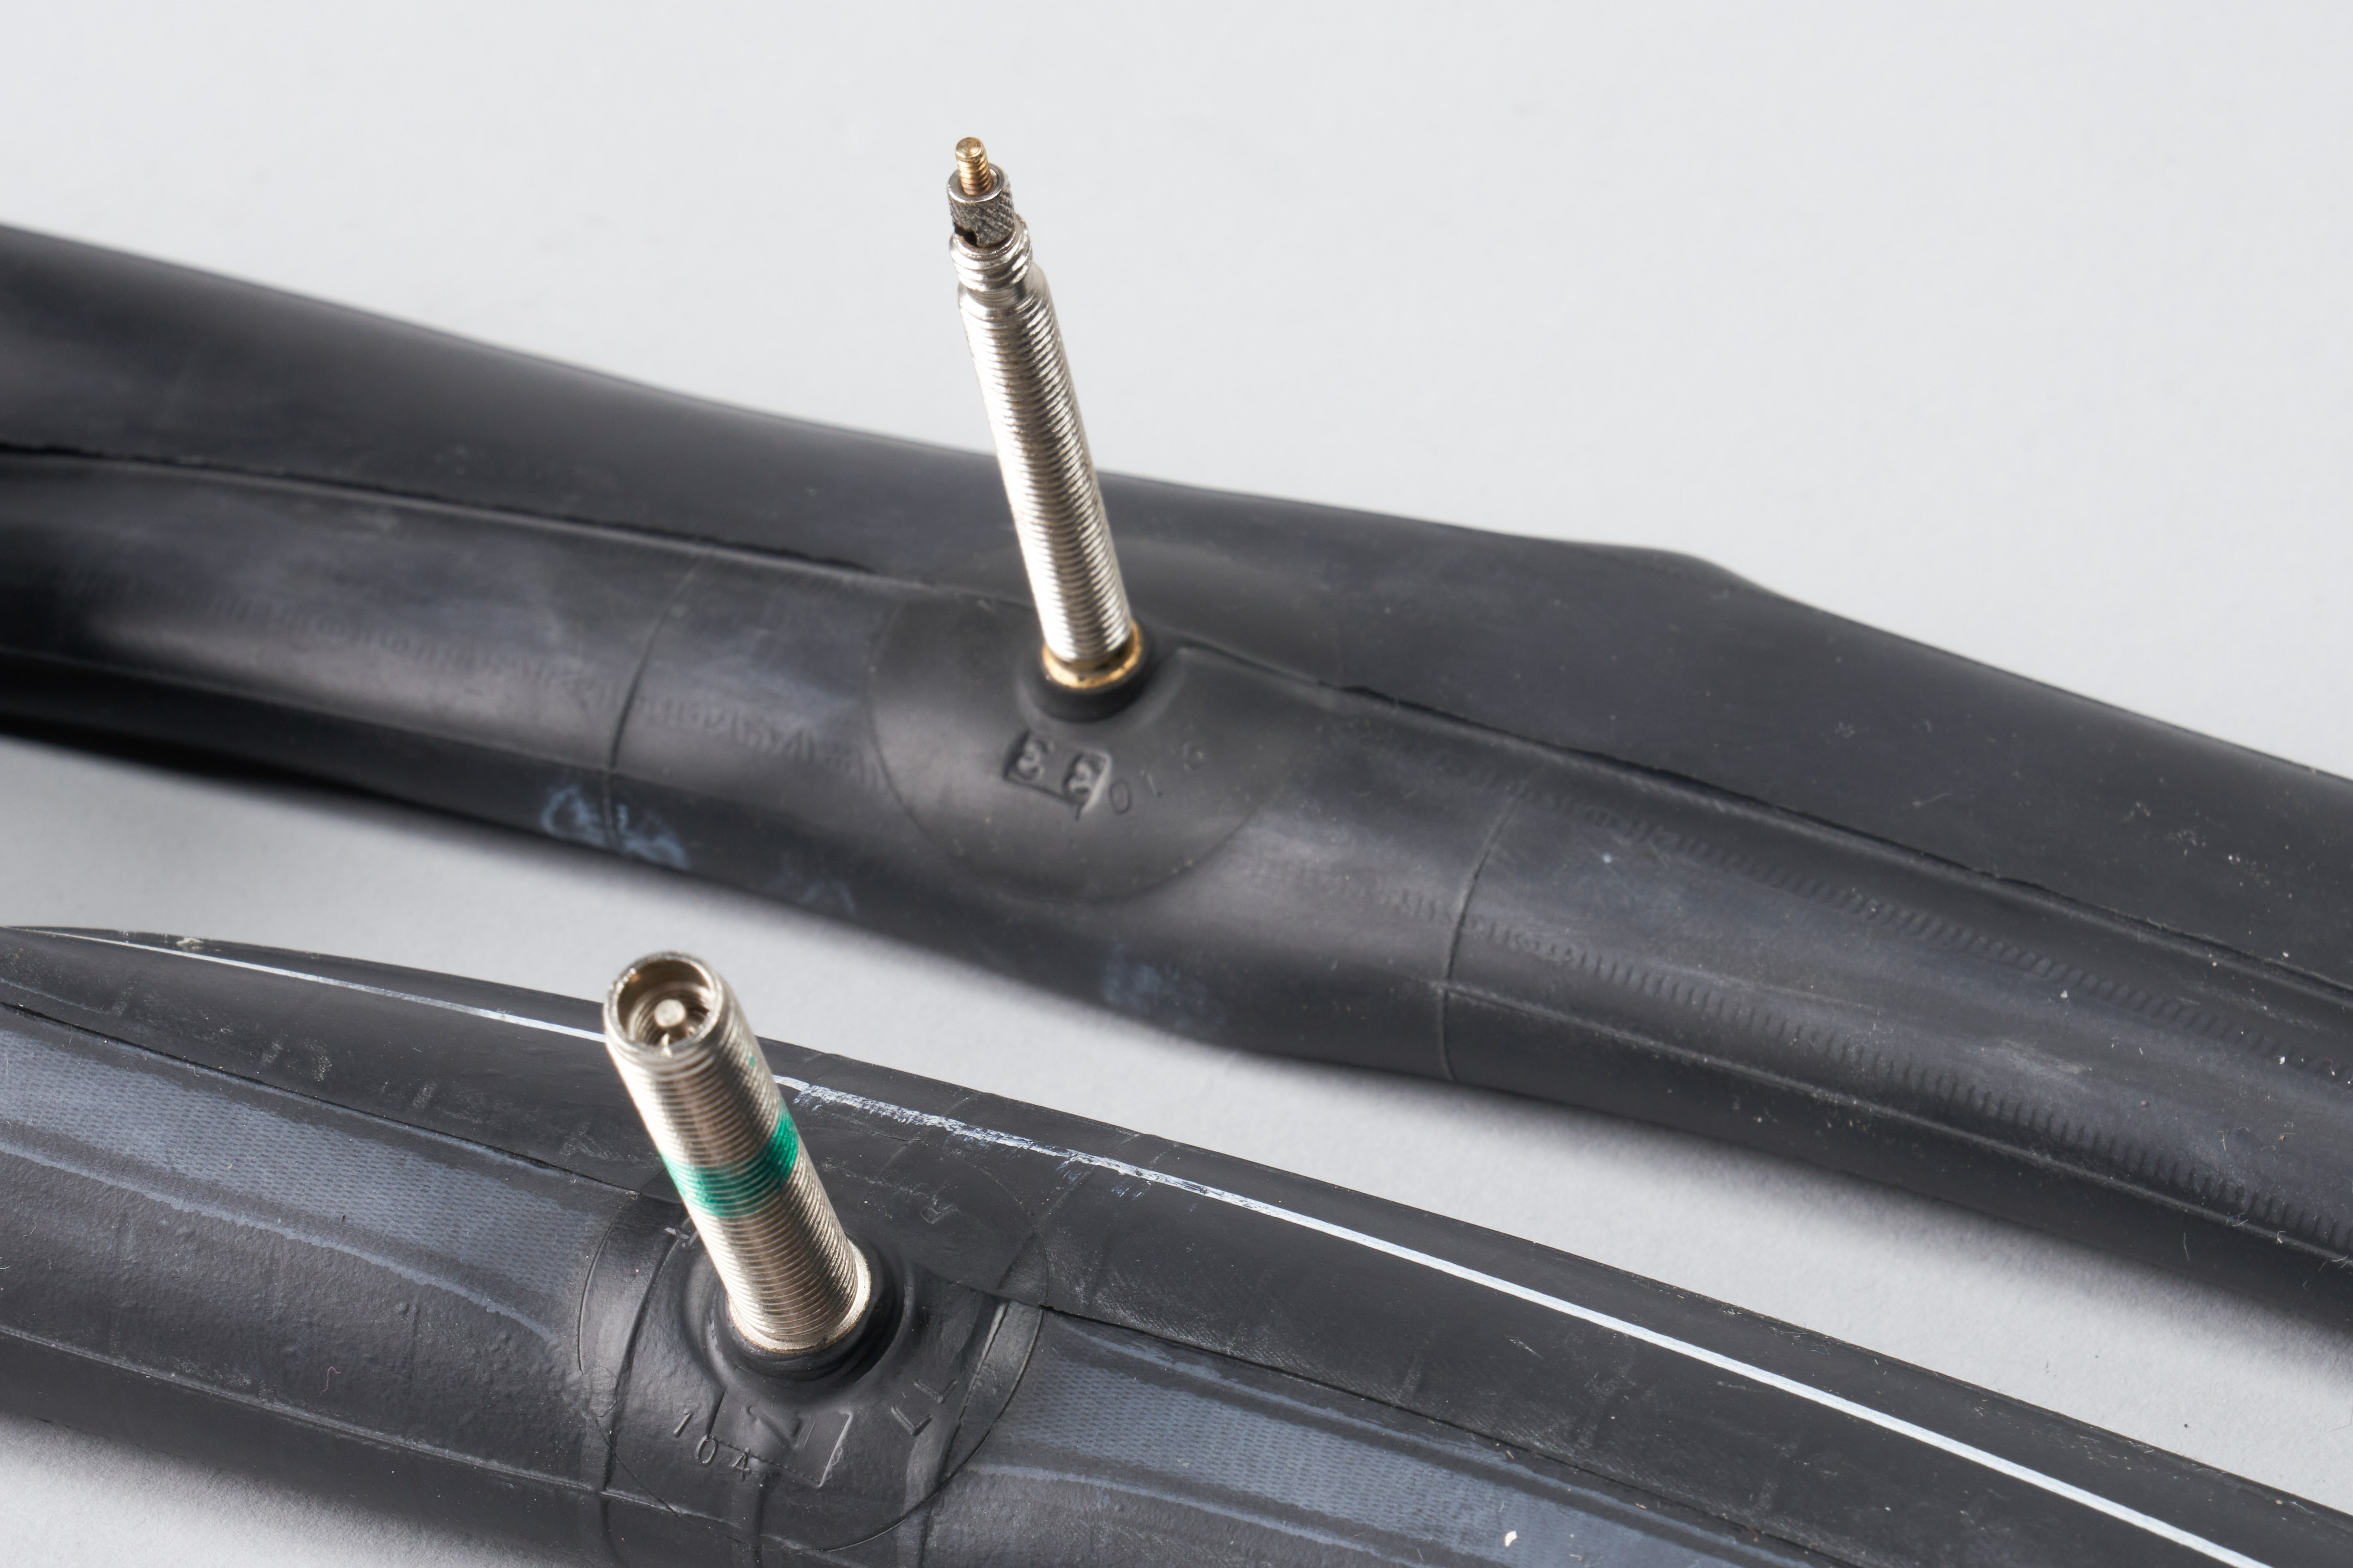 Comparison of Presta and Schrader valve types for bicycle inner tubesPresta (left) and Schrader (right) are the two most common valve types found on bicycles, each with distinct characteristics.
Knowing your bike’s valve type is essential for proper inflation. The two primary types are Presta and Schrader, with Dunlop/Woods and tubeless valves being less common but still relevant. If your pump isn’t compatible with your valve, adaptors are available.
Presta Valve
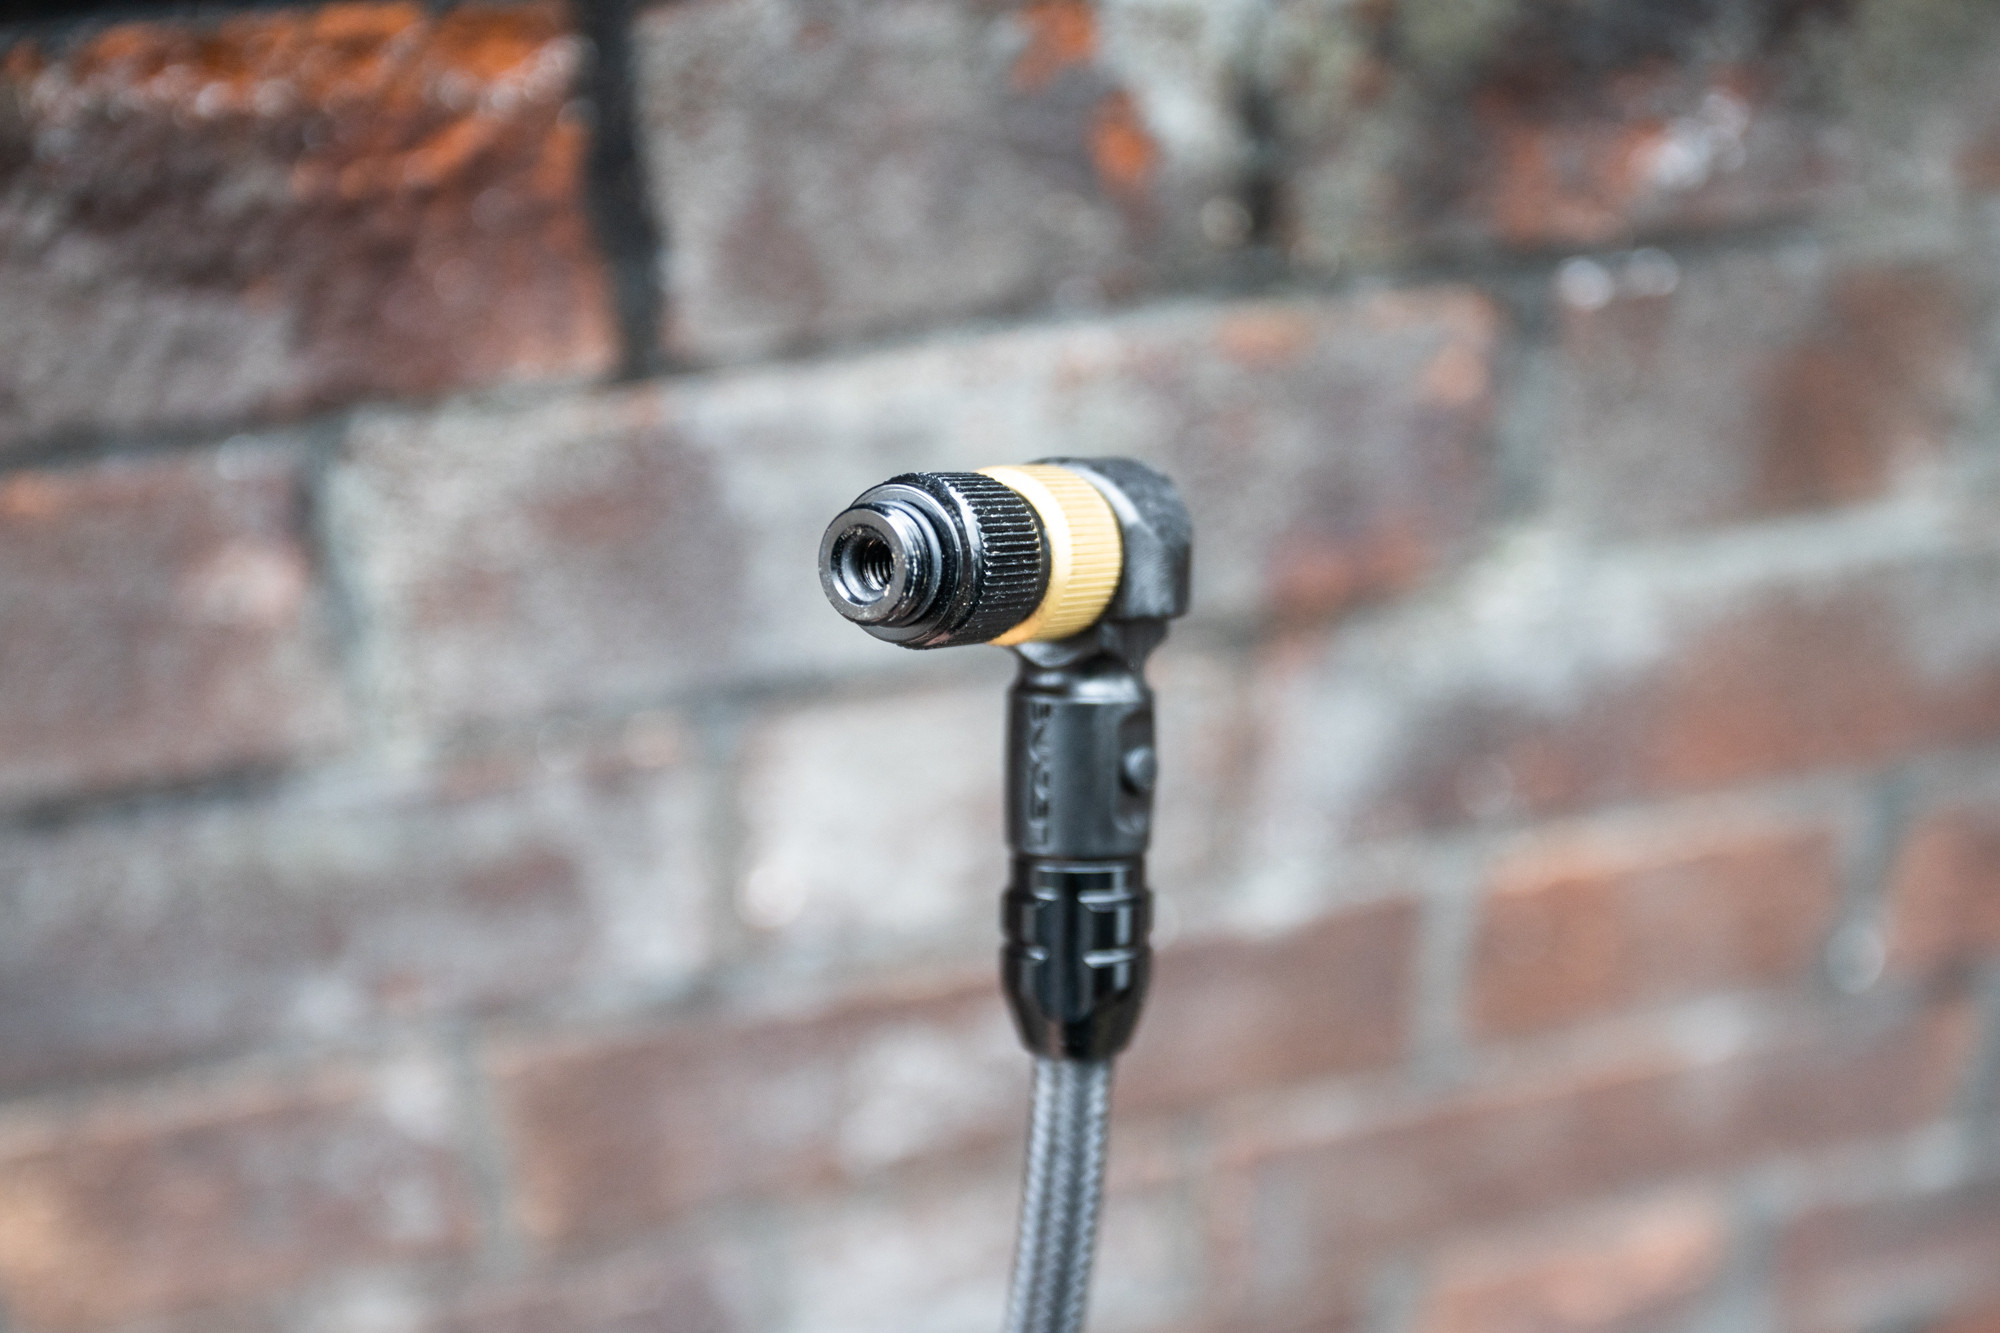
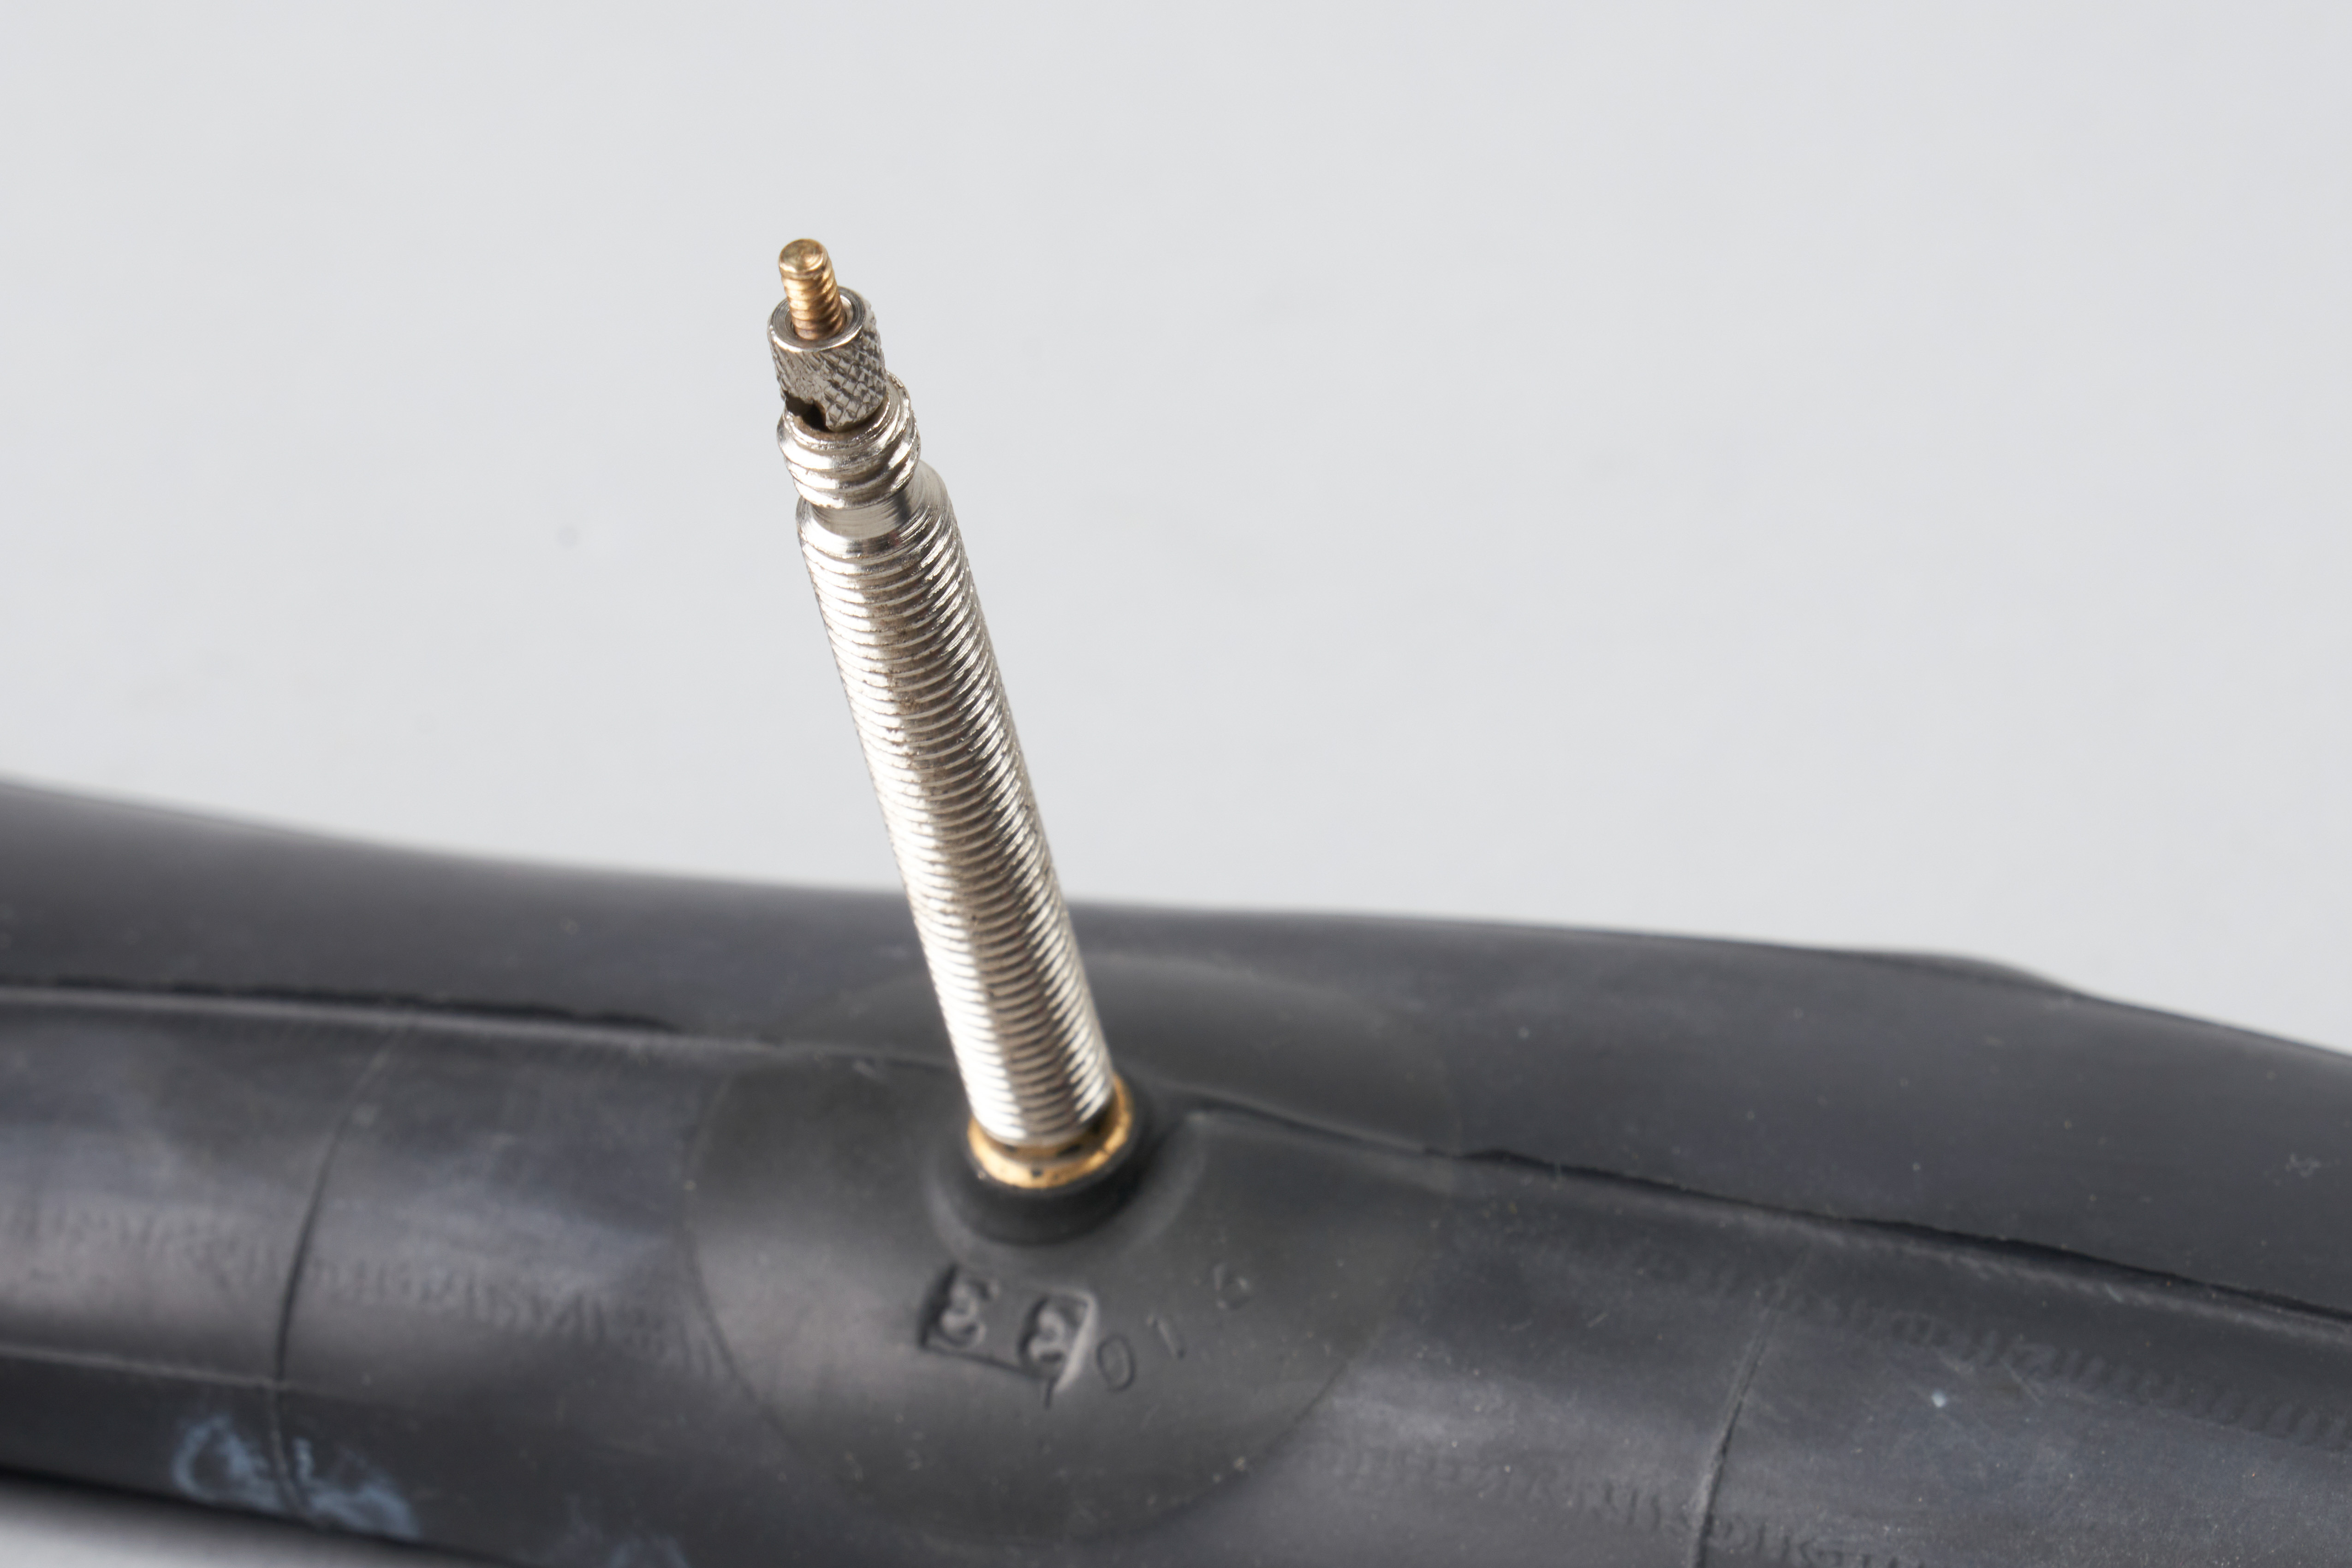 Close-up of a Presta valve, commonly found on higher-end bicyclesPresta valves, known for their slim design and locking nut, are prevalent on performance and road bikes.
Presta valves are typically found on mid-range to high-end bicycles, especially road bikes and performance-oriented bikes. They are narrower than Schrader valves and feature a valve core that seals shut under tire pressure, further secured by a threaded lock nut. Some Presta valves have removable cores, which is beneficial for tubeless tire setups.
Schrader Valve
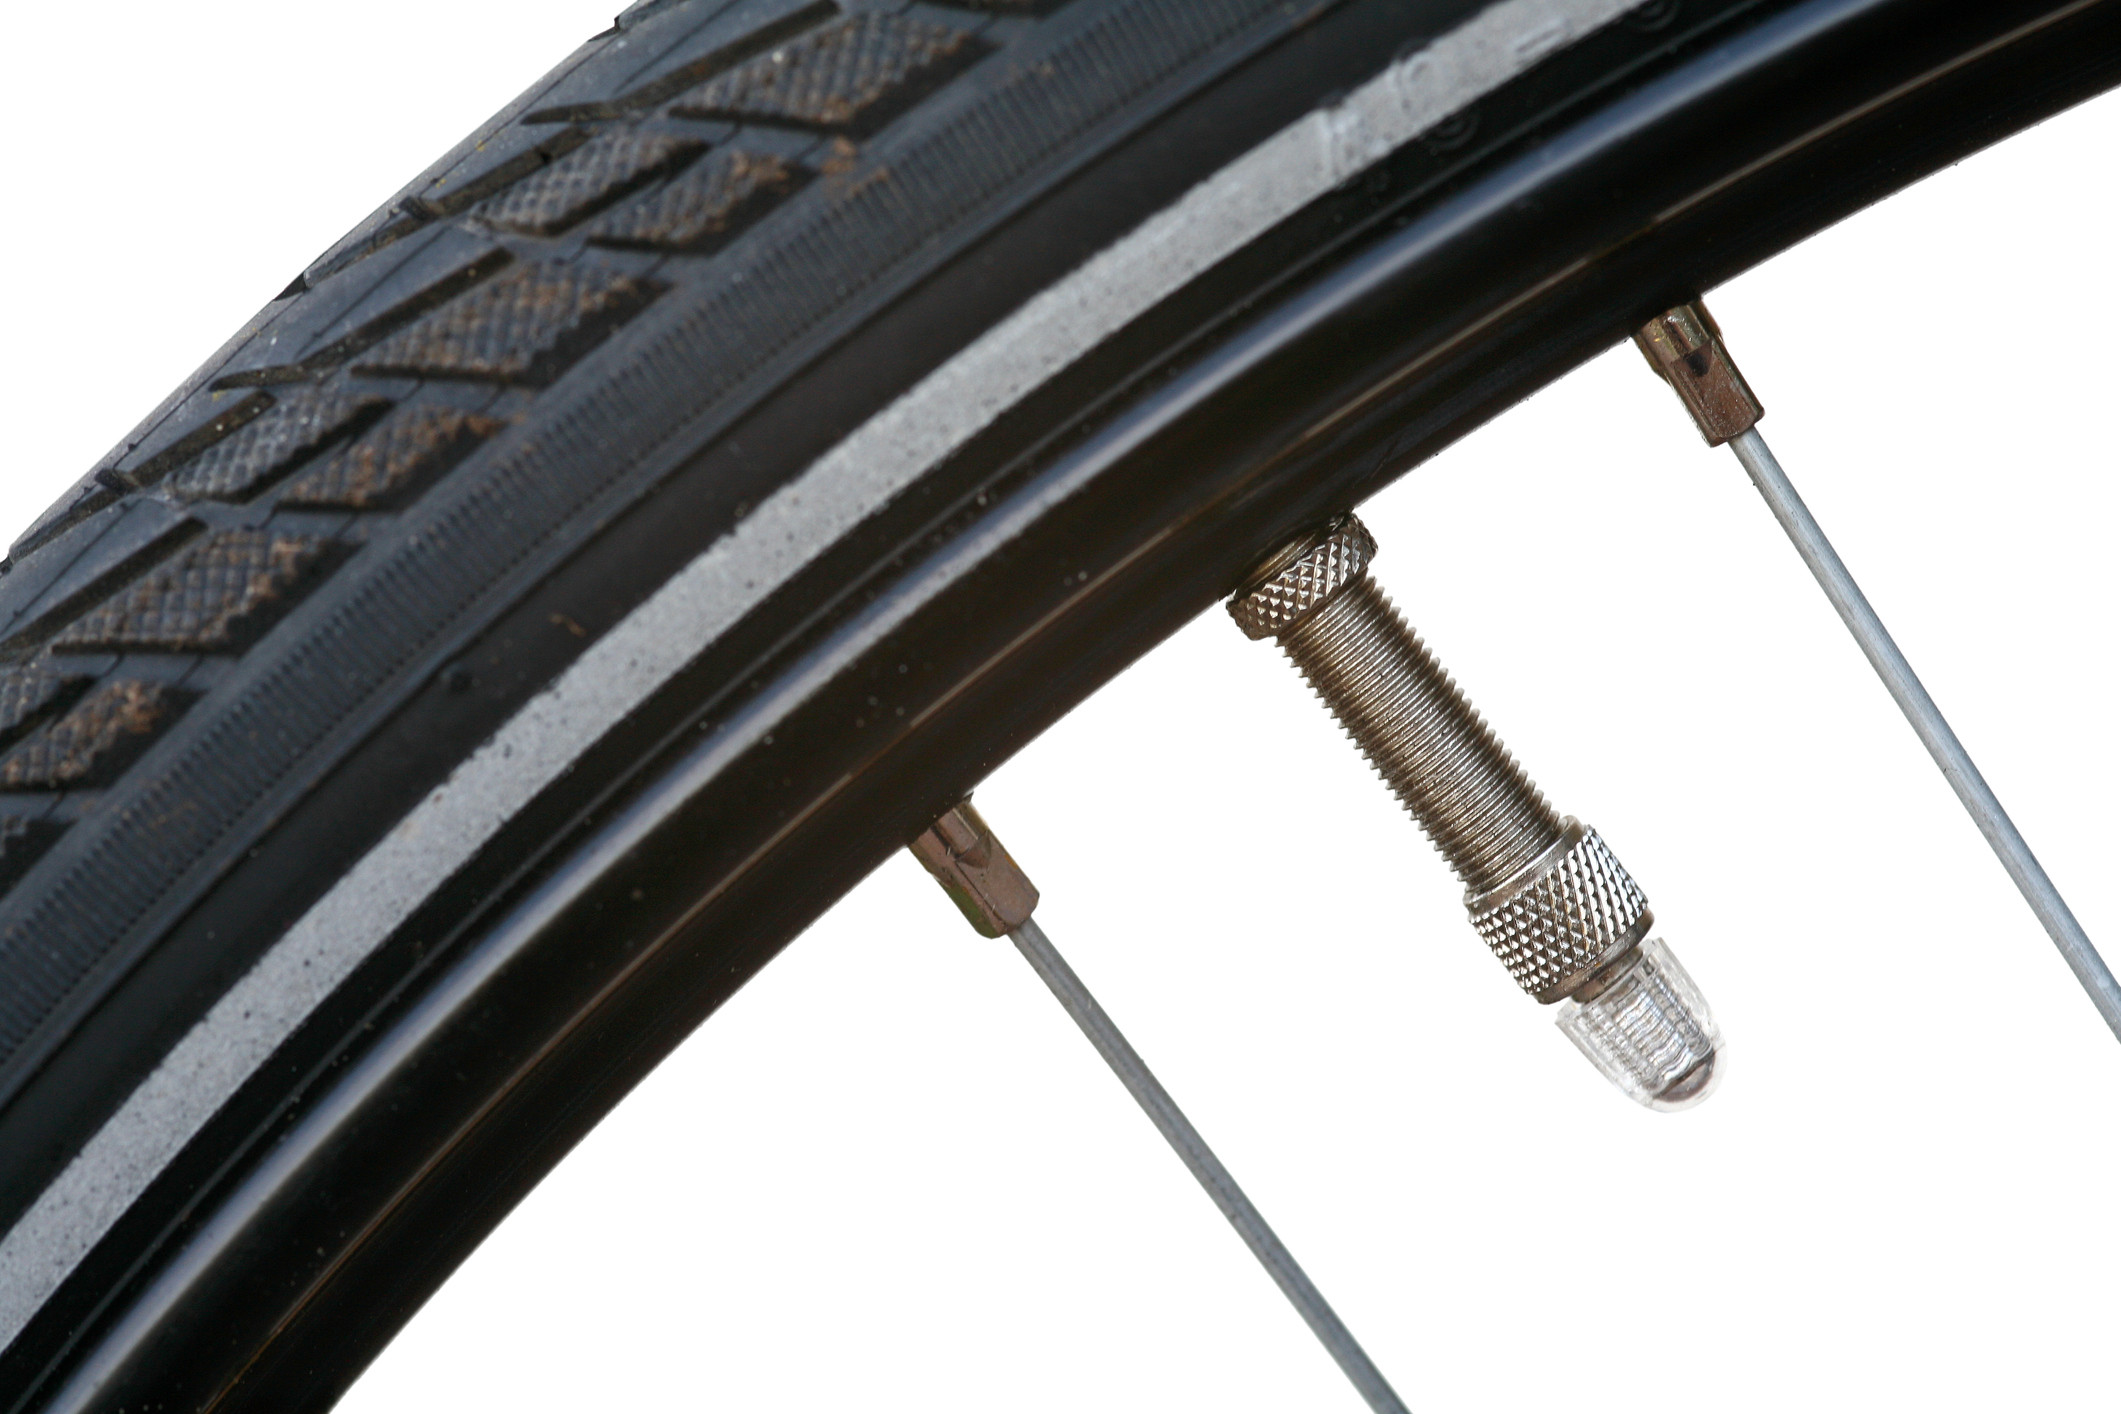
 Detailed view of a Schrader valve, similar to car tire valvesSchrader valves, robust and straightforward, are often seen on entry-level bikes and are similar to car tire valves.
Schrader valves were once the standard on bicycles but are now more commonly found on entry-level bikes, mountain bikes, and older models. They are also the standard valve type for car tires, making inflation at gas stations possible with the right equipment.
Dunlop/Woods Valve
 Dunlop/Woods valve, an older style still found on some European and older bikesDunlop or Woods valves, though less common, are still encountered, particularly in European countries and on older bicycles.
The Dunlop valve, also known as a Woods valve, is less common in many parts of the world but still prevalent on Dutch-style bikes and older bicycles, especially in Europe. It uses a similar core to Presta valves but is often contained within a wider valve body and secured with a locking nut.
Tubeless Valve
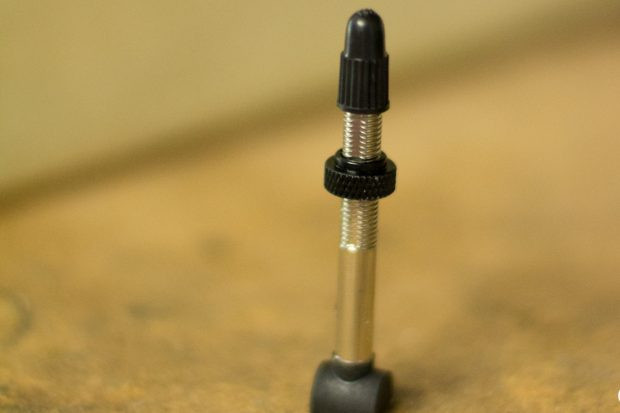 Tubeless valve installed on a bike rim, essential for tubeless tire systemsTubeless valves are specifically designed for tubeless tire setups, attaching directly to the rim and sealing air without an inner tube.
Valves for tubeless tire systems attach directly to the bike rim and seal air within the tire without needing an inner tube. While Schrader tubeless valves exist, Presta is the far more common type for tubeless setups due to its compatibility with higher pressures and narrower rims.
Determining the Right Bike Tire Pressure (PSI)
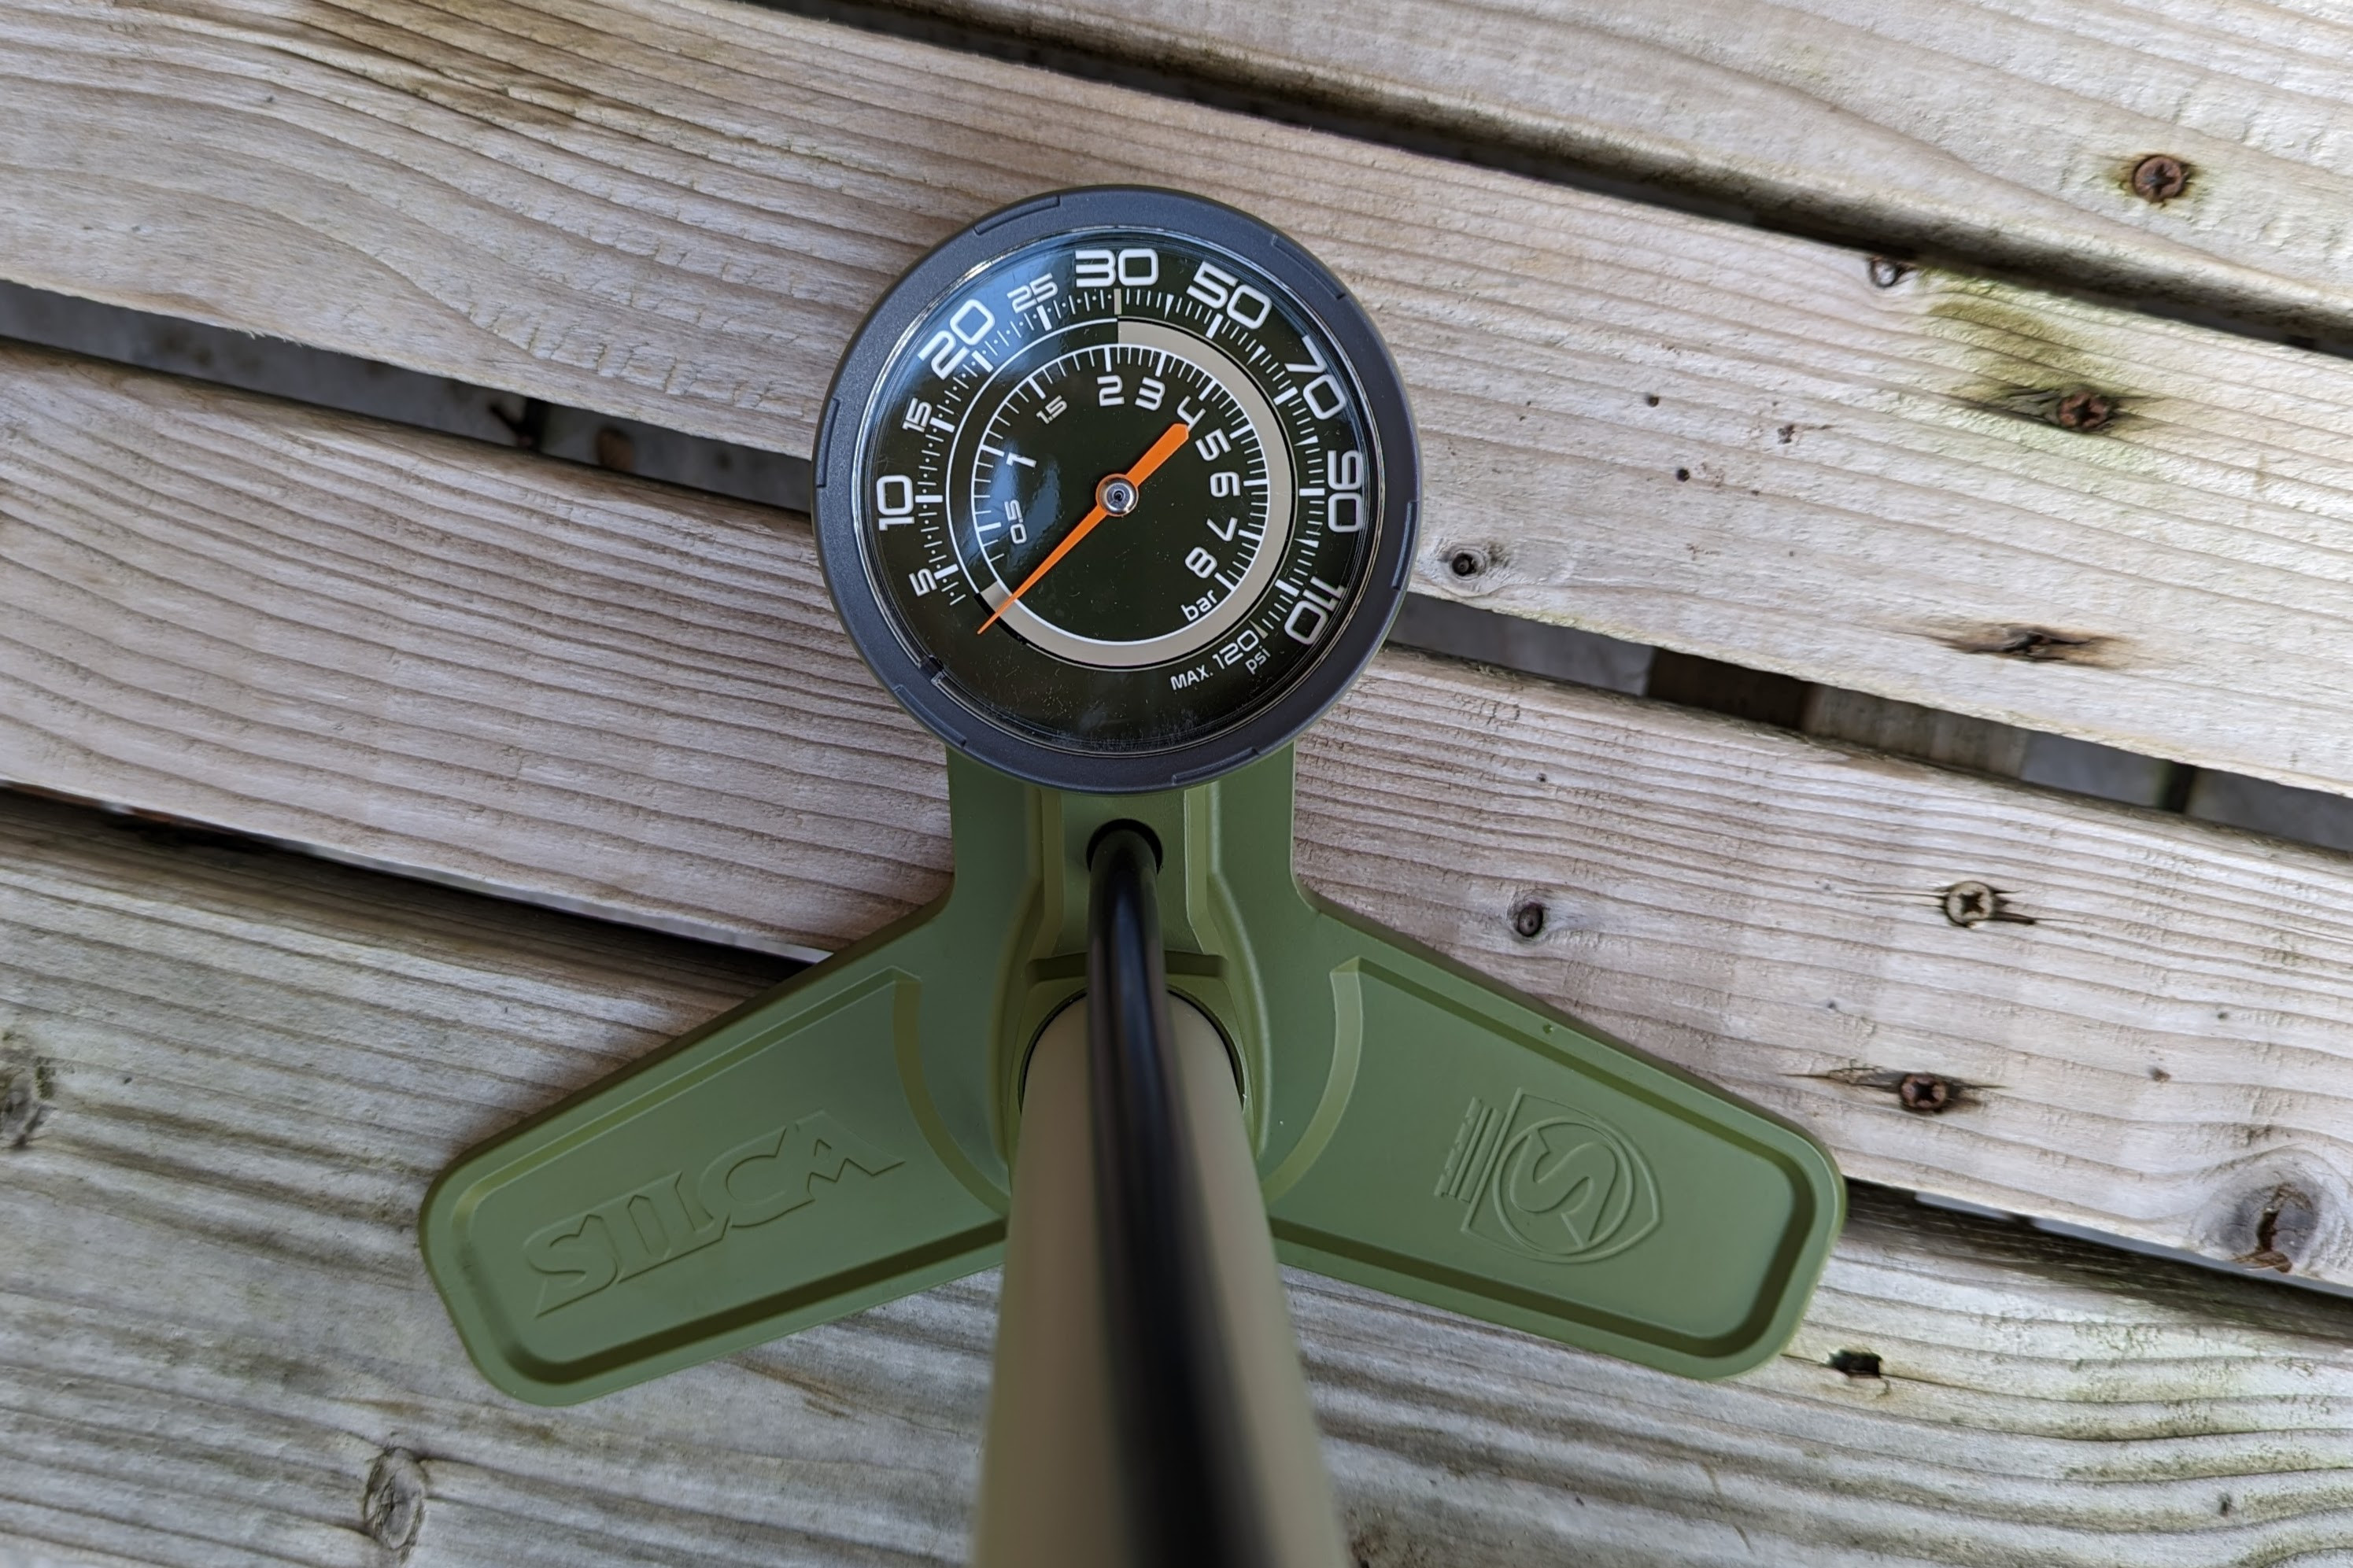 Pressure gauge on a track pump displaying accurate tire pressure readingsA track pump with an integrated pressure gauge is essential for accurately inflating tires to the recommended PSI.
Achieving the correct tire pressure significantly impacts your ride quality and performance. Overinflated tires can lead to a harsh ride, reduced comfort, and less grip, as they fail to absorb road imperfections. Underinflated tires increase rolling resistance, making pedaling harder, and heighten the risk of pinch flats.
Ideally, your tires should be firm enough to prevent bottoming out on the rim but soft enough to provide cushioning and traction. The balance is key to comfort, efficiency, and control.
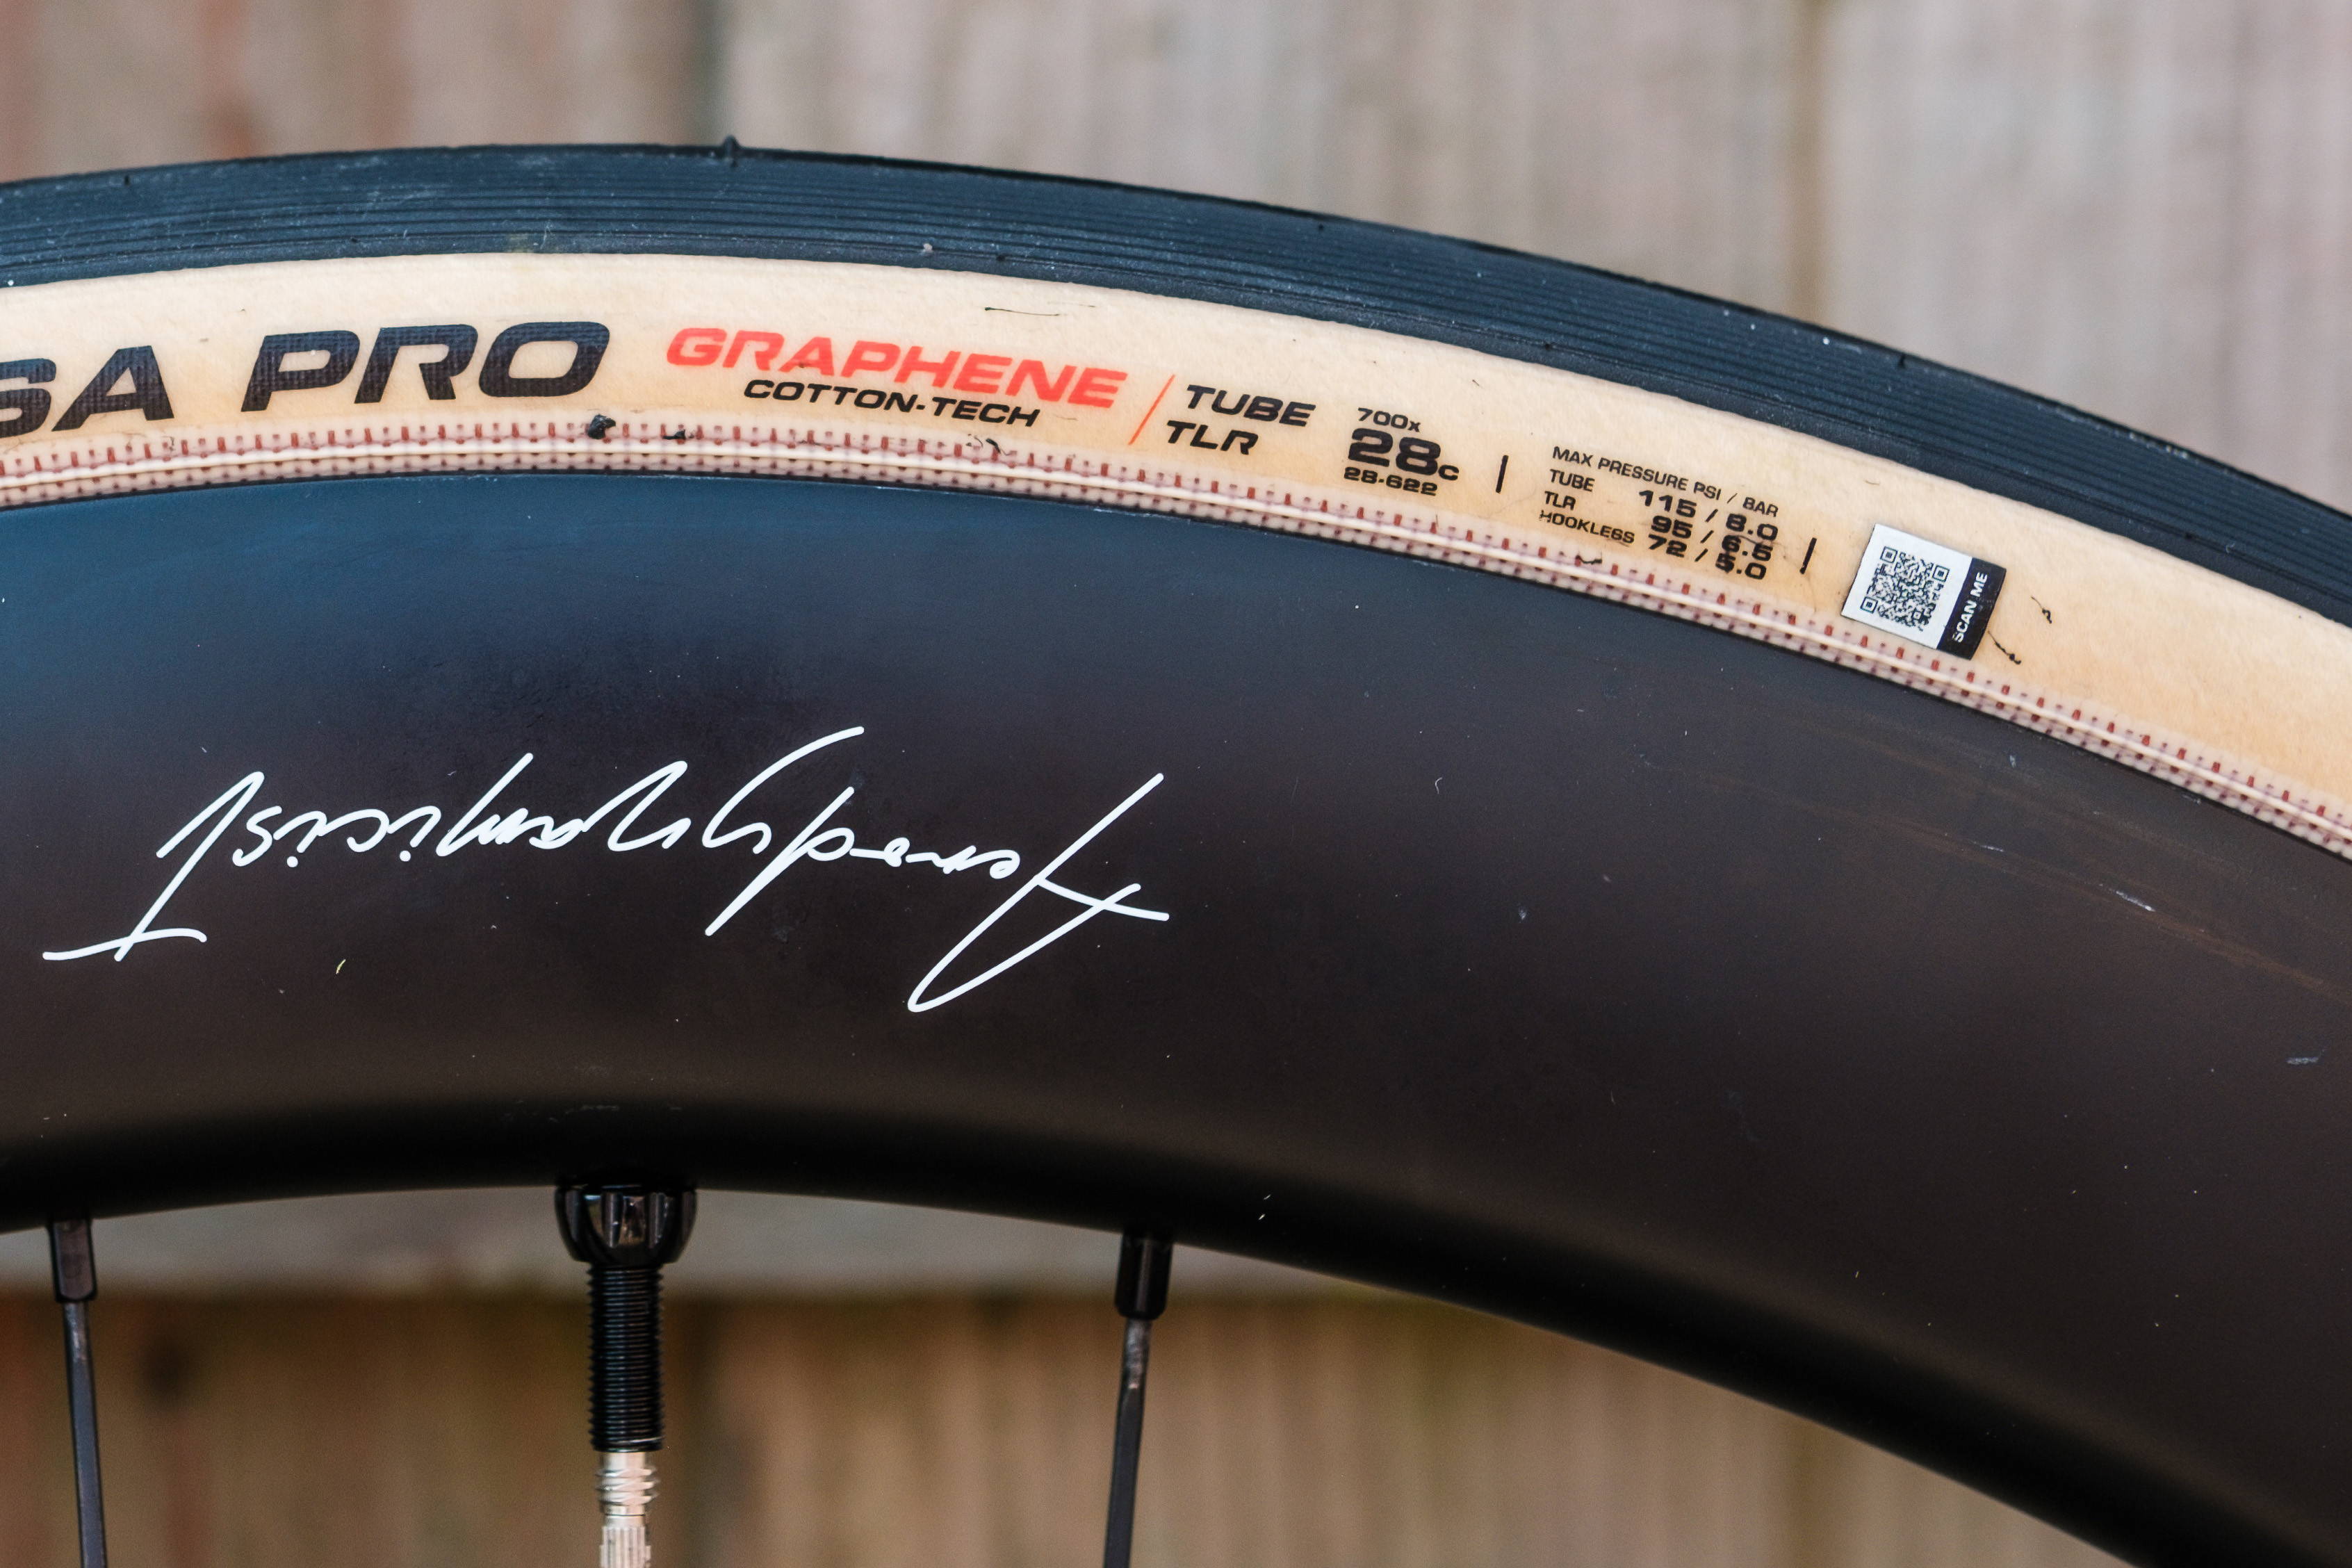 Tyre sidewall markings showing minimum and maximum pressure recommendationsAlways check the tire sidewall for the manufacturer’s recommended minimum and maximum pressure ranges for optimal performance and safety.
Most tires have the recommended pressure range printed on the sidewall. Staying within this range is crucial for safety and performance. Fine-tuning your tire pressure within this range, based on your weight, riding conditions, and personal preference, can greatly enhance your cycling experience. Experimentation is encouraged to find your optimal pressure.
For more detailed guidance, specific guides are available on optimizing tire pressure for road bikes, gravel bikes, and mountain bikes.
Choosing the Right Bike Pump for Your Needs
 Selection of bike pumps, including track, mini, and CO2 inflator typesHaving both a track pump for home use and a mini pump for on-the-go repairs is ideal for comprehensive tire maintenance.
Ideally, every cyclist should own two types of pumps: a track pump for home use and a mini pump for emergency repairs on rides. When purchasing a pump, ensure it is compatible with your bike’s valve type, or better yet, versatile enough to work with both Presta and Schrader valves.
Track Pump (Floor Pump)
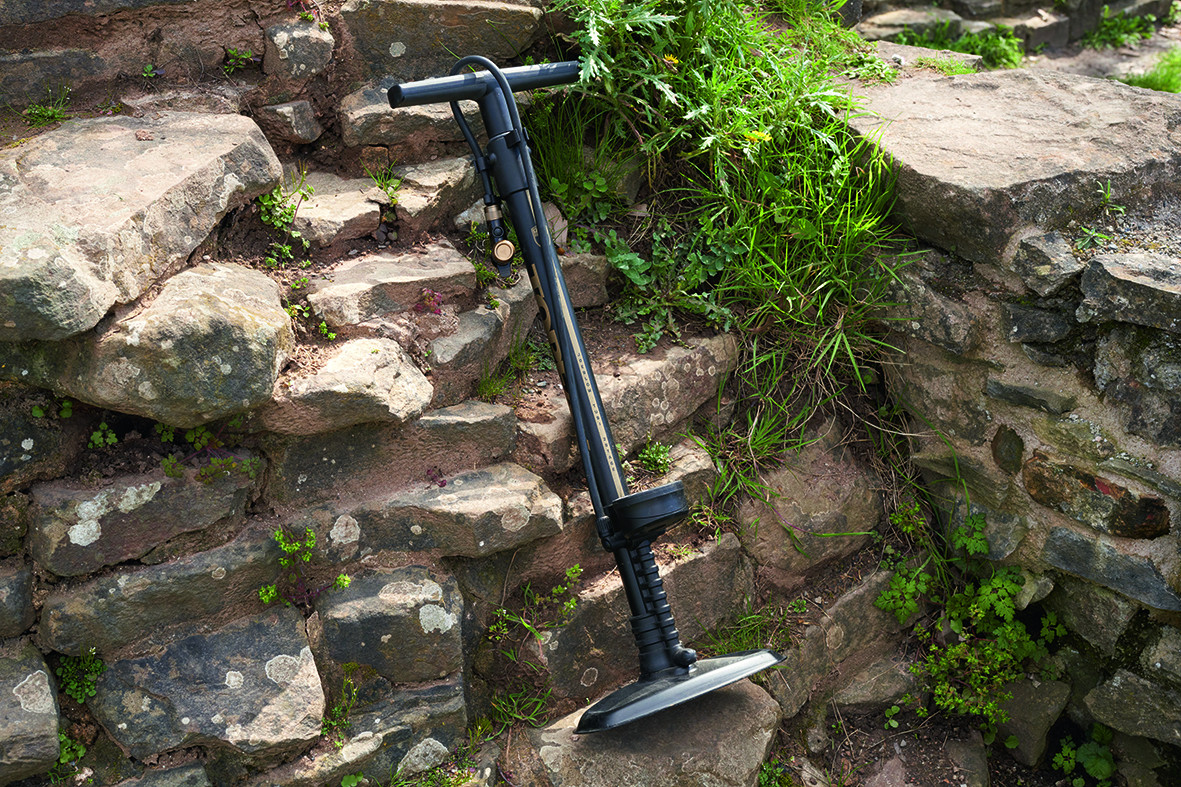
Selection of bike pumps, including track, mini, and CO2 inflator typesA track pump is a must-have for home use, offering efficiency, speed, and accuracy with its built-in pressure gauge.
A track pump, or floor pump, is designed for efficient inflation at home. It features a stable base, a long hose for easy valve access, and a large air chamber for rapid inflation. Crucially, most track pumps include a pressure gauge, allowing you to inflate your tires to the precise recommended pressure.
Mini Pump (Hand Pump)
 Compact mini pump, perfect for carrying on rides for puncture repairsA mini pump is essential for roadside repairs, choose one with a hose to protect valves during inflation.
Mini pumps are compact and lightweight, designed to be carried on rides for puncture repairs. They fit easily into a jersey pocket or mount to your bike frame. Opt for a mini pump with a hose to reduce stress on the valve during inflation and prevent damage.
CO2 Inflator
 CO2 inflator with cartridges, for rapid tire inflation during ridesCO2 inflators are a quick solution for inflating tires on the go, but are best used in conjunction with a mini pump for longer rides.
CO2 inflators use cartridges of compressed carbon dioxide for rapid tire inflation during a ride. While they are a fast solution, CO2-inflated tires tend to lose pressure more quickly than those inflated with air and CO2 inflators are single-use per cartridge. It’s advisable to carry a mini pump as a backup, especially on longer rides, in case of multiple punctures or CO2 cartridge depletion.
The Mechanics of a Bike Pump
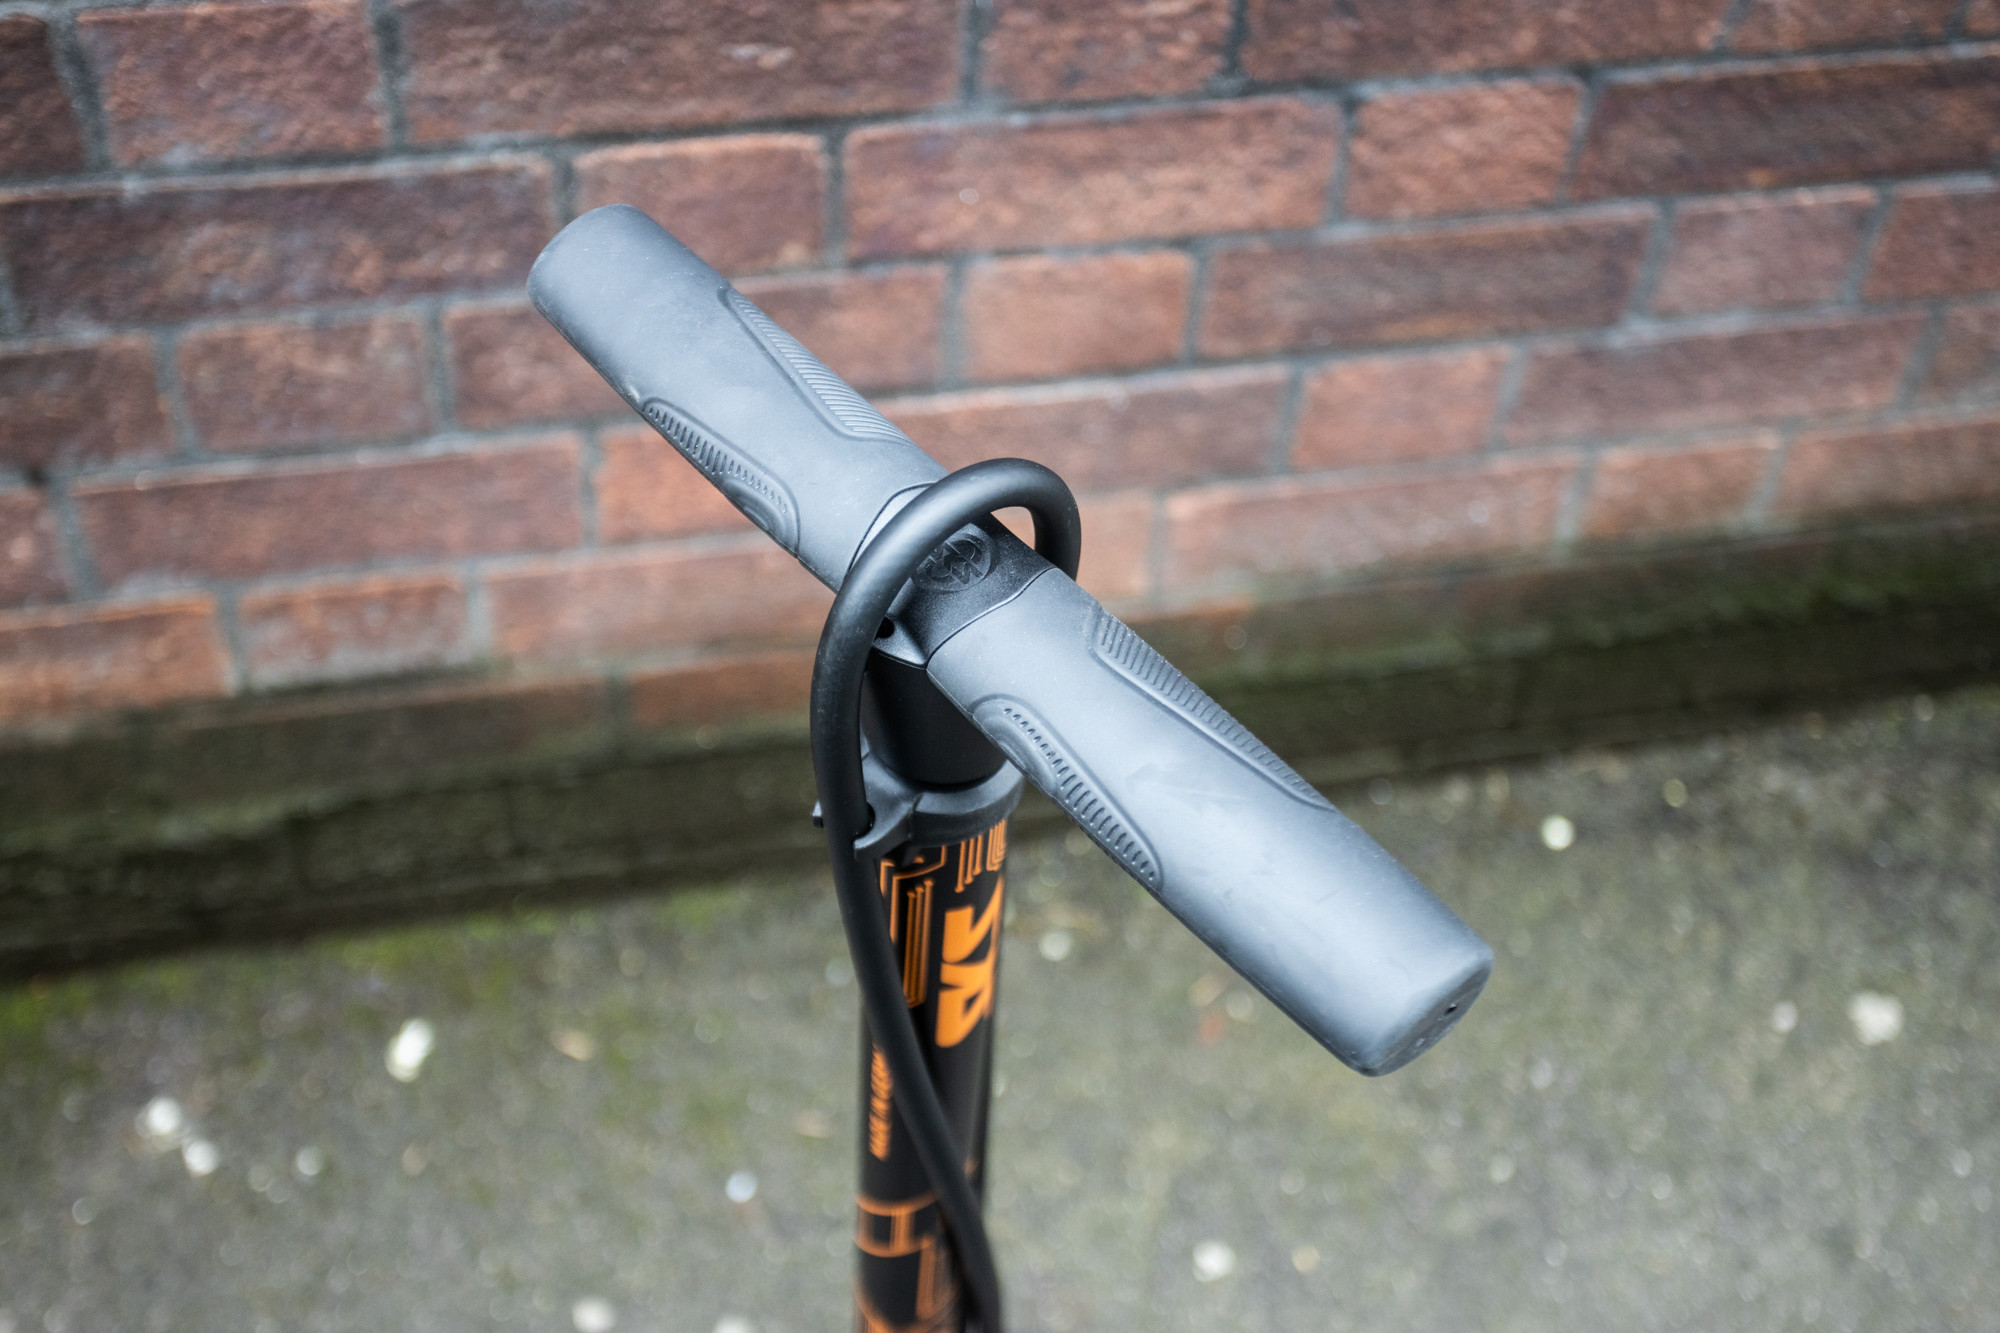 Handle of a bike pump showing ergonomic design for better gripErgonomic pump handles and robust construction contribute to the efficiency and longevity of a bike pump.
Bike pumps operate on a straightforward principle: increasing air pressure within the pump until it exceeds the pressure in the tire, forcing air into the tire. This is achieved through a manually operated piston.
On the downstroke, a one-way check valve seals the piston chamber, compressing the air. Pressure builds until it surpasses the tire pressure, at which point a second one-way valve opens, allowing air to flow into the tire. The process repeats as you pump. A second check valve prevents air from escaping back out of the tire on the upstroke.
Presta valves automatically seal shut, while Schrader valves are spring-loaded and are held open by a pin in the pump head during inflation, simplifying the pumping process.
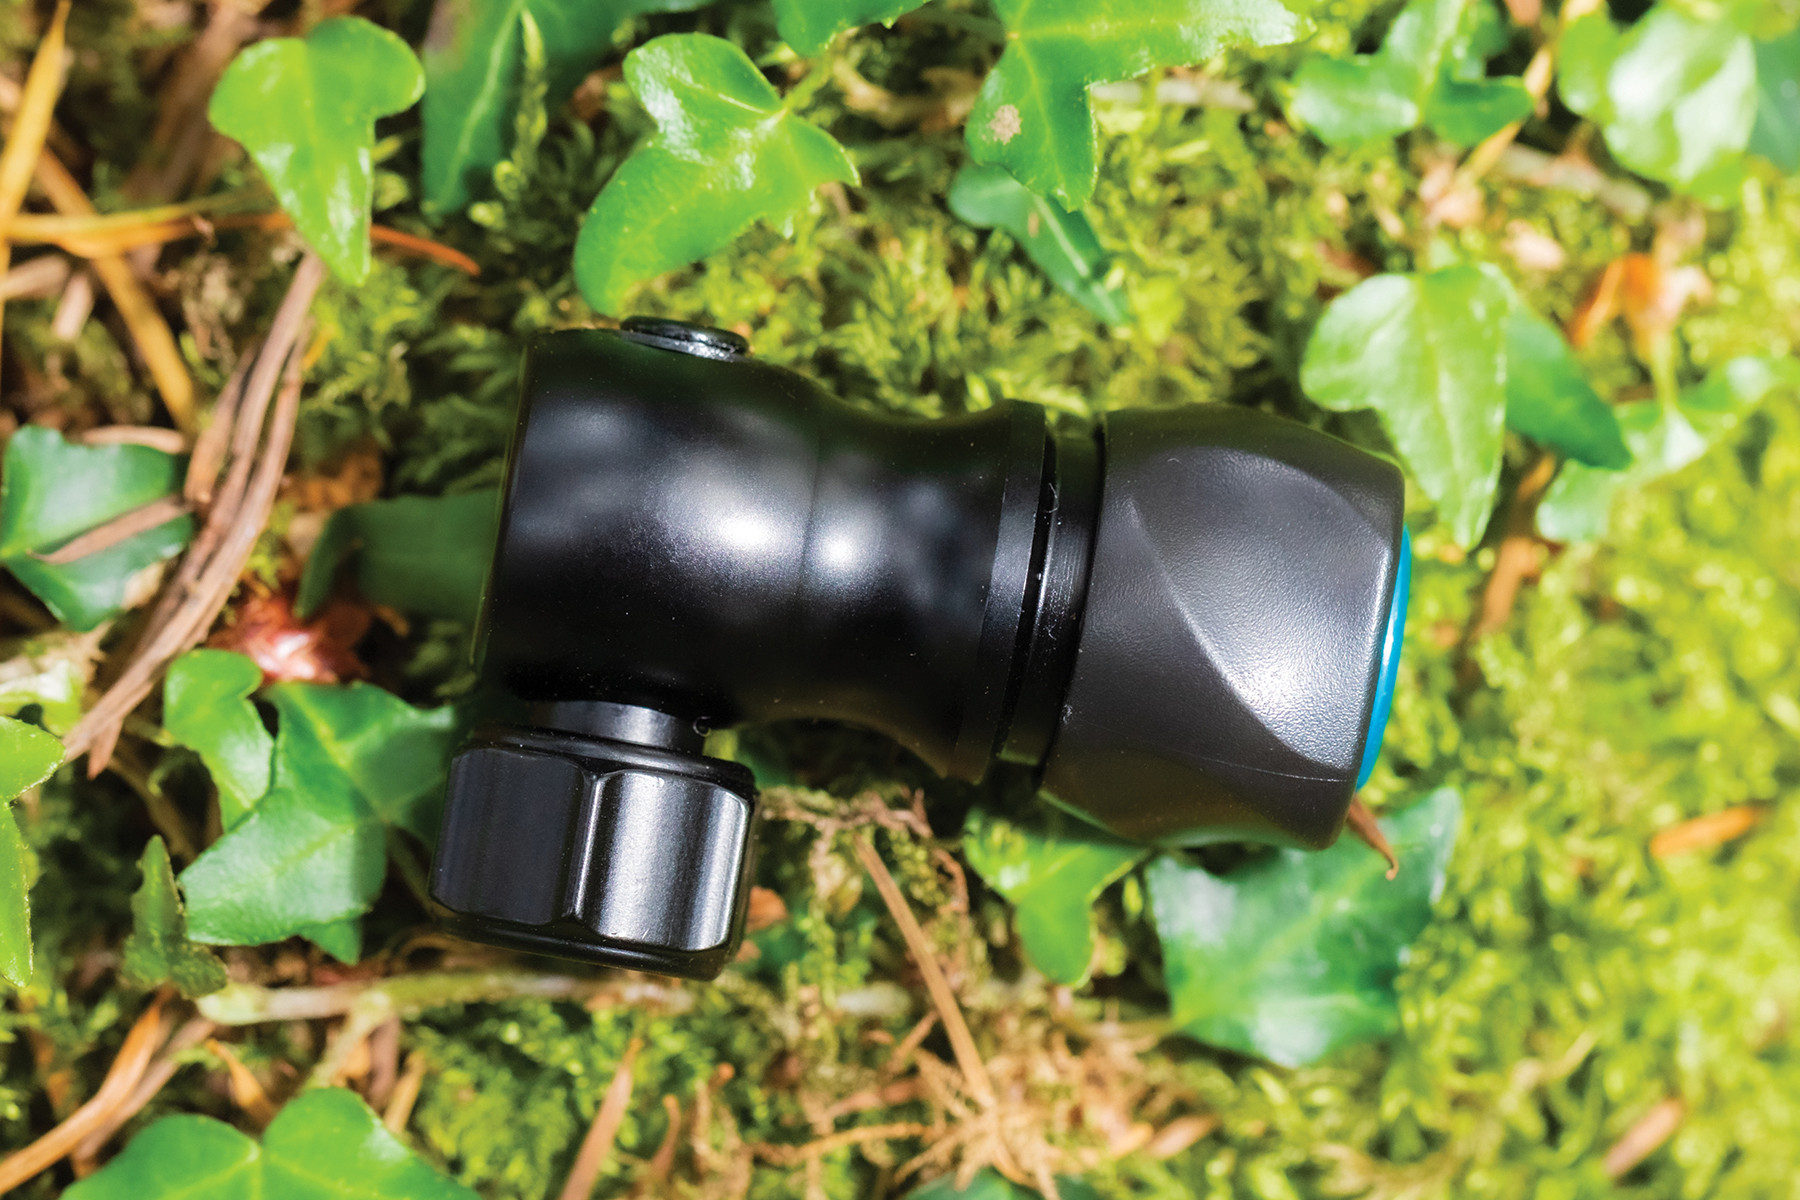
 Pump head (chuck) of a high-quality track pump, designed for Presta and Schrader valvesThe pump head, or chuck, is the critical component that ensures an airtight seal and proper valve engagement for effective inflation.
The pump head, or chuck, is the component that attaches to the valve, creating an airtight seal. Modern pumps often feature adaptable chucks for both Schrader and Presta valves, either through dual openings or adjustable mechanisms. Many pumps, especially track and higher-end mini pumps, incorporate a hose to reduce stress on the valve during pumping. Pressure gauges are commonly included to monitor inflation accuracy.
How Often Should You Inflate Your Bike Tires?
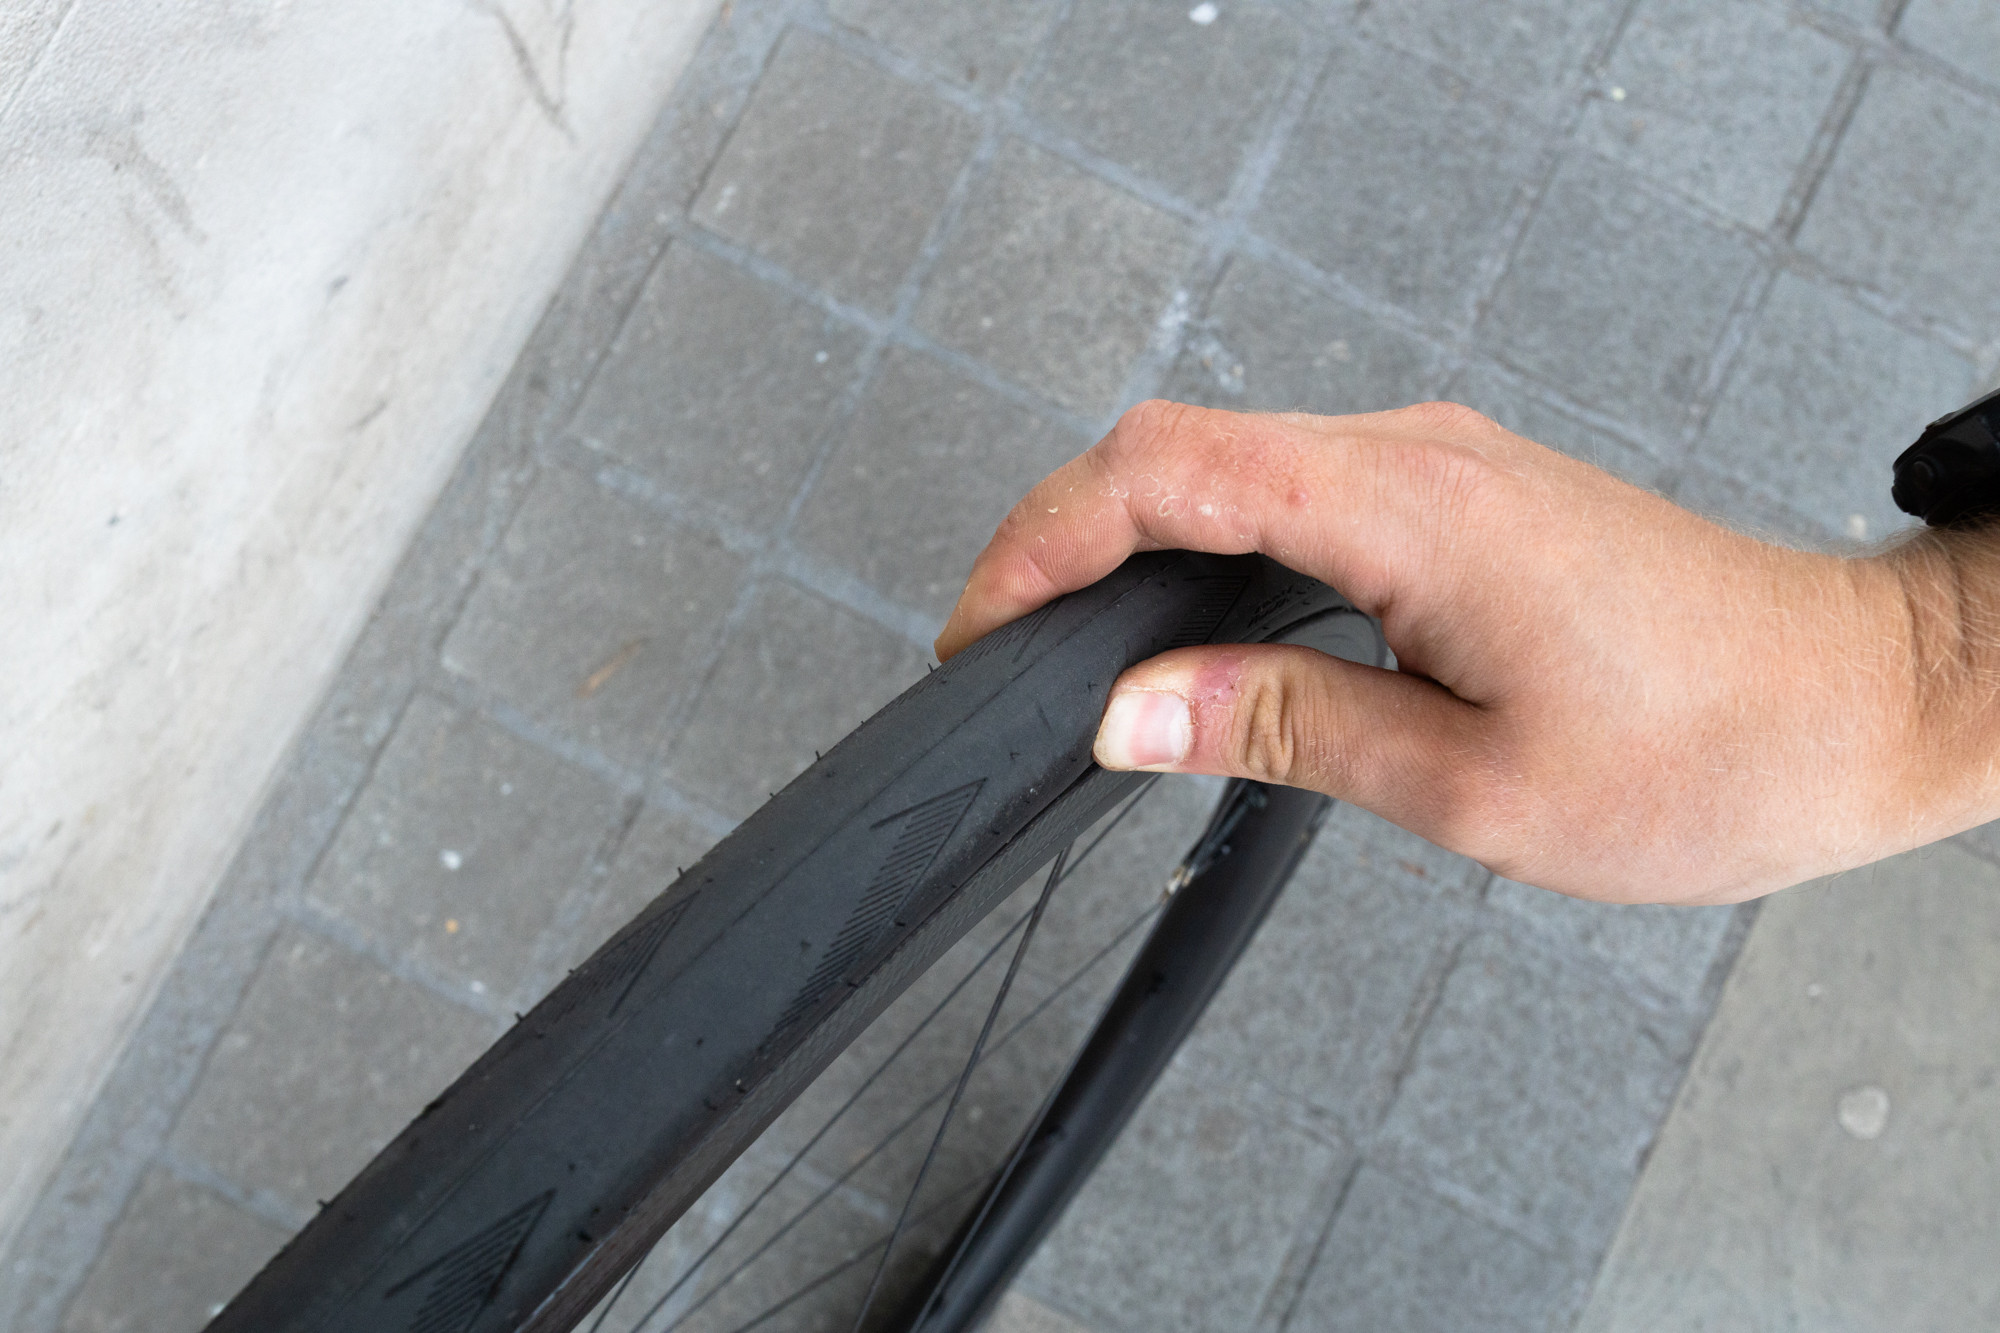 Checking tire pressure by pinching, a quick method for ballpark estimationRegularly check tire pressure, ideally before each ride, to ensure optimal performance and tire health.
It is best practice to check your bike tire pressure before every ride. Tires naturally lose air over time, and consistent pressure checks ensure optimal riding conditions and prevent premature wear. If storing your bike long-term, periodically topping up the tires is recommended to prevent the inner tubes from degrading.
A quick squeeze of the tire can give you a rough indication of pressure. While not precise, it helps you develop a sense for correct inflation. For accurate readings, consider investing in a tyre pressure gauge.
The Importance of Properly Inflated Bike Tires
 Mountain biker riding on a trail, highlighting the importance of tires for bike-terrain connectionBike tires are the primary interface between the bike and riding surface, critical for control, comfort, and performance.
Pneumatic tires revolutionized cycling by providing cushioning and improved ride quality compared to solid wheels. The air within your tires acts as a suspension system, allowing the tire to conform to the terrain, enhancing traction, grip, and comfort.
Maintaining proper tire pressure is a simple yet impactful way to enhance your cycling enjoyment. Incorrect pressure not only compromises ride quality but can also increase the likelihood of punctures and reduce overall bike performance.
How Bike Tires Retain Air
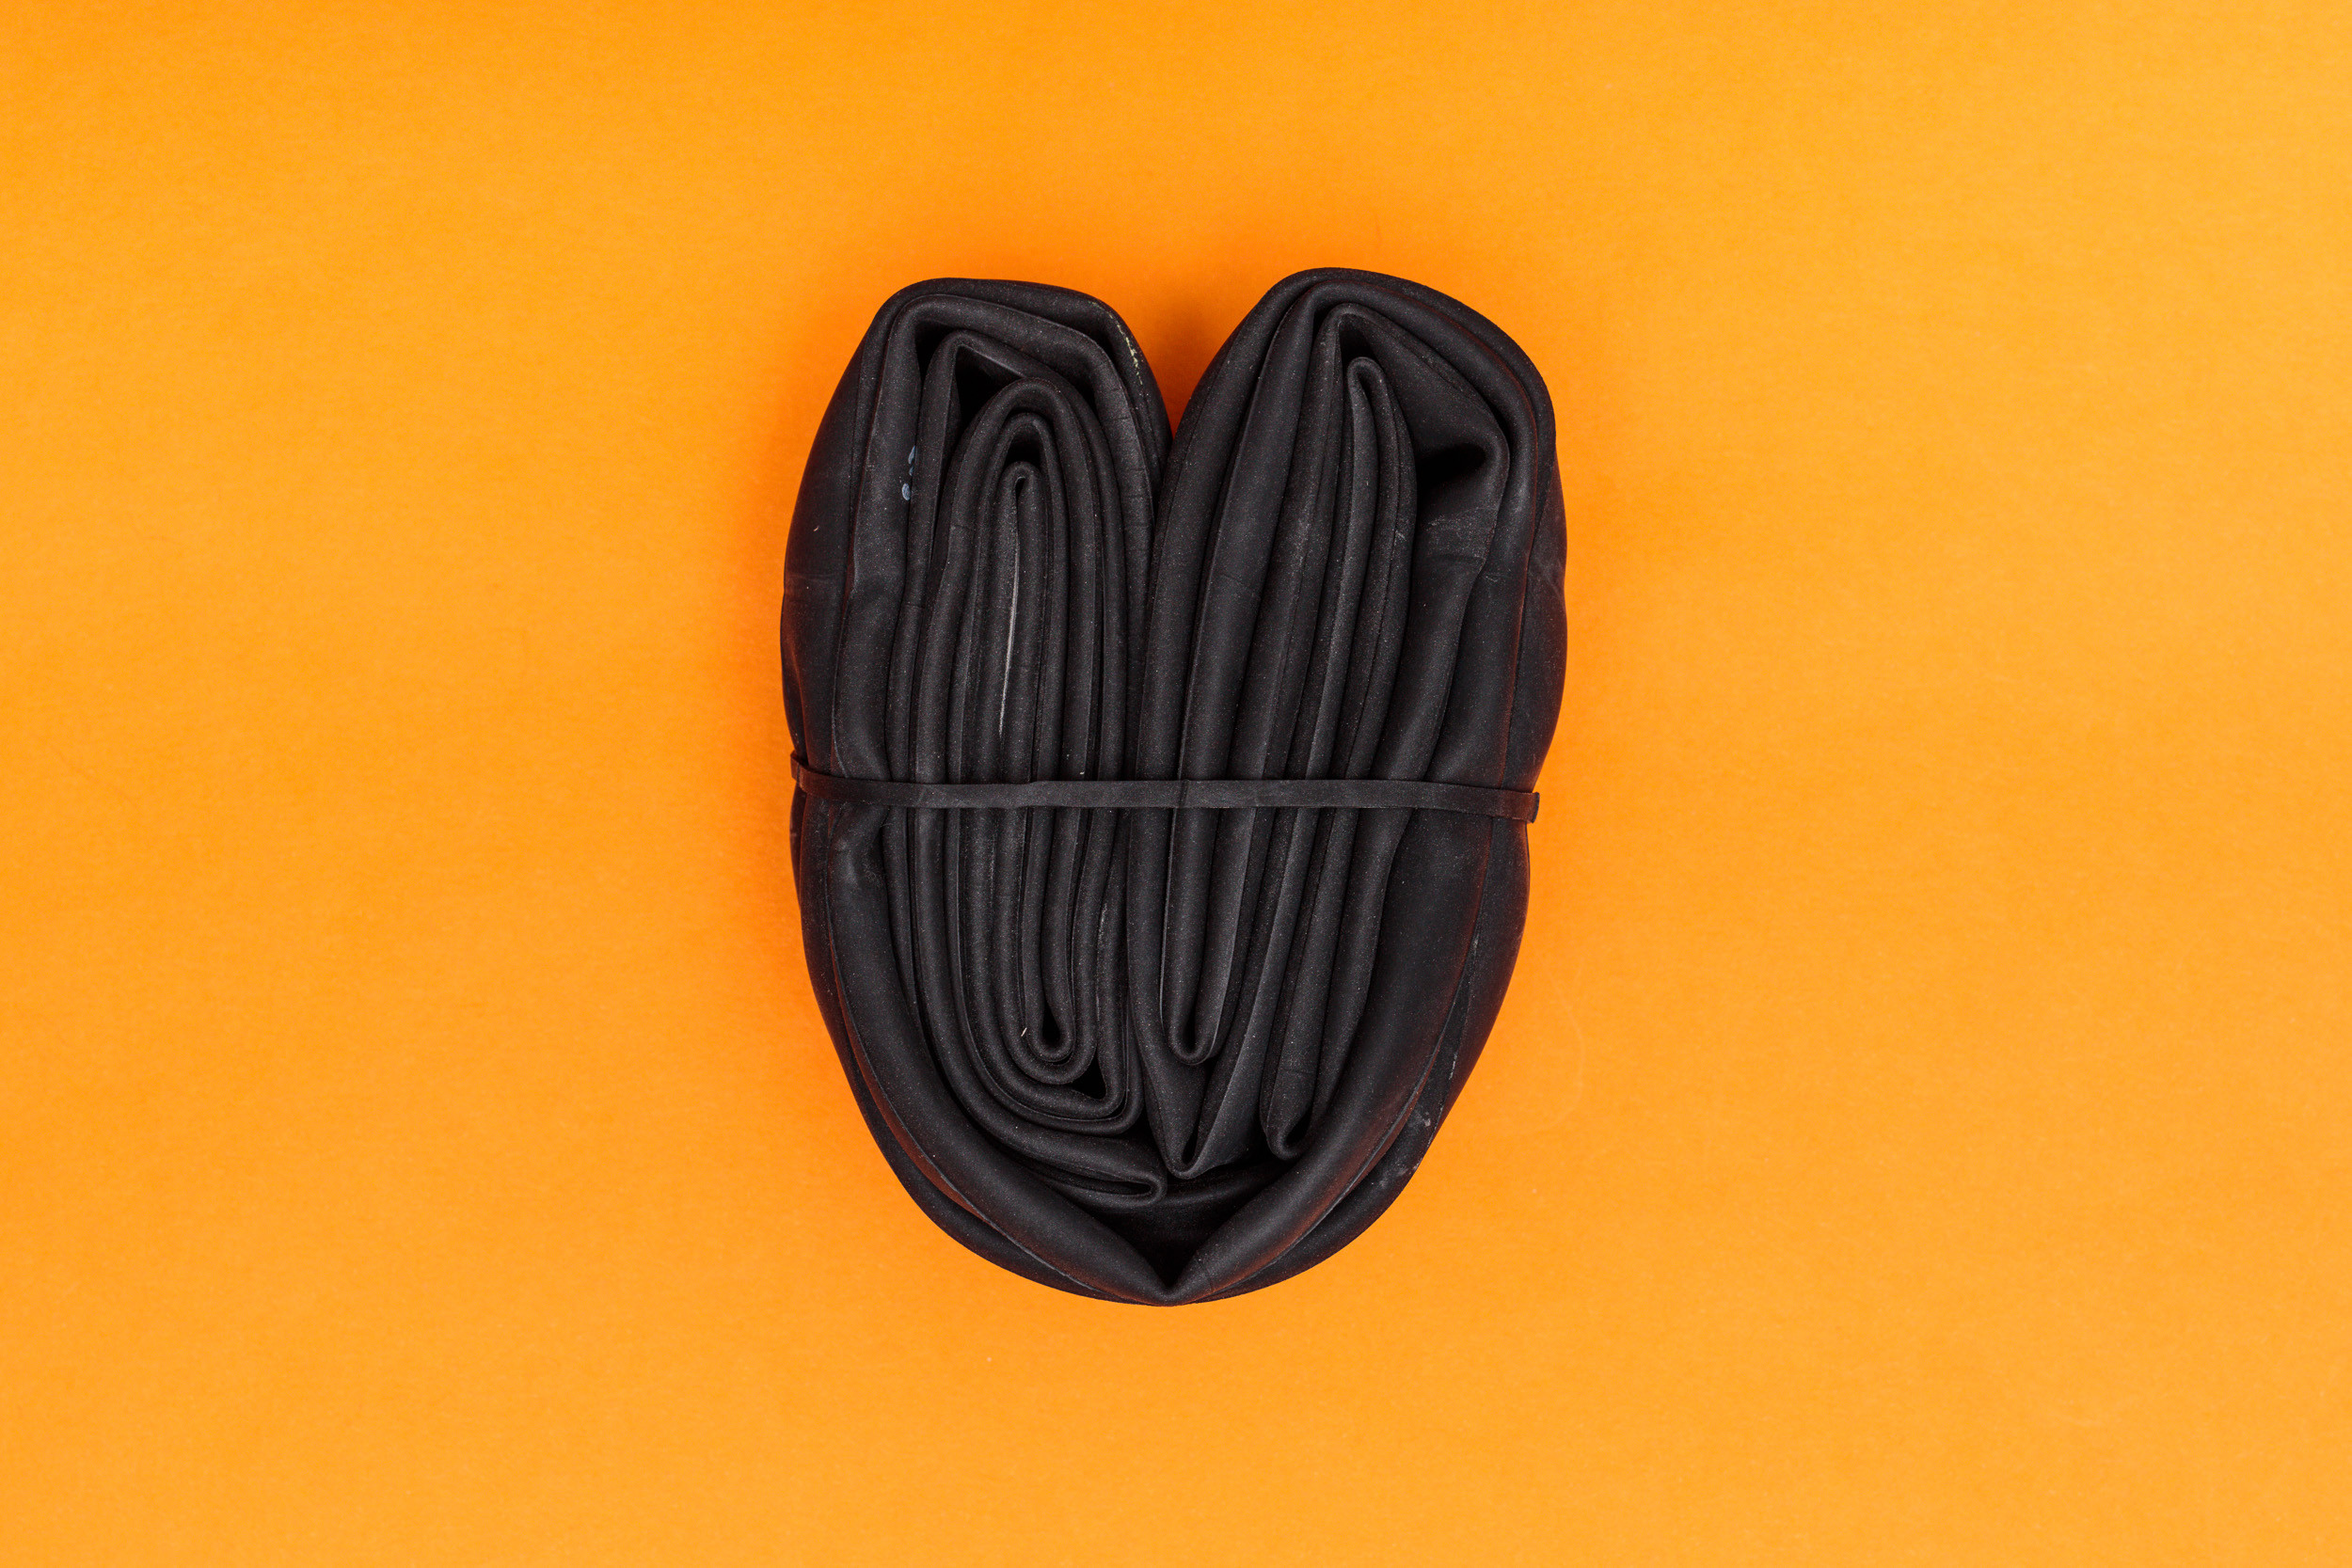 Cross-section of a bike tire showing inner tube constructionInner tubes are the standard for most bike tires, providing an airtight chamber to hold air within the tire casing.
Most bicycles use inner tubes to hold air within the tire. An inner tube is an airtight, inflatable bladder that sits inside the tire casing, with the valve extending through the rim for inflation. The inflated tube presses the tire against the rim, providing structure and grip.
Tubeless tires are an alternative that eliminates the inner tube. They require specialized rims and tires that create an airtight seal directly. Tubeless sealant is often used to ensure a complete seal and to automatically repair small punctures.
Tubeless systems are increasingly popular, especially on mountain bikes, gravel bikes, and road bikes, offering benefits like reduced pinch flats, lower operating pressures for better comfort and traction, and enhanced speed.
Tubular tires, primarily used in racing, are another type where the tube is sewn directly into the tire casing. However, these are less common outside of professional cycling.
By understanding how to properly inflate your bike tires and maintaining optimal pressure, you’ll ensure safer, more comfortable, and more efficient rides every time.