
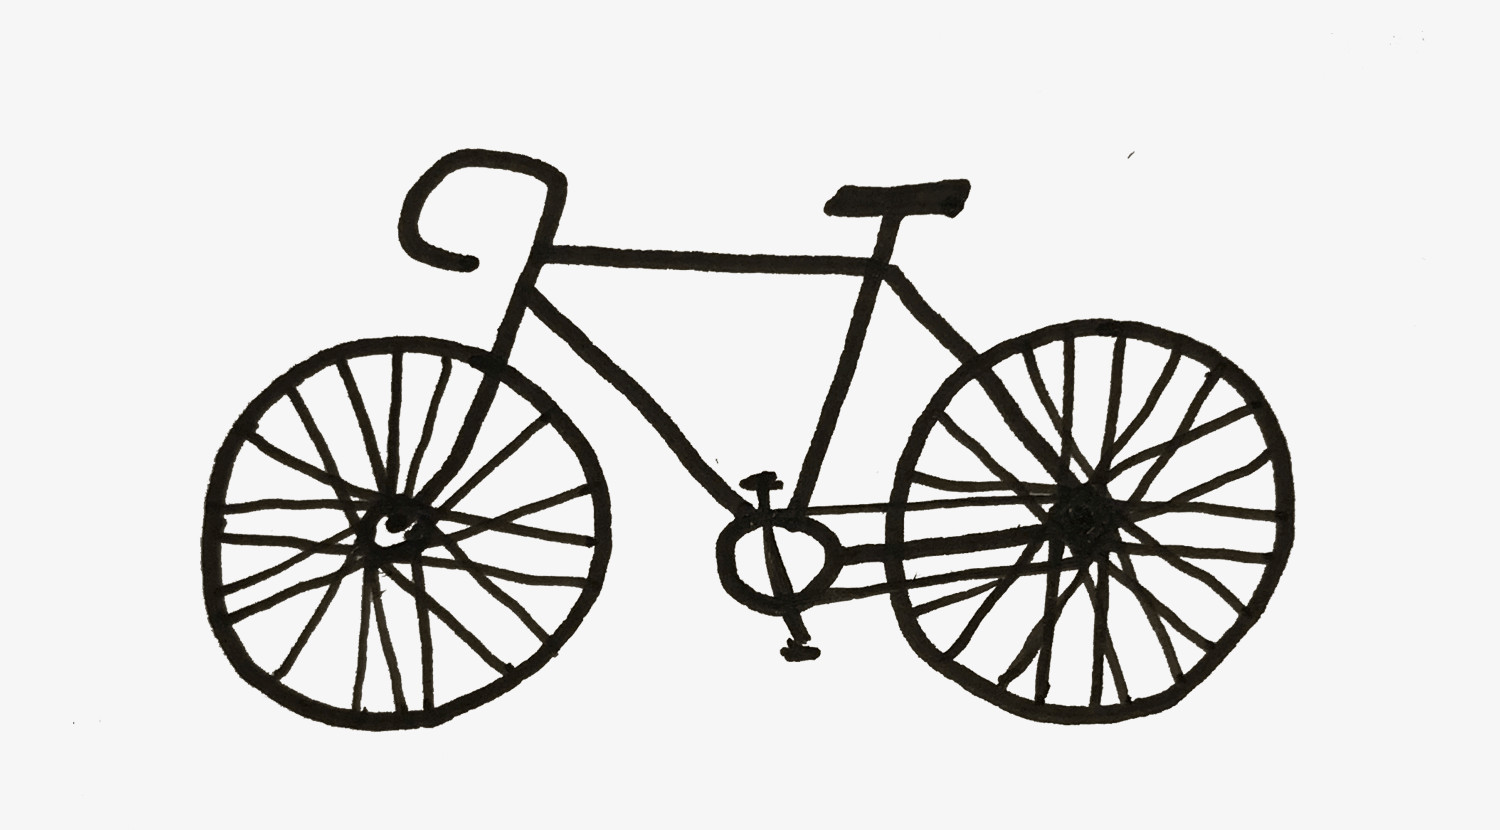
WELCOME BACK, ART ENTHUSIASTS! Today, we’re tackling a drawing challenge that seems simple but can quickly turn bewildering: the bicycle. Yes, the humble bike, a vehicle so common yet so strangely complex to capture on paper.
(Okay, maybe not all bikes are humble. Have you seen the price tags on some of those carbon fiber speed machines? They definitely have egos.)
But enough bike banter, let’s dive into the artistic adventure!
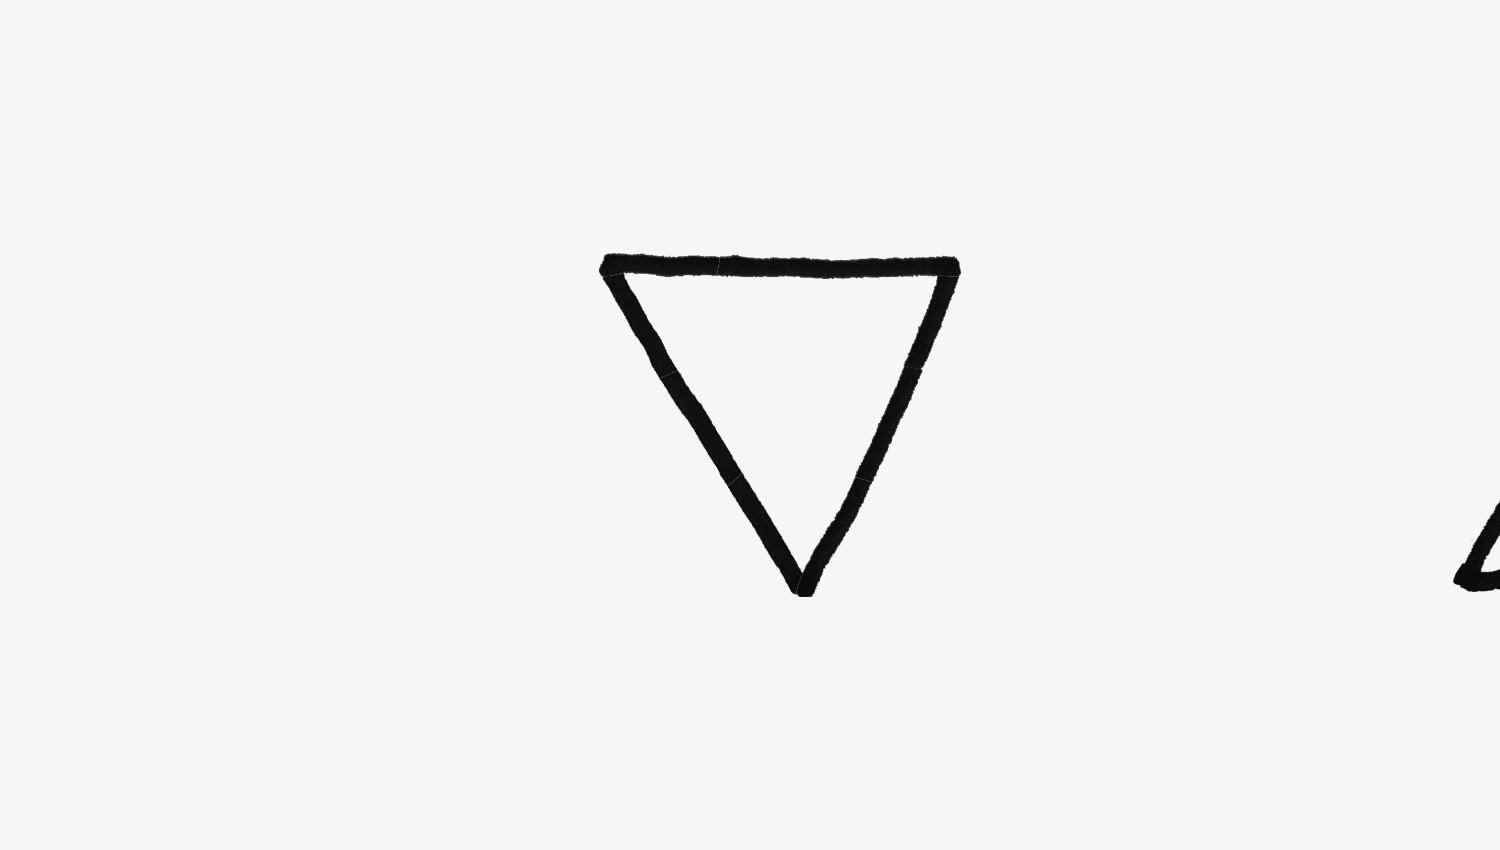
 Start with an upside down triangle for the basic frame of your bicycle drawing
Step 1: Triangle Time
First things first, you’re going to sketch an upside down triangle. This will form the starting point for the frame of our bicycle. Don’t worry about perfection; we’re going for artistic expression, not engineering precision!
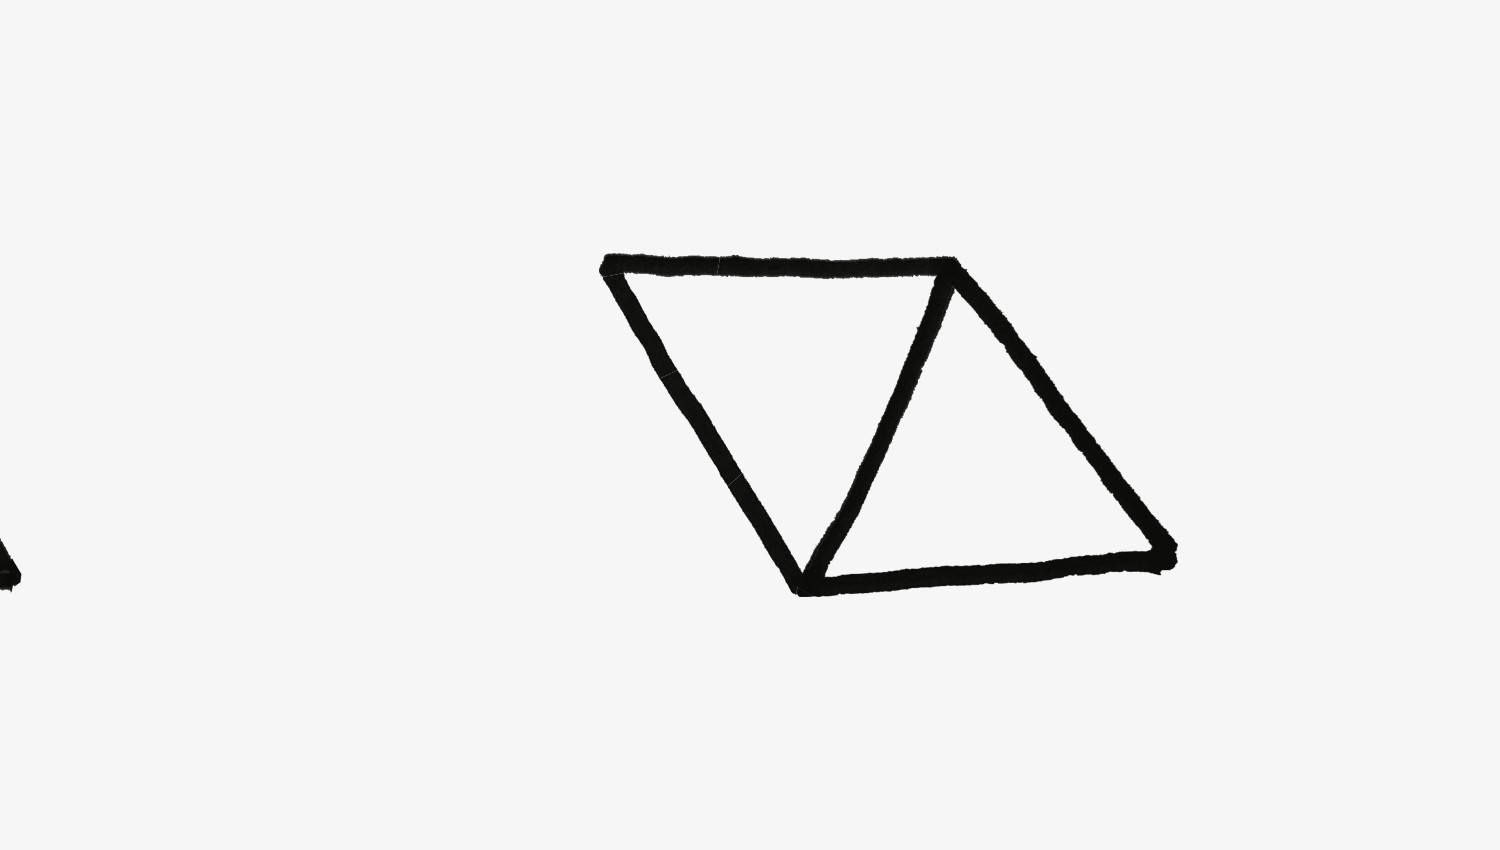
 Add a bisected diamond shape to the triangle for the bike frame's structure
Step 2: Diamond in the Rough
Now, because one triangle is never quite enough, we’re adding another! Draw a second triangle and attach it to the side of your first one. If there’s one thing that screams ‘bicycle frame’, it’s a bisected diamond shape, right?
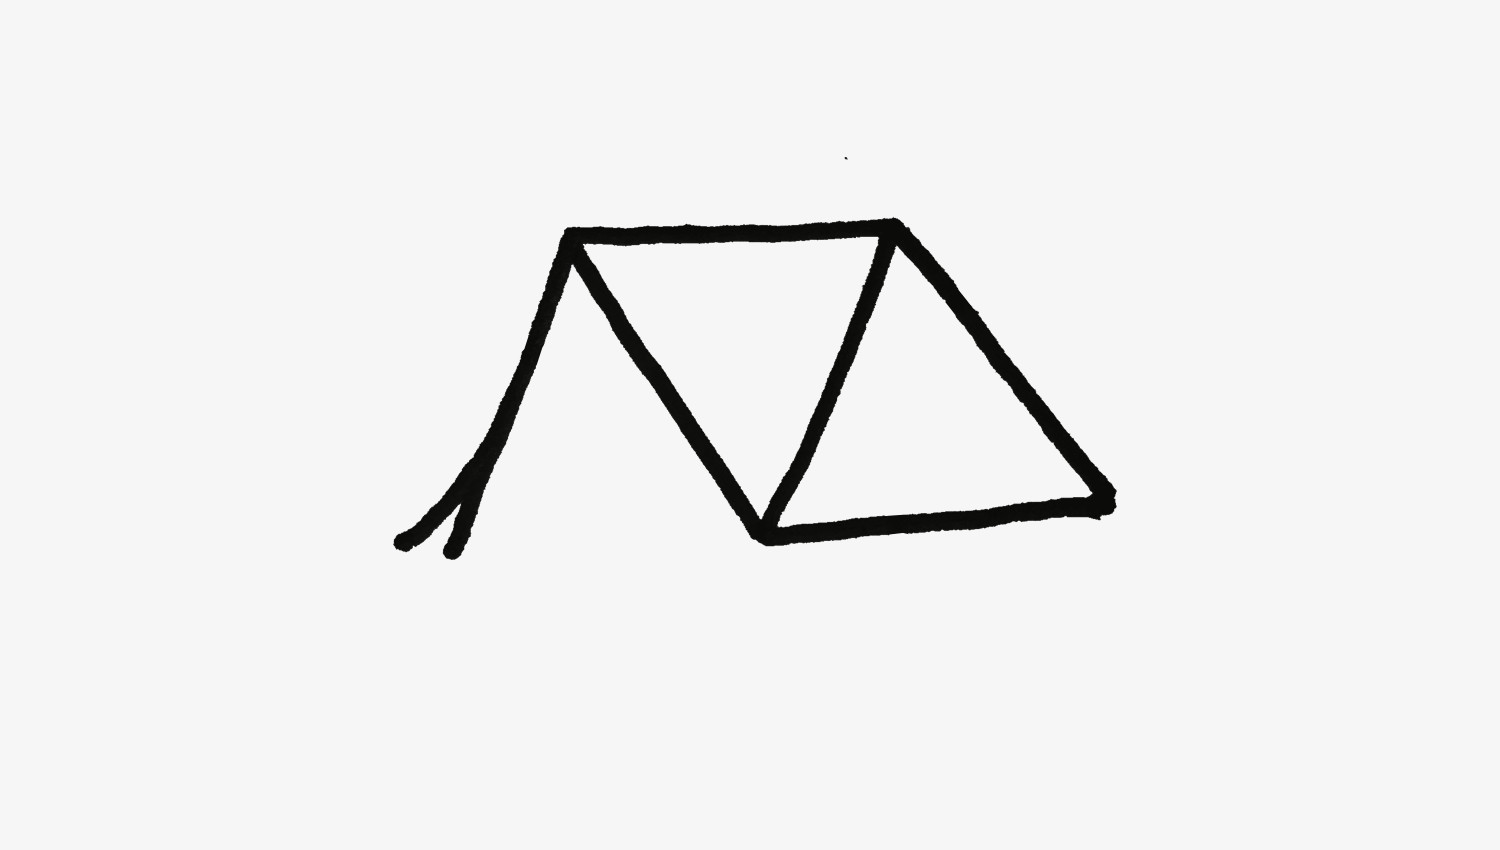
 Draw a curved line for the bike's top tube instead of a straight triangle bottom
Step 3: Triangle Trim & Curve Appeal
Let’s add another triangle on the other side, but ditch the bottom line this time. Actually, scrap that straight line altogether and make it a curve instead. Oops, should have mentioned that earlier, but hey, minor details! Just bend that line into a curve. We’re all about embracing happy accidents here.
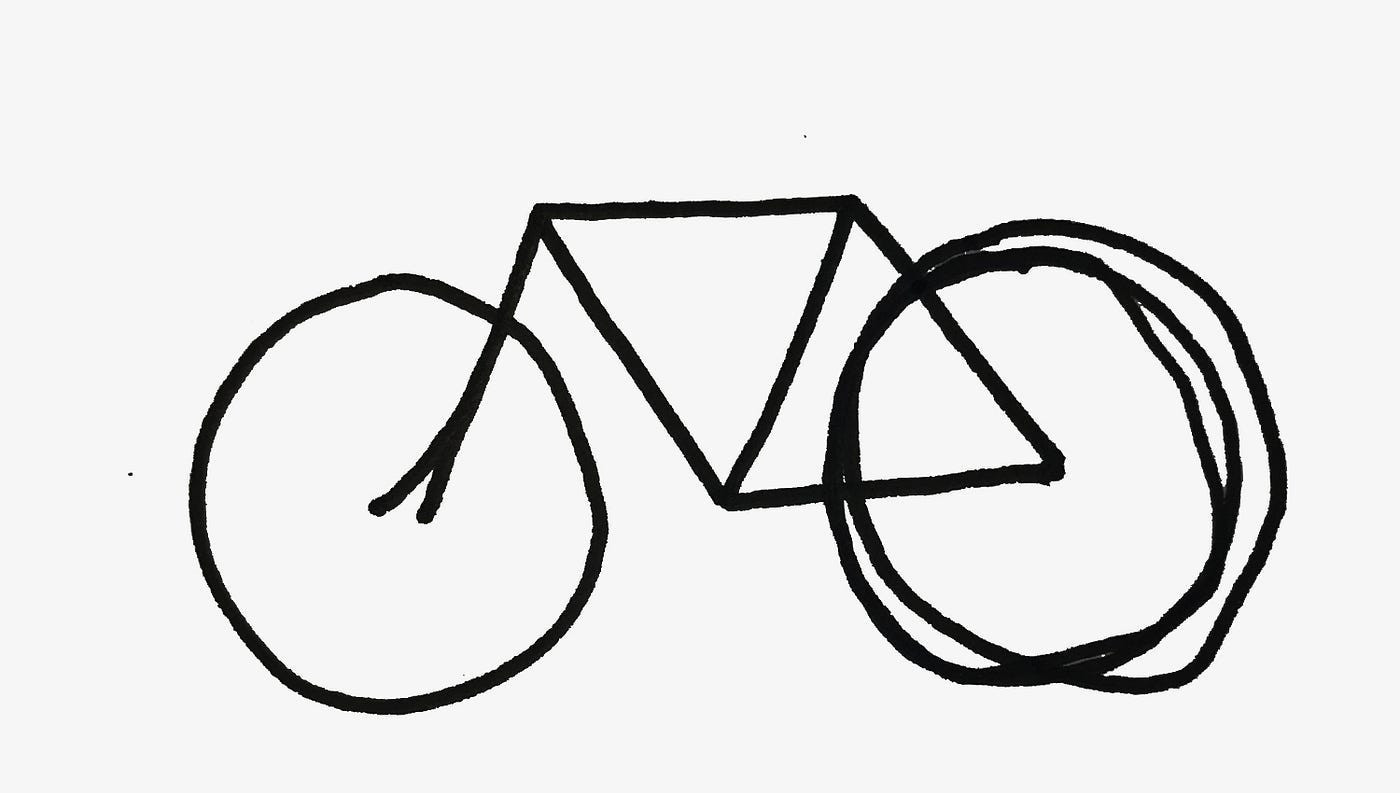
 Sketch the wheels as circles, acknowledging initial imperfect attempts
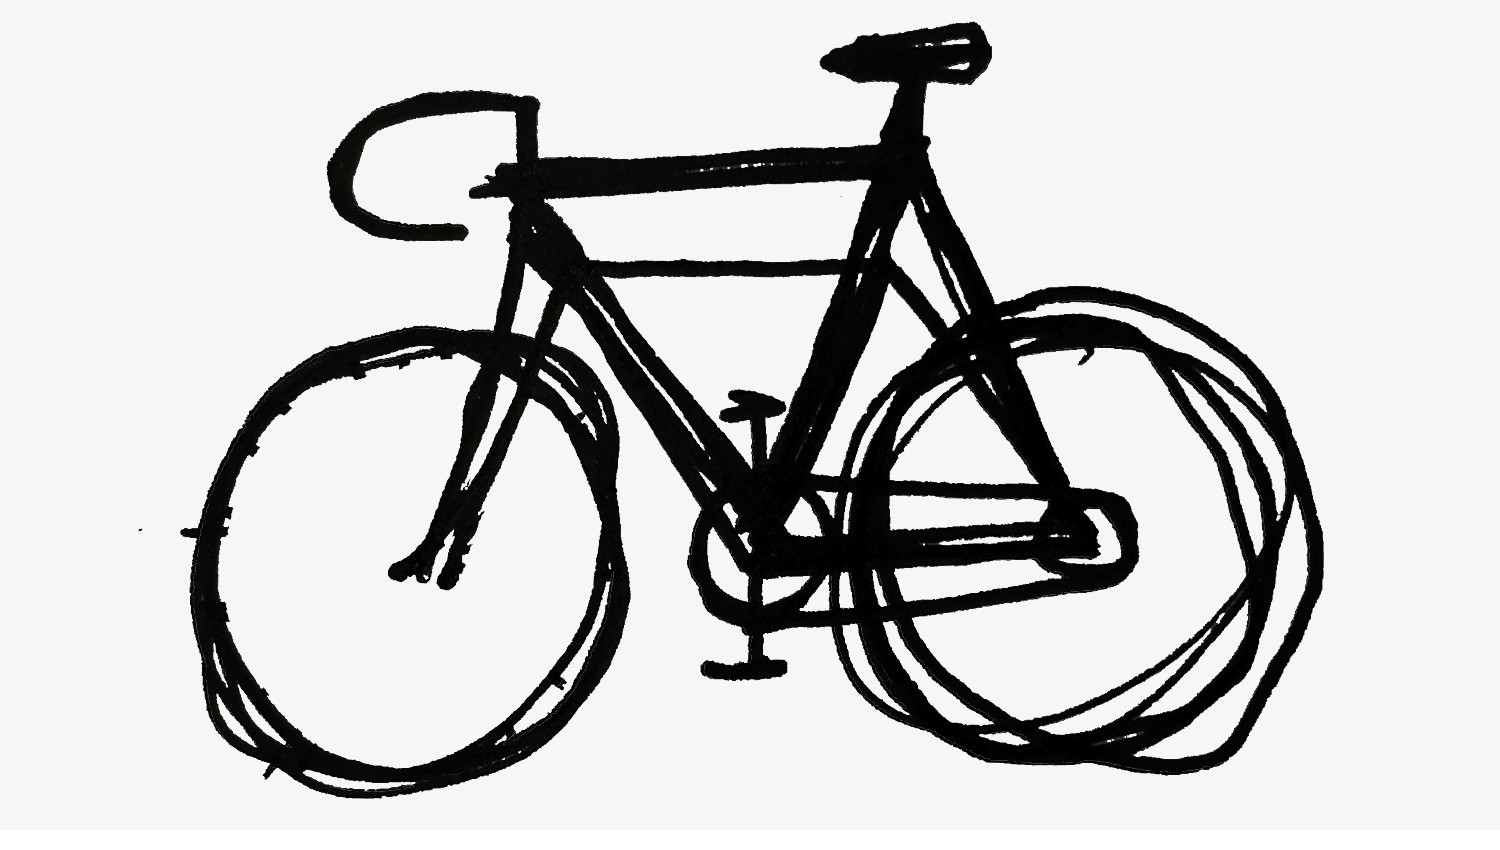
Step 4: Wheels of (Mis)fortune
Time for wheels! Super easy, right? Circles. Well… maybe not that easy. The first one might look decent, but let’s be honest, that back wheel in the example is a bit wonky. But fear not! Just like in life, when you make a mistake, ignore it, draw a better one right over it, and pretend it never happened. Artistic license, we call it.
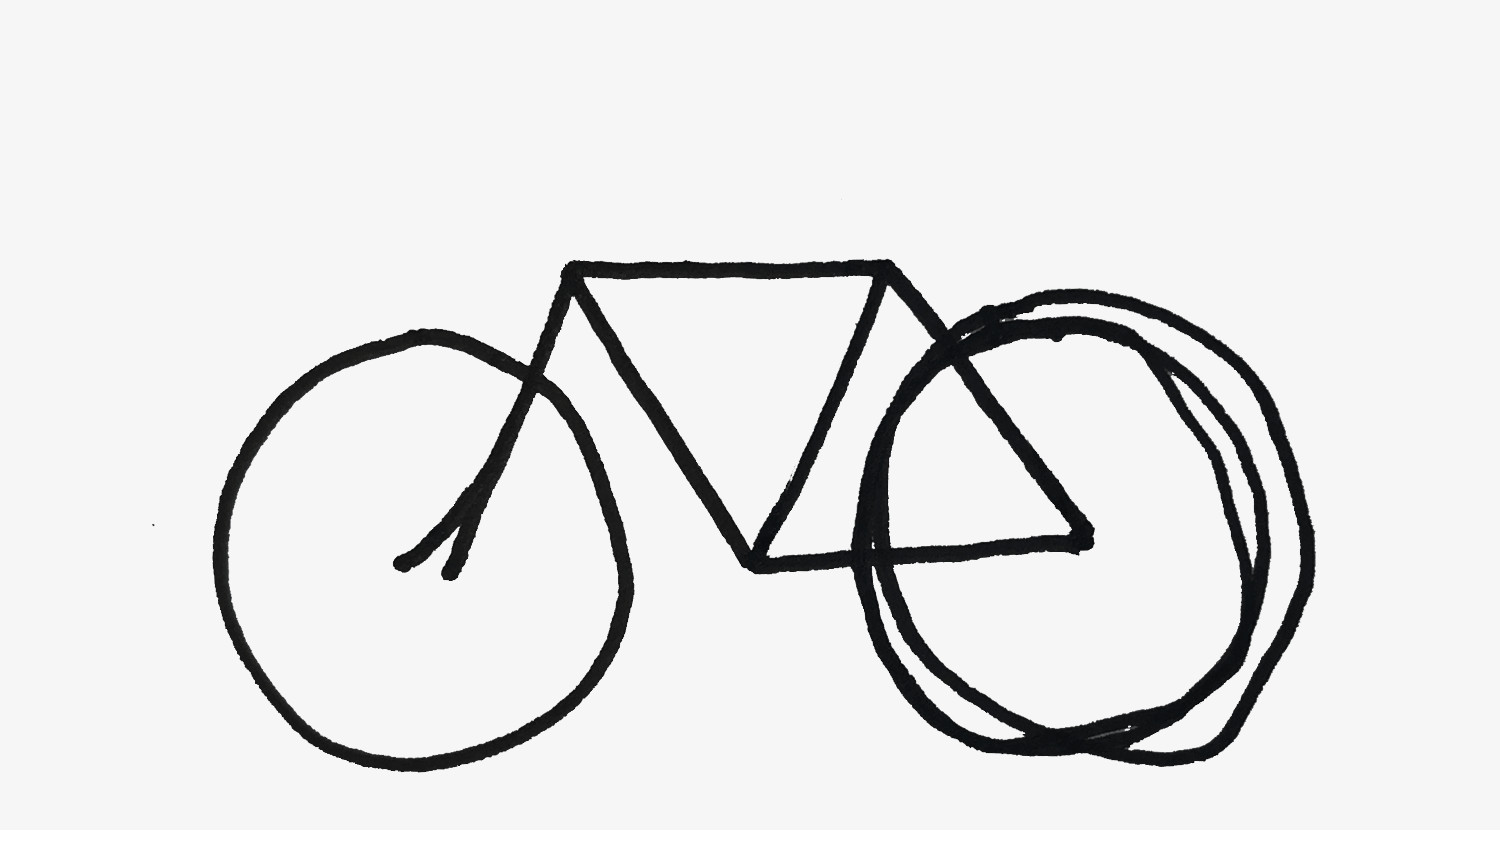
 Correct the frame geometry and redraw the rear wheel for better proportions
Step 5: Frame Fix-Up
Excellent work! Or maybe not quite “excellent” yet. Looking at it now, the frame geometry is a tad… off. But that’s totally fixable! Just adjust it like magic, and no one will ever know the difference. Drawing is all about confident corrections.
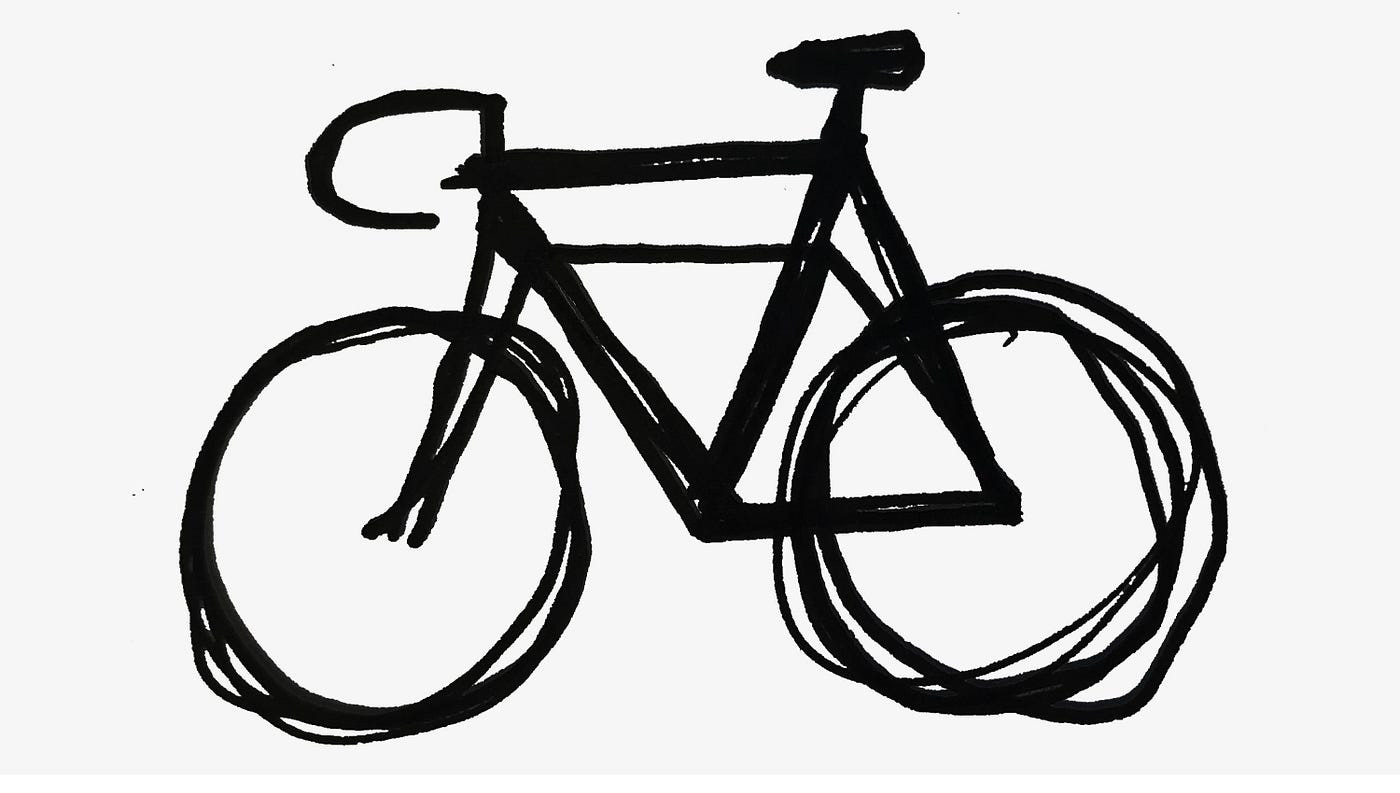
 Add handlebars and a saddle for the rider's comfort and control
Step 6: Comfort and Control – Handlebars & Saddle
Don’t forget the essentials: handlebars and a saddle! Because if life has taught us anything, it’s that everyone needs a place to sit and something to hold on to. These are crucial components for any bike drawing, unless you’re going for some avant-garde, seat-less, handle-barless bicycle art.
Step 7: Strategic Boldness
Now, for a pro tip: draw heavily over the parts of the bike you actually drew well. This is a genius technique to distract viewers from the… less successful areas. It’s like wearing stylish glasses to appear smarter than you are. Visual trickery at its finest!
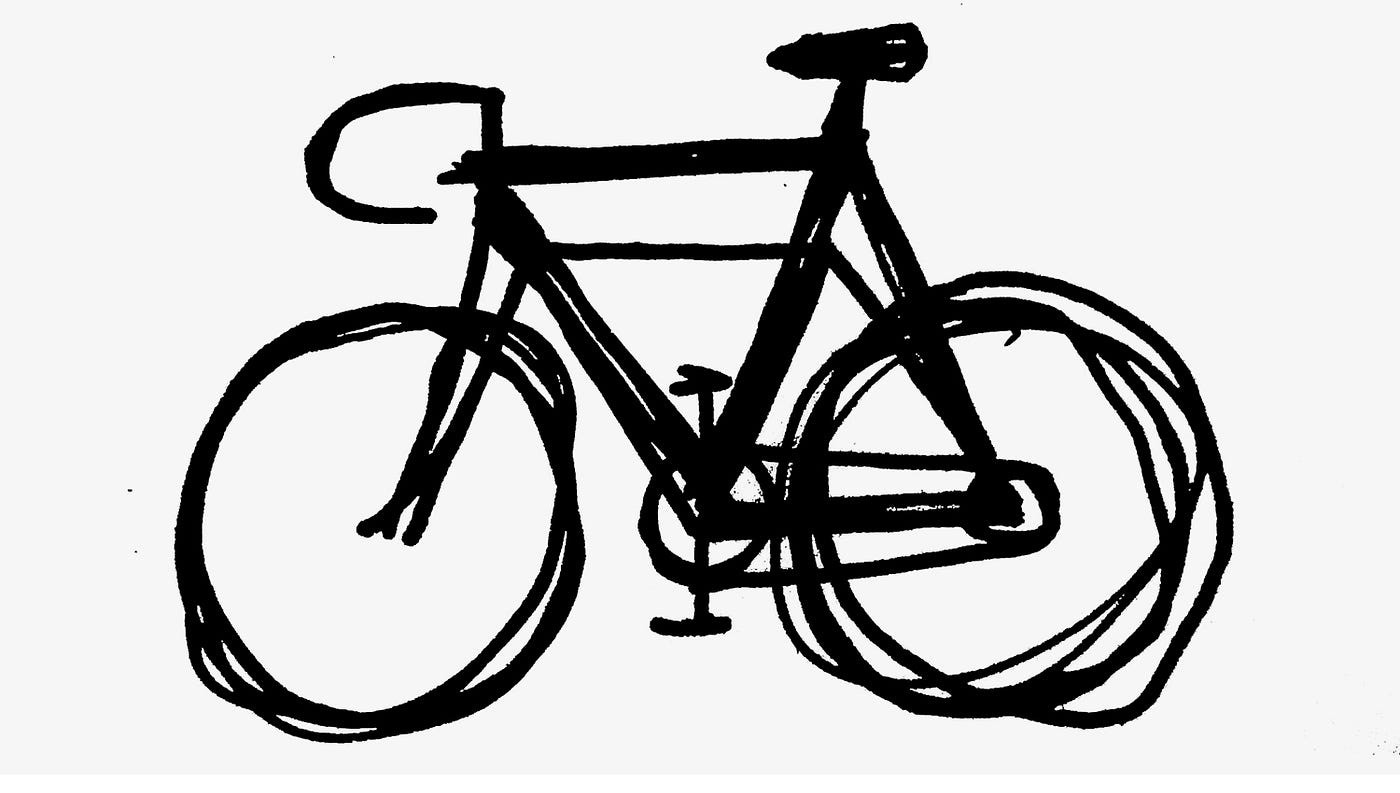
 Draw pedals and a drive chain, contemplating artistic drive
Step 8: Pedals and Drive (or Lack Thereof)
Next up: pedals and the drive chain. As you add these, maybe ponder your own drive and motivation for this drawing. Are you feeling it? Or are you starting to question your life choices? Either way, keep going!
 Add spokes to the front wheel, improving the overall look
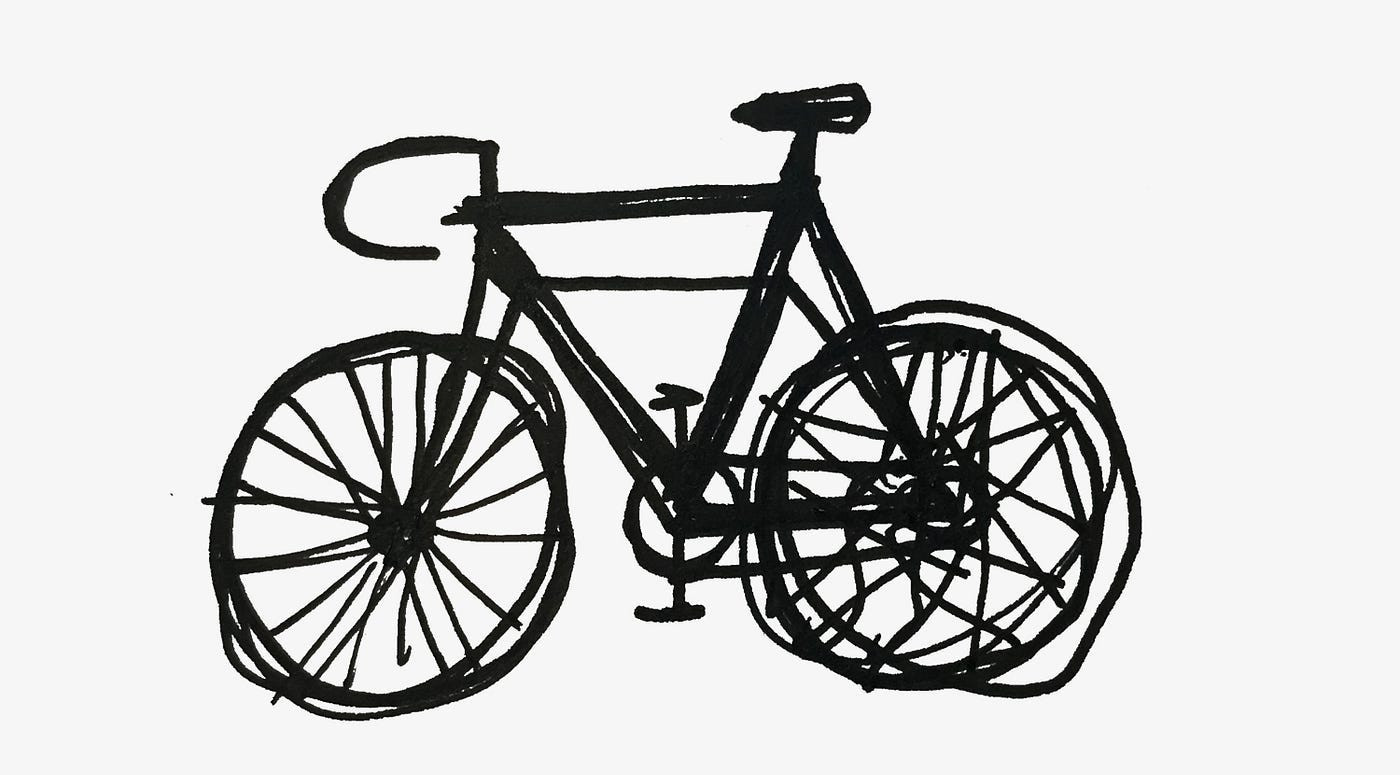
Step 9: Spokes to the Rescue (Front Wheel)
But it’s okay if your artistic drive is waning! Because we’re about to add spokes to these wheels, and spokes always make everything look better. It’s a guaranteed visual upgrade.
 Draw overlapping spokes on the front wheel, approximating complexity
Step 10: Spoke Strategy (Front Wheel)
Remember, bicycle wheel spokes have a complex criss-cross pattern for stability. To draw this, just vaguely guess at it. A rough approximation is your friend here. Hope nobody notices your artistic… interpretation. It’s like faking it ‘til you make it, in drawing form.
 Attempt to draw more complex spokes on the rear wheel
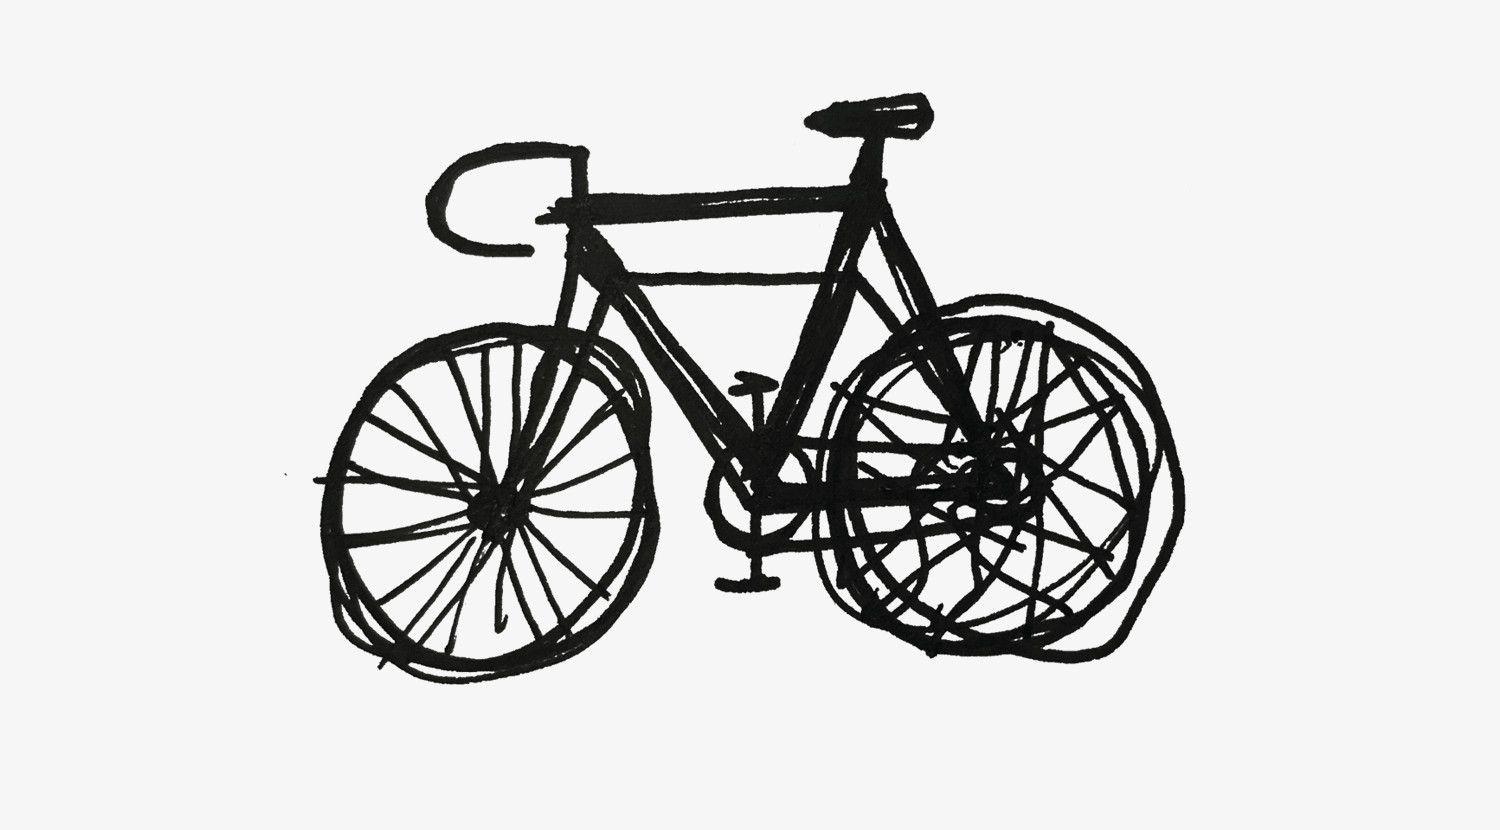
Step 11: Rear Wheel Spokes – Level Up (in Complexity)
Now for the back wheel. And just know, it’s even more complicated than the front. Because everything in life just gets progressively more complex. Entropy is a pain, even in bicycle drawings.
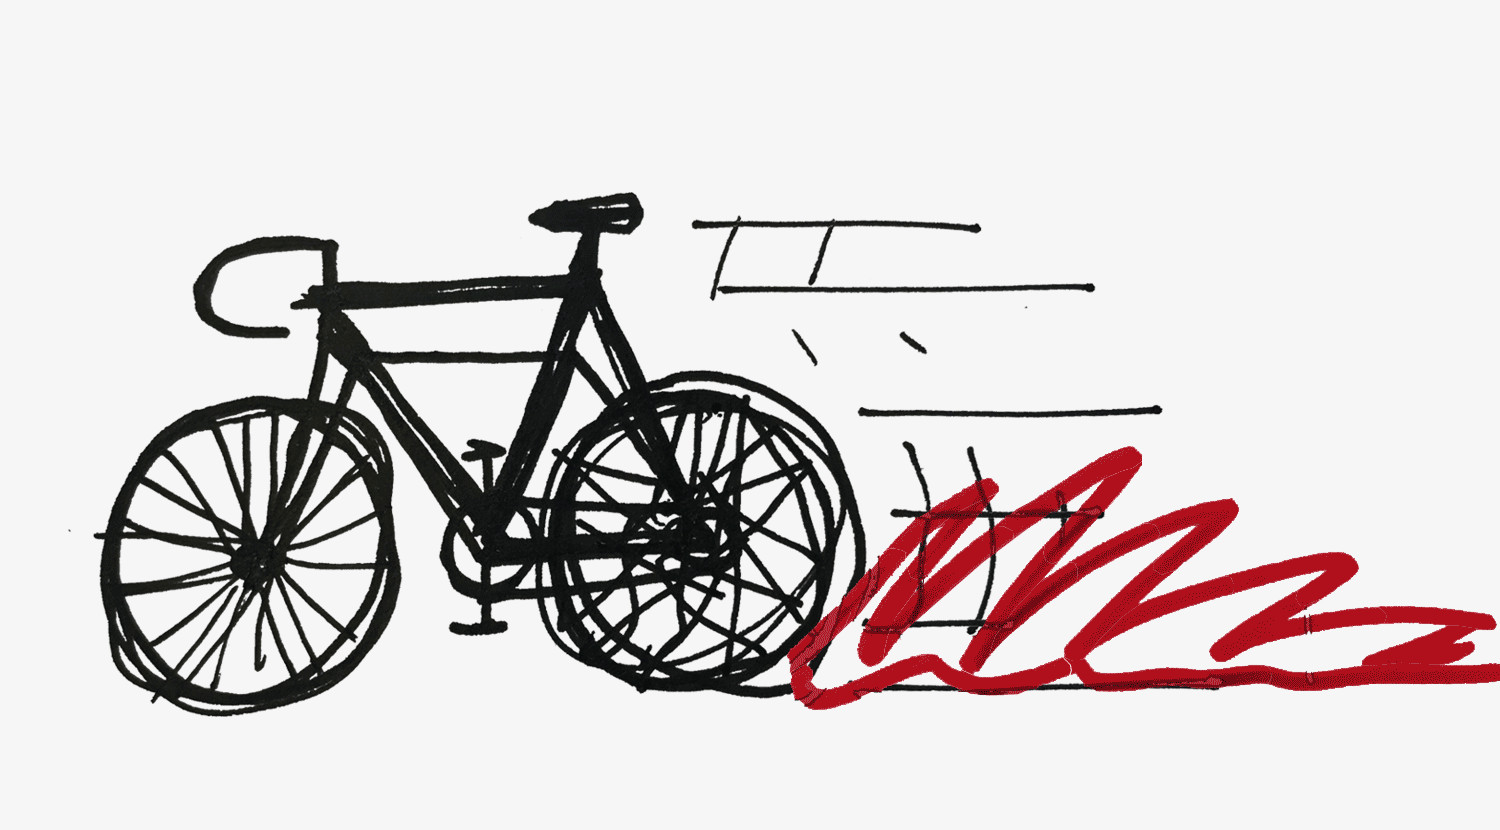
 Add speed lines to make the drawing look dynamic and fast
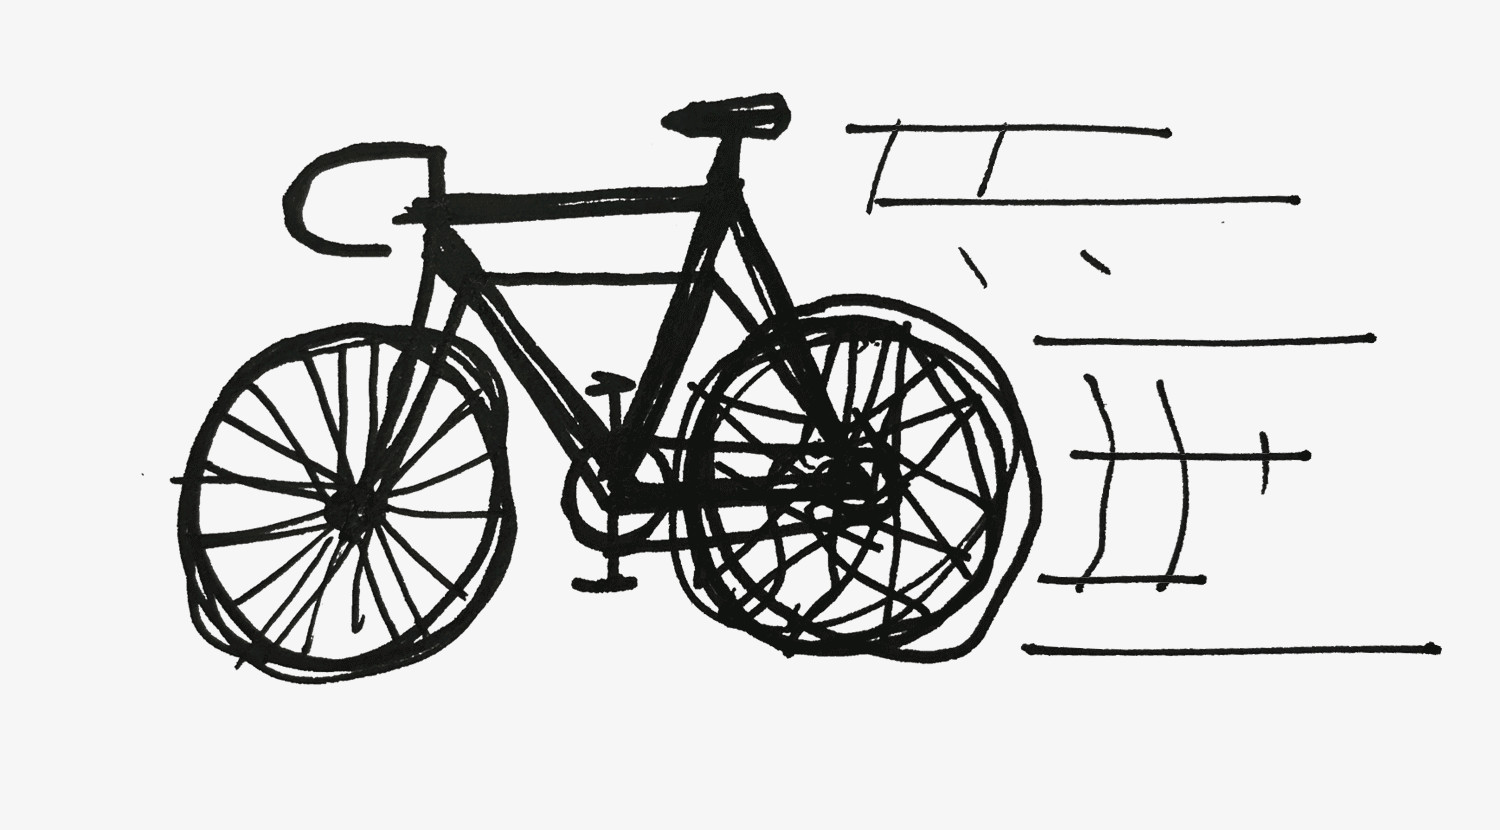
Step 12: Shooty Speed Lines to the Rescue!
Christ. Look at this creation. A bit of a disaster, right? But don’t panic! Like that career change you’ve been delaying, we can still salvage this… with Shooty Speed Lines!
 Add fire effect to the bicycle drawing for dramatic flair
Step 13: Set It on Fire! (Optional, But Effective)
Yes! LOOK AT IT GO! It’s FAST now! This drawing is going to be okay. Everything will be fine. In fact, let’s take that classic approach when things go wrong and just set it on fire! – BAM! “That’s Fire Chef” – Oh, thanks Carmy.
 A stick figure kicking a poorly drawn bicycle in frustration
Conclusion: Bike Drawing Defeated (or Maybe Just Challenged)
See? I told you nobody can really draw a bike perfectly. So, my final suggestion? Get off the internet, go outside, find a bike, and give it a good, cathartic kick.
Stupid bikes.
And that wraps up another art class! Catch you all next time. If you enjoyed this bit of nonsense, please consider sharing it with friends who also struggle with drawing bikes!
Thanks! – Chaz.
