Knowing how to remove bike pedals is a fundamental skill for any cyclist who wants to perform basic bike maintenance at home. While it might seem straightforward, there are crucial details that, if overlooked, can lead to frustration or even damage to your bike. This comprehensive guide will walk you through each step of removing your bike pedals correctly and efficiently, ensuring you do it right the first time.
Step 1: Gather the Right Tools for Pedal Removal
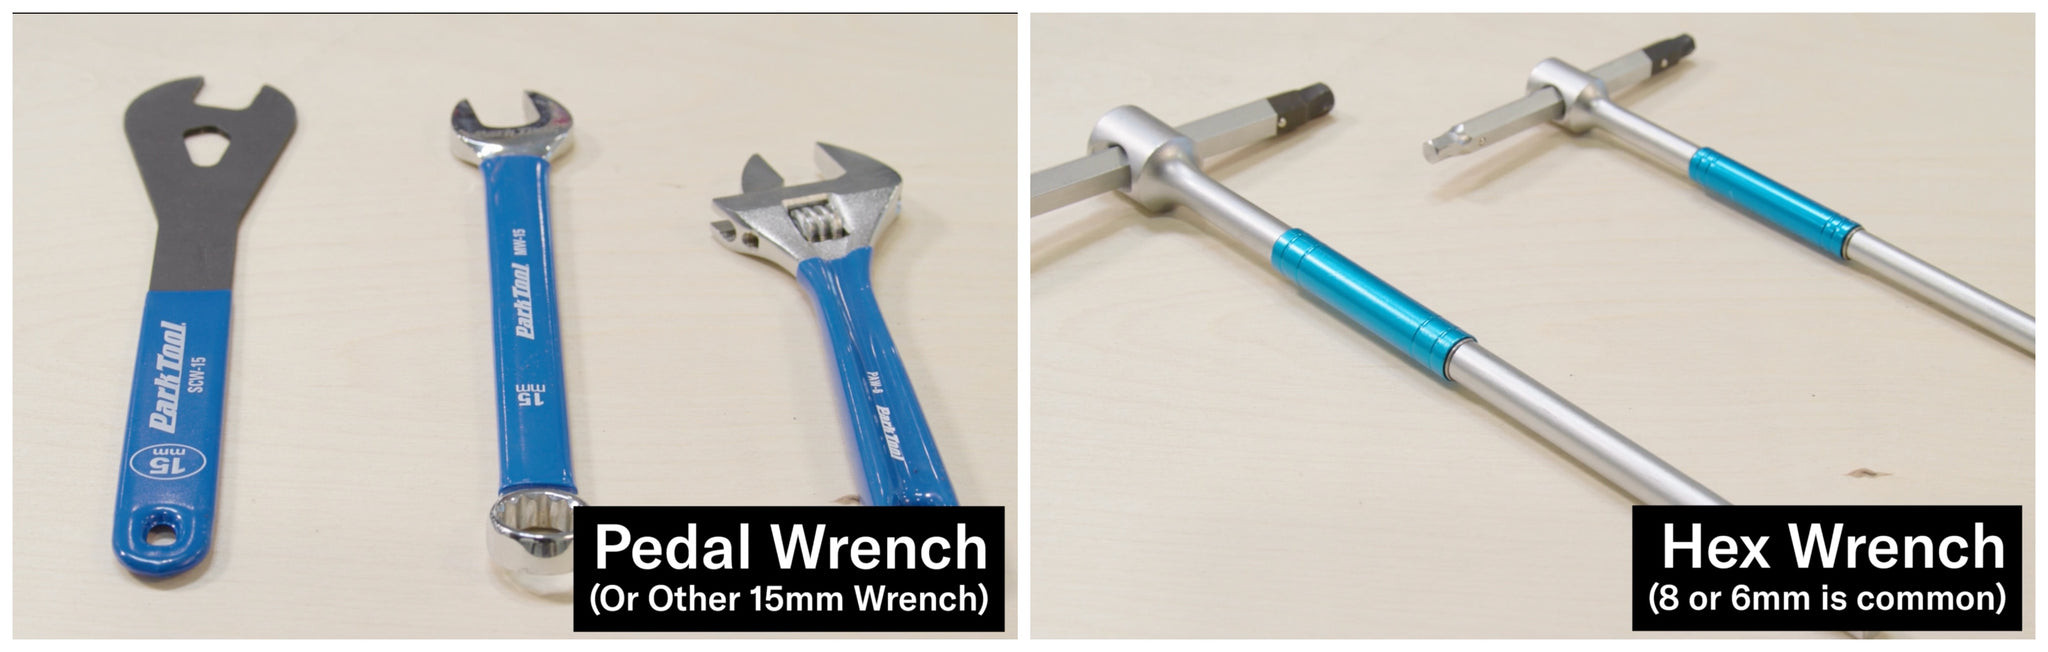 Tools needed to remove bike pedals, including pedal wrench and hex wrenches
Before you start, it’s essential to identify what type of tool your bike pedals require. Most pedals will use one of the following:
-
Pedal Wrench / 15mm Wrench: Often required for older or budget-friendly pedals. These wrenches fit onto the flat sections on the pedal spindle. A dedicated pedal wrench is ideal due to its thin profile, but a narrow 15mm box wrench or an adjustable crescent wrench can also work if they are thin enough.
-
8mm Hex Wrench: Commonly used for many modern clipless and flat pedals. This wrench fits into the end of the pedal spindle.
-
6mm Hex Wrench: Another common size for modern pedals, also fitting into the end of the pedal spindle.
Note: While a 15mm cone wrench might seem like an option, it’s generally not recommended as it’s too thin and can damage the flats on your pedal spindle. A dedicated pedal wrench is always the best choice for 15mm pedal nuts.
To ensure you have the right tool, inspect your pedals closely before you begin.
Step 2: Understand Bike Pedal Thread Direction – It’s Crucial!
Knowing the thread direction for bike pedals is perhaps the most critical part of the removal process. Bike pedals are threaded differently on each side to prevent them from loosening while you pedal.
 Right side bike pedal thread direction for removal
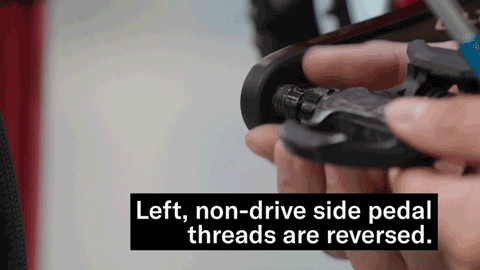 Left side bike pedal thread direction for removal
-
Right (Drive Side) Pedal: Features a standard thread. This means you turn it counterclockwise to loosen and clockwise to tighten. Think “righty-tighty, lefty-loosey” but in reverse for removal.
-
Left (Non-Drive Side) Pedal: Features a reverse thread. This means you turn it clockwise to loosen and counterclockwise to tighten. This is the opposite of the standard thread and often where people make mistakes.
To simplify remembering the direction for removal:
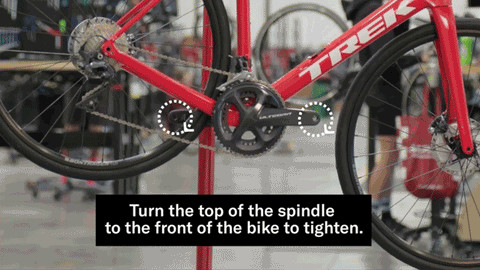 Visual aid to remember bike pedal removal direction
- To Remove: Always spin the TOP of the pedal spindle towards the REAR of the bike on both sides.
If you’re still unsure which pedal is which, look for markings. Most pedals have an “R” for রাইট (Right) and “L” for Left stamped on the spindle. If there are no markings, examine the threads closely to determine the tightening direction.
Step 3: Step-by-Step Guide to Removing Your Bike Pedals
Now that you have the correct tool and understand the thread directions, let’s proceed with the removal:
-
Position Your Bike: For stability, place your bike on a bike stand or lean it securely against a wall. Make sure you have enough space to work around the pedals.
-
Start with the Right Pedal (Drive Side): Position your wrench on the pedal spindle. Remember, to remove the right pedal, you need to turn the wrench counterclockwise (towards the rear of the bike from the top). You might need to apply firm pressure. If it’s very tight, ensure the wrench is securely seated and apply steady, controlled force. Avoid jerky movements.
-
Repeat for the Left Pedal (Non-Drive Side): Move to the left side of your bike. Position your wrench on the left pedal spindle. For the left pedal, you need to turn the wrench clockwise (towards the rear of the bike from the top) to loosen it. Again, apply firm and steady pressure.
-
Loosen and Unscrew by Hand: Once you’ve broken the initial tightness, you should be able to unscrew the pedals most of the way by hand. Continue turning in the correct loosening direction until the pedal is completely removed from the crank arm.
-
Repeat for the Other Pedal: Follow the same steps to remove the other pedal.
Bonus Step: Why Greasing Pedal Threads is Important
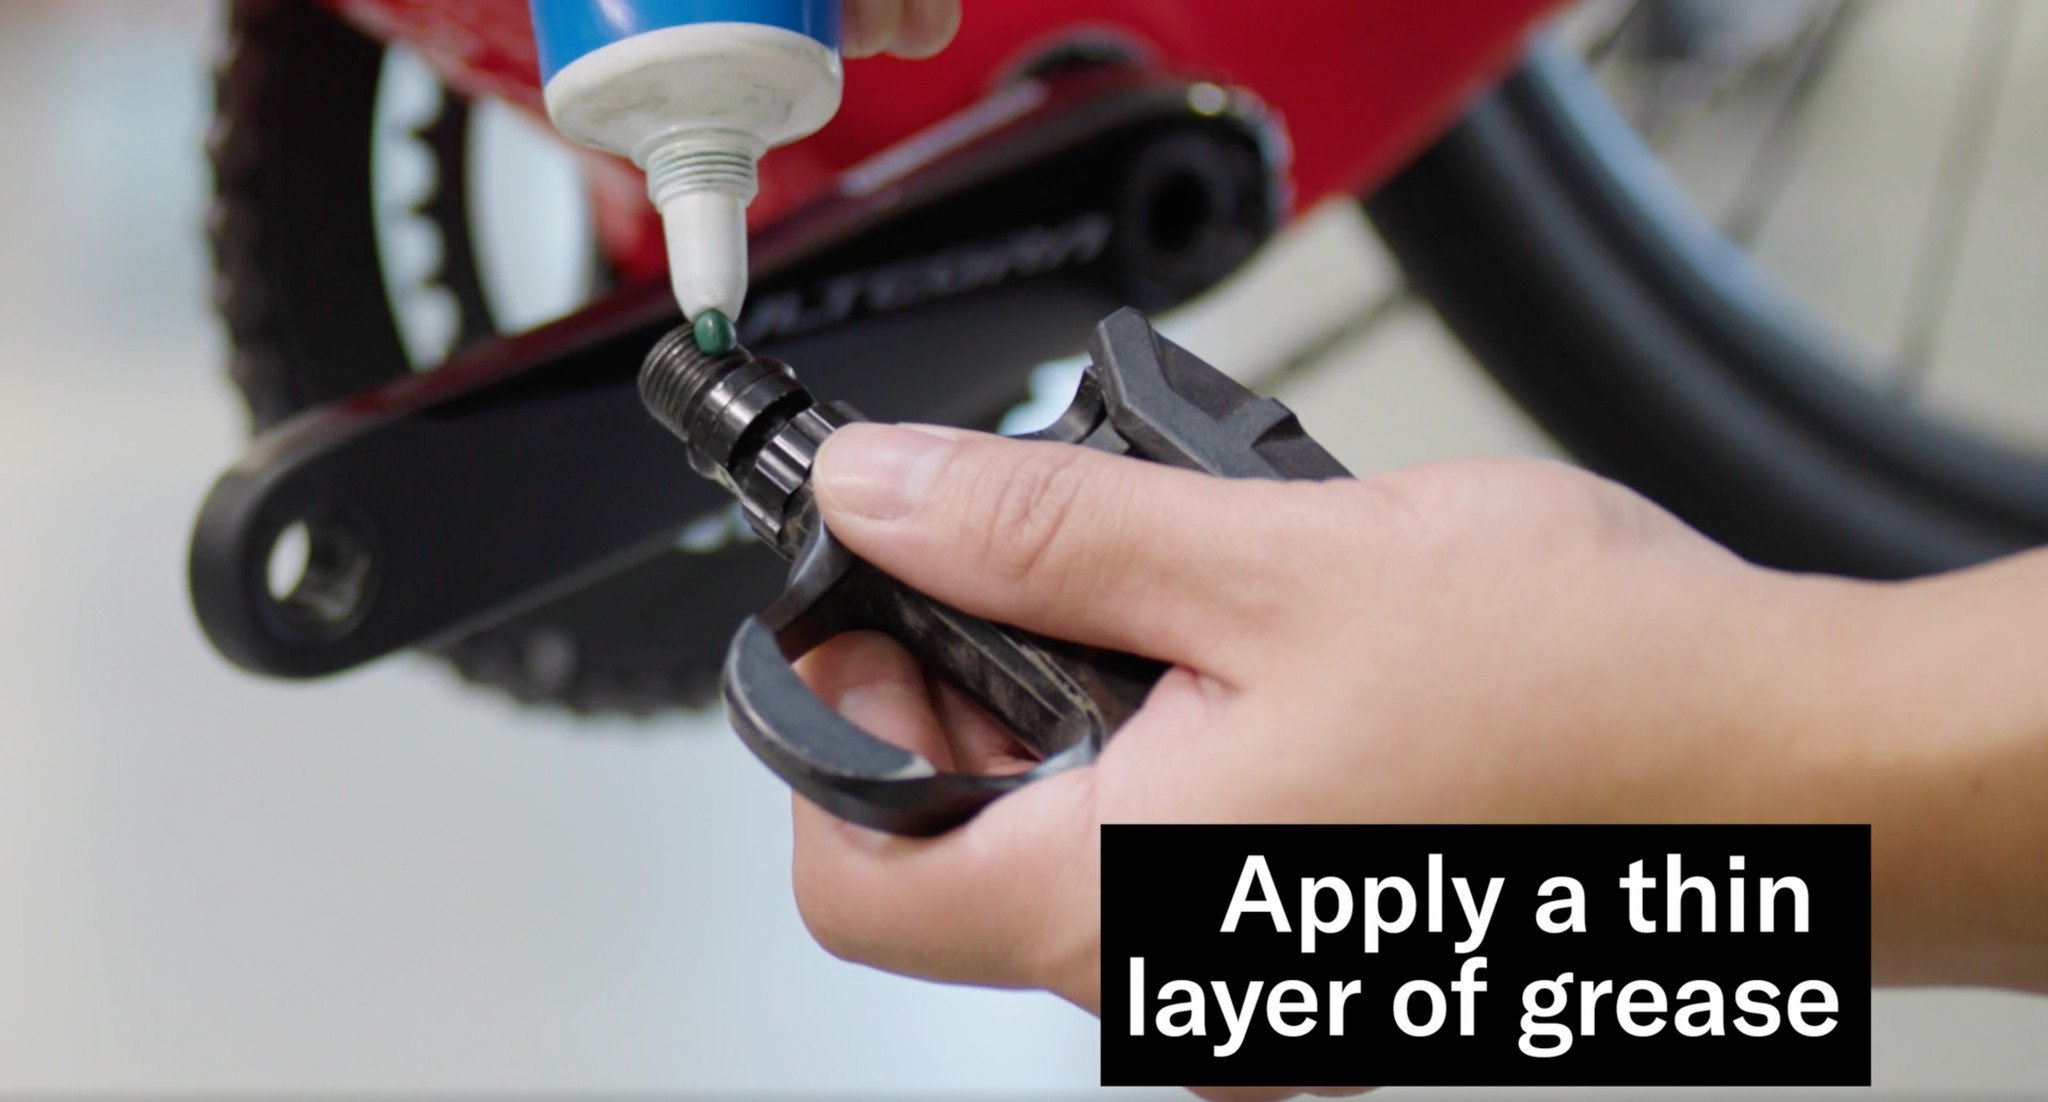 Applying grease to bike pedal threads before installation
While this guide focuses on removal, it’s crucial to mention greasing the pedal threads when you reinstall them (or install new ones). Applying grease to the pedal threads before installation is a simple step that saves a lot of hassle in the future.
Benefits of Greasing Pedal Threads:
- Prevents Corrosion: Grease creates a barrier against moisture and prevents corrosion between the pedal spindle and the crank arm.
- Eases Future Removal: Greased threads prevent pedals from seizing and becoming stuck, making future removal much easier.
How to Grease Pedal Threads:
- Clean Threads: If you are reinstalling used pedals, wipe the threads clean of any old grease or debris.
- Apply a Small Amount of Grease: You don’t need a lot of grease. A small dab spread thinly over the threads is sufficient. Bike-specific grease is ideal, but waterproof grease or anti-seize from hardware or auto parts stores will also work. In an emergency, even Vaseline can be used, but apply proper grease as soon as possible.
Important Tip: Avoid Cross-Threading Bike Pedals
Cross-threading is a common issue that can damage your crank arms and pedals. It occurs when the pedal threads are not aligned correctly when you start screwing them in.
How to Avoid Cross-Threading:
- Start Straight: Ensure the pedal is perfectly straight when you begin threading it into the crank arm.
- Thread by Hand Initially: Start threading the pedal by hand. It should turn in easily with minimal resistance.
- Stop if You Feel Resistance: If you encounter significant resistance while threading by hand, stop immediately. Forcing it will likely lead to cross-threading.
- Re-align and Try Again: Remove the pedal, inspect the threads for damage, clean and re-grease if necessary, and carefully realign before trying again.
Pedals should always thread in smoothly. If you’re careful and follow these steps, removing and installing your bike pedals will become a quick and easy part of your regular bike maintenance routine.