
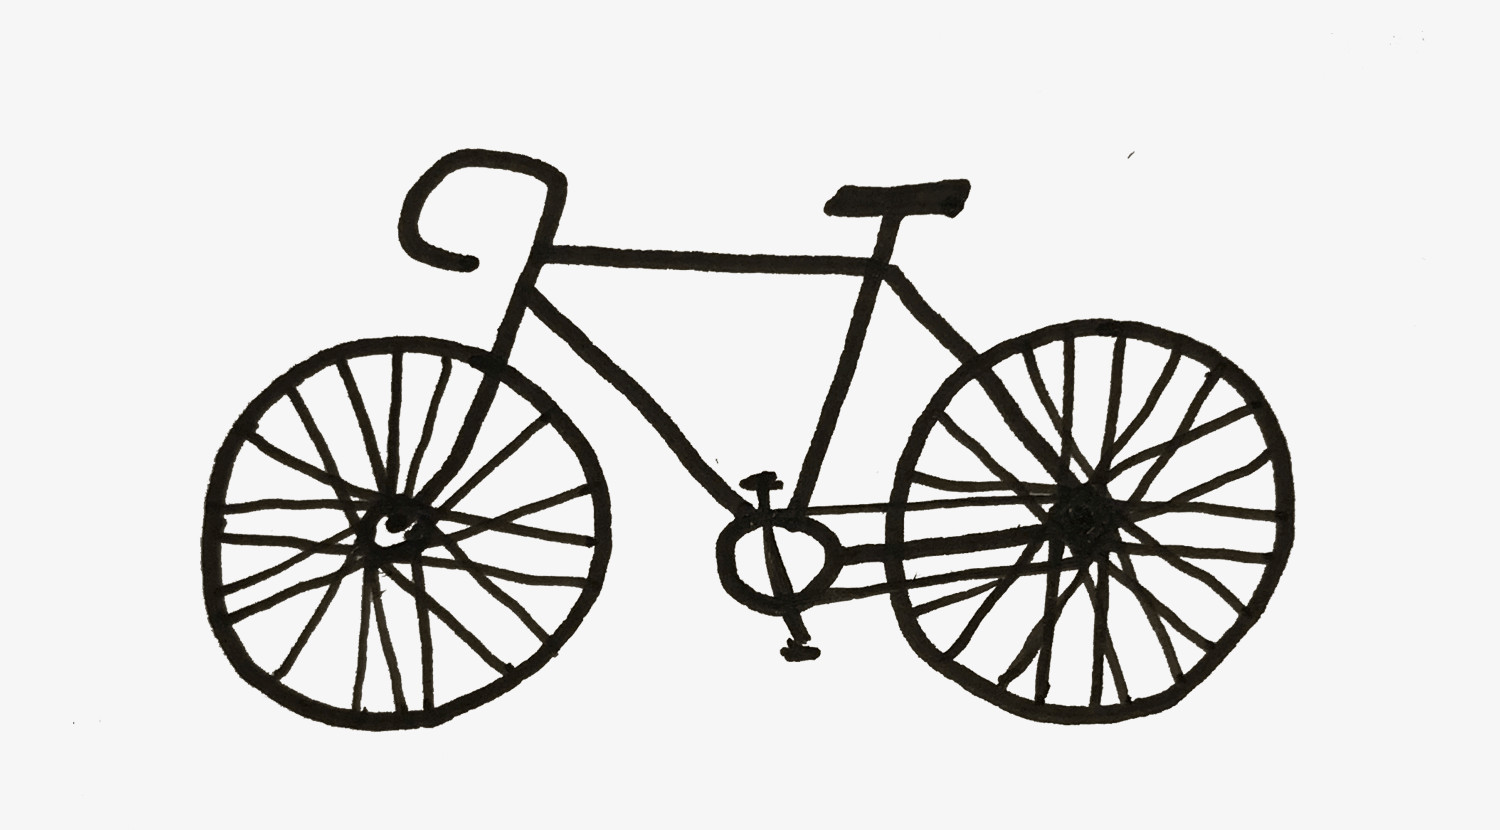
Welcome back, art enthusiasts and cycling fans! Today, we’re tackling a drawing challenge that might seem a bit tricky at first: how to Draw A Bike. Bicycles, despite being everywhere, can be surprisingly complex to sketch. But don’t worry, we’re going to break it down into simple, fun steps. Forget those intimidating carbon fiber speed machines for a moment, and let’s get started with a basic, easy-to-follow method to draw a bike that anyone can master.
 Upside down triangle for bike frame
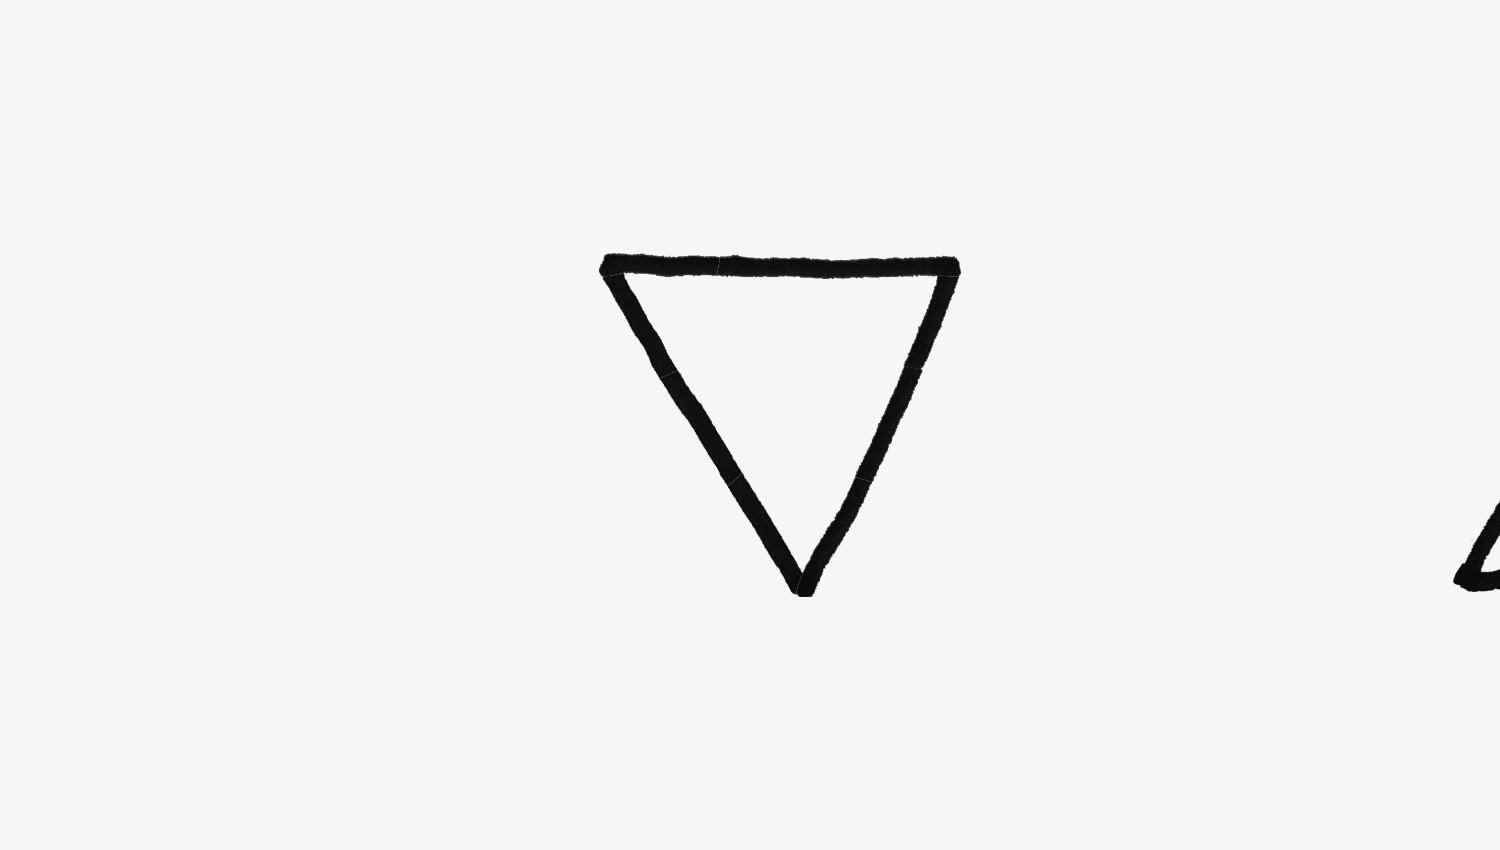
Step 1: Start with the Basic Frame – Triangles and Diamonds
To begin your bike drawing, we’ll use simple geometric shapes. First, draw a bike frame by starting with an upside-down triangle. This will form the main part of your bicycle’s frame. Think of it as the backbone of your bike sketch.
 Adding a bisected diamond to the bike frame
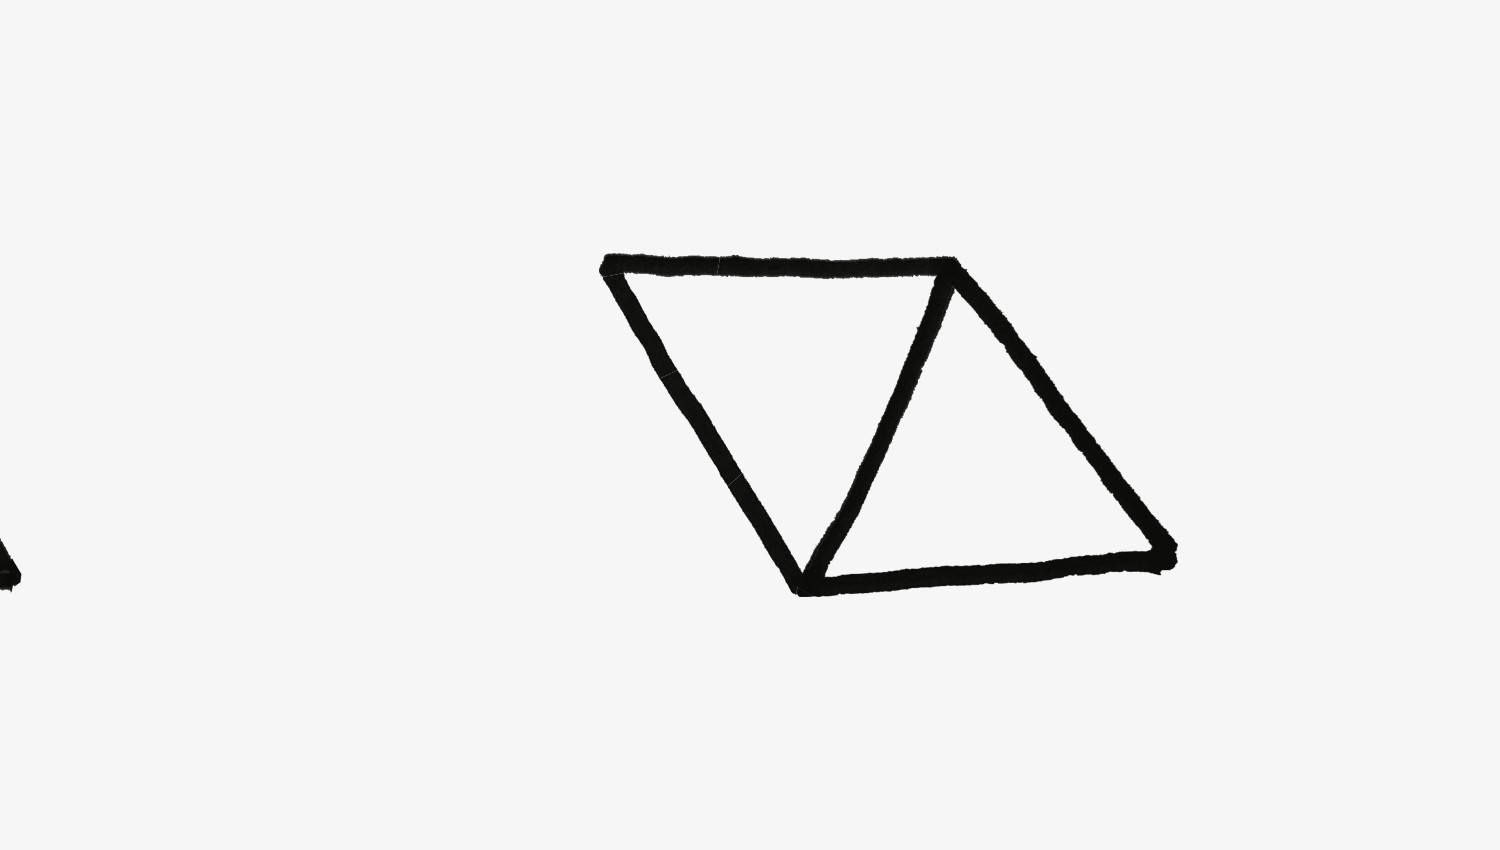
Next, let’s build upon our basic frame. Add another triangle to the side of the first one. If you want to get fancy, you can think of this as creating a bisected diamond shape. This step helps to further define the bike structure and adds dimension to your bicycle drawing.
 Adding another triangle for bike frame structure
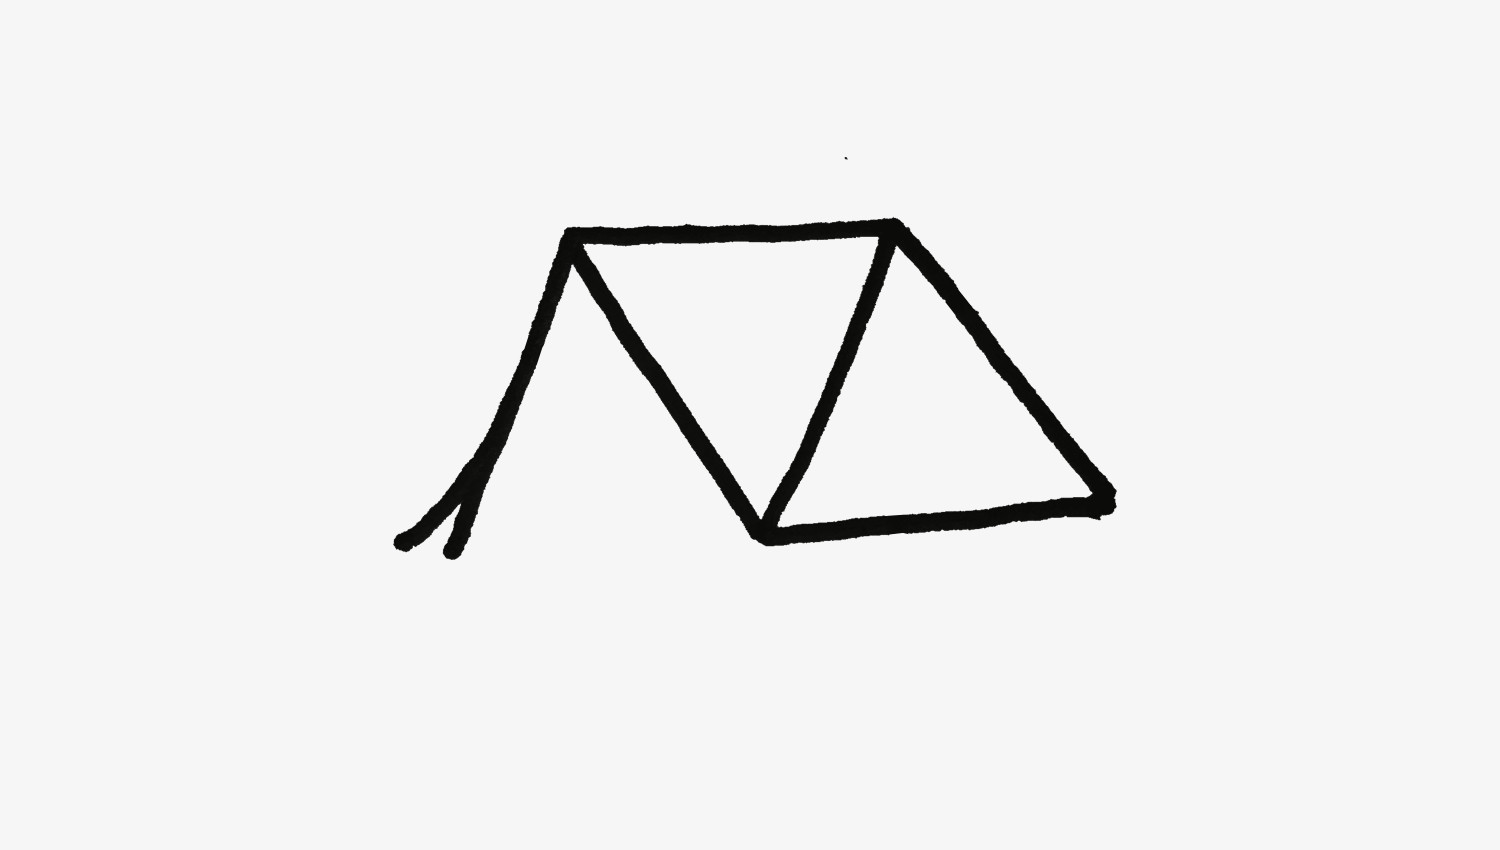
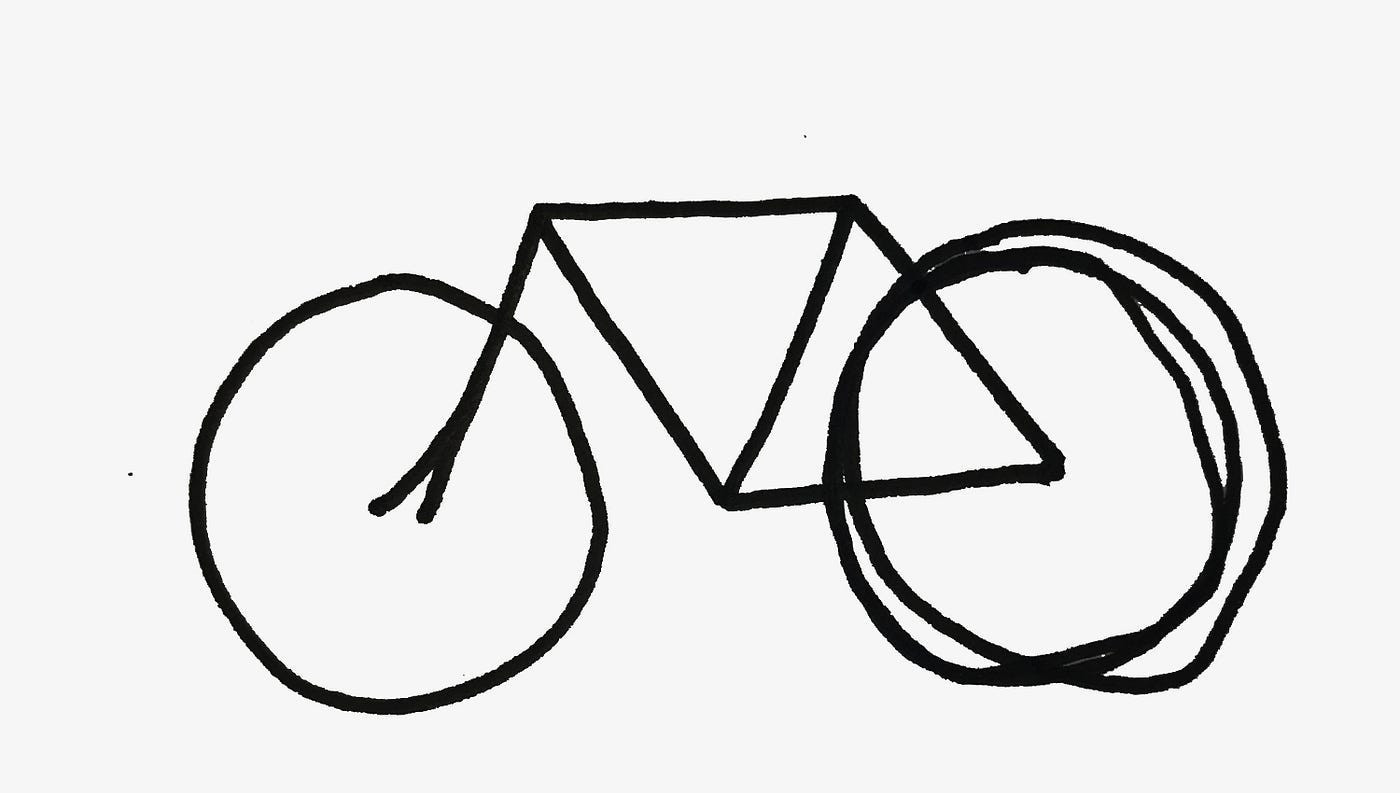
Now, on the opposite side, draw another triangle, but this time, leave out the bottom line. Instead of a straight line, make that connecting line a bit curved. Small changes like this can make your bike sketch look more dynamic and less rigid. It’s all part of learning how to draw a bike with style!
 Drawing bike wheels as circles
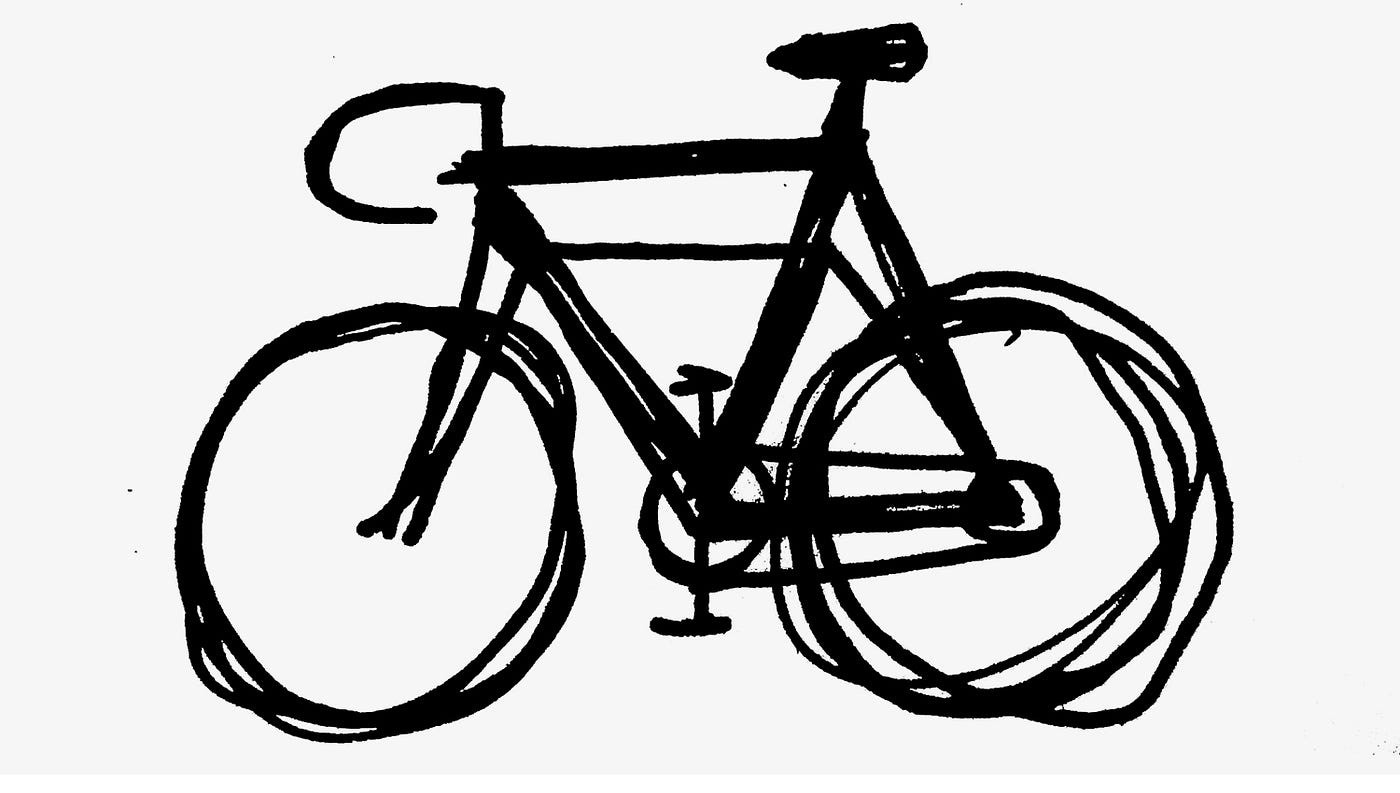
Step 2: Wheels and a Little Wheel-y Trouble
Time to add the wheels! When you draw bike wheels, circles are your best friend. Start with one circle, and then another for the back wheel. Circles might seem simple, but getting them right is key to a good bicycle drawing.
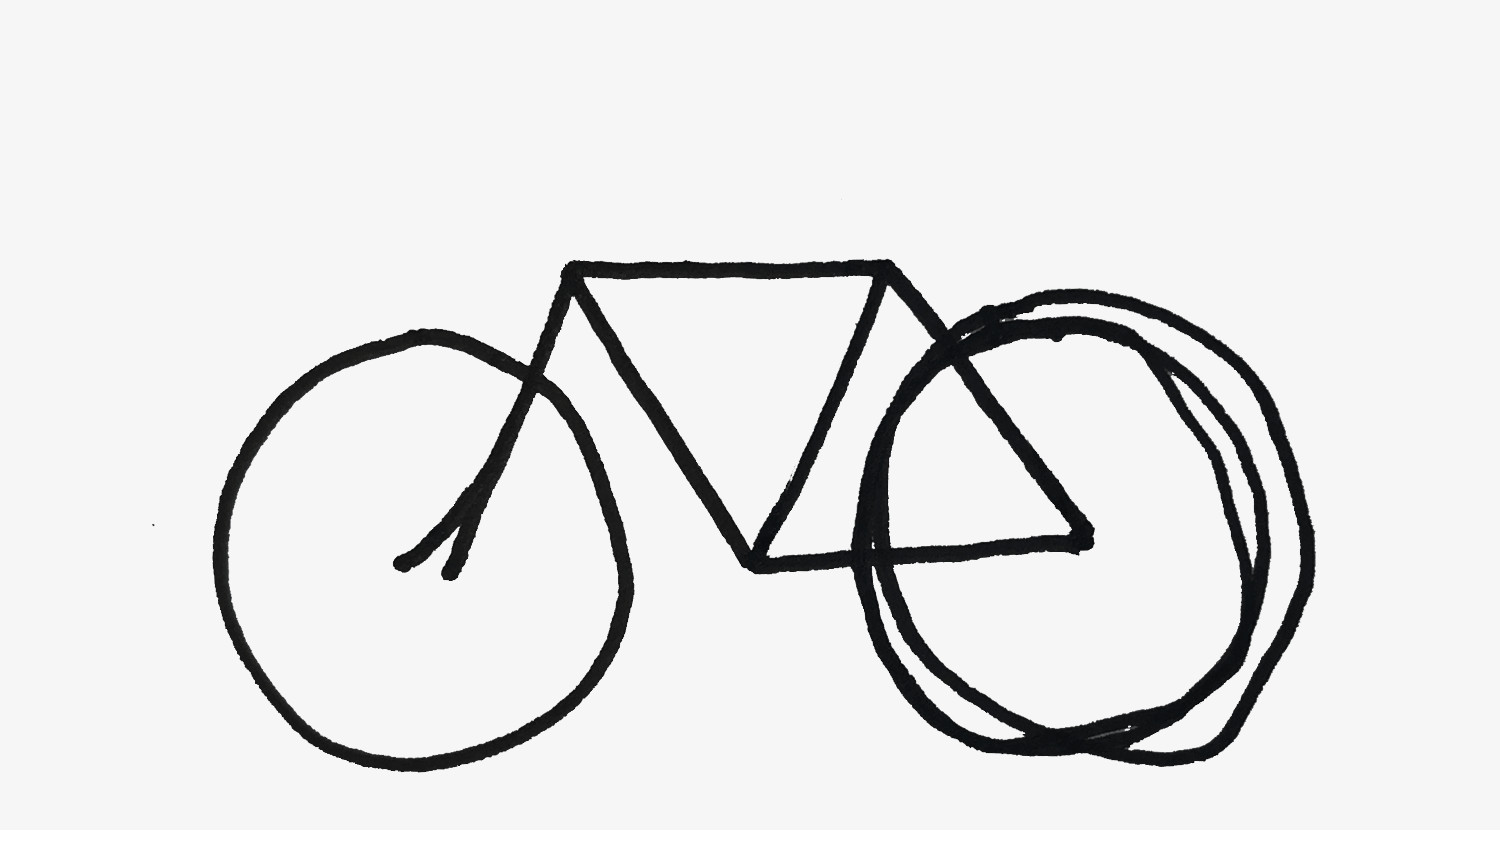
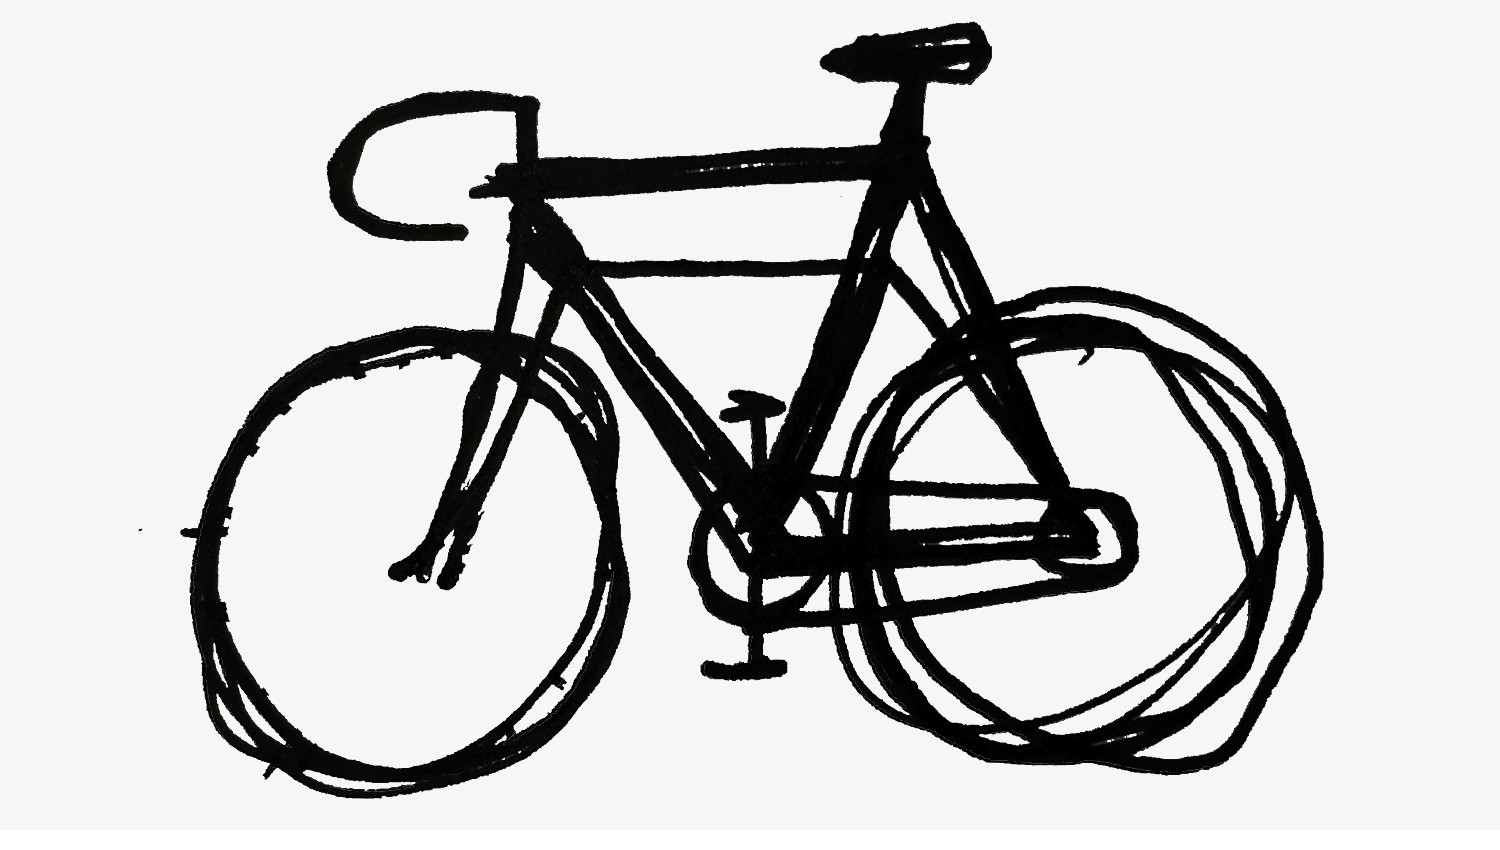
 Correcting the back wheel in the bike drawing
Oops, maybe that back wheel wasn’t perfect on the first try! Don’t worry, even artists make mistakes. If your circle is a bit wobbly, just draw over it to make it better. Learning to draw a bike is all about practice and fixing things as you go.
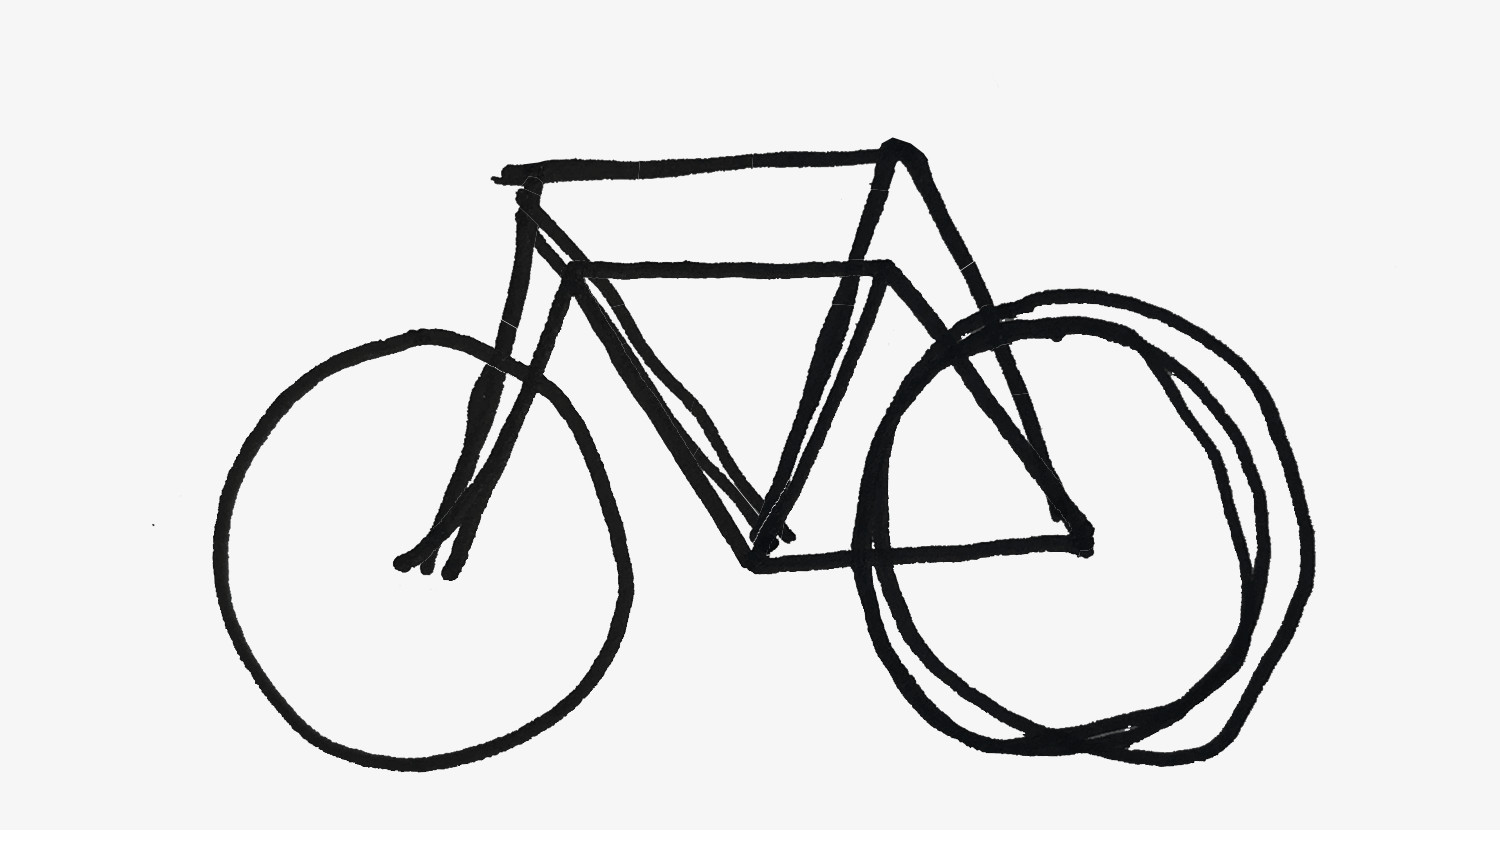
 Adjusting bike frame geometry for better look
Looking at the frame again, it might seem a bit off. That’s okay! Adjusting the geometry is part of the process when you draw a bike. Make tweaks to the lines to get the proportions looking right. This is your bike sketch, so make it your own!
 Adding handlebars and seat to the bike drawing
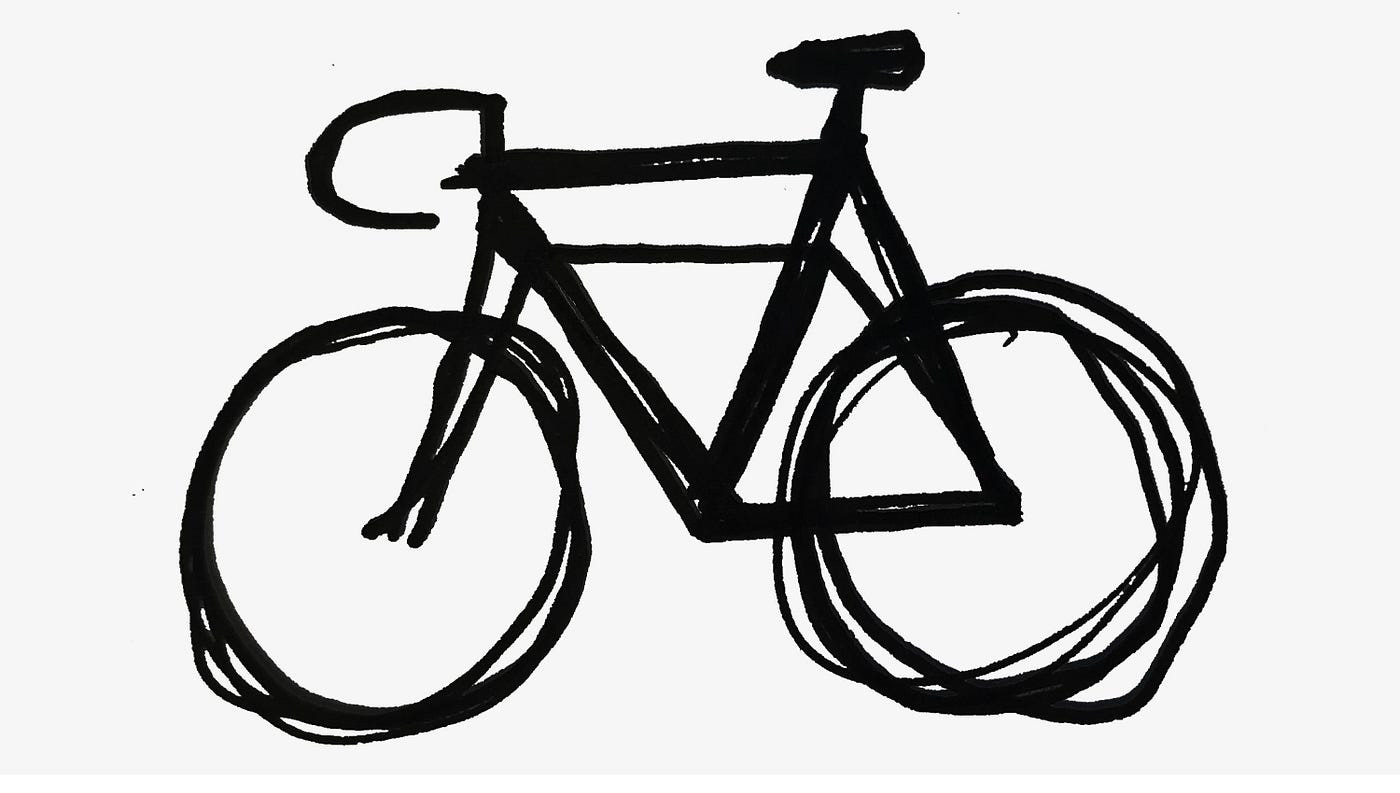
Step 3: Handlebars, Seat, and Essential Bike Parts
Now, let’s add the parts that make a bike rideable! Draw bike handlebars at the front – a simple curved line will do. Then, add the seat. Think about where you’d want to sit comfortably on your bicycle drawing. These are crucial components when you draw a bike that looks complete.
 Adding details over main lines to enhance bike drawing
Want to make your bike sketch look a bit more polished? Try going over some of the lines you’ve already drawn, making them darker and more defined. This technique can help to hide any initial shakiness and give your bicycle drawing a more confident look. It’s a neat trick when you draw a bike and want to refine your work.
 Drawing pedals and chain to the bike
Next up are the pedals and the chain. Let’s draw bike pedals as small rectangles or ovals extending from the center of the frame. Then, sketch in the bike chain drawing connecting the pedals to the back wheel. These details bring your bike drawing closer to reality.
 Adding spokes to the front wheel of the bike
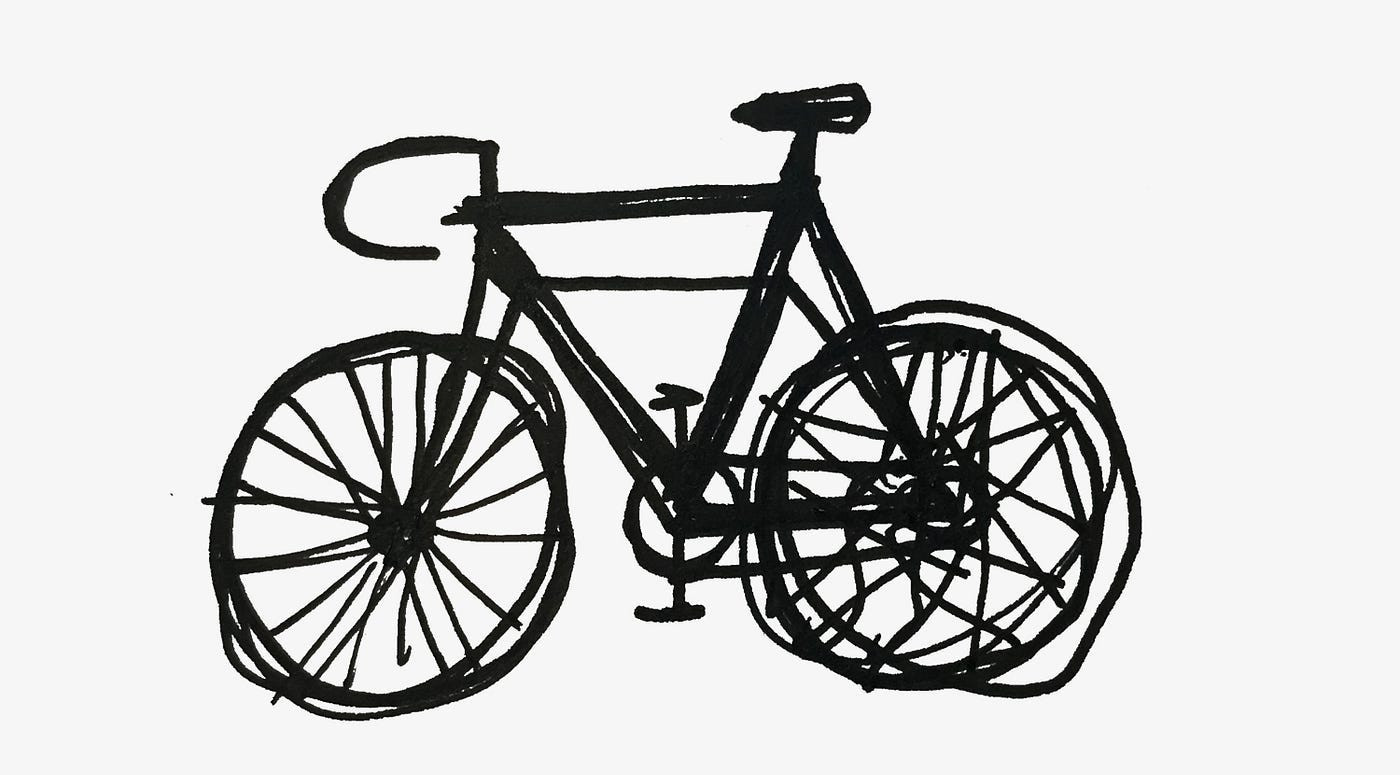
Step 4: Spokes and Wheel Details
Spokes! Adding spokes to the wheels instantly makes your bike sketch look more complete. Draw bike spokes by adding lines radiating from the center of each wheel to the rim. Don’t worry about making them perfectly even; a rough approximation will do just fine. This is where your bicycle drawing starts to really come together.
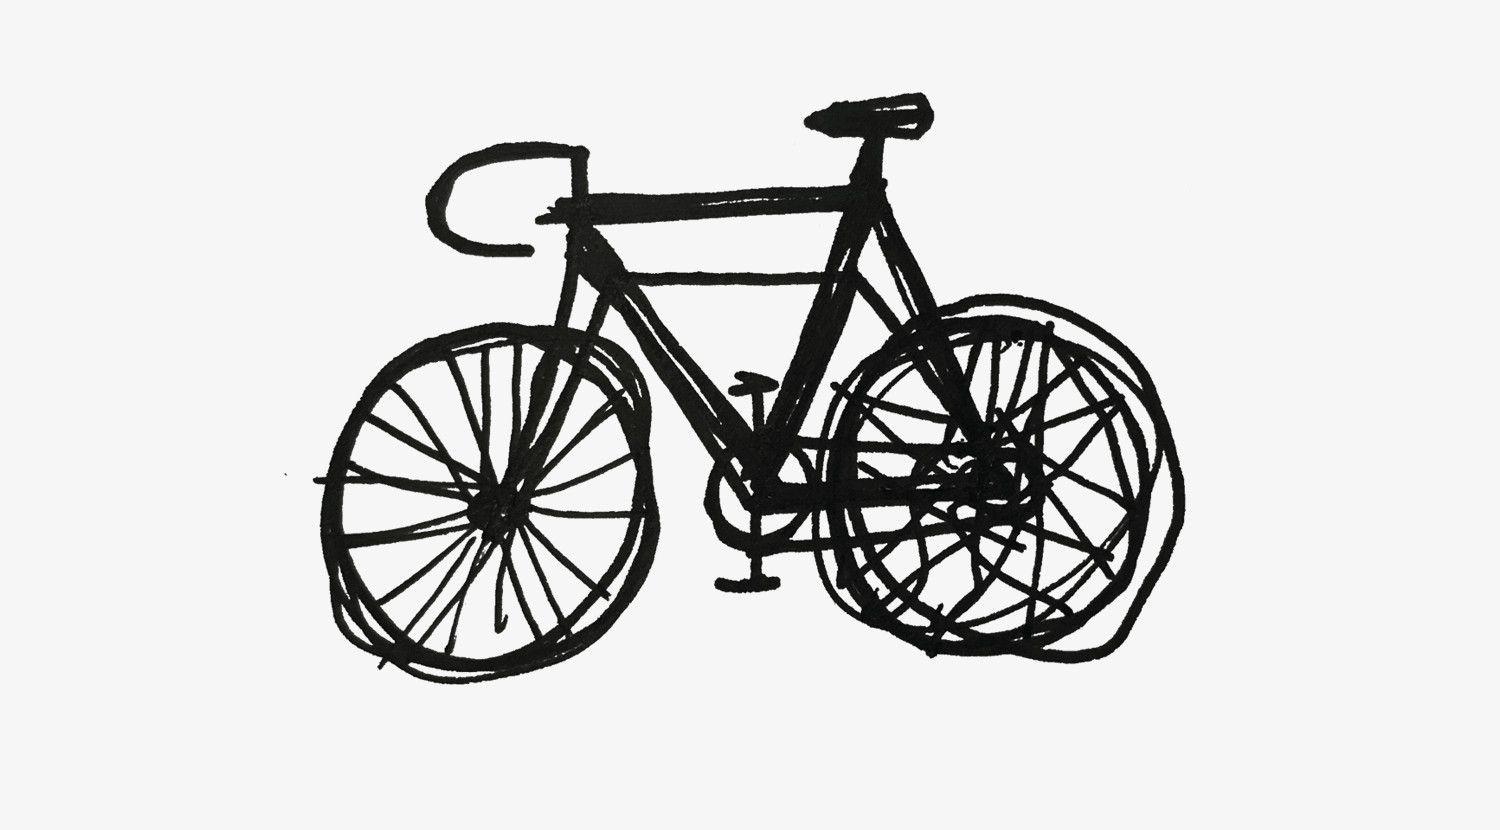
 Adding spokes to the back wheel of the bike
The back wheel might seem a bit more complicated with spokes, but the technique is the same. Just keep radiating those lines from the center. Remember, when you draw a bike, it’s about capturing the essence, not necessarily perfect mechanical accuracy!
 Adding speed lines to finish the bike drawing
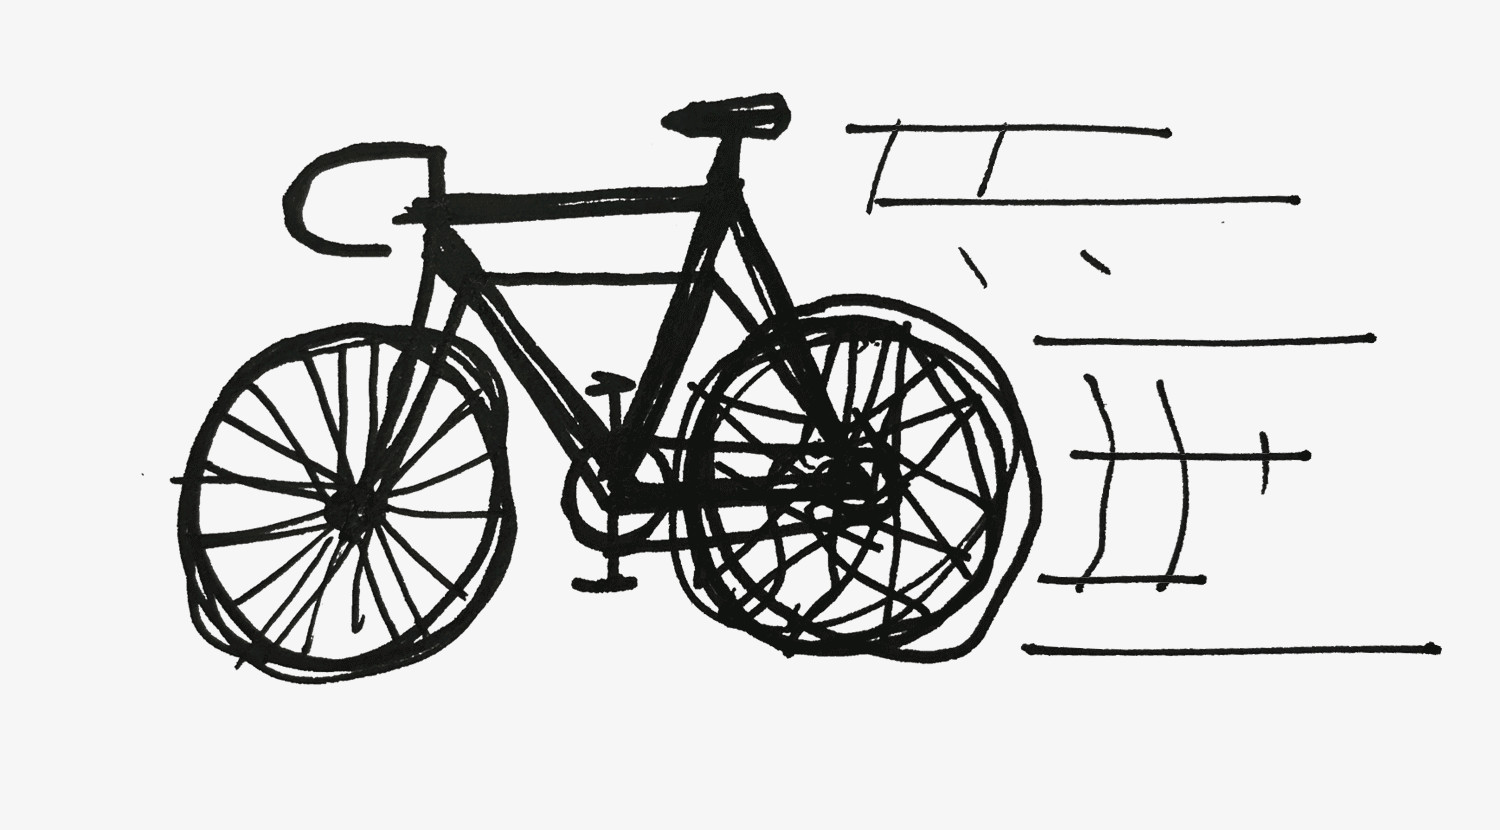
Step 5: Finishing Touches and Speed!
If your bike drawing looks a little rough around the edges, don’t worry! The magic touch? Speed lines! Add some lines behind the bike to give the impression of motion. Suddenly, your bicycle drawing is dynamic and fast!
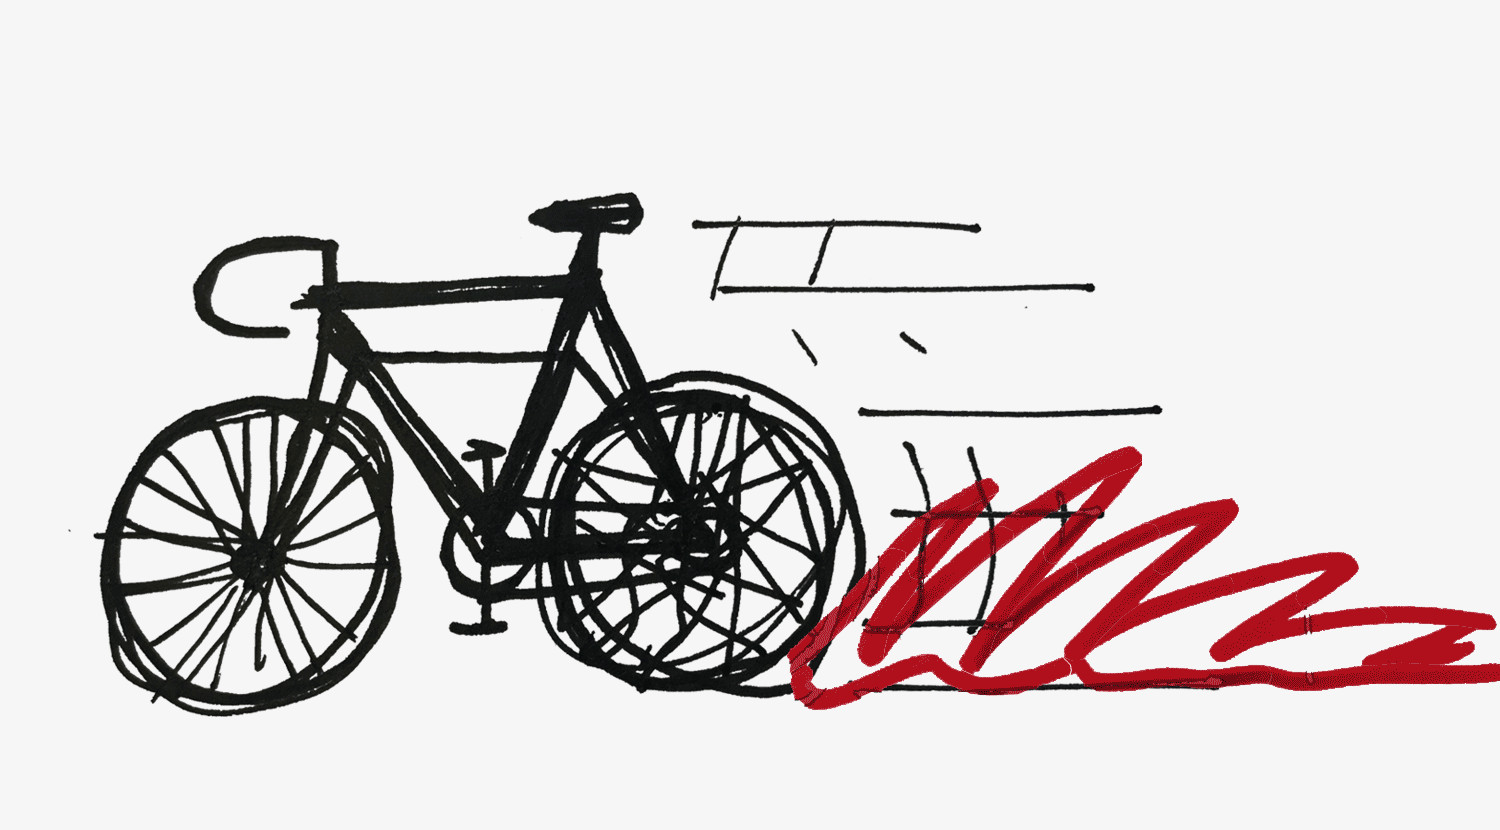
 Adding fire effect to the bike drawing for fun
Feeling extra creative? Why not add some flames? Okay, maybe flames are optional, but adding fun elements is what makes drawing bikes enjoyable.
 Stick figure kicking a drawn bike in frustration
And there you have it! You’ve learned how to draw a bike! It might not be perfect, but that’s part of the charm. Sometimes, the best thing to do after trying to draw a bike is to just go outside and ride one!
If you enjoyed this fun tutorial on how to draw a bike, be sure to check out usabikers.net for more drawing guides and everything cycling! Happy drawing, and happy riding!