
Bicycles stand as remarkable tools for self-sufficiency. They offer freedom and distance without relying on gasoline or electricity. However, to truly leverage a bike for self-reliance, understanding basic maintenance is key. While less complex than cars, bikes are still machines susceptible to breakdowns and in need of repair.
Like many, I rediscovered cycling and the joy of bike paths with my family. But a realization struck: my bike maintenance knowledge was practically non-existent. A flat tire would leave me stranded. Wonky brakes? Completely helpless.
This prompted me to learn fundamental bike maintenance and repair skills. It’s been an enjoyable and empowering journey. I’m excited to share this knowledge with you in our Bike Maintenance 101 series.
Today, we’re starting with a crucial skill for any cyclist: patching an inner tube. I recall watching my father attempt this as a child, and it seemed incredibly complicated. Surprisingly, I discovered it’s quite straightforward. Here’s your step-by-step guide on how to patch a bike tire and fix a flat.
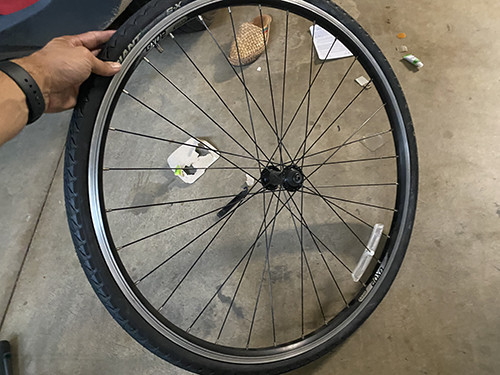
Step 1: Wheel Removal
First things first, we need to remove the wheel to access the flat inner tube.
Flipping your bike upside down often simplifies wheel work. No need for a fancy bike stand for this simple repair.
Modern bikes usually feature quick-release systems, making wheel removal a breeze and largely consistent across models. The primary variation you’ll encounter is in brake disconnection, depending on your bike’s brake type. Here’s how to remove a wheel equipped with v-brakes, as seen on my bike.
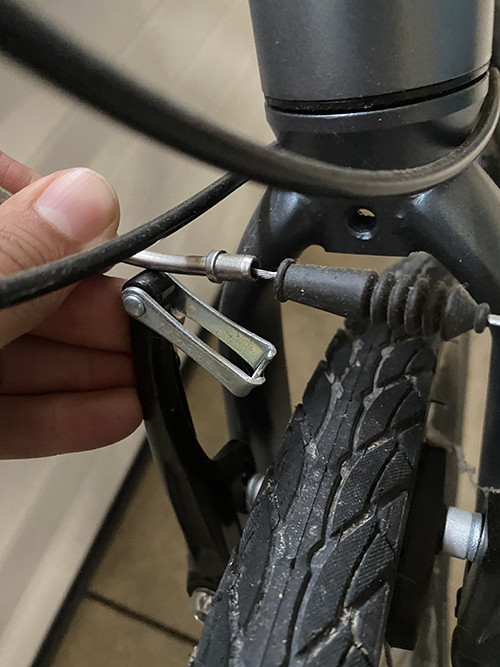 Disconnecting V-brakes for bike wheel removalDisconnecting v-brakes is remarkably easy. Simply squeeze the two brake arms together and detach the cradle from the noodle (the component with the rubber tip).
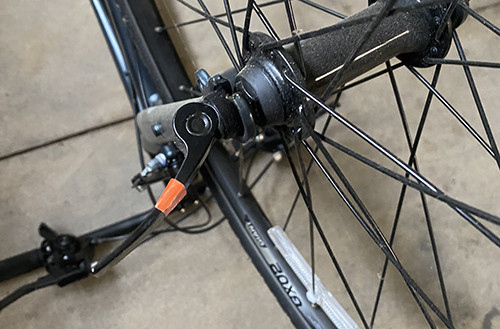 Opening the quick-release lever on a bicycle wheelOpen the quick-release lever and unscrew it until there’s sufficient space to remove the wheel from the frame.
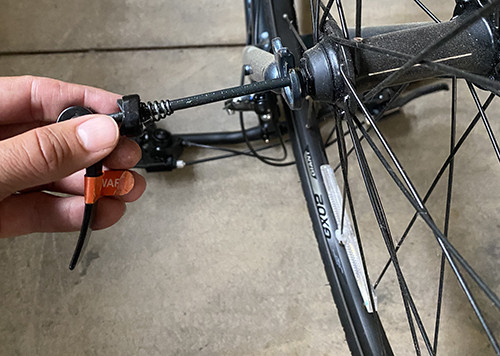 Unscrewing the quick-release mechanism for wheel removalWhile not mandatory, removing the quick-release rod entirely can provide more working space. I find it easier to handle the tire without the rod in place, so I typically remove it.
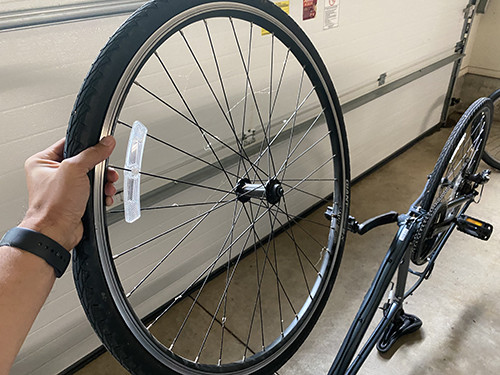 Bike wheel successfully removed for tire patchingWheel’s off! We’re now ready to proceed to the next stage of the Bike Patch process.
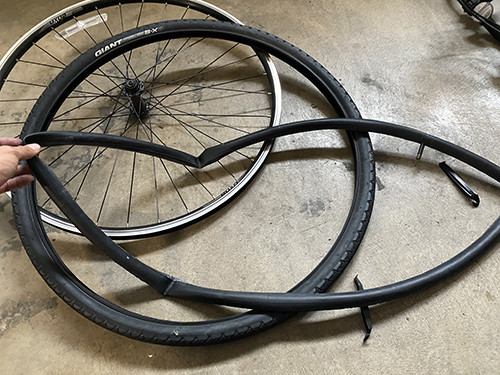
Step 2: Tire Removal from the Wheel Using Tire Levers
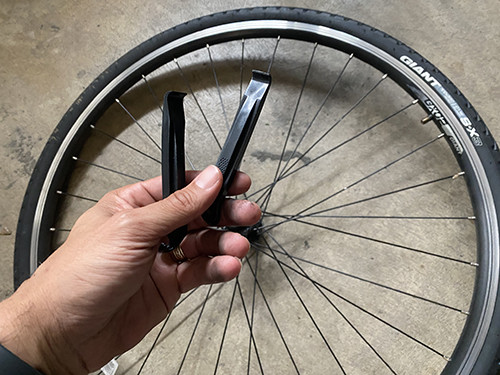 Essential tire levers for bike tire repairNow we need to separate the tire from the wheel to access the inner tube. Tire levers are invaluable tools for this task, making tire removal significantly easier. They are an inexpensive but essential part of any bike patch kit.
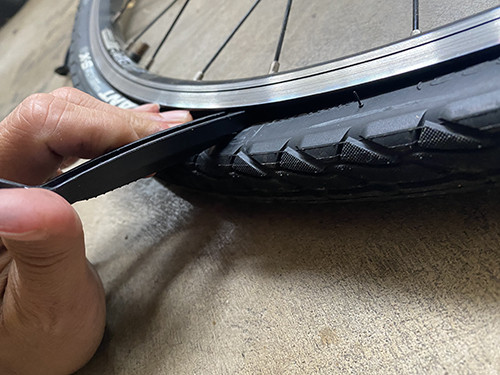 Inserting a tire lever to begin removing a bike tirePosition your first tire lever between the wheel rim and the tire. The goal is to get the lever under the tire bead (the tire’s edge that hooks onto the rim) so you can pry it away from the wheel.
 Hooking a tire lever onto a spoke to hold the tire off the rimTo prevent the tire bead from slipping back into the wheel rim, hook the end of the tire lever onto a nearby spoke. This maintains separation, simplifying the removal of the remaining tire section.
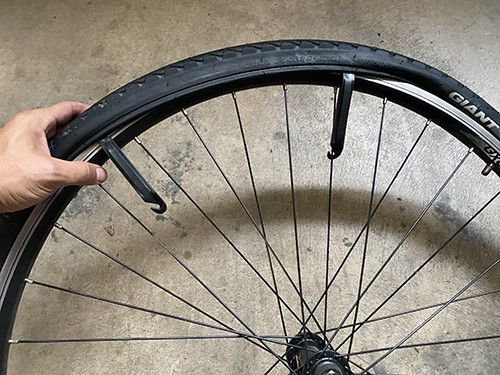
 Using a second tire lever for bike tire removalInsert the second tire lever close to the first one, also under the tire bead. This lever will be used to slide around the wheel, progressively detaching the rest of the tire from the rim.
 Sliding a tire lever around the rim to remove the tireAs you slide the second tire lever around the wheel, you’ll notice the tire bead increasingly coming off the rim. It might feel stiff initially, but it becomes easier as you proceed. More and more of the tire bead will lift over the wheel rim.
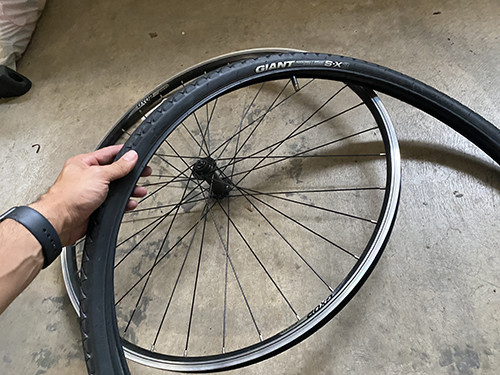 Bike tire completely removed from the wheelTire successfully detached from the wheel! Next, we’ll remove the inner tube from within the tire.
Step 3: Inner Tube Extraction
 Removing the inner tube from a bike tireThe inner tube will be nestled inside the tire. Simply reach in and gently pull it out. It should come out easily now that one side of the tire is completely off the rim.
Step 4: Locating the Puncture
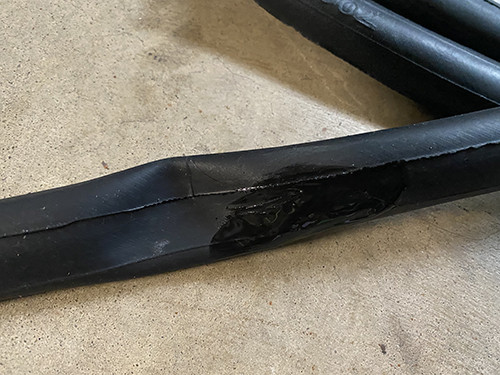
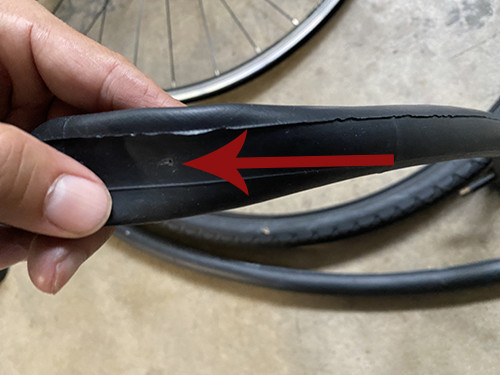 Pinpointing the hole in the bike inner tubeThere it is – the culprit! Now to prepare for the bike patch application.
Step 5: Preparing the Inner Tube for Patching
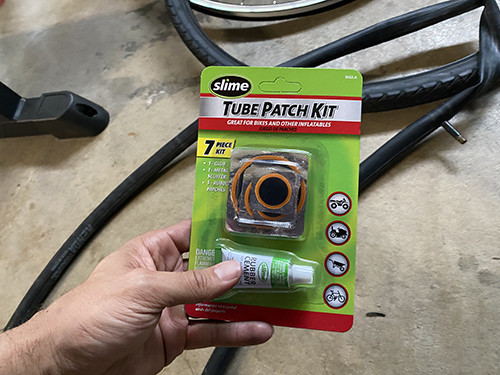 Essential bike tire patch kit componentsGrab your bike patch kit. A patch kit is essential for any cyclist for quick road or trailside repairs.
My patch kit includes a small metal tool with a textured surface, almost like a miniature cheese grater. This is a tube scuffer. Use it to lightly roughen the area around the hole on the inner tube. If your kit lacks this tool, fine-grit sandpaper works just as well. Scuffing creates a better surface for the adhesive to bond, ensuring a secure bike patch.
Step 6: Applying Rubber Cement
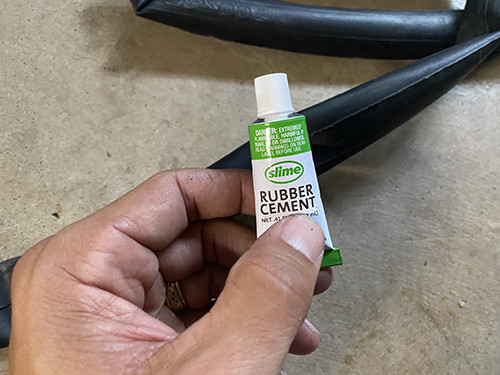 Applying rubber cement from a bike patch kit
 Spreading rubber cement evenly around the punctureApply a moderate amount of rubber cement from your patch kit to the scuffed area. Spread it evenly, covering an area roughly 1/2 inch wider than the hole all around. Allow the rubber cement to get tacky before applying the patch for optimal adhesion.
Step 7: Applying the Bike Patch
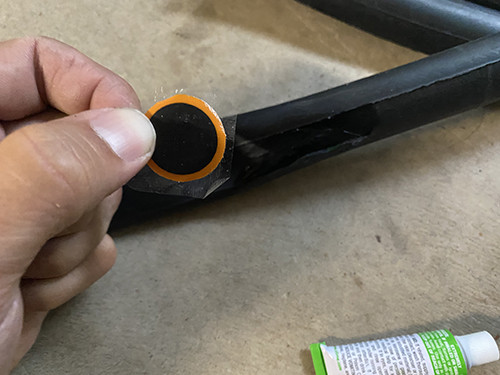 Selecting a patch from a bike patch kitSelect a patch size appropriate for the size of the puncture. Since my hole is quite small, I’m using the smallest patch in the kit. Peel off the foil backing from the patch and firmly apply the sticky side directly over the rubber cement and the hole.
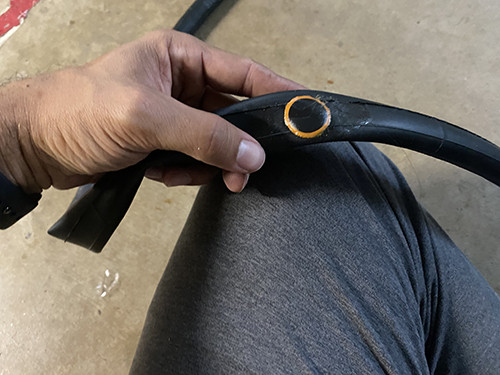 Successfully applied bike patch on the inner tubeRemove the clear plastic film from the top of the bike patch. Press firmly around the edges of the patch to ensure a good seal. Done! The hole is patched, and you’re one step closer to riding again.
Step 8: Reassembling Tire and Wheel
 Inserting the patched inner tube back into the bike tireCarefully place the patched inner tube back inside the tire casing. Make sure it sits evenly inside to avoid pinches.
 Reinstalling the tire back onto the bike wheelMount the tire back onto the wheel rim. This can sometimes be a bit challenging. You might need to use your tire levers again to help ease the final section of the tire bead back over the wheel rim. Exercise caution to avoid pinching the inner tube between the tire and the wheel rim during this step, as this could cause another puncture.
Once the tire is completely back on the wheel, inflate the inner tube to the recommended pressure. Finally, reinstall the wheel back onto your bike frame, reversing the steps from wheel removal.
You can successfully patch an inner tube multiple times. However, if you find yourself patching the same tube more than three times, it’s advisable to replace it with a new inner tube. Excessive patching can lead to less reliable repairs and potential flats at inconvenient times.
Related Articles
Previous: Mastering Basic Dance Steps for Men Next: Health Benefits of Sunlight and Vitamin D