
Optimizing How Much Psi For Gravel Bike Tires is crucial for an enjoyable ride, and at usabikers.net, we’re here to guide you through it. Achieving the ideal tire pressure enhances comfort, control, and efficiency on varied terrains, ensuring your gravel biking experience is top-notch; learning how much air pressure for gravel bike tires makes all the difference. Let’s dive into the essentials of gravel tire pressure, covering everything from recommended ranges to the factors influencing your choice, ensuring you find the perfect balance for your adventures, complete with insights from usabikers.net to maximize your bike’s performance.
1. Understanding Gravel Bike Tire Pressure
Gravel bike tire pressure is the inflation level within your tires, measured in pounds per square inch (PSI), that significantly impacts your ride’s comfort, grip, and rolling resistance. The proper PSI ensures optimal performance on diverse terrains, preventing discomfort, improving control, and reducing the risk of punctures.
1.1 Why is Gravel Tire Pressure Important?
Gravel tire pressure is essential because it directly affects several key aspects of your riding experience. Optimal tire pressure ensures comfort, enhances grip on various terrains, and reduces rolling resistance, leading to a more efficient and enjoyable ride.
- Enhanced Comfort: Correct tire pressure absorbs bumps and vibrations, providing a smoother and more comfortable ride, especially on rough gravel paths.
- Improved Grip: Proper inflation allows the tire to conform to the terrain, increasing the contact patch and enhancing grip on loose or uneven surfaces.
- Reduced Rolling Resistance: Optimal pressure minimizes energy loss due to tire deformation, making it easier to maintain speed and conserve energy.
- Puncture Prevention: Adequate pressure reduces the risk of pinch flats and sidewall damage, protecting your tires and rims from potential harm.
- Optimal Performance: Proper tire pressure ensures the tire performs as intended, maximizing its design benefits for speed, handling, and overall efficiency.
1.2 Ideal Gravel Bike Tire Pressure Range
The ideal gravel bike tire pressure range typically falls between 25 and 45 PSI (1.7 to 3.1 bar), but this can vary based on tire width, rider weight, terrain, and whether you’re running tubeless or tubed tires. This range offers a balance of comfort, grip, and rolling efficiency for most gravel riding conditions.
1.3 Factors Affecting Gravel Bike Tire Pressure
Several factors influence the optimal gravel bike tire pressure for your specific needs. These include tire width, rider weight, terrain, and the use of tubeless vs. tubed tires, all of which play a crucial role in determining the ideal PSI for your ride.
- Tire Width: Wider tires generally allow for lower pressures, increasing comfort and grip, while narrower tires may require higher pressures to prevent pinch flats.
- Rider Weight: Heavier riders need higher pressures to avoid bottoming out and damaging the rim, while lighter riders can benefit from lower pressures for increased comfort and grip.
- Terrain: Rougher terrain calls for lower pressures to absorb bumps and maintain traction, whereas smoother surfaces may benefit from higher pressures to reduce rolling resistance.
- Tubeless vs. Tubed: Tubeless setups allow for lower pressures without the risk of pinch flats, enhancing comfort and grip, while tubed tires typically require higher pressures to avoid punctures.
1.4 How to Measure Gravel Bike Tire Pressure
Measuring gravel bike tire pressure accurately requires using a reliable gauge and following a consistent procedure. This ensures you can fine-tune your tire pressure for optimal performance and safety.
- Use a Reliable Gauge: Invest in a high-quality digital or analog tire pressure gauge to ensure accurate readings.
- Check Before Each Ride: Tire pressure can decrease over time, so it’s best to check and adjust your tires before every ride.
- Consistent Measurement: Ensure the gauge is properly seated on the valve stem to get a consistent and accurate reading.
- Record Your Pressures: Keep a log of your preferred tire pressures for different conditions and tire setups to streamline future adjustments.
- Adjust Accordingly: Use the pressure readings to adjust your tires based on the factors mentioned earlier, such as terrain, rider weight, and tire width.
2. Determining Your Ideal Gravel Bike Tire Pressure
Determining your ideal gravel bike tire pressure requires a combination of understanding general guidelines and conducting personal experimentation. By starting with recommended ranges and fine-tuning based on your specific needs and experiences, you can achieve the perfect balance of comfort, grip, and efficiency.
2.1 Start with Recommended Pressure Ranges
Begin by consulting recommended pressure ranges provided by tire manufacturers or using online tire pressure calculators. These resources typically offer starting points based on tire width, rider weight, and riding conditions.
2.2 Consider Your Weight and Gear
Adjust your tire pressure based on your weight and the weight of any gear you carry. Heavier riders and those carrying extra gear will need to increase tire pressure to avoid bottoming out and damaging the rim.
2.3 Adjust for Terrain and Conditions
Modify your tire pressure based on the terrain and conditions you expect to encounter. Lower pressures are ideal for rough, loose surfaces, while higher pressures are better suited for smooth, hard-packed roads.
2.4 Experiment and Fine-Tune
The best way to determine your ideal tire pressure is through experimentation. Start with the recommended pressure, then gradually adjust it up or down in small increments (1-2 PSI) until you find the sweet spot that provides the best balance of comfort, grip, and rolling efficiency.
2.5 The “Bounce Test”
The “bounce test” involves sitting on your bike and bouncing it to observe how the tires react. The tires should compress slightly and provide a smooth, controlled rebound. If the tires feel harsh or bounce excessively, lower the pressure. If they feel squishy or bottom out easily, increase the pressure. This test helps you fine-tune your pressure based on real-world feedback.
3. Gravel Bike Tire Pressure: Tubed vs. Tubeless
The choice between tubed and tubeless tires significantly impacts the ideal tire pressure for your gravel bike. Tubeless setups offer distinct advantages, allowing for lower pressures and improved performance compared to traditional tubed systems.
3.1 Tubed Tire Pressure Considerations
Tubed tires typically require higher pressures to prevent pinch flats, where the tube gets pinched between the tire and rim upon impact. These higher pressures can reduce comfort and grip, especially on rough surfaces.
- Higher Pressure: Tubed tires generally need higher pressures to avoid pinch flats.
- Less Comfort: Higher pressures can result in a harsher ride, especially on rough gravel.
- Reduced Grip: Overinflated tires may not conform to the terrain, reducing contact and grip.
3.2 Tubeless Tire Pressure Considerations
Tubeless tires eliminate the inner tube, allowing you to run lower pressures without the risk of pinch flats. This results in improved comfort, grip, and rolling resistance.
- Lower Pressure: Tubeless tires allow for lower pressures, enhancing comfort and grip.
- Increased Comfort: Lower pressures absorb bumps and vibrations, providing a smoother ride.
- Enhanced Grip: Reduced pressure allows the tire to conform to the terrain, increasing contact and grip.
- Rolling Resistance: Tubeless tires can have lower rolling resistance at comparable pressures due to reduced friction.
3.3 Benefits of Tubeless Setups
Tubeless setups offer several benefits over traditional tubed systems, including improved comfort, enhanced grip, reduced rolling resistance, and fewer flats.
- Improved Comfort: Lower pressures provide a smoother and more comfortable ride, especially on rough terrain.
- Enhanced Grip: Reduced pressure allows the tire to conform to the terrain, increasing contact and grip.
- Reduced Rolling Resistance: Tubeless tires can have lower rolling resistance at comparable pressures due to reduced friction.
- Fewer Flats: Tubeless setups are less prone to pinch flats, and sealant can automatically seal small punctures.
- Weight Savings: Eliminating the inner tube can result in a slight weight savings.
3.4 Maximum and Minimum Pressure Recommendations
Always adhere to the maximum and minimum pressure recommendations printed on the tire sidewall or rim. Exceeding the maximum pressure can cause the tire to explode or the rim to fail, while running below the minimum pressure can lead to pinch flats or tire damage.
4. Adapting Tire Pressure to Different Terrains
Adjusting tire pressure to suit the specific terrain you’re riding on is crucial for optimizing performance and comfort on your gravel bike. Different surfaces require different pressures to maximize grip, rolling efficiency, and overall ride quality.
4.1 Smooth Pavement
For smooth pavement, slightly higher tire pressures (closer to the upper end of the recommended range) can reduce rolling resistance and improve speed. This is because higher pressures minimize the tire’s contact patch with the road, reducing friction and increasing efficiency.
4.2 Hard-Packed Gravel
On hard-packed gravel, a mid-range tire pressure typically offers the best balance of rolling efficiency and comfort. This allows the tire to roll smoothly over the surface while still providing enough compliance to absorb minor bumps and vibrations.
4.3 Loose Gravel and Dirt
Loose gravel and dirt require lower tire pressures to increase the contact patch and improve grip. Lower pressures allow the tire to conform to the surface, providing better traction and control in slippery conditions.
4.4 Muddy Conditions
Muddy conditions call for even lower tire pressures to maximize grip and prevent the tire from sinking into the mud. Reducing the pressure increases the tire’s ability to conform to the terrain and find traction in slippery conditions.
4.5 Rocky and Technical Trails
Rocky and technical trails demand lower tire pressures to absorb impacts and prevent pinch flats. Lower pressures allow the tire to conform to the rocks and roots, providing better traction and reducing the risk of damage to the tire or rim.
5. The Impact of Weather Conditions on Tire Pressure
Weather conditions play a significant role in determining the optimal tire pressure for your gravel bike. Temperature and moisture levels can affect tire performance, so adjusting your pressure accordingly is essential for maintaining control and comfort.
5.1 Hot Weather
In hot weather, tire pressure can increase as the air inside the tire expands. It’s crucial to avoid overinflating your tires in hot conditions, as this can lead to a harsher ride and an increased risk of blowouts.
- Monitor Pressure: Check your tire pressure regularly during hot rides and release air if necessary to stay within the recommended range.
- Lower Starting Pressure: Start with a slightly lower pressure than usual to account for the expected increase due to heat.
- Avoid Overinflation: Never exceed the maximum pressure recommended on the tire sidewall, especially in hot weather.
5.2 Cold Weather
Cold weather can cause tire pressure to decrease as the air inside the tire contracts. This can lead to a higher risk of pinch flats and reduced grip.
- Check Pressure Regularly: Check your tire pressure before and during cold rides, and add air if necessary to maintain the recommended range.
- Increase Starting Pressure: Start with a slightly higher pressure than usual to account for the expected decrease due to cold.
- Consider Tubeless: Tubeless setups can be beneficial in cold weather, as they allow for lower pressures without the risk of pinch flats.
5.3 Wet Conditions
Wet conditions require lower tire pressures to increase the contact patch and improve grip on slippery surfaces. Reducing the pressure allows the tire to conform to the terrain and maintain traction in wet conditions.
- Lower Pressure: Reduce tire pressure slightly to increase the contact patch and improve grip.
- Tire Tread: Use tires with a tread pattern designed for wet conditions to maximize traction.
- Be Cautious: Exercise caution when riding in wet conditions, as braking distances can be longer and cornering grip can be reduced.
5.4 Dry Conditions
Dry conditions may allow for slightly higher tire pressures to reduce rolling resistance and improve speed. However, it’s still important to maintain enough compliance to absorb bumps and vibrations.
- Monitor Conditions: Pay attention to the terrain and adjust pressure accordingly, even in dry conditions.
- Balance Speed and Comfort: Find the optimal pressure that balances speed and comfort for your specific riding style and terrain.
6. Gravel Bike Tire Pressure for Different Tire Widths
Tire width is a critical factor in determining the ideal tire pressure for your gravel bike. Wider tires offer increased volume, allowing you to run lower pressures for enhanced comfort and grip, while narrower tires may require higher pressures to prevent pinch flats.
6.1 Narrow Tires (30-35mm)
Narrow tires (30-35mm) typically require higher pressures to prevent pinch flats and maintain rolling efficiency. These tires have less volume, so they need more pressure to support the rider’s weight and absorb impacts.
- Pressure Range: Generally, 40-60 PSI (2.8-4.1 bar) is suitable for narrow gravel tires, depending on rider weight and terrain.
- Rider Weight: Lighter riders can use pressures closer to the lower end of the range, while heavier riders may need to increase pressure.
- Terrain: Smoother surfaces may allow for slightly higher pressures, while rougher terrain may require slightly lower pressures.
6.2 Medium Tires (36-40mm)
Medium tires (36-40mm) offer a good balance of comfort, grip, and rolling efficiency. They provide more volume than narrow tires, allowing you to run lower pressures for improved performance on varied terrain.
- Pressure Range: Typically, 35-50 PSI (2.4-3.4 bar) is appropriate for medium gravel tires, depending on rider weight and terrain.
- Tubeless Advantage: Tubeless setups are highly recommended for medium tires, as they allow for even lower pressures without the risk of pinch flats.
- Experiment: Experiment with different pressures to find the sweet spot that provides the best balance of comfort and performance for your specific needs.
6.3 Wide Tires (41mm+)
Wide tires (41mm+) provide the most volume and allow for the lowest pressures, resulting in enhanced comfort, grip, and control. These tires are ideal for rough terrain and riders who prioritize comfort over rolling efficiency.
- Pressure Range: Generally, 25-40 PSI (1.7-2.8 bar) is suitable for wide gravel tires, depending on rider weight and terrain.
- Tubeless Essential: Tubeless setups are essential for wide tires, as they allow for the lowest possible pressures without the risk of pinch flats.
- Terrain Versatility: Wide tires are versatile and can handle a wide range of terrain, from smooth gravel to rough singletrack.
6.4 Pressure vs. Comfort
The relationship between tire pressure and comfort is inversely proportional: lower pressures generally result in more comfort, while higher pressures can lead to a harsher ride.
7. Tire Pressure Gauges and Pumps
Using the right tools to inflate and measure your gravel bike tire pressure is essential for achieving optimal performance and safety. High-quality tire pressure gauges and pumps ensure accurate readings and precise inflation, allowing you to fine-tune your tire pressure for any riding condition.
7.1 Types of Tire Pressure Gauges
There are two main types of tire pressure gauges: digital and analog. Each type has its advantages and disadvantages, so choosing the right one depends on your preferences and needs.
- Digital Gauges: Digital gauges provide precise and easy-to-read pressure measurements. They often include features like backlit displays, multiple units of measurement (PSI, bar, kPa), and automatic shut-off. Digital gauges are generally more accurate than analog gauges, but they require batteries and may be more expensive.
- Analog Gauges: Analog gauges use a needle and dial to display pressure measurements. They are simple, reliable, and do not require batteries. Analog gauges are generally less expensive than digital gauges, but they may be less accurate and harder to read.
7.2 Types of Pumps
There are several types of pumps available for inflating gravel bike tires, including floor pumps, mini-pumps, and CO2 inflators. Each type is suited for different situations, so it’s helpful to have a combination of pumps for home and on-the-go use.
- Floor Pumps: Floor pumps are designed for home use and provide efficient and accurate inflation. They typically feature a large barrel, a stable base, and a built-in pressure gauge. Floor pumps are ideal for inflating tires to precise pressures before a ride.
- Mini-Pumps: Mini-pumps are compact and lightweight, making them ideal for carrying on rides. They are less efficient than floor pumps, but they can be used to inflate tires in case of a flat.
- CO2 Inflators: CO2 inflators use compressed carbon dioxide cartridges to quickly inflate tires. They are lightweight and easy to use, but they require CO2 cartridges, which can be expensive and environmentally unfriendly.
7.3 Accuracy and Reliability
When choosing a tire pressure gauge or pump, accuracy and reliability are essential factors to consider. Look for products from reputable brands with positive reviews and features that ensure consistent and precise measurements.
7.4 Maintenance and Calibration
To ensure the accuracy and reliability of your tire pressure gauge and pump, it’s important to perform regular maintenance and calibration. Clean your gauge and pump regularly, and check the accuracy of your gauge against a known standard.
8. Gravel Bike Tire Pressure Chart
While the ideal gravel bike tire pressure depends on several factors, a general chart can provide a helpful starting point for determining the appropriate pressure for your tires. Here’s a simplified gravel bike tire pressure chart:
| Factor | Consideration | Impact on Tire Pressure |
|---|---|---|
| Tire Width | Narrow (30-35mm), Medium (36-40mm), Wide (41mm+) | Narrow: Higher Pressure, Wide: Lower Pressure |
| Rider Weight | Lighter, Average, Heavier | Lighter: Lower Pressure, Heavier: Higher Pressure |
| Terrain | Smooth, Hard-Packed, Loose/Muddy, Rocky | Smooth: Higher Pressure, Rocky/Muddy: Lower Pressure |
| Tire Type | Tubed, Tubeless | Tubed: Higher Pressure, Tubeless: Lower Pressure |
| Weather Condition | Hot, Cold, Wet | Hot: Monitor for Increase, Cold: Monitor for Decrease, Wet: Lower Pressure |
Example Pressure Ranges (PSI):
| Narrow (30-35mm) | Medium (36-40mm) | Wide (41mm+) | |
|---|---|---|---|
| Lighter Rider | 40-50 PSI | 35-45 PSI | 25-35 PSI |
| Average Rider | 50-60 PSI | 45-50 PSI | 30-40 PSI |
| Heavier Rider | 60+ PSI | 50+ PSI | 40+ PSI |
Disclaimer: This chart is a general guideline. Always refer to the manufacturer’s recommendations on your tire sidewall and adjust based on personal preference and experience.
9. Common Mistakes to Avoid
Avoiding common mistakes when setting your gravel bike tire pressure is crucial for ensuring optimal performance, safety, and comfort. Here are some pitfalls to watch out for:
9.1 Ignoring Tire Sidewall Recommendations
One of the most common mistakes is ignoring the tire sidewall recommendations for minimum and maximum pressure. These recommendations are set by the manufacturer and are essential for ensuring the tire performs as intended and remains safe.
- Minimum Pressure: Running below the minimum pressure can lead to pinch flats, rim damage, and poor handling.
- Maximum Pressure: Exceeding the maximum pressure can cause the tire to explode or the rim to fail, resulting in a dangerous situation.
9.2 Overinflating Tires
Overinflating tires is a common mistake that can lead to a harsh ride, reduced grip, and an increased risk of blowouts. Higher pressures may feel faster on smooth surfaces, but they can be detrimental on rough terrain.
- Reduced Comfort: Overinflated tires transmit more vibrations and bumps to the rider, resulting in a less comfortable ride.
- Decreased Grip: Overinflated tires have a smaller contact patch with the road, reducing grip and control, especially in corners.
9.3 Underinflating Tires
Underinflating tires can lead to pinch flats, rim damage, and poor handling. Lower pressures may provide more grip and comfort, but they can also increase rolling resistance and the risk of tire damage.
- Increased Rolling Resistance: Underinflated tires deform more as they roll, increasing friction and reducing efficiency.
- Pinch Flats: Underinflated tires are more susceptible to pinch flats, where the tube gets pinched between the tire and rim upon impact.
9.4 Neglecting to Check Pressure Regularly
Tire pressure can decrease over time due to air leakage, temperature changes, and other factors. Neglecting to check your tire pressure regularly can lead to suboptimal performance and an increased risk of flats.
- Check Before Each Ride: It’s best to check and adjust your tire pressure before every ride to ensure it’s within the recommended range.
- Invest in a Good Gauge: Use a reliable tire pressure gauge to accurately measure your tire pressure.
9.5 Not Adjusting for Terrain and Conditions
Failing to adjust your tire pressure for different terrains and conditions can result in a less enjoyable and efficient ride. The ideal tire pressure for smooth pavement is different from the ideal pressure for rough gravel or muddy trails.
9.6 Ignoring Rider and Gear Weight
Ignoring the rider and gear weight when setting tire pressure can lead to suboptimal performance and an increased risk of flats. Heavier riders and those carrying extra gear need higher pressures to support the load.
10. Frequently Asked Questions (FAQs)
10.1 What is the correct PSI for gravel bike tires?
The correct PSI for gravel bike tires typically ranges from 25 to 45 PSI, but can vary based on tire width, rider weight, terrain, and whether you’re running tubeless or tubed tires.
10.2 How does tire width affect gravel bike tire pressure?
Wider tires generally allow for lower pressures, increasing comfort and grip, while narrower tires may require higher pressures to prevent pinch flats.
10.3 Should I use the same tire pressure for front and rear gravel bike tires?
No, typically, you should run slightly lower pressure in the front tire compared to the rear tire, as the front tire carries less weight and benefits more from increased grip and compliance.
10.4 How often should I check my gravel bike tire pressure?
You should check your gravel bike tire pressure before every ride to ensure it is within the recommended range and adjusted for the specific conditions.
10.5 Can I use a regular bike pump for gravel bike tires?
Yes, you can use a regular bike pump for gravel bike tires, but a floor pump with an accurate pressure gauge is recommended for precise inflation.
10.6 Is it better to run tubeless or tubed tires on a gravel bike?
Tubeless tires are generally preferred for gravel bikes due to their ability to run lower pressures without the risk of pinch flats, resulting in improved comfort, grip, and rolling resistance.
10.7 How does temperature affect gravel bike tire pressure?
Hot weather can increase tire pressure, while cold weather can decrease it. It’s important to monitor your tire pressure and adjust accordingly based on temperature changes.
10.8 What is a pinch flat, and how can I prevent it on my gravel bike?
A pinch flat occurs when the inner tube gets pinched between the tire and rim upon impact. To prevent pinch flats, use appropriate tire pressure, avoid riding over sharp objects, and consider using tubeless tires.
10.9 How do I know if my gravel bike tires are overinflated or underinflated?
Overinflated tires will feel harsh and transmit more vibrations, while underinflated tires will feel squishy and slow. Adjust your pressure until you find the sweet spot that provides a balance of comfort, grip, and rolling efficiency.
10.10 What are tire inserts, and should I use them on my gravel bike?
Tire inserts are foam or rubber inserts that are placed inside the tire to provide additional protection against pinch flats and rim damage. They can be beneficial for riders who frequently ride on rocky or technical terrain, but they also add weight and can make tire installation more difficult.
We hope this comprehensive guide helps you dial in the perfect tire pressure for your gravel bike. Remember to experiment and fine-tune your pressure based on your specific needs and experiences. For more tips, guides, and community discussions, visit usabikers.net – your ultimate resource for all things biking. Ride safe and have fun!
Address: 801 Sturgis Main St, Sturgis, SD 57785, United States
Phone: +1 (605) 347-2000
Website: usabikers.net
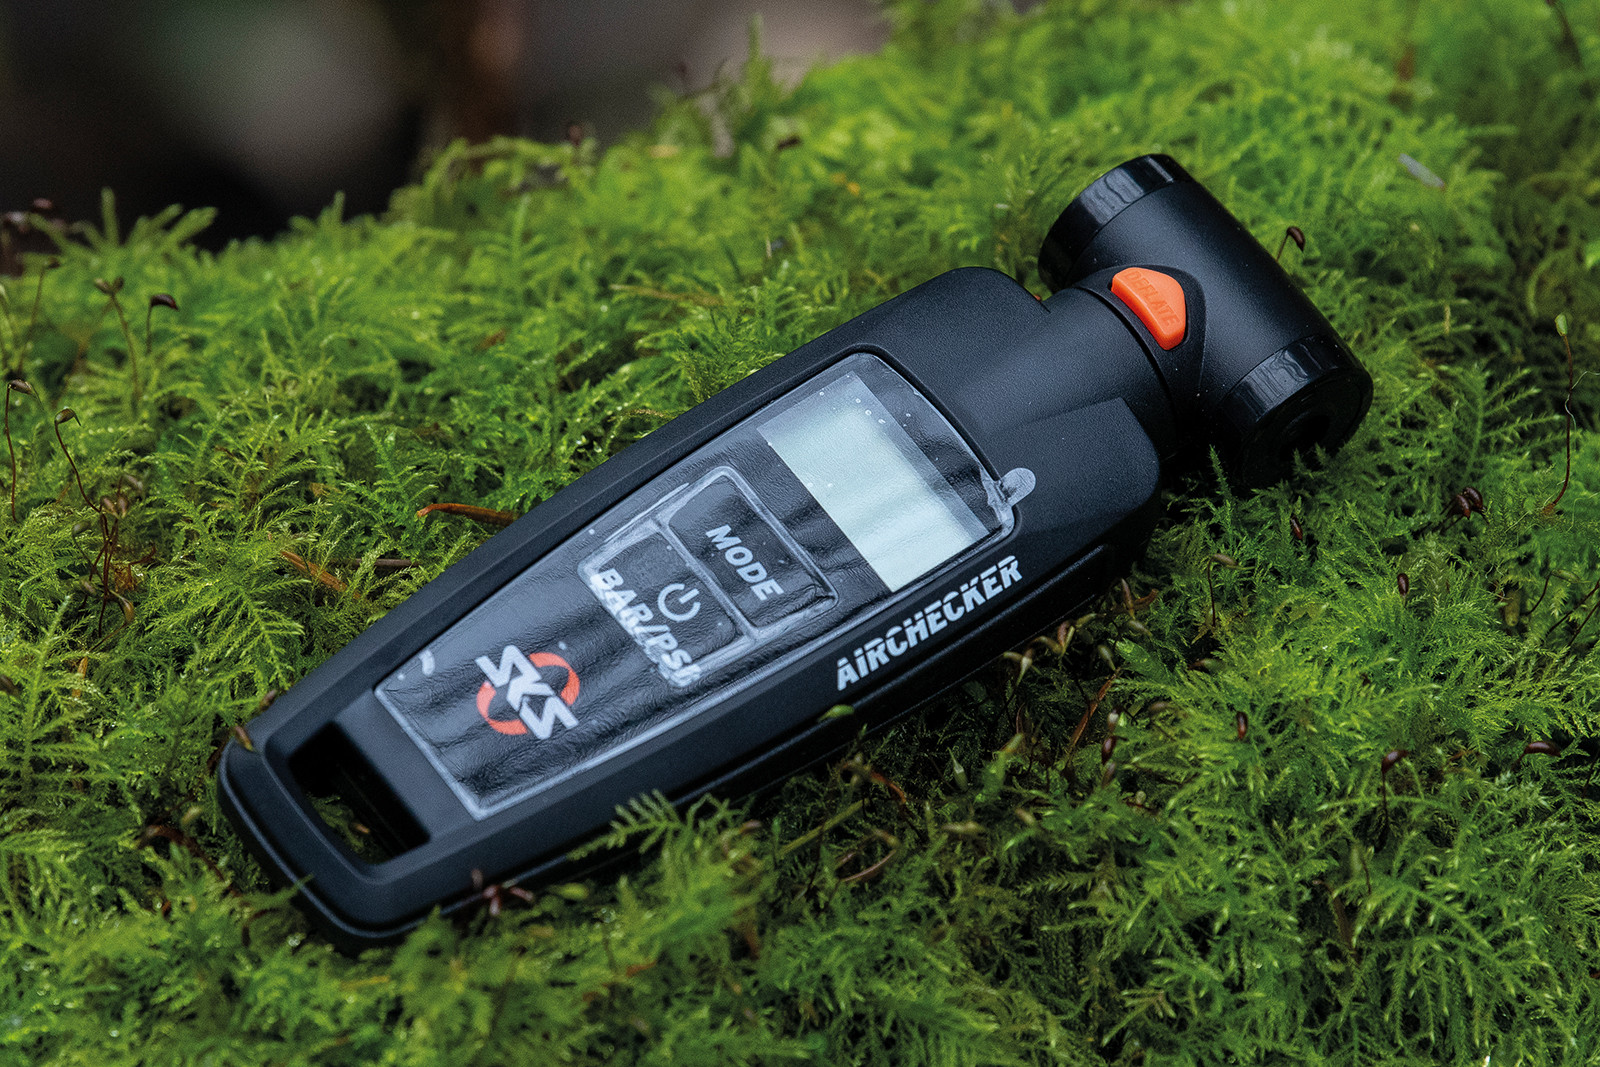 Cyclist checking gravel bike tire pressure with digital gauge
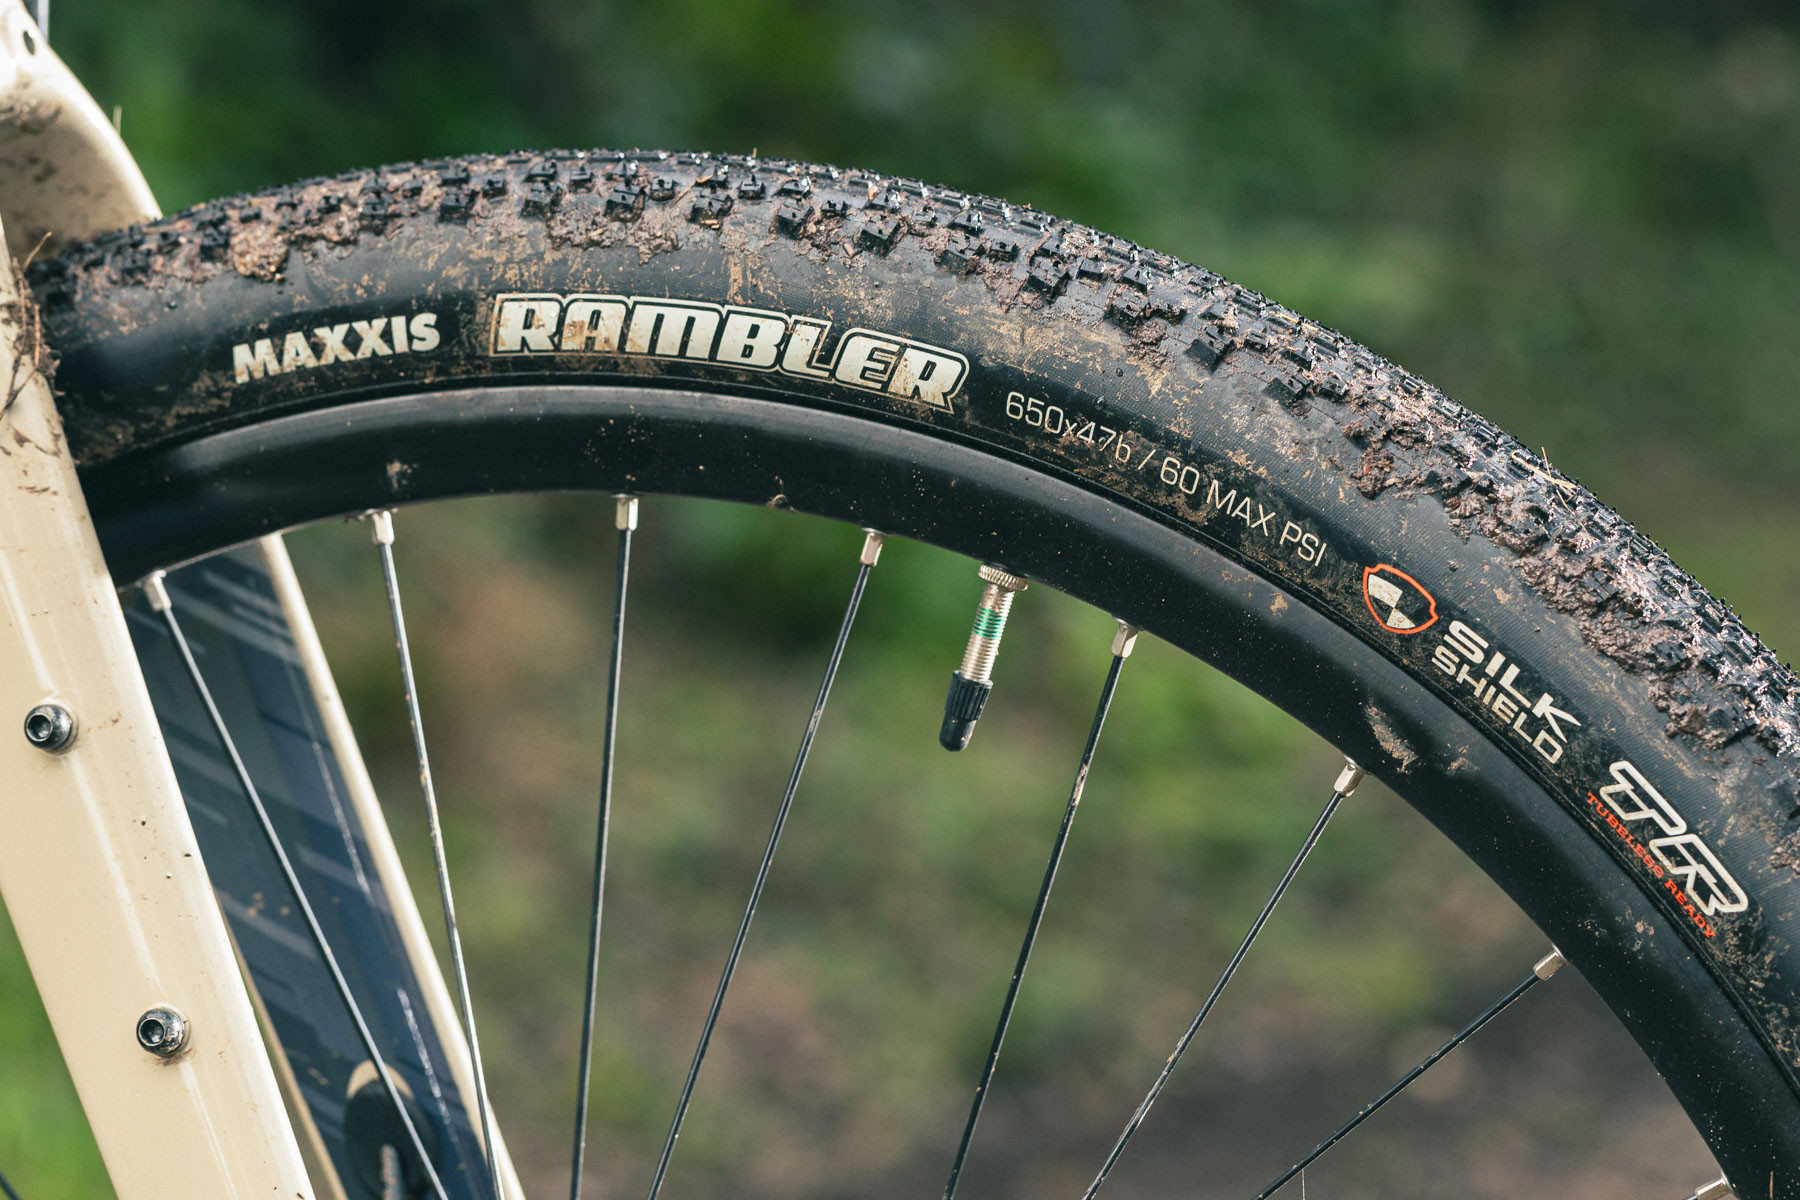 Close-up of Maxxis Rambler tire on Saracen Levarg gravel bike showing tire sidewall markings
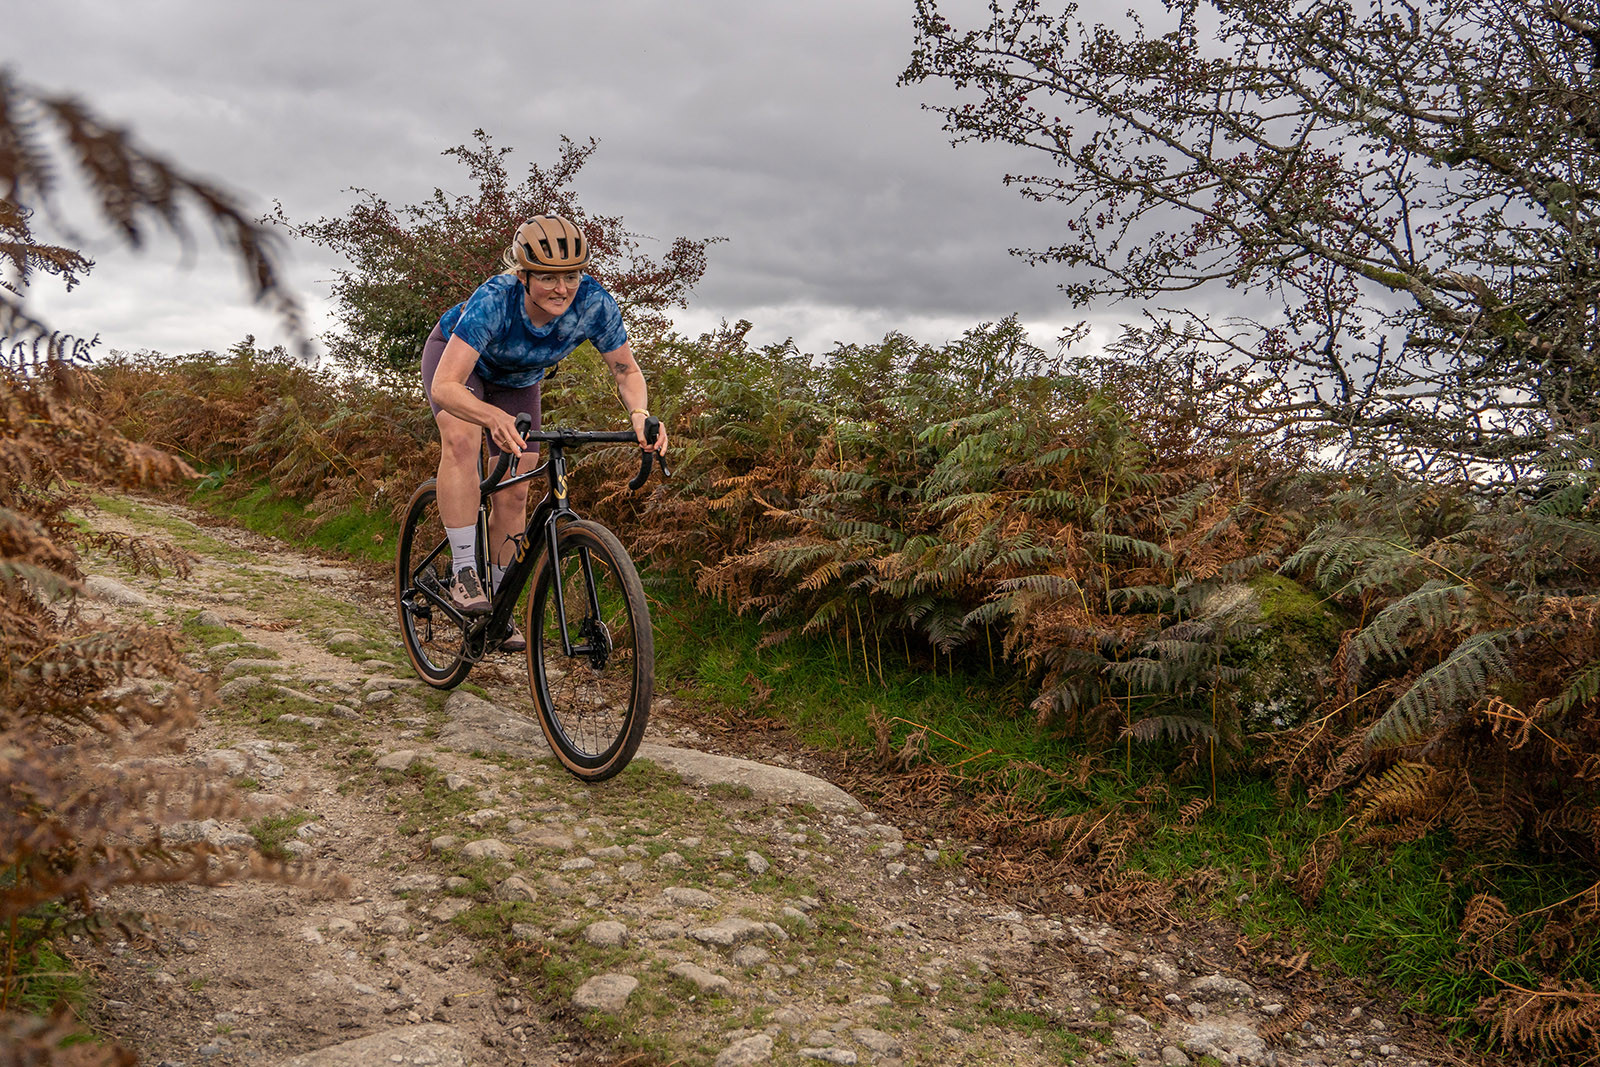 Female cyclist enjoying smooth ride on Liv Devote Advanced Pro women's gravel bike
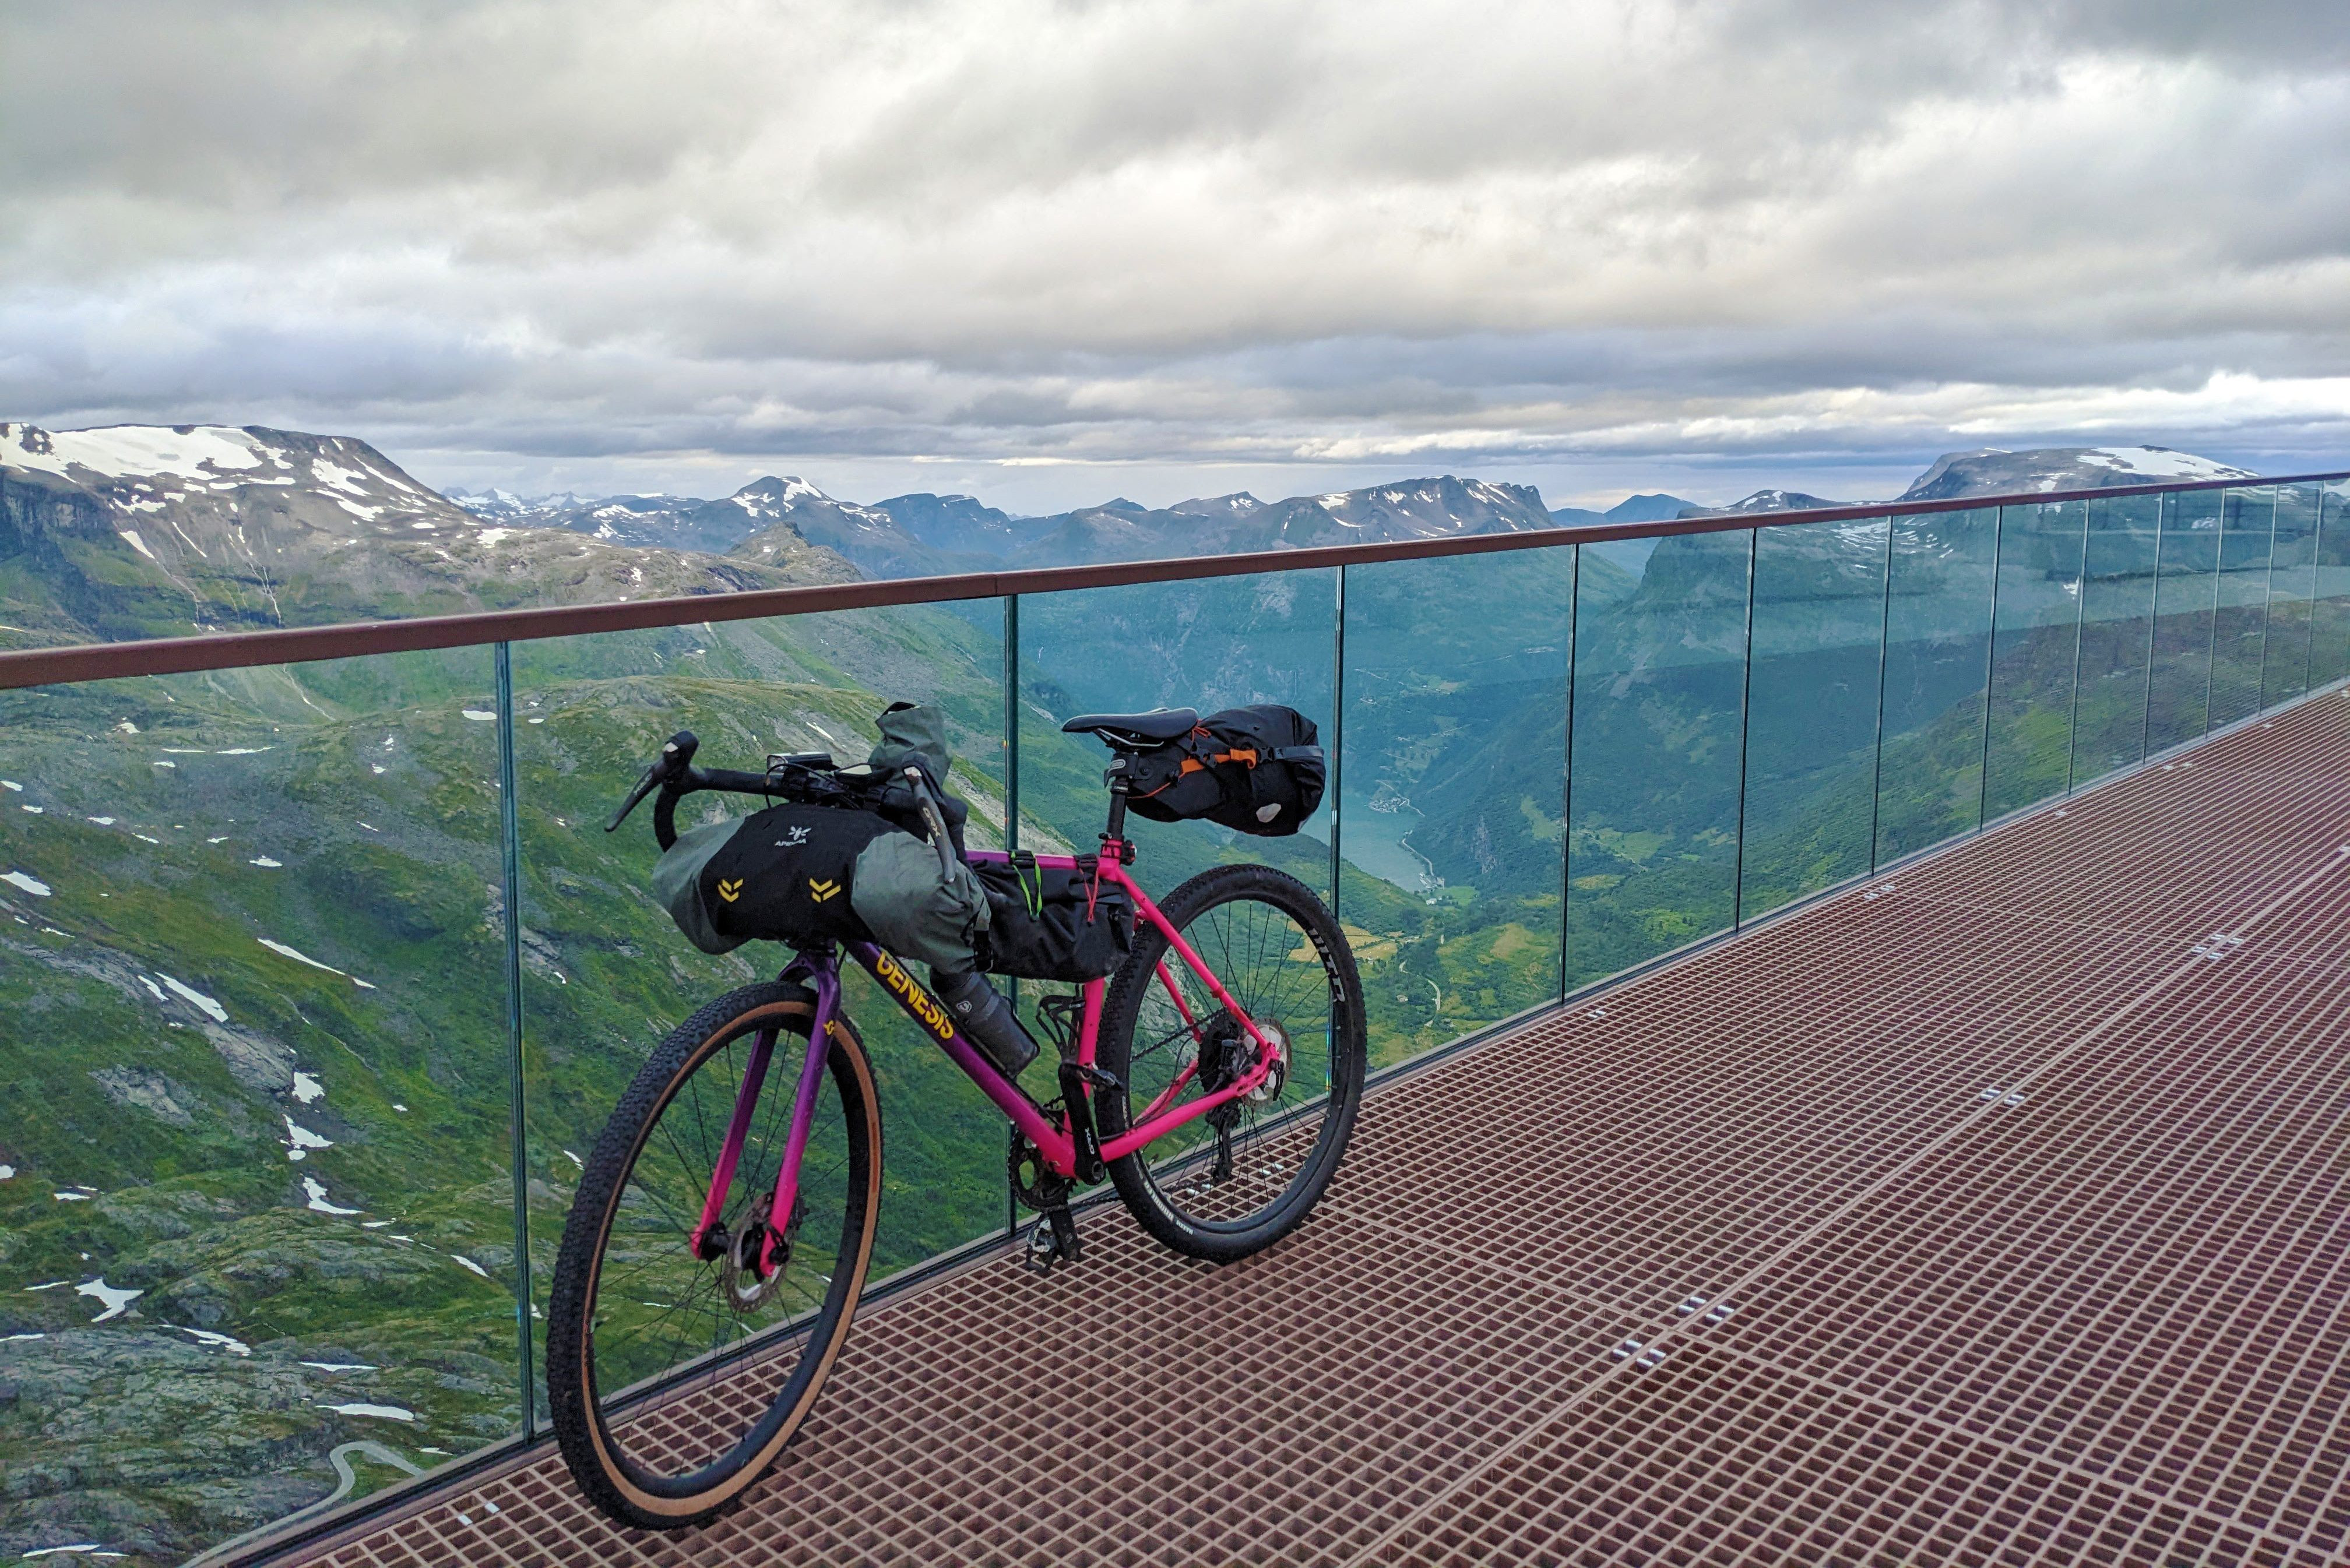 Bikepacking setup with bags mounted on Genesis Fugio gravel bike
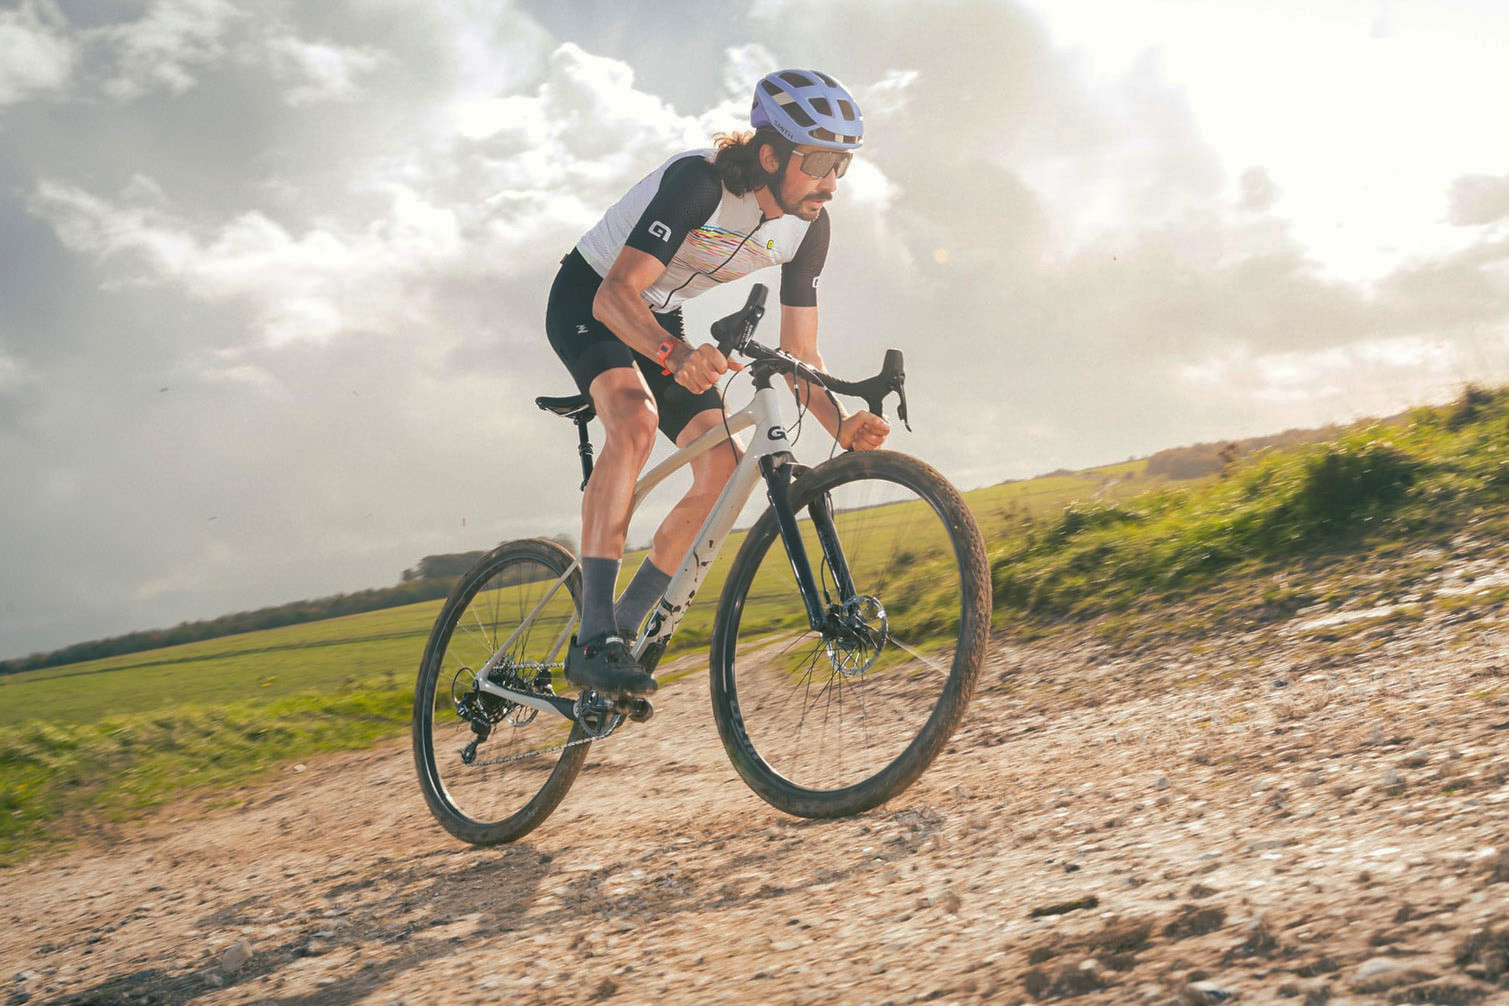 Gravel cyclist riding GT Grade Carbon X on mixed terrain
Ready to explore more and connect with fellow riders? Visit usabikers.net now to discover in-depth articles, join our vibrant community forum, and find the latest information on gravel biking and biker culture in the USA!