Transform your bike with a charming and practical Bike Basket! This easy-to-follow sewing tutorial will guide you through creating your own Valencia Street Bike Basket using just two fat quarters and a few basic sewing supplies. Perfect for kids and adults alike, this handmade bike basket adds a touch of style and functionality to any bicycle.
Whether you’re looking to enhance your child’s bike or add a cute accessory to your own, this DIY bike basket is a delightful project. It’s spacious enough to carry essentials like water bottles, snacks, small toys, or even your phone and keys. Plus, it’s washable, ensuring it stays fresh and clean throughout your cycling adventures.
In this tutorial, we’ll cover how to sew this adorable bike basket with both ribbon tie and Velcro closure options, catering to different bike styles and preferences. Let’s get started and create a personalized bike basket that’s both beautiful and useful!
Materials You’ll Need
Before you begin, gather these simple materials:
- 2 Fat Quarters of Fabric: Choose your favorite prints! Cotton fabrics work best for durability and washability.
- 18″ x 22″ Piece of Quilt Batting or Sturdy Interfacing: This will give your basket structure. Fusible or sew-in options are both suitable.
- Four 12-inch Lengths of Ribbon: For ribbon tie closure. Choose ribbons that complement your fabric.
- Velcro (Optional): For Velcro closure, especially useful for bikes with a center bar.
- Matching Thread
- Sewing Machine
- Scissors or Rotary Cutter
- Iron and Ironing Board
- Pins or Clips
- Ruler or Measuring Tape
Step-by-Step Tutorial: Sewing Your Own Bike Basket
Follow these detailed steps to create your charming Valencia Street Bike Basket:
1. Preparing the Fabric
Start by preparing your fat quarters and interfacing.
- Interfacing: If using fusible fleece or interfacing, fuse it to the wrong side of your chosen lining fat quarter now. If using quilt batting or sew-in interfacing, pin it to the wrong side of the lining fabric. For the rest of the tutorial, treat the lining and interfacing as a single piece of fabric.
- Trim Fat Quarters: Trim the selvages from your fat quarters to ensure they are uniformly sized. Fat quarter dimensions can vary slightly between brands, so ensure both pieces are the same size for a consistent basket.
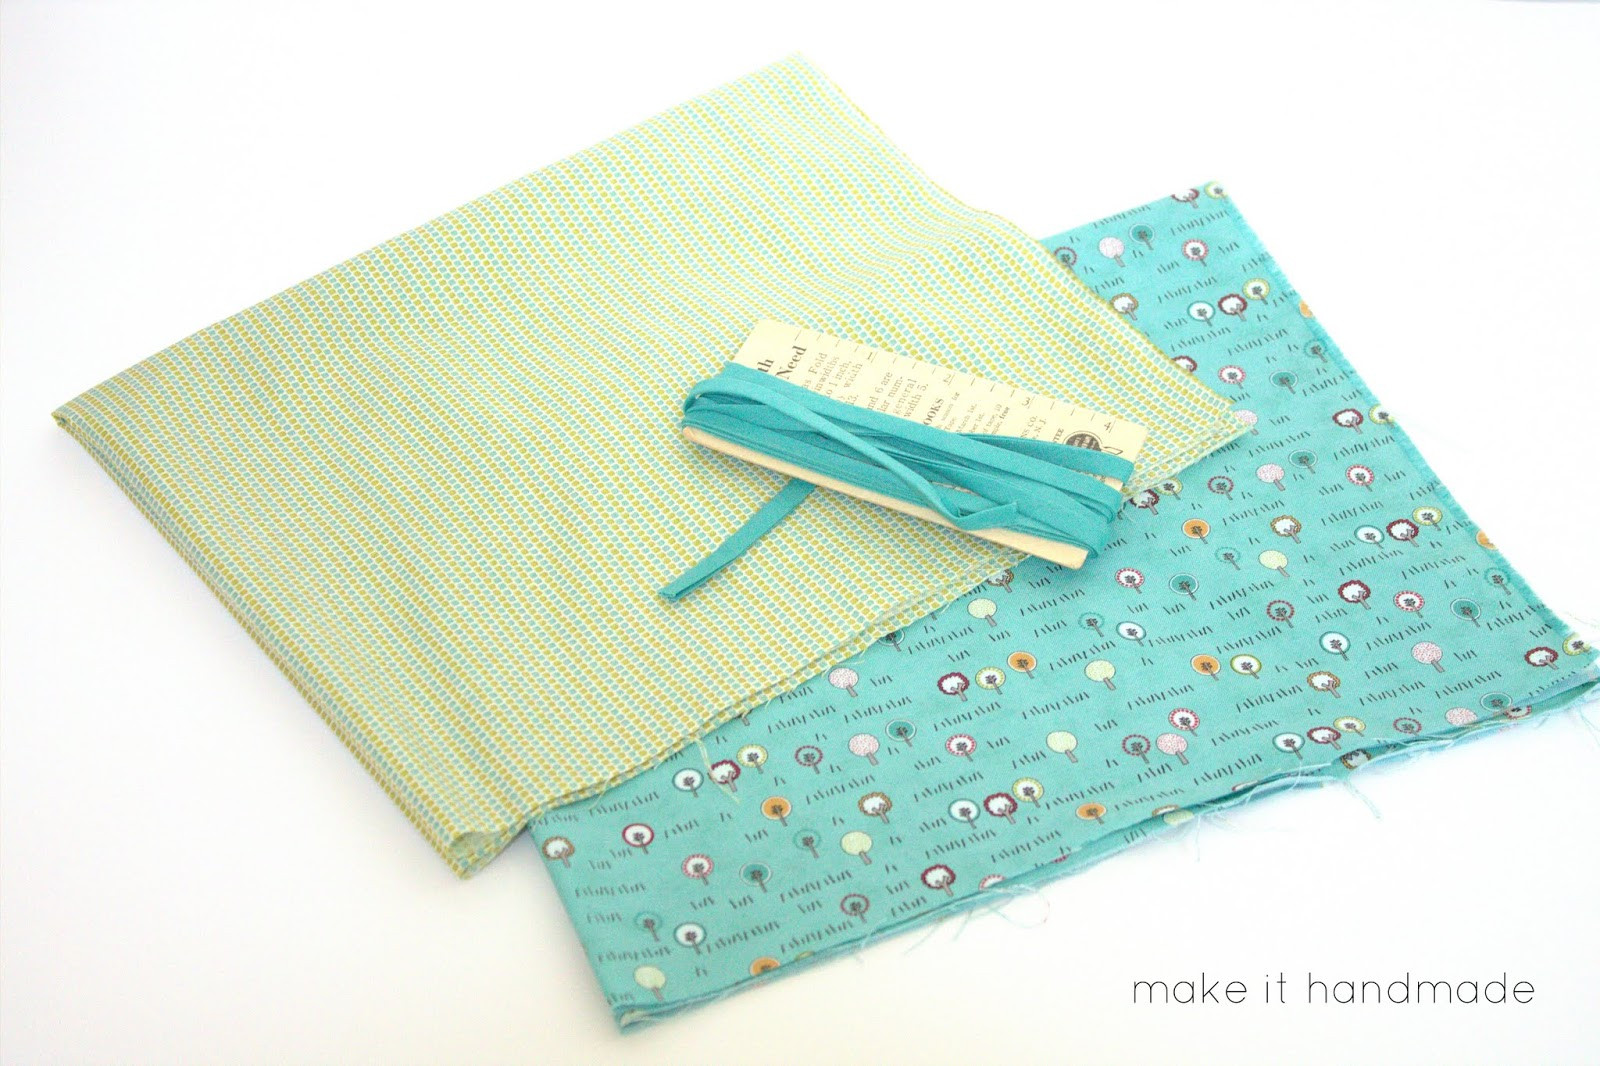 Fabric Fat Quarters and Sewing Supplies for Bike Basket DIY Project
Alt text: Close up image of fabric fat quarters and essential sewing supplies laid out on a crafting table, ready for a DIY bike basket project.
2. Cutting the Fabric
Now, we’ll cut the fabric to shape the basket.
- Fold into Fourths: Fold both your outer fabric and lining fabric fat quarters into fourths.
- Cut Squares: From the corner without any folds, cut out a 6-inch square from both the outer and lining fabric. Set these squares aside; they might be used later for a Velcro closure or other customizations.
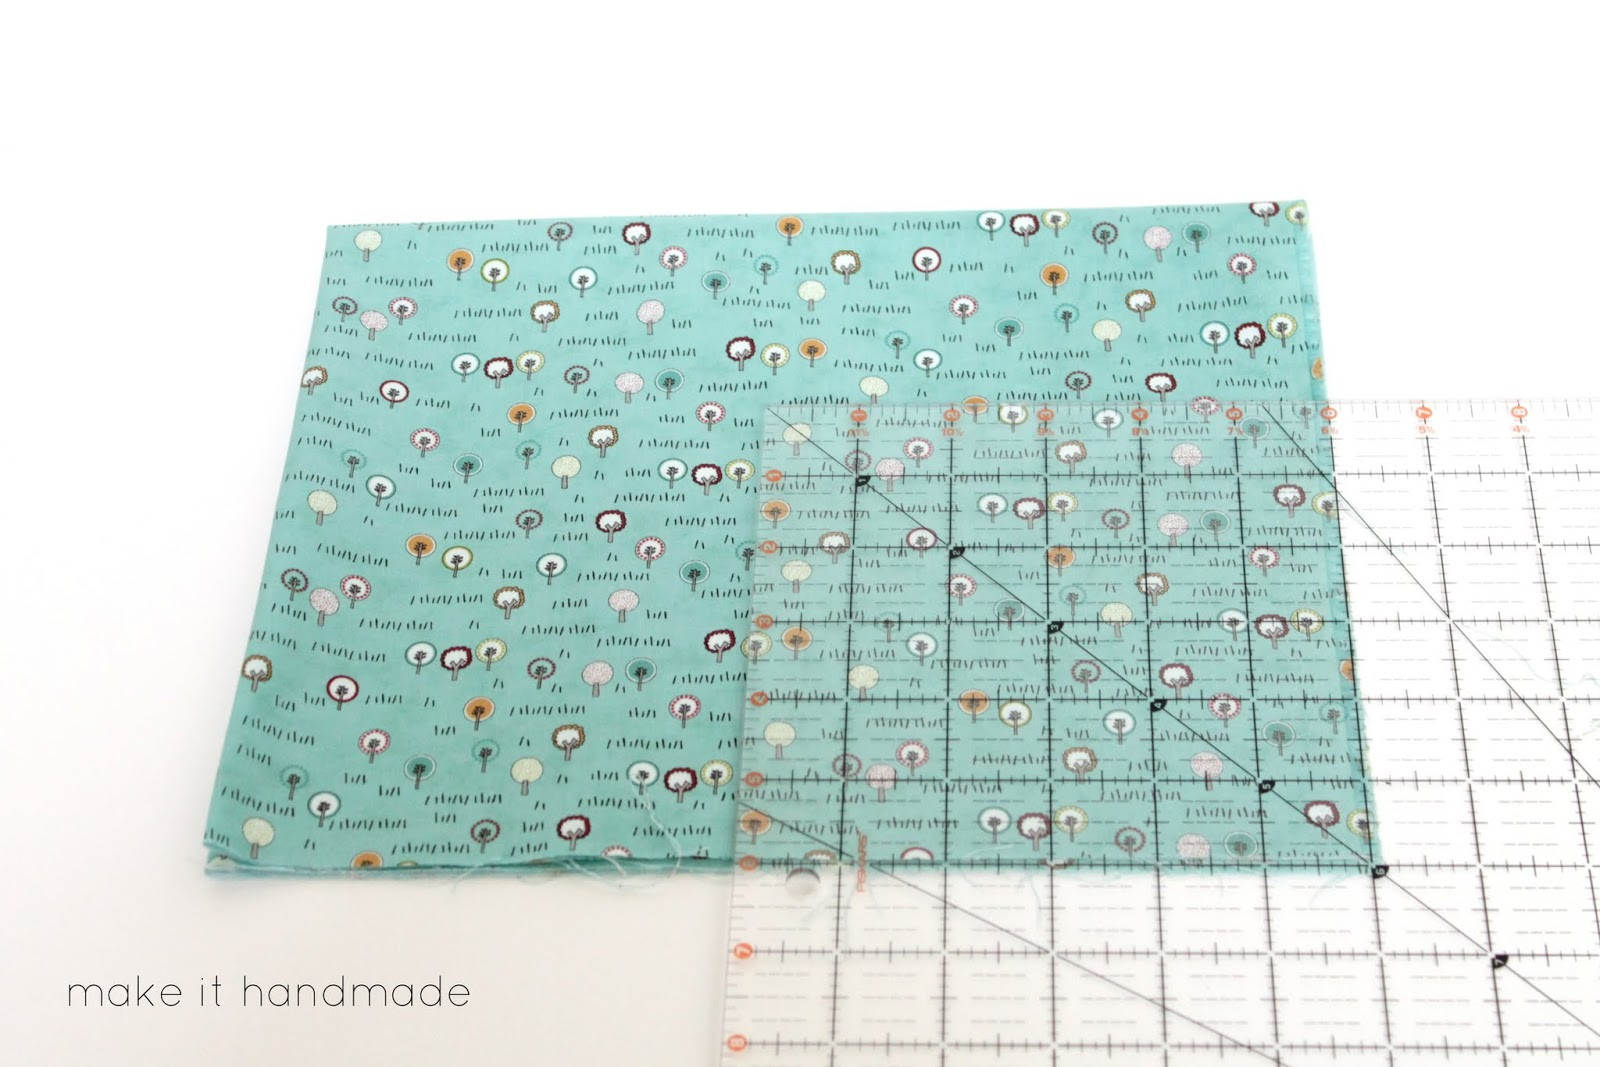 Cutting Fabric Square for DIY Bike Basket Base
Alt text: Image showing hands cutting a square from folded fabric, demonstrating the initial step in shaping the base of a handmade bike basket.
3. Sewing the Basket Shape
This step forms the basic basket structure.
- Unfold Fabric: Unfold both fat quarters. You’ll notice they resemble a chubby plus sign. The center square is the base, and the extended parts are the sides of your basket.
- Sew Corners: Using the outer fabric, fold the corners together, right sides facing, as shown in the image. Sew each corner with a 3/8-inch seam allowance. Repeat this for all four corners of the outer fabric and the lining fabric.
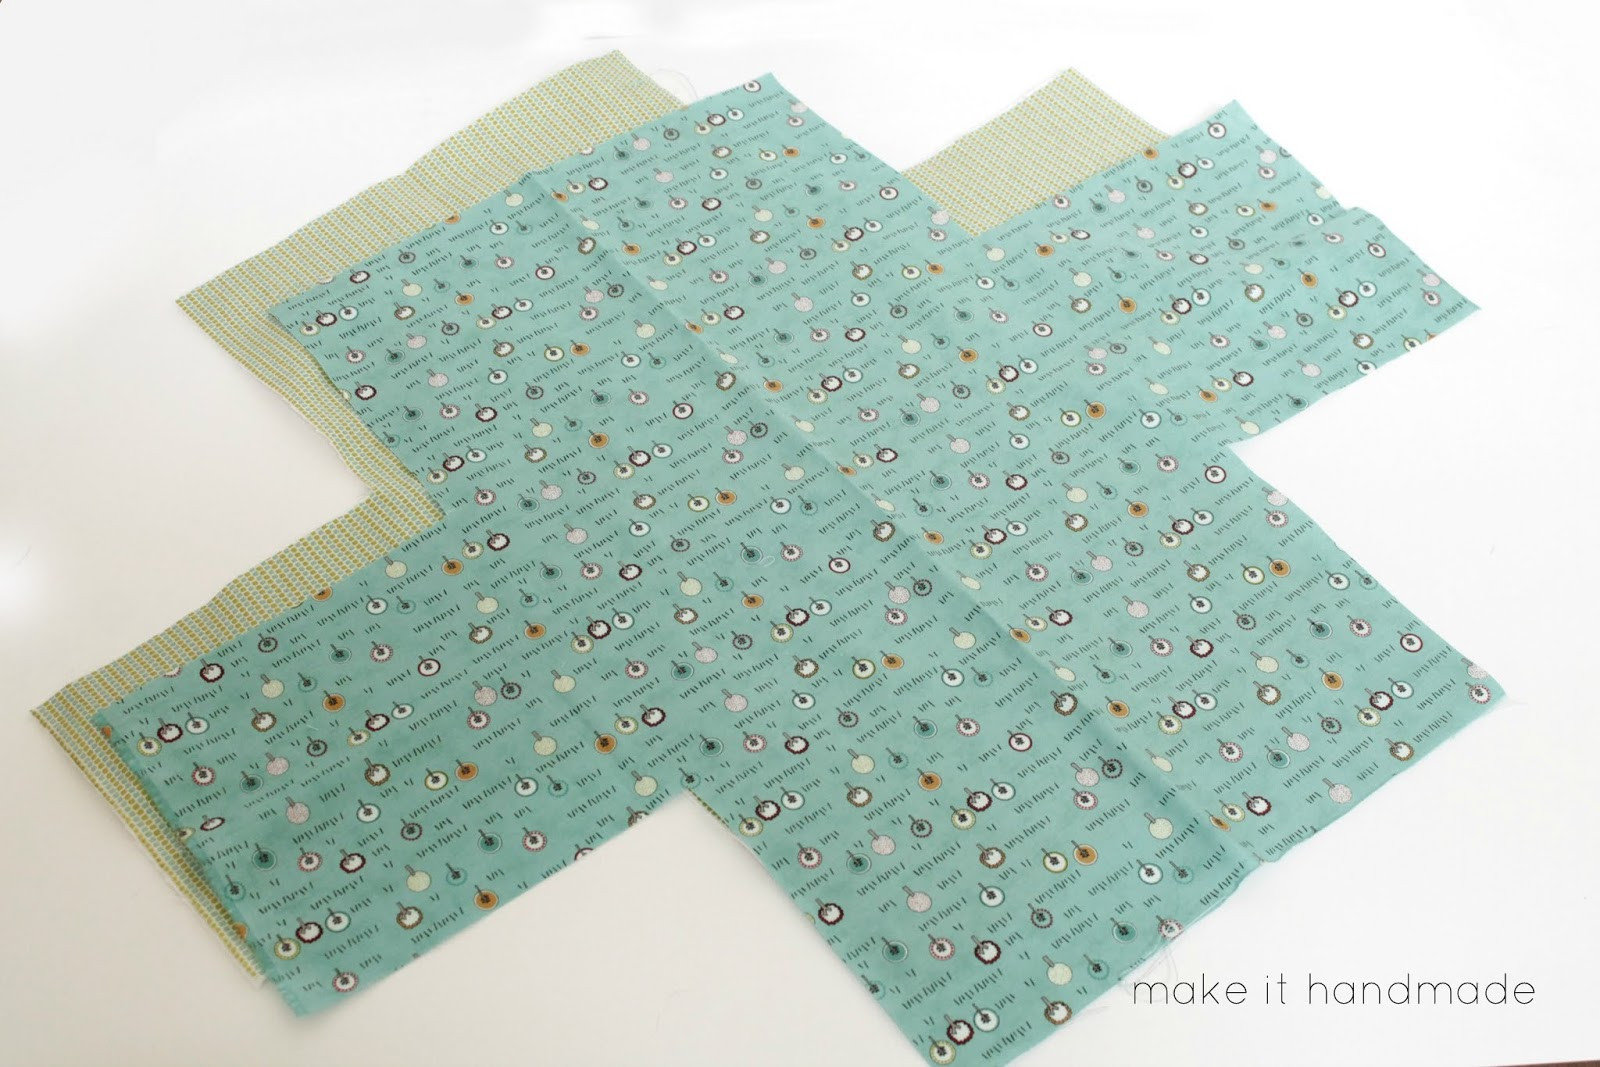 Sewing Corners of Fabric to Create Bike Basket Shape
Alt text: Step-by-step image demonstrating how to fold and sew the corners of the fabric to form the three-dimensional shape of the bike basket.
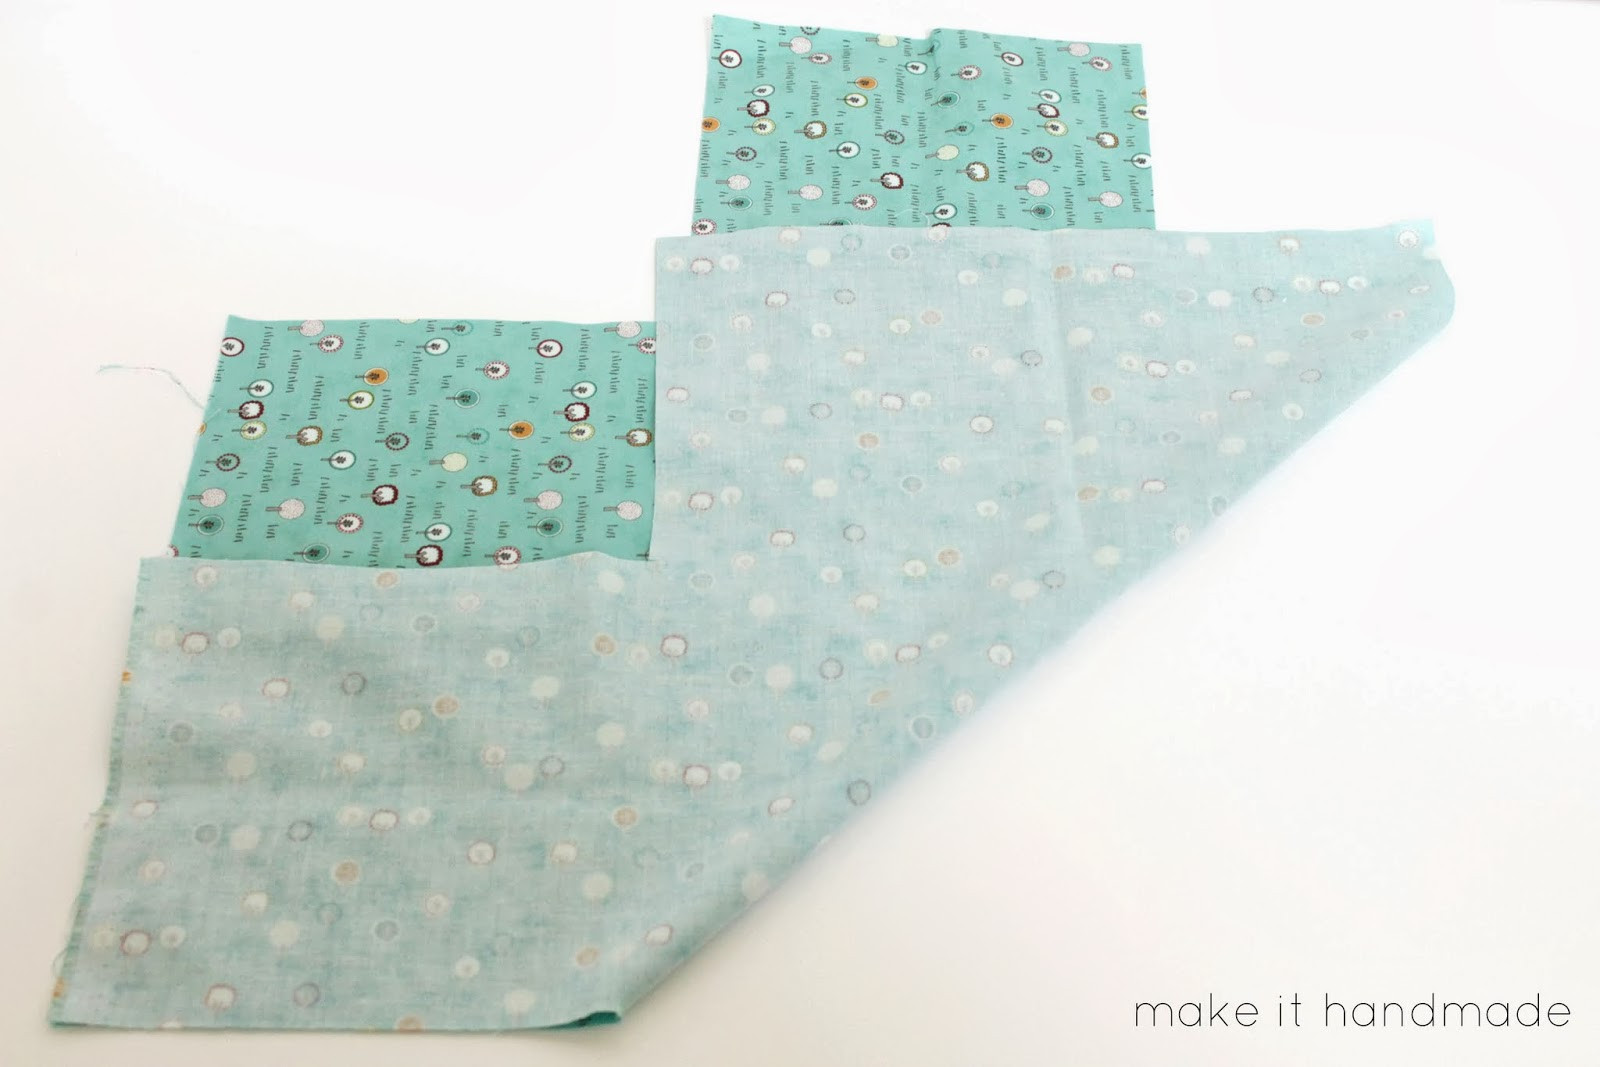 Close up Sewing Machine Stitching Fabric Corners for Bike Basket
Alt text: Detailed image of a sewing machine stitching the corner seams of the outer fabric piece of a bike basket, highlighting the sewing process.
4. Adding Ribbon Ties
If you’re opting for ribbon ties, follow these steps:
- Insert Ribbons: Before sewing the last two corners of the outer fabric, take two 12-inch ribbon strips. Position and pin them 1 inch from the top edge on opposite corners of one of the longer sides of the outer basket. Ensure the ribbons are facing inwards into the basket so that the loops will be on the outside when turned right side out. Stitch the last two corner seams, securing the ribbons in place.
- Lining Basket (No Ribbons): Repeat the corner sewing process for the lining basket, but without adding ribbons.
Alt text: Image showing the process of pinning ribbon strips into the seam of the outer fabric section of a bike basket, preparing for sewing the ribbon ties in place.
5. Assembling the Basket
Now, put the outer and lining baskets together.
- Press Seams: Press the seam allowances of the outer fabric basket towards the shorter sides. Press the lining basket seam allowances towards the longer sides. This helps reduce bulk and makes the top edge neater.
- Place Baskets Together: Place the outer basket inside the lining basket, with right sides of the fabric facing each other.
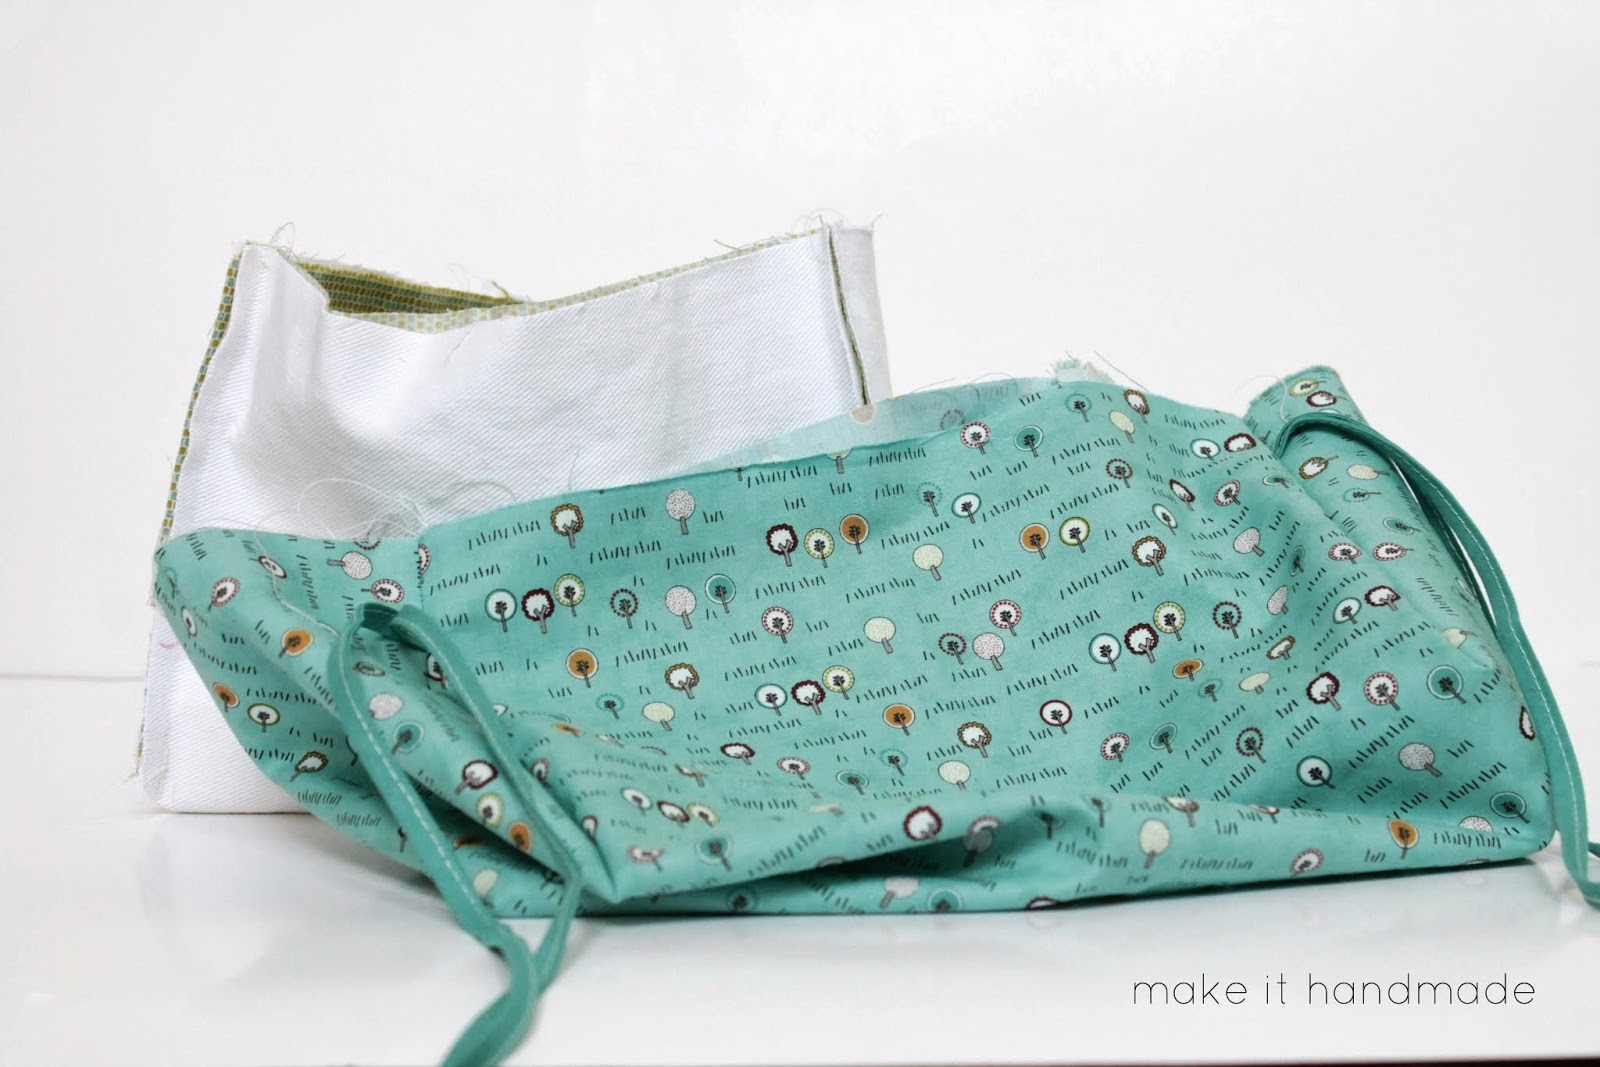 Placing Outer Fabric Inside Lining Fabric for Bike Basket Assembly
Alt text: Image demonstrating the step of placing the sewn outer fabric basket piece inside the sewn lining fabric basket piece, aligning them for final assembly.
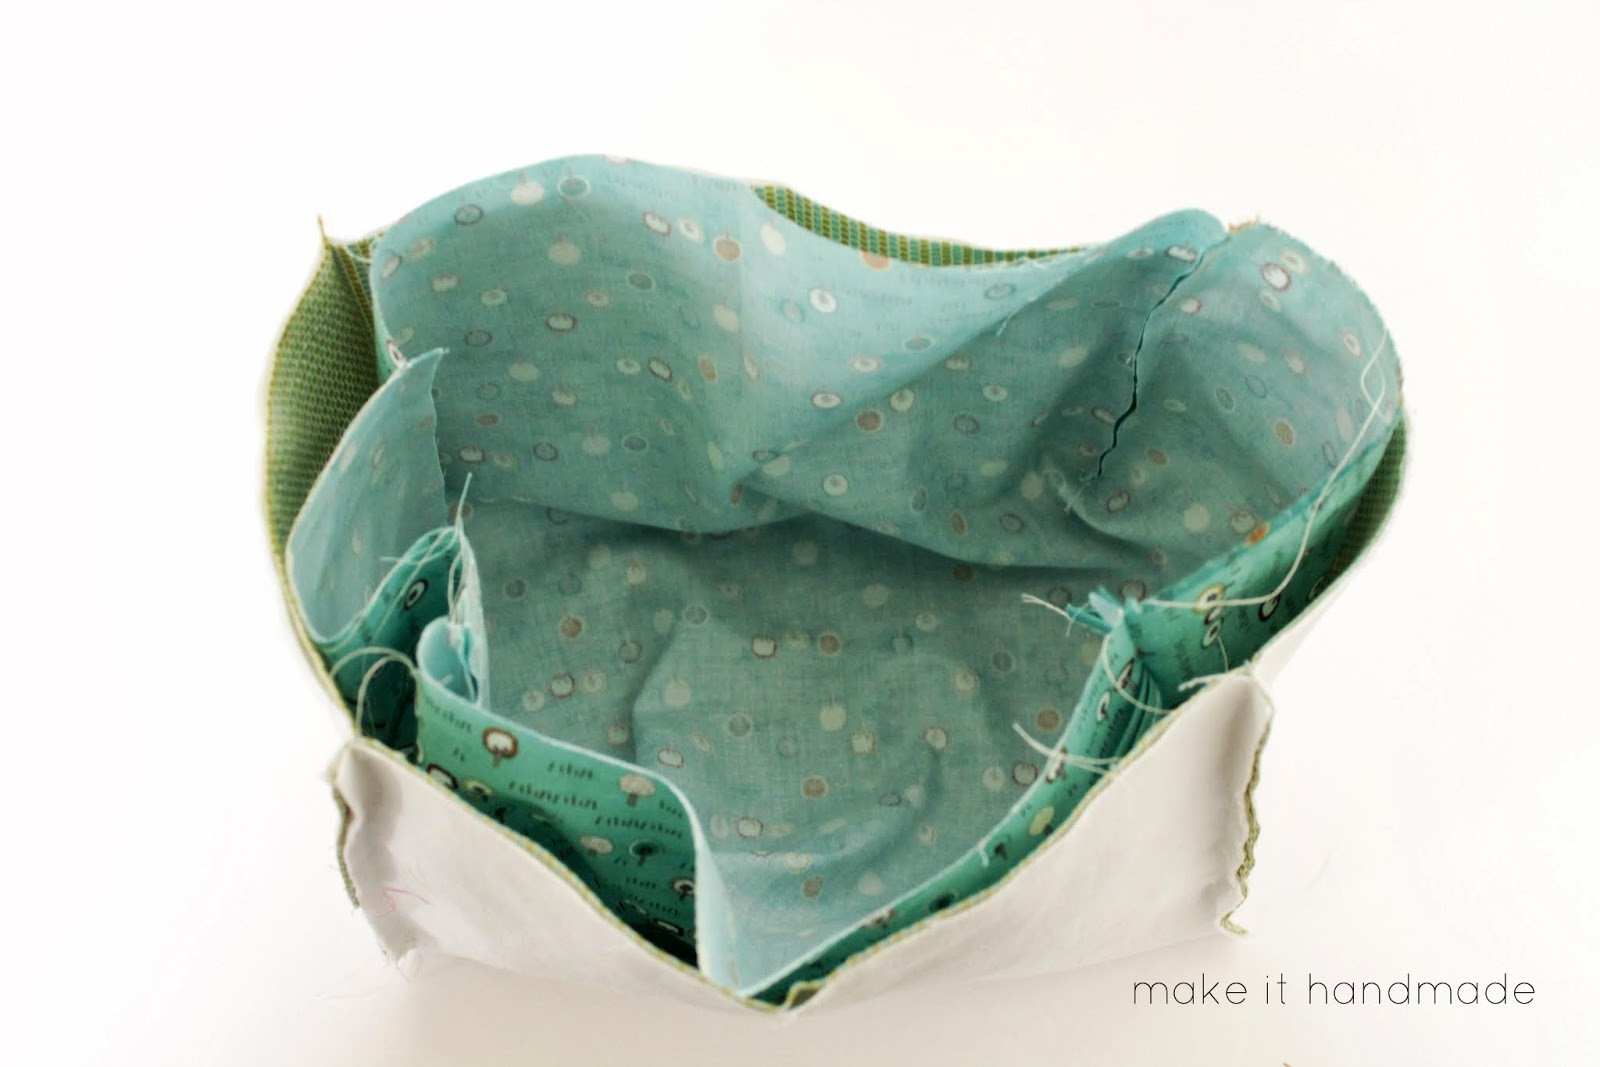 Preparing to Pin and Sew Outer and Lining Layers of Bike Basket
Alt text: Close-up view showing the alignment of the outer and lining fabric pieces of a bike basket, ready for pinning and sewing around the top edge.
6. Finishing Touches
Almost there! Let’s finish up the bike basket.
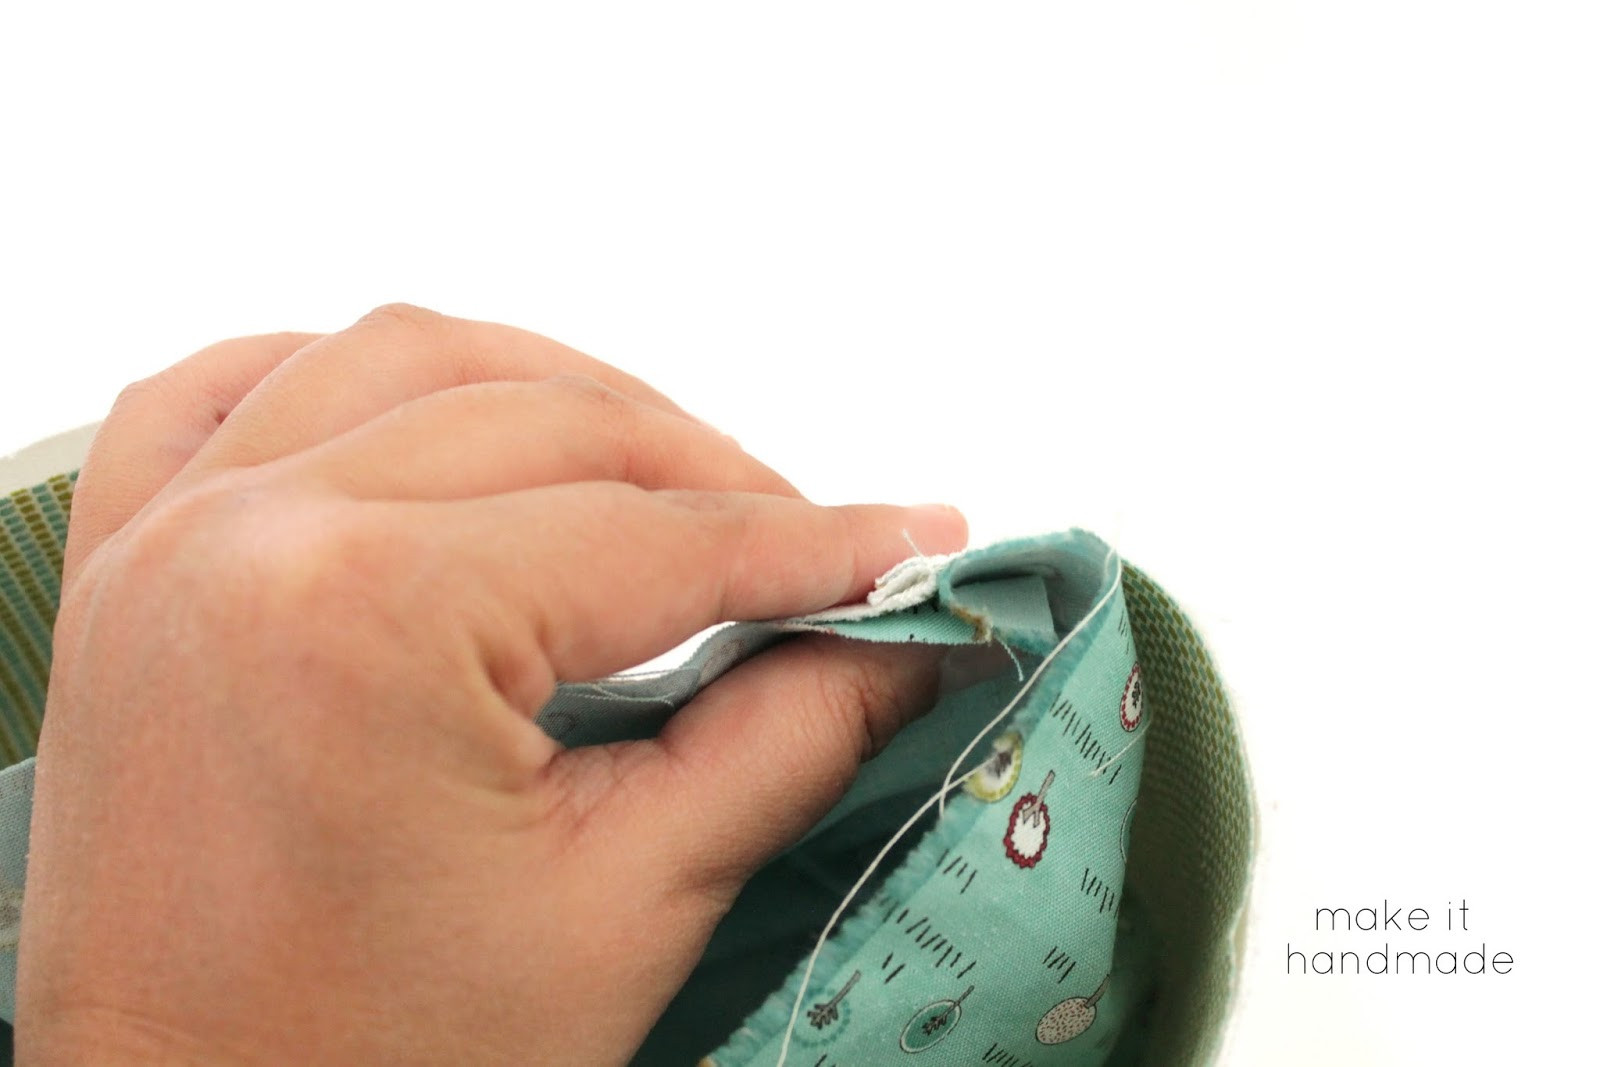
- Pin and Sew Top Edge: Pin around the entire top edge of the basket, carefully aligning the seams. Sew around the top with a 3/8-inch seam allowance, leaving a small 3-4 inch opening for turning.
- Turn and Press: Turn the basket right side out through the opening. Use a point turner or your fingers to gently push out the corners and ensure a neat shape. Press the top edge flat, folding in the raw edges of the opening.
- Topstitch: Topstitch 1/4 inch from the top edge all around the basket. This closes the opening and provides a professional finish.
 Topstitching the Edge of a DIY Fabric Bike Basket
Alt text: Image of a sewing machine topstitching the upper edge of a fabric bike basket, reinforcing the seam and providing a clean finish.
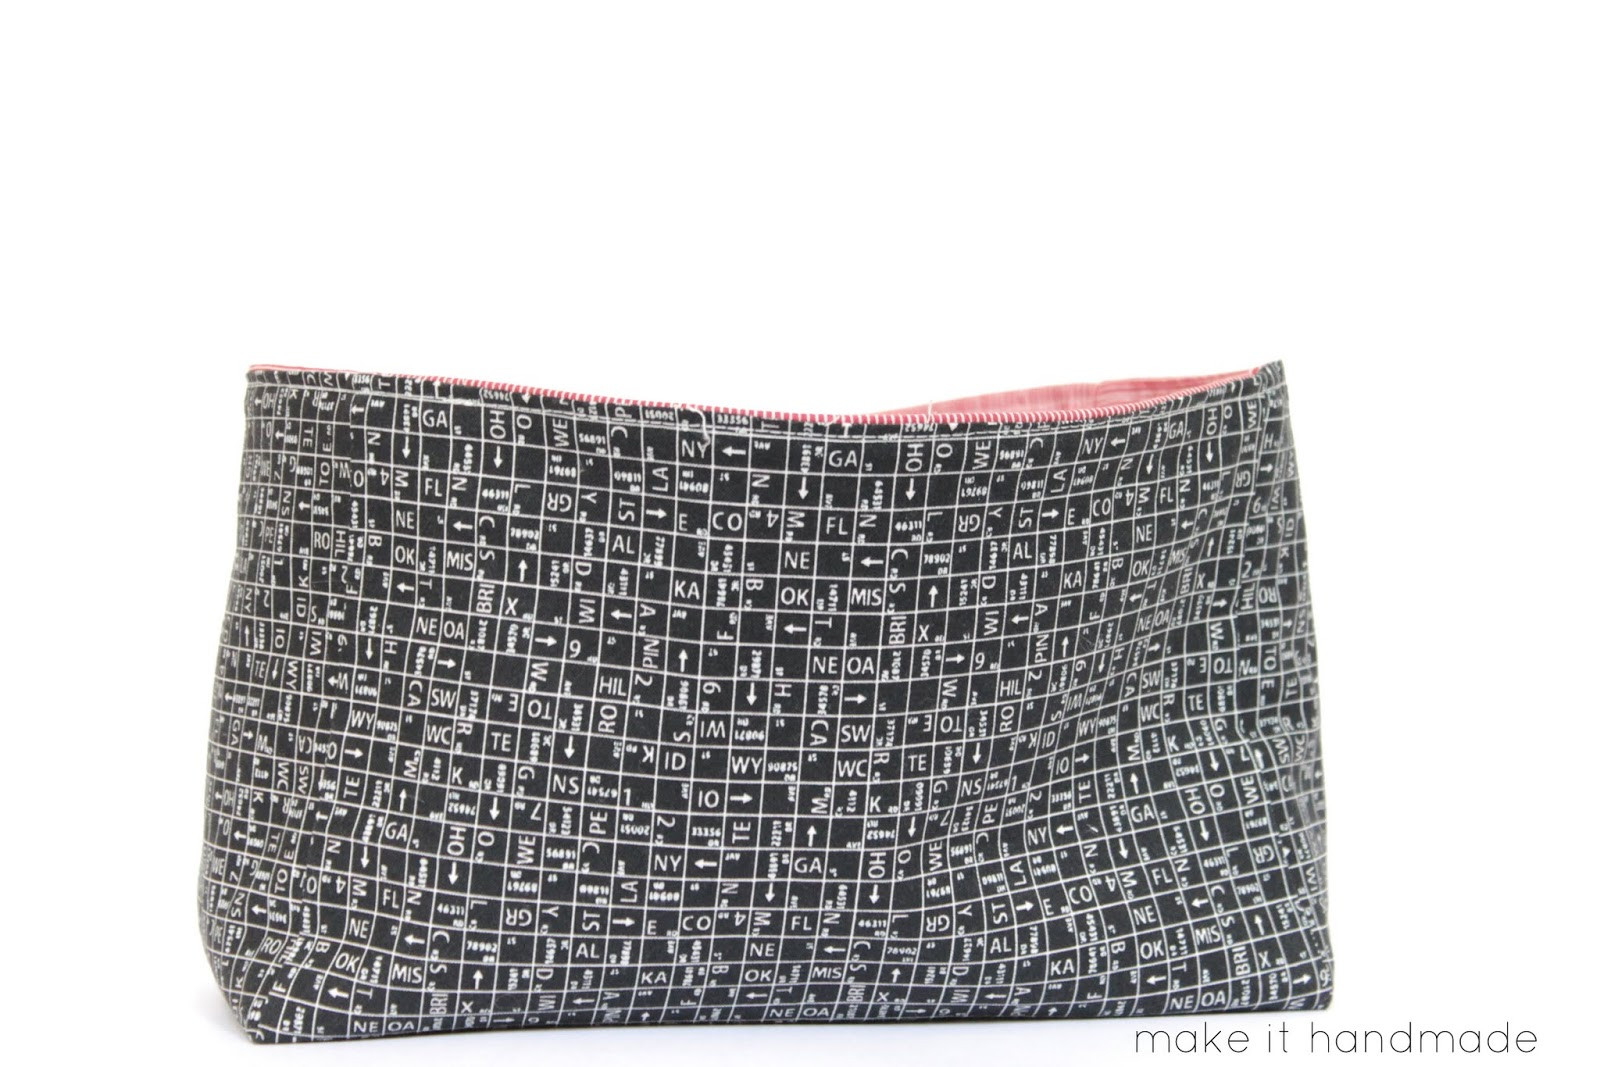
 Finished DIY Fabric Bike Basket Ready for Use
Alt text: A neatly sewn and finished fabric bike basket, showcasing the clean lines and professional look achieved after topstitching.
You’re done! Your charming bike basket with ribbon ties is ready to adorn your bicycle.
 Completed Valencia Street Fabric Bike Basket with Ribbon Ties on Bicycle
Alt text: A finished fabric bike basket with colorful ribbon ties, mounted on a bicycle, demonstrating its use and charming aesthetic.
Optional Velcro Closure
For bikes with a center bar between the handlebars, a Velcro closure offers a secure and practical alternative to ribbon ties. Here’s how to add a Velcro closure to your bike basket:
- Prepare Basket (Without Ribbons): Follow the basic basket tutorial, but skip adding the ribbon ties.
- Create Velcro Patch: Take two of the 6-inch squares you set aside earlier (outer fabric and lining). Layer them right sides together, with a piece of batting on the outside if desired for extra padding. Stitch around all sides, leaving a small opening for turning. Turn the square right side out, press, and topstitch to close the opening.
 Preparing Velcro Patch for Fabric Bike Basket Closure
Alt text: Image showing fabric squares being prepared to create a Velcro patch for a bike basket closure, highlighting the initial steps of making the patch.
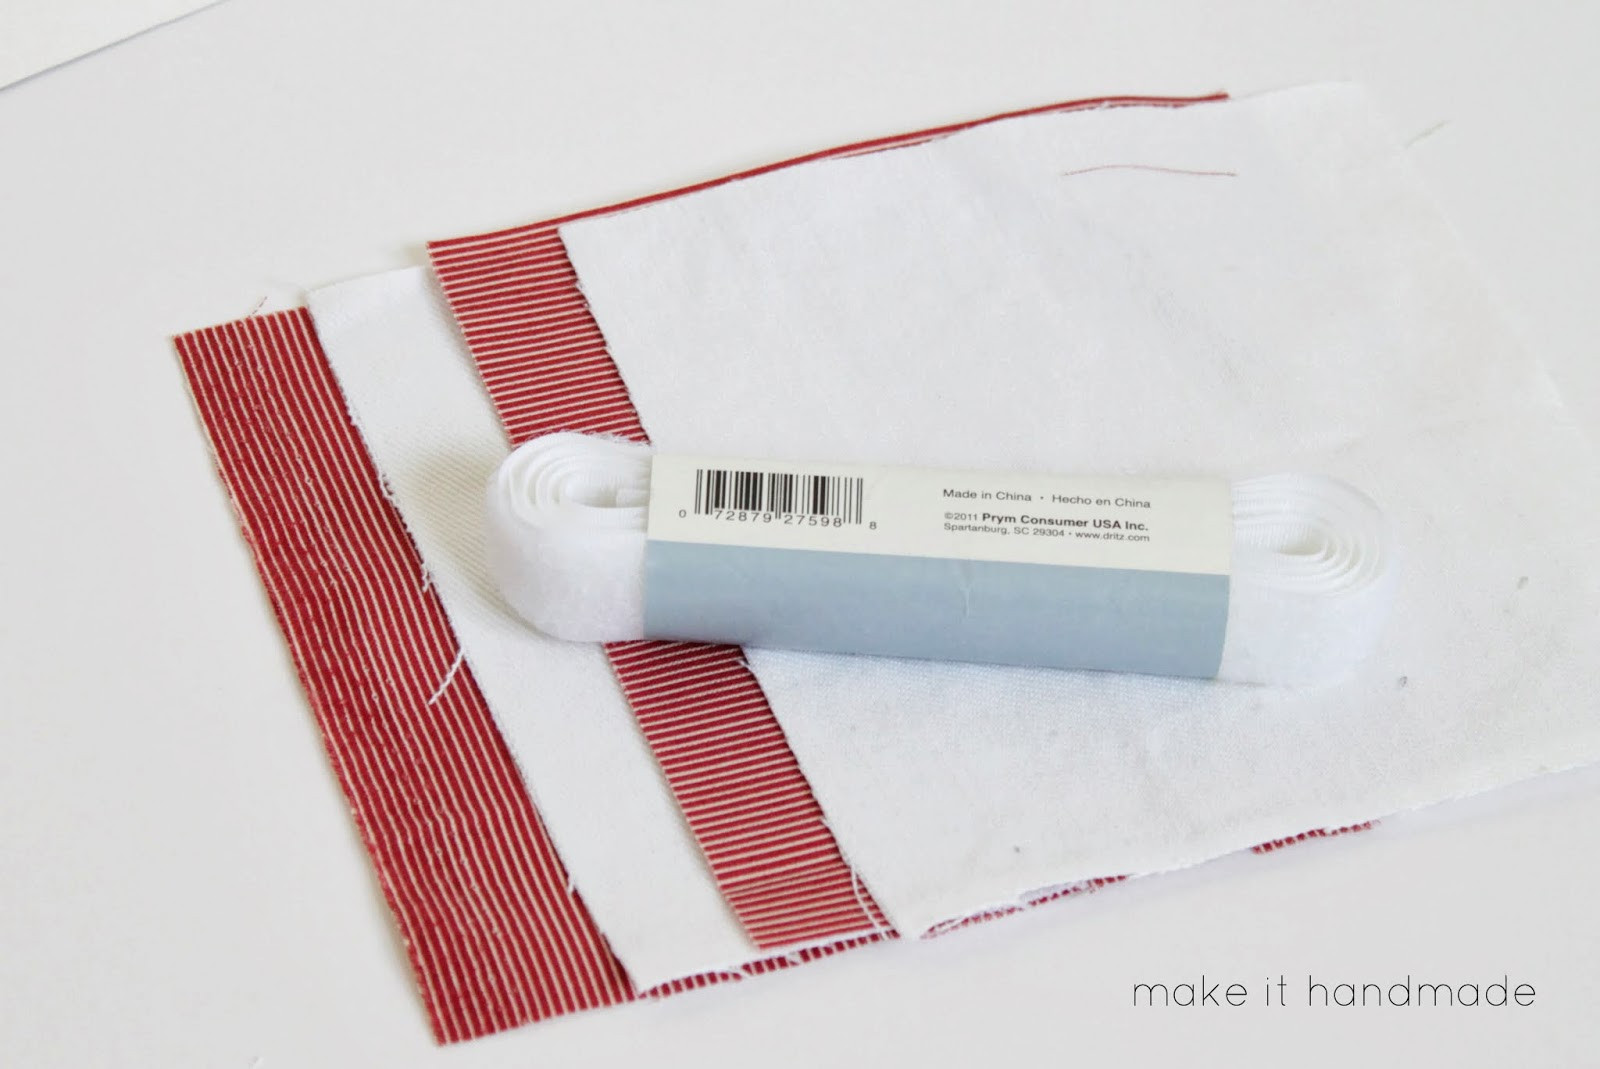 Sewing Velcro onto Fabric Patch for Bike Basket Closure
Alt text: Close-up image of Velcro being sewn onto a fabric patch, detailing the process of attaching the Velcro for the bike basket’s secure closure.
- Attach Velcro to Patch: Sew both hook and loop sides of the Velcro onto the fabric square patch as shown in the image.
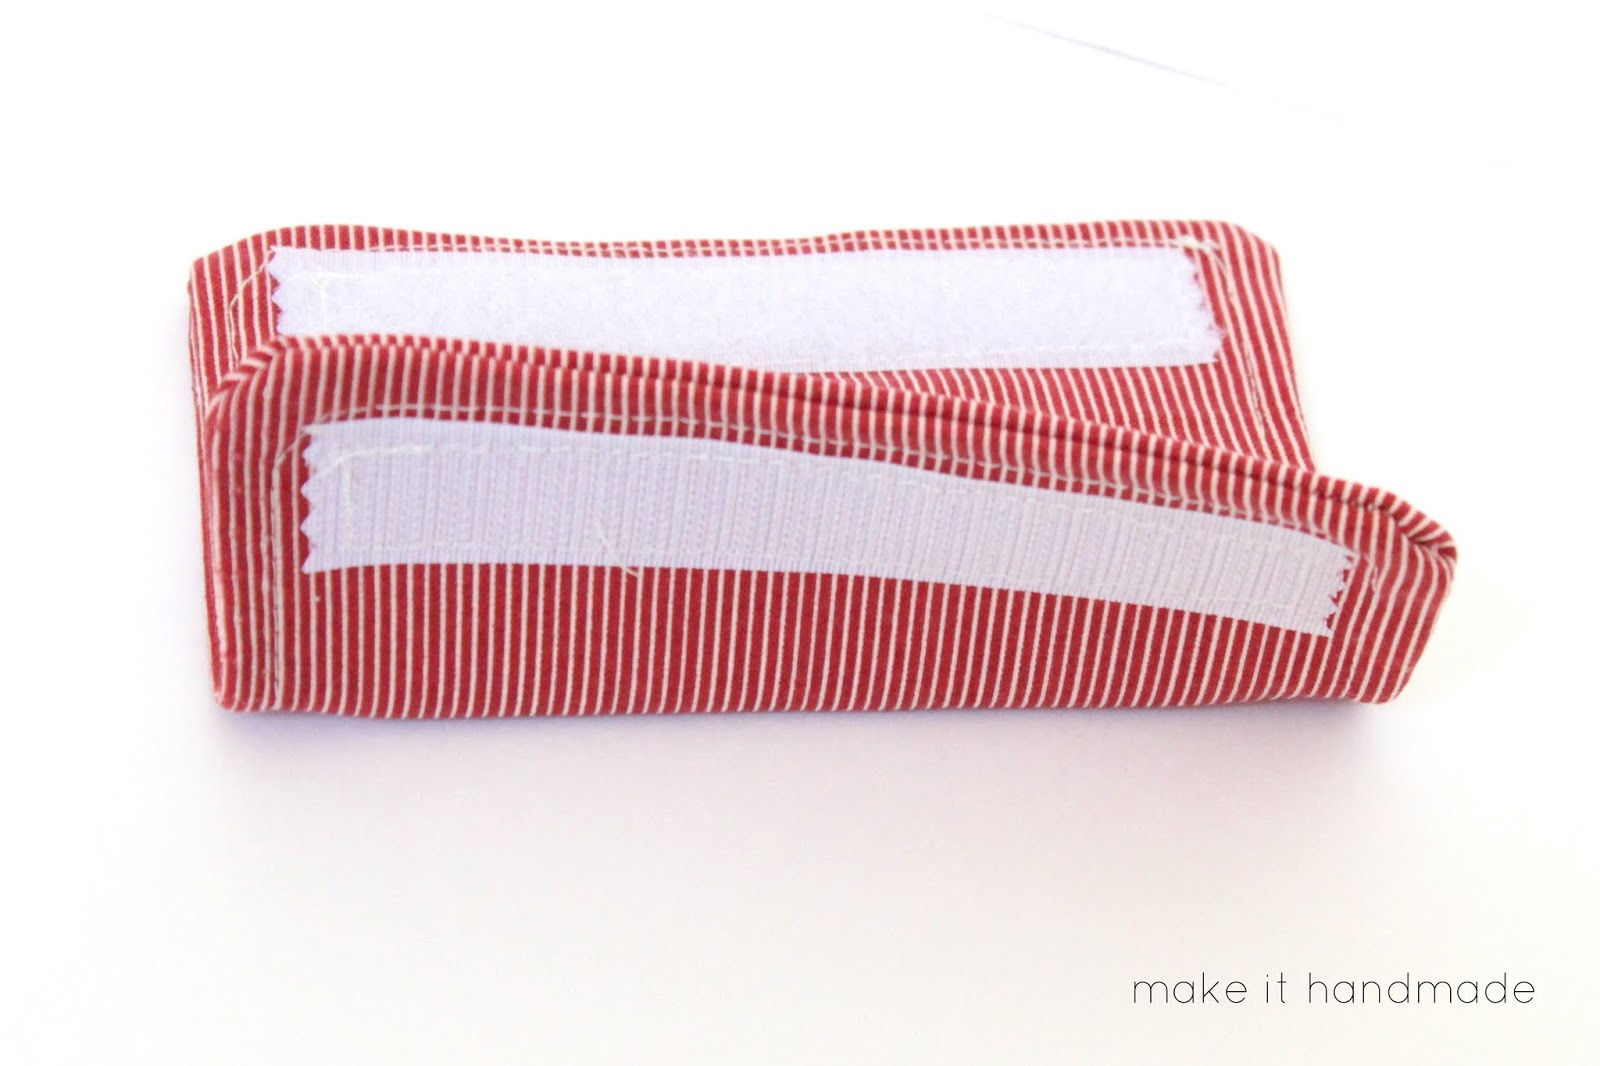 Velcro Sewn on Fabric Patch Ready for Bike Basket Attachment
Alt text: Image of a fabric patch with Velcro securely sewn on, ready to be attached to the bike basket for a Velcro-based closure system.
- Position and Sew Patch to Basket: Center the Velcro patch horizontally on the front of the basket, allowing about an inch to overhang the top edge. Pin in place. Stitch the patch to the basket with two parallel lines of stitching: one across the middle of the square and another just above the bottom piece of Velcro.
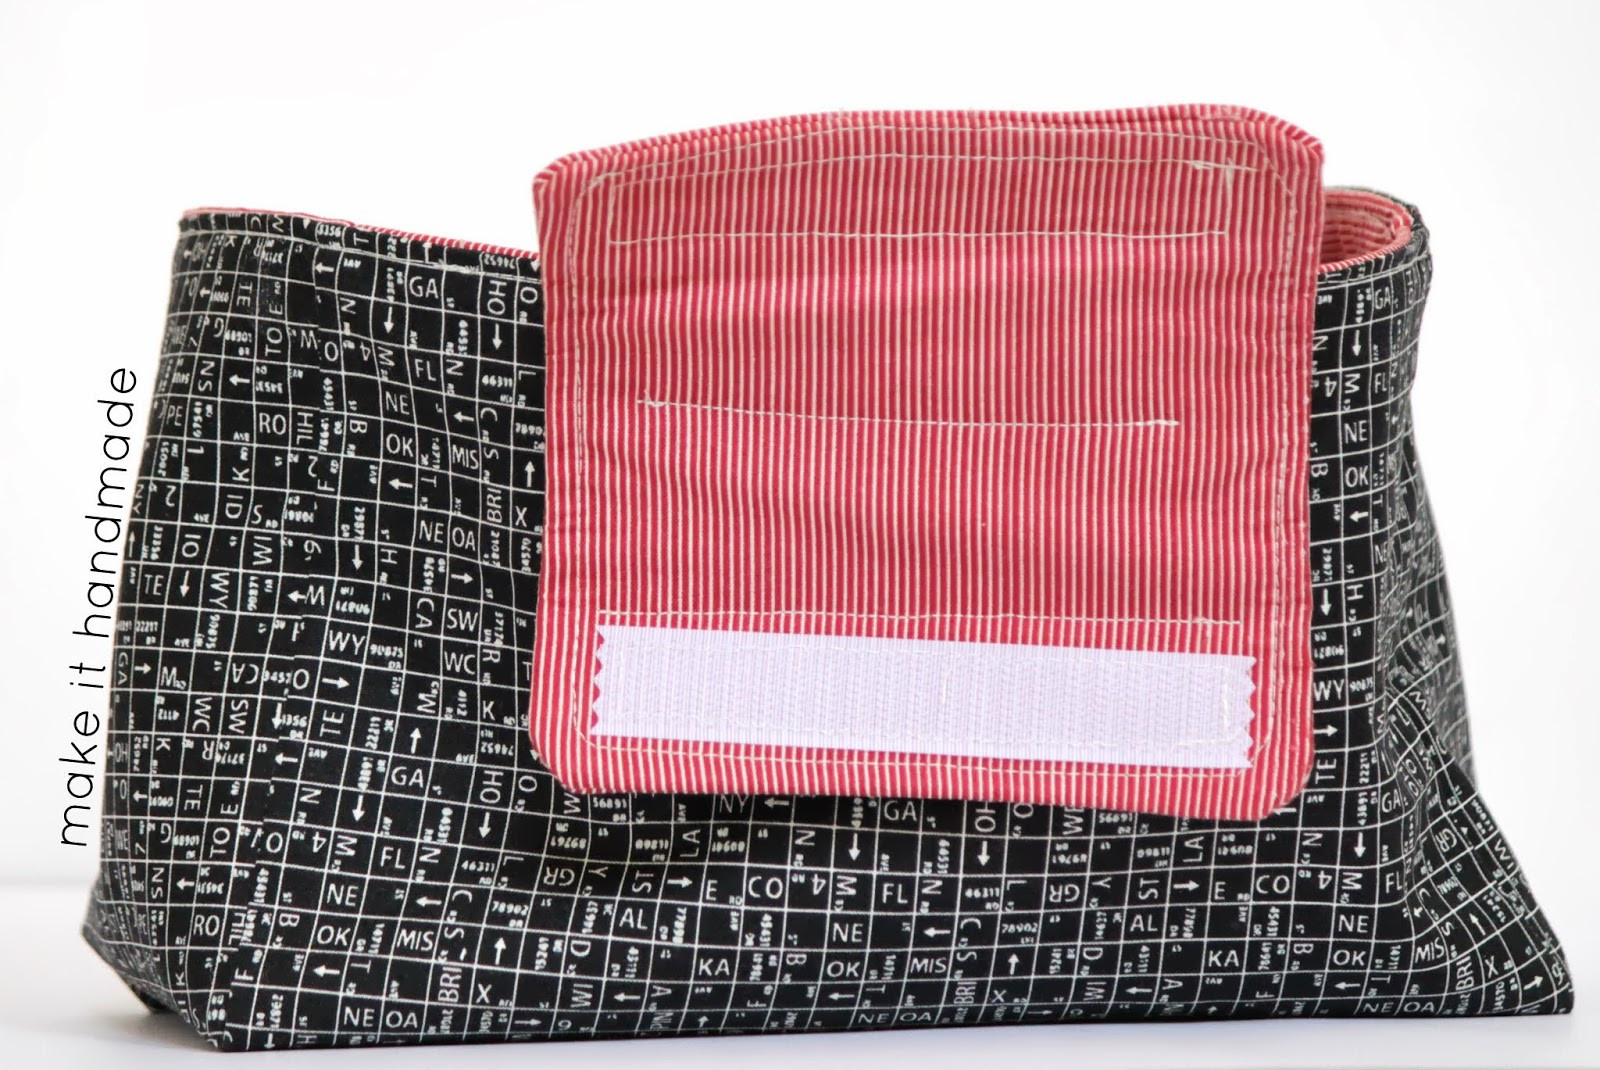 Attaching Velcro Patch to Fabric Bike Basket for Closure
Alt text: Step-by-step image showing how to attach the Velcro patch to the fabric bike basket, positioning it for optimal closure and secure attachment.
The stitching will be visible on the inside of the basket, but sewing through all layers (outer fabric, lining, and interfacing) provides extra strength for the Velcro strap, ensuring durability.
Tips for Customization and Durability
- Ribbon Tie Alternatives: If you can’t find matching ribbon, create your own ribbon ties! Use leftover fabric squares to piece together four 12-inch strips.
- Custom Velcro Strap Length: For an extra sturdy Velcro closure, especially for heavier loads, measure the handlebar bar and make the Velcro strap the exact length needed to wrap around it snugly.
- Personalize Your Basket: Use one of the scrap squares to appliqué a name, initial, or fun design onto the basket for a personal touch. This is especially great when making baskets for kids!
- Fabric Choice for Durability: For increased durability, consider using heavier fabrics like canvas or denim for the outer layer, especially if the basket will be used frequently or for carrying heavier items.
This DIY Valencia Street Bike Basket is a wonderful way to add a personal touch to your bike and create a useful accessory. Enjoy your stylish and functional handmade bike basket on all your rides!
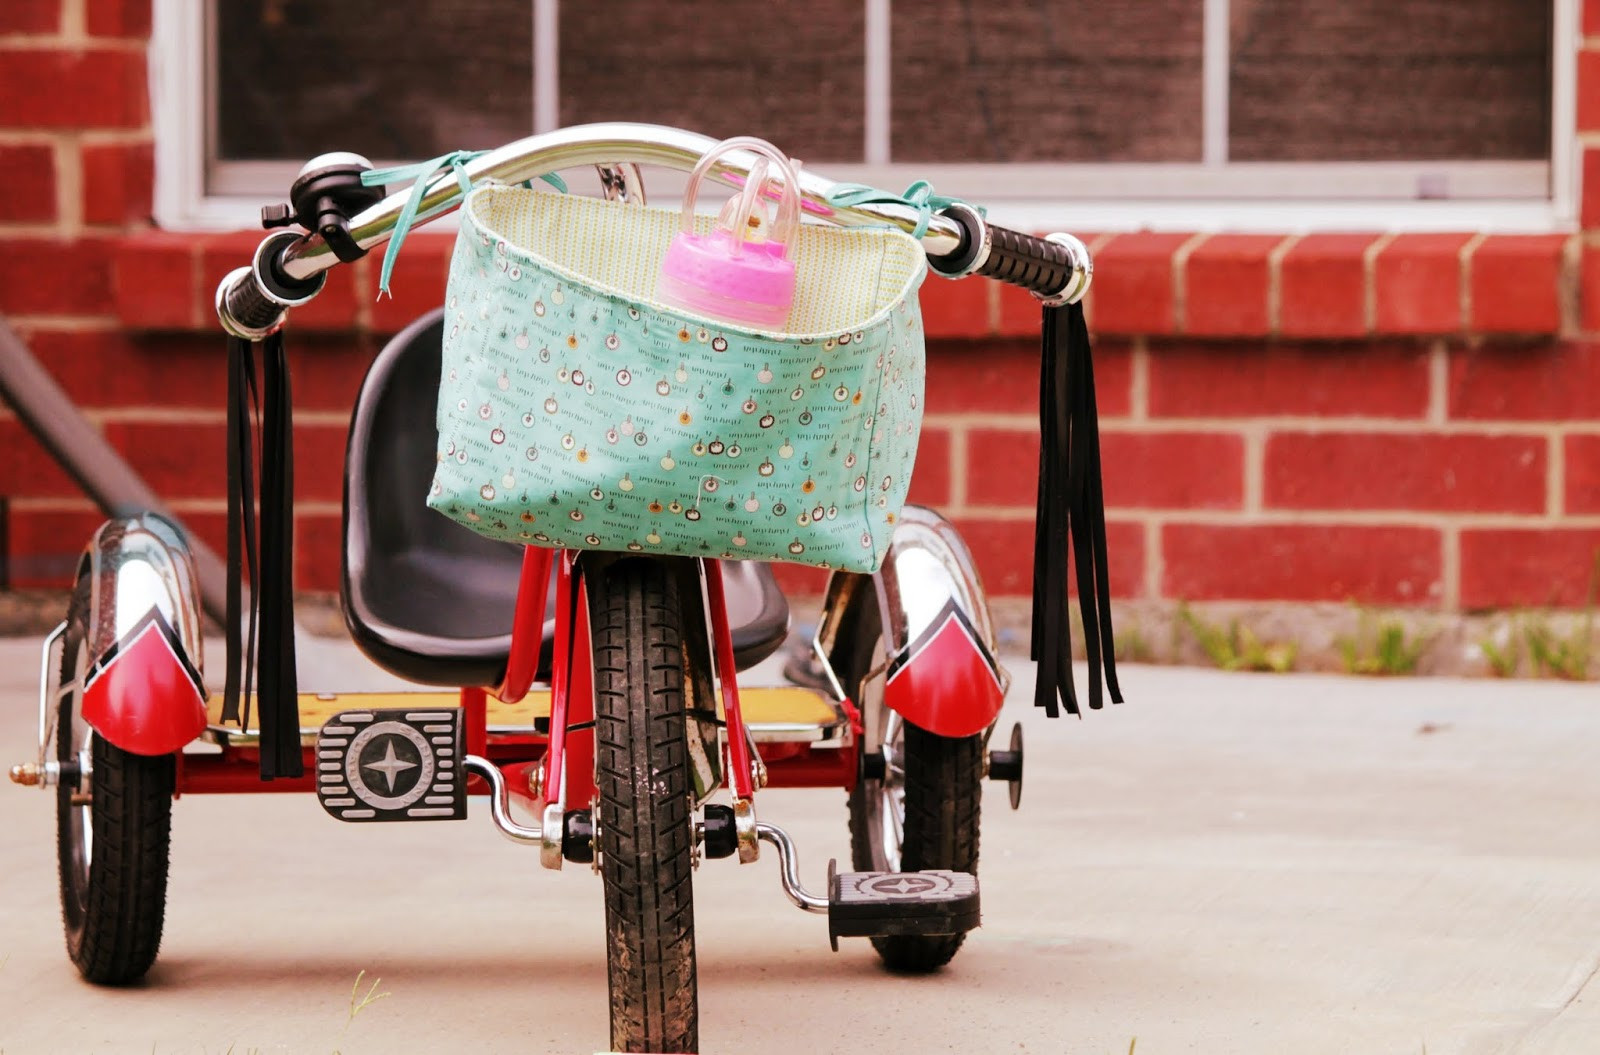 Stylish Fabric Bike Basket with Velcro Closure on a Bicycle
Alt text: A stylish, completed fabric bike basket with a secure Velcro closure, mounted on a bicycle, showcasing its practical design and aesthetic appeal.
