
Setting your Bike Saddle Height correctly is arguably the most crucial element in achieving a comfortable and efficient cycling experience. Whether you’re a seasoned cyclist chasing peak performance or a weekend rider seeking enjoyable miles, neglecting your bike saddle height can lead to discomfort, reduced power output, and even injuries. Finding the sweet spot for your saddle height isn’t just about comfort; it’s about unlocking your full potential on the bike, allowing you to ride longer, stronger, and with less risk of pain. While choosing the best bike saddle for your individual anatomy is a vital first step, mastering your bike saddle height is the foundation upon which all other bike fit adjustments are built, whether you are consulting a professional bike fitter or undertaking a DIY bike fit at home.
Understanding Bike Saddle Height
Bike saddle height is fundamentally the vertical distance between your bike’s pedal and the top surface of your saddle. It’s typically measured when the crank arm is positioned straight down, in line with the seat tube. Another common method measures from the center of the bottom bracket to the top of the saddle. It’s important to note that the pedal-to-saddle measurement inherently incorporates crank length, while the bottom bracket-to-saddle method does not. Understanding these different measurement approaches is key to accurately setting and communicating your ideal bike saddle height.
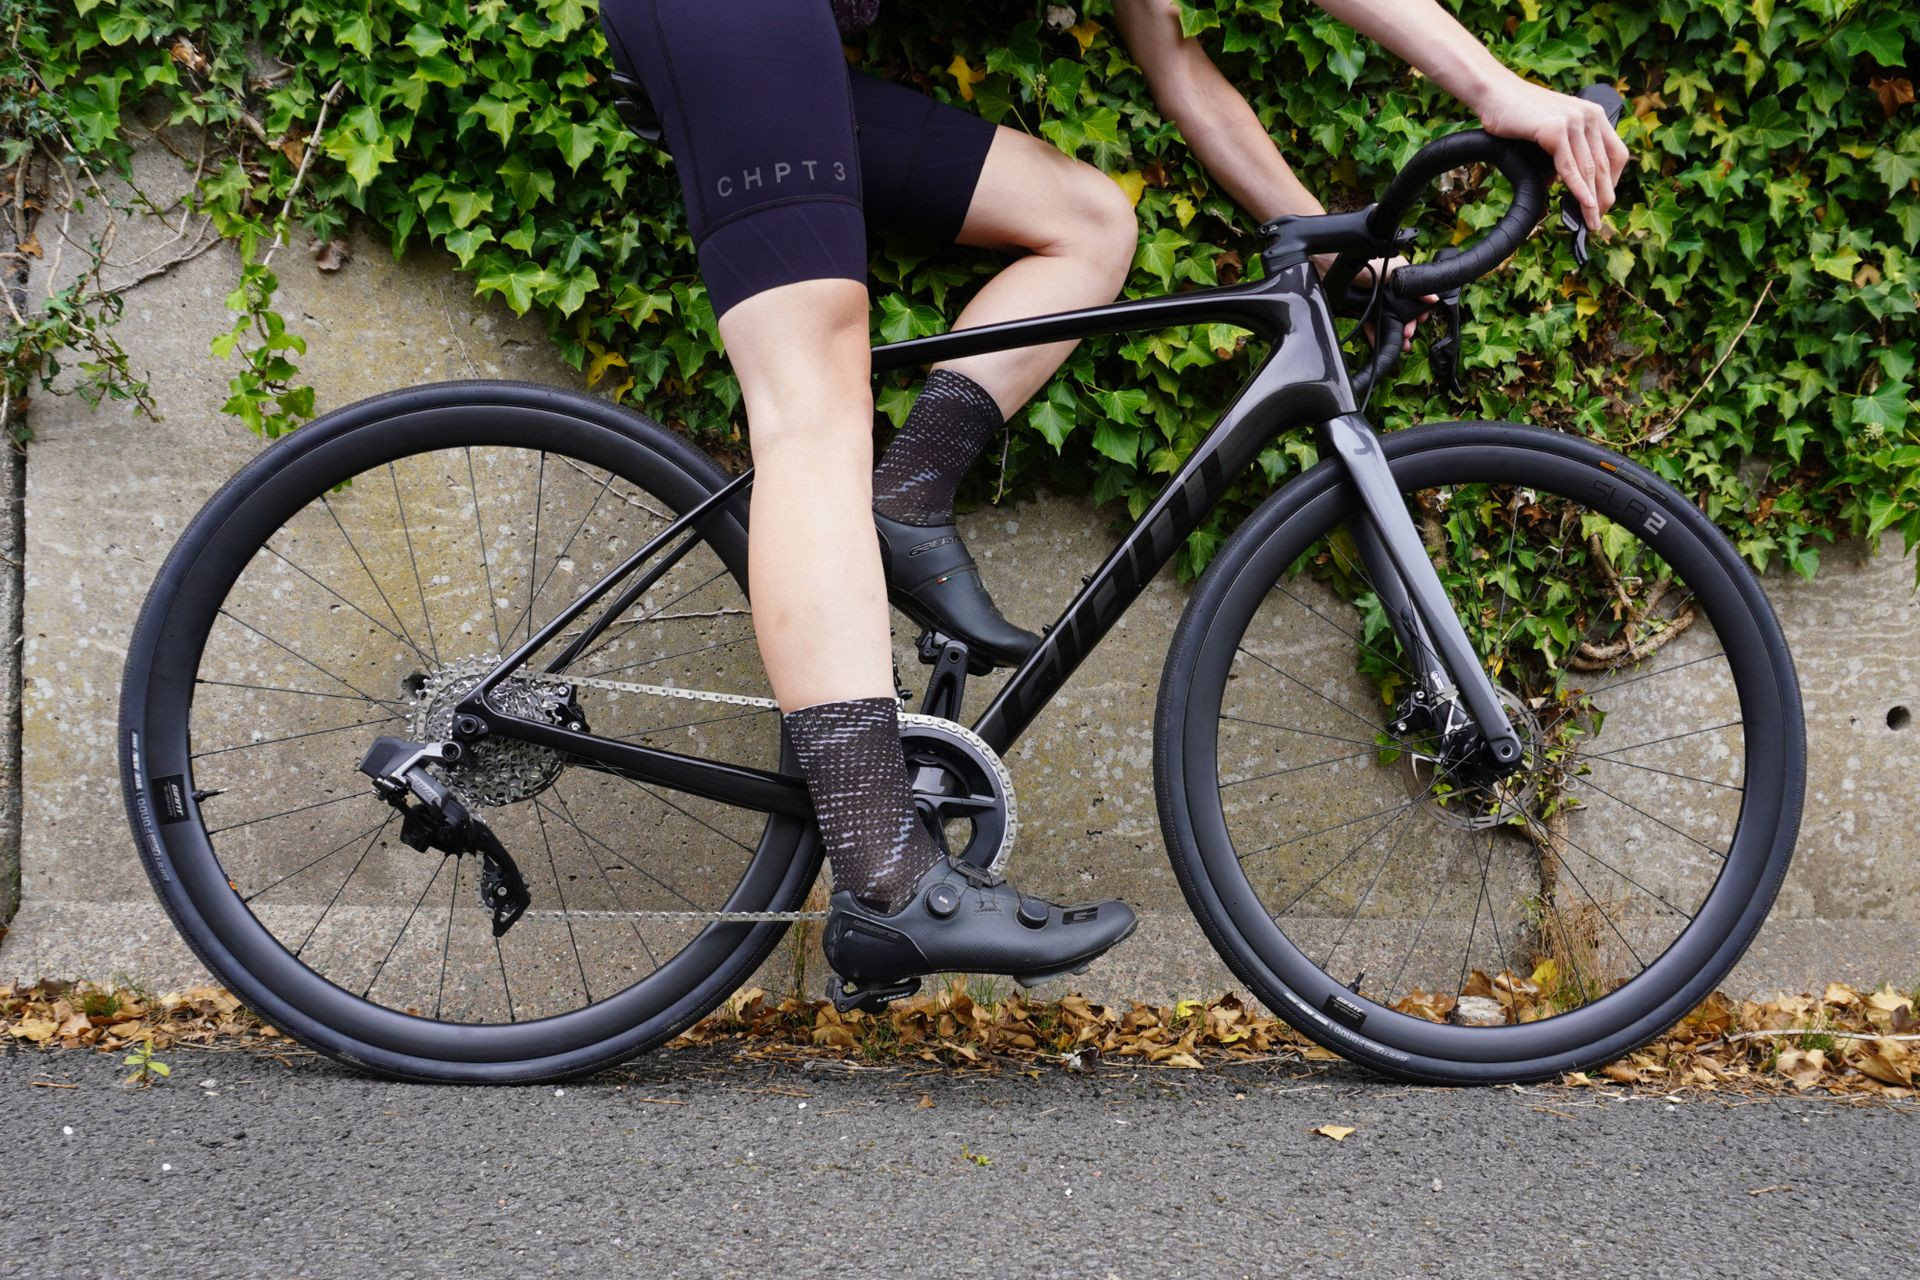
Alt text: Nicole Oh, physiotherapist and bike fitter, racing her bicycle. Image highlights expertise in cycling and bike fitting.
Proven Methods to Determine Your Bike Saddle Height
Several established methods can serve as excellent starting points when determining your bike saddle height. Many of these methods rely on the relationship between your saddle height and your lower limb length, specifically your inseam, or by targeting a recommended range for knee joint flexion. However, it’s critical to recognize that these methods are starting points. They often don’t fully account for individual variations in flexibility, unique pedaling styles, or differing limb proportions. Formulas are, by their nature, based on averages, and therefore, might not provide the most accurate saddle height for every cyclist.
The Heel Method
 Female cyclist using the heel method to adjust her bike saddle height
Alt text: Cyclist performing the heel method to estimate bike saddle height. Method involves placing heel on pedal at the bottom of the pedal stroke.
The heel method is a simple, equipment-free technique for a quick bike saddle height estimation. It’s particularly useful in situations where precision isn’t paramount, such as setting up an exercise bike at the gym or as a preliminary adjustment for novice cyclists.
How to use the Heel Method:
- Position one crank arm in line with the seat tube (pointing directly down).
- Sit on your saddle and place your heel on the pedal of the lowered crank.
- Pedal backwards. Your knee should be fully extended, or ‘locked out’ at the bottom of the pedal stroke.
- Ensure you can pedal backwards without losing heel contact or rocking your pelvis to reach the pedal.
- Once this heel height is established, place your foot on the pedal with the ball of your foot over the pedal axle. This should approximate a correct saddle height for riding with cycling shoes.
Pros: Quick, easy, no tools needed, good for initial setup.
Cons: Approximation only, doesn’t account for shoe stack height, individual biomechanics, or precise knee angle.
The LeMond Method (0.883 x Inseam)
 Female cyclist using the LeMond method to adjust her bike saddle height
Alt text: Cyclist demonstrating the LeMond method for bike saddle height calculation. Method uses inseam measurement multiplied by 0.883.
The LeMond method offers a formula-based approach to calculate bike saddle height. It uses a simple multiplication of your inseam measurement by 0.883 to determine the distance from the center of the bottom bracket to the top of the saddle. It’s important to note that this method does not directly factor in crank length.
How to use the LeMond Method:
- Measure your inseam: Stand against a wall, shoeless, with feet shoulder-width apart. Place a book or similar flat object firmly between your legs, mimicking saddle pressure. Mark the wall at the top of the book and measure the distance from the floor to this mark. This is your inseam.
- Calculate saddle height: Multiply your inseam measurement (in centimeters or inches) by 0.883.
- Set your saddle height to this calculated measurement, from the center of the bottom bracket to the top of the saddle.
Pros: Formula-based, relatively simple, widely known.
Cons: Formulaic, doesn’t account for individual variations, ignores crank length, may not be as precise for all riders.
The Hamley Method (1.09 x Inseam)
The Hamley method is another inseam-based formula, but it calculates saddle height as the distance from the pedal surface to the top of the saddle. This key difference means the Hamley method does incorporate crank length into the calculation. You simply multiply your inseam by 1.09 to get your estimated bike saddle height.
How to use the Hamley Method:
- Measure your inseam: Use the same inseam measurement technique as described in the LeMond method.
- Calculate saddle height: Multiply your inseam measurement by 1.09.
- Set your saddle height to this calculated measurement, from the pedal surface to the top of the saddle.
Pros: Formula-based, simple, includes crank length in the calculation.
Cons: Formulaic, doesn’t account for individual variations, may still not be optimal for all cyclists.
The Holmes Method (Knee Angle)
The Holmes method shifts the focus from formulas to biomechanics, aiming for a specific knee angle at the bottom of the pedal stroke. This method suggests an ideal static knee angle of 25 to 35 degrees at the point of maximum pedal extension.
How to use the Holmes Method:
- Mount your bike on a turbo trainer or have a helper stabilize your bike.
- Pedal until you feel comfortably settled on your saddle.
- Stop pedaling with one crank arm at the bottom of the pedal stroke.
- Have an assistant use a goniometer to measure the angle of your knee. The landmarks for measurement are the lateral femoral condyle (knee), lateral malleolus (ankle), and greater trochanter (hip).
- Adjust saddle height to achieve a knee angle within the 25 to 35-degree range.
Research suggests that the Holmes method may contribute to preventing common cycling overuse injuries and enhancing cycling performance. Studies have indicated increased anaerobic power and aerobic efficiency at a 25-degree knee angle compared to a 35-degree angle.
Pros: Biomechanical approach, focuses on knee angle, potentially more personalized.
Cons: Requires a goniometer and assistance, accuracy depends on landmark identification, static measurement may differ from dynamic pedaling.
The Accuracy and Limitations of Static Saddle Height Methods
While these methods offer valuable starting points, it’s important to understand their limitations. Numerous studies indicate that static methods based on simple anthropometric measurements (like percentages of inseam) don’t guarantee an optimal knee angle during actual pedaling. A study by Peverler et al. (2007) demonstrated that using 109% of inseam for saddle height is unreliable and often results in knee angles outside the recommended 25 to 35-degree range more than half the time.
Personal analysis of saddle heights derived from these formulas compared to professional bike fit settings reveals a similar pattern of discrepancies. A key reason for these differences lies in individual anatomical variations. Factors like femur length, tibia length, and foot length vary significantly between individuals. Inseam alone cannot account for these variations, leading to a wide range of knee angles even when using the same formula.
Another factor to consider is the historical context of some formulas. Many studies predicting seat height from inseam length were conducted in the 1990s, when toe clips were prevalent, rather than today’s clipless pedals. Clipless pedal systems alter foot position and engagement, potentially influencing optimal saddle height.
Of the static methods, those based on knee angle are generally preferable to formula-based approaches. However, even knee angle methods are not without potential error. Accuracy in identifying and marking anatomical landmarks for goniometer measurements is crucial and can be challenging for untrained individuals. Furthermore, knee angle measurements are influenced by ankle angle. Care must be taken to ensure consistent ankle positioning during static measurement compared to dynamic pedaling. There’s also variation in when knee angle is measured – some protocols use bottom dead center (crank at 6 o’clock), while others use the point of maximum knee extension (crank in line with the seat post).
Research shows that knee angle differs between static and dynamic measurements. A study suggested that a static knee flexion angle of 25 to 35 degrees might correspond to a 30 to 40-degree angle during dynamic pedaling. Dynamic measurements, which are more representative of real-world cycling, often require video analysis or motion capture equipment for accurate assessment. A literature review even suggests that optimal dynamic knee angle varies with cycling intensity, with a range of 33 to 43 degrees at bottom dead center (BDC) at low intensity and 30 to 40 degrees at BDC at high intensity.
 Female cyclist adjusting the height of her bike saddle
Alt text: Cyclist fine-tuning bike saddle height. Image emphasizes the importance of adjustments for optimal cycling posture.
Factors Beyond Formulas: What Influences Optimal Saddle Height?
Your ideal bike saddle height is not solely determined by formulas or even knee angle measurements. Several other factors play a significant role and should be considered for a truly optimized riding position.
Ankle Position and Pedaling Style
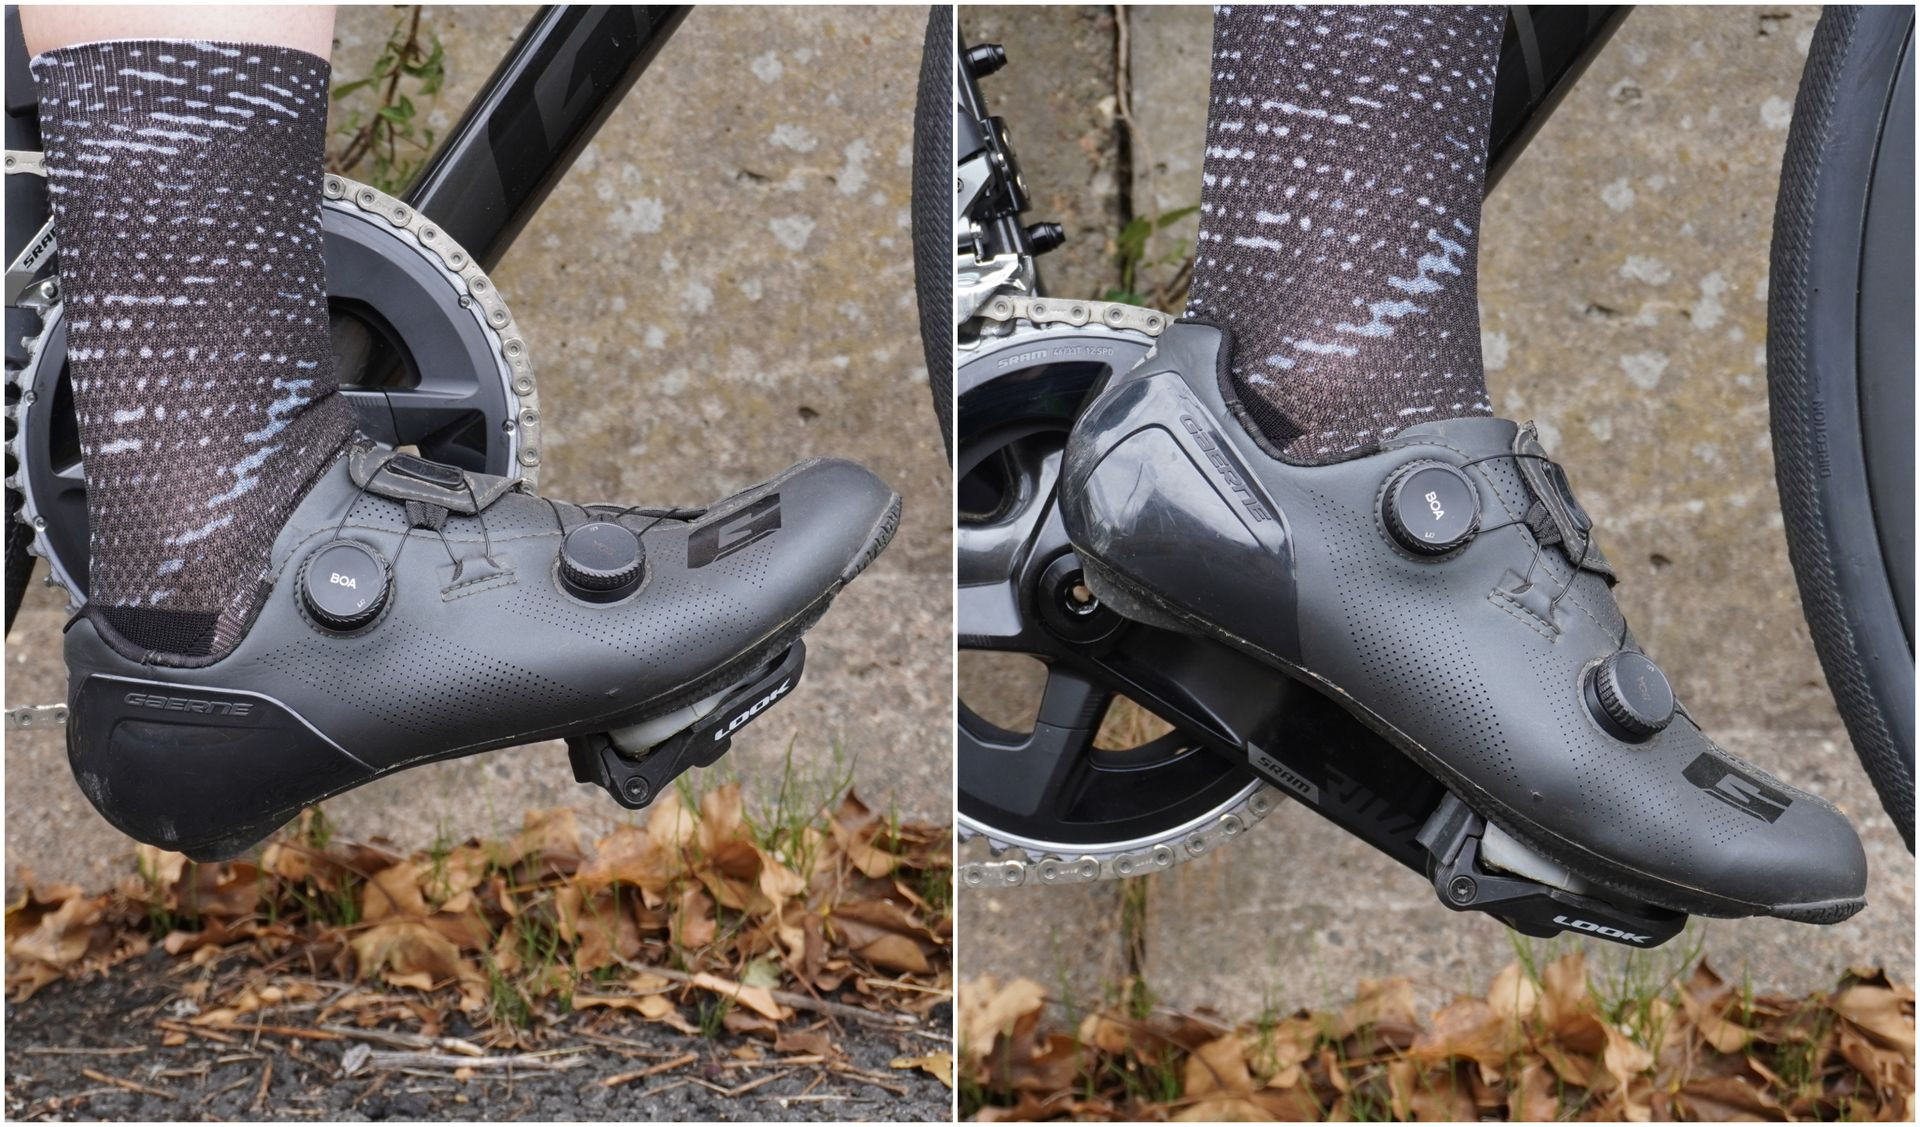 Different ankle positions
Alt text: Different ankle positions during cycling pedaling stroke. Image illustrates how ankle angle affects effective leg length and saddle height.
Your ankle position during pedaling can both influence your ideal saddle height and signal an incorrect setting. For example, cyclists with a pronounced toe-down pedaling style will naturally have less knee extension at the bottom of the pedal stroke. This might lead to a slightly lower saddle height preference. Conversely, a toe-down style could also be a compensatory pattern to accommodate a saddle that is already too high, as your foot reaches for the bottom of the pedal stroke.
Furthermore, pedaling style can change with effort. Many cyclists instinctively drop their heel when applying high power or climbing, attempting to engage the calf muscles for increased force production. This heel drop effectively increases leg extension and might suggest a slightly higher saddle position could be appropriate for these situations.
Hamstring Flexibility
Hamstring flexibility also impacts knee angle during dynamic pedaling. Less flexible hamstrings tend to result in greater knee flexion and may necessitate a slightly lower saddle position to maintain comfort and efficient pedaling mechanics.
Saddle Position (Fore/Aft)
Your position on the saddle itself – how far forward or back you sit – will influence effective saddle height. Sitting further forward on the saddle effectively lowers your riding height, while sitting further back effectively raises it. Small adjustments to fore-aft saddle position can sometimes fine-tune leg extension without needing to adjust the seatpost height itself.
Equipment Variations
Variations in cycling equipment can also subtly affect your ideal saddle height. Shoes and pedals have different “stack heights” – the distance from the sole of your foot to the pedal axle. Even within the range of best bib shorts, chamois thickness can vary. If you significantly change cycling shoes, pedals, or even bib shorts, a minor saddle height adjustment might be necessary to maintain your optimized position.
Is Your Saddle Height Right? Key Indicators
Beyond measurements and formulas, your body provides crucial feedback on saddle height. Pay attention to these indicators to assess if your bike saddle height is correctly set.
Physical Indicators of Correct Saddle Height
- Stable Pelvis: Your sit bones should feel securely supported on the saddle. Excessive side-to-side pelvis rocking can indicate the saddle is too high.
- Stable Foot: Your foot should remain relatively stable throughout the pedal stroke, without excessive toe-down or heel-down movement (unless it’s your natural pedaling style and comfortable).
- Smooth Pedal Stroke: The pedal stroke should feel fluid and continuous. A “dead spot” or a sensation of losing contact with the pedal at the bottom of the stroke can suggest the saddle is too high.
- No Constant Saddle Movement: You shouldn’t need to constantly shift forward or backward on the saddle to find comfortable leg extension.
- Balanced Muscle Recruitment: You should feel a balanced engagement of different leg muscle groups (glutes, hamstrings, quads, calves), not just quad dominance.
- Minimal Discomfort: While some initial saddle soreness is normal when starting cycling or trying a new saddle, you should experience minimal knee pain (front, back, or side) and no persistent discomfort in other areas.
Common Issues with Incorrect Saddle Height (Injuries & Discomfort)
Incorrect saddle height is a major contributor to various cycling-related discomforts and injuries. The repetitive nature of cycling emphasizes the importance of proper setup to help prevent injury. Common problems associated with improper saddle height include:
- Knee pain (anterior, posterior, medial, lateral)
- Saddle discomfort (pressure, numbness, saddle sores)
- Hip pain or impingement
- Hamstring tendinopathy
- Back pain
- Achilles tendinitis and other Achilles issues
- Neck pain
- Hand and wrist pain or numbness
Remember, you don’t necessarily need to experience pain or injury for your saddle height to be suboptimal. Even subtle inefficiencies or discomfort can detract from your enjoyment and performance.
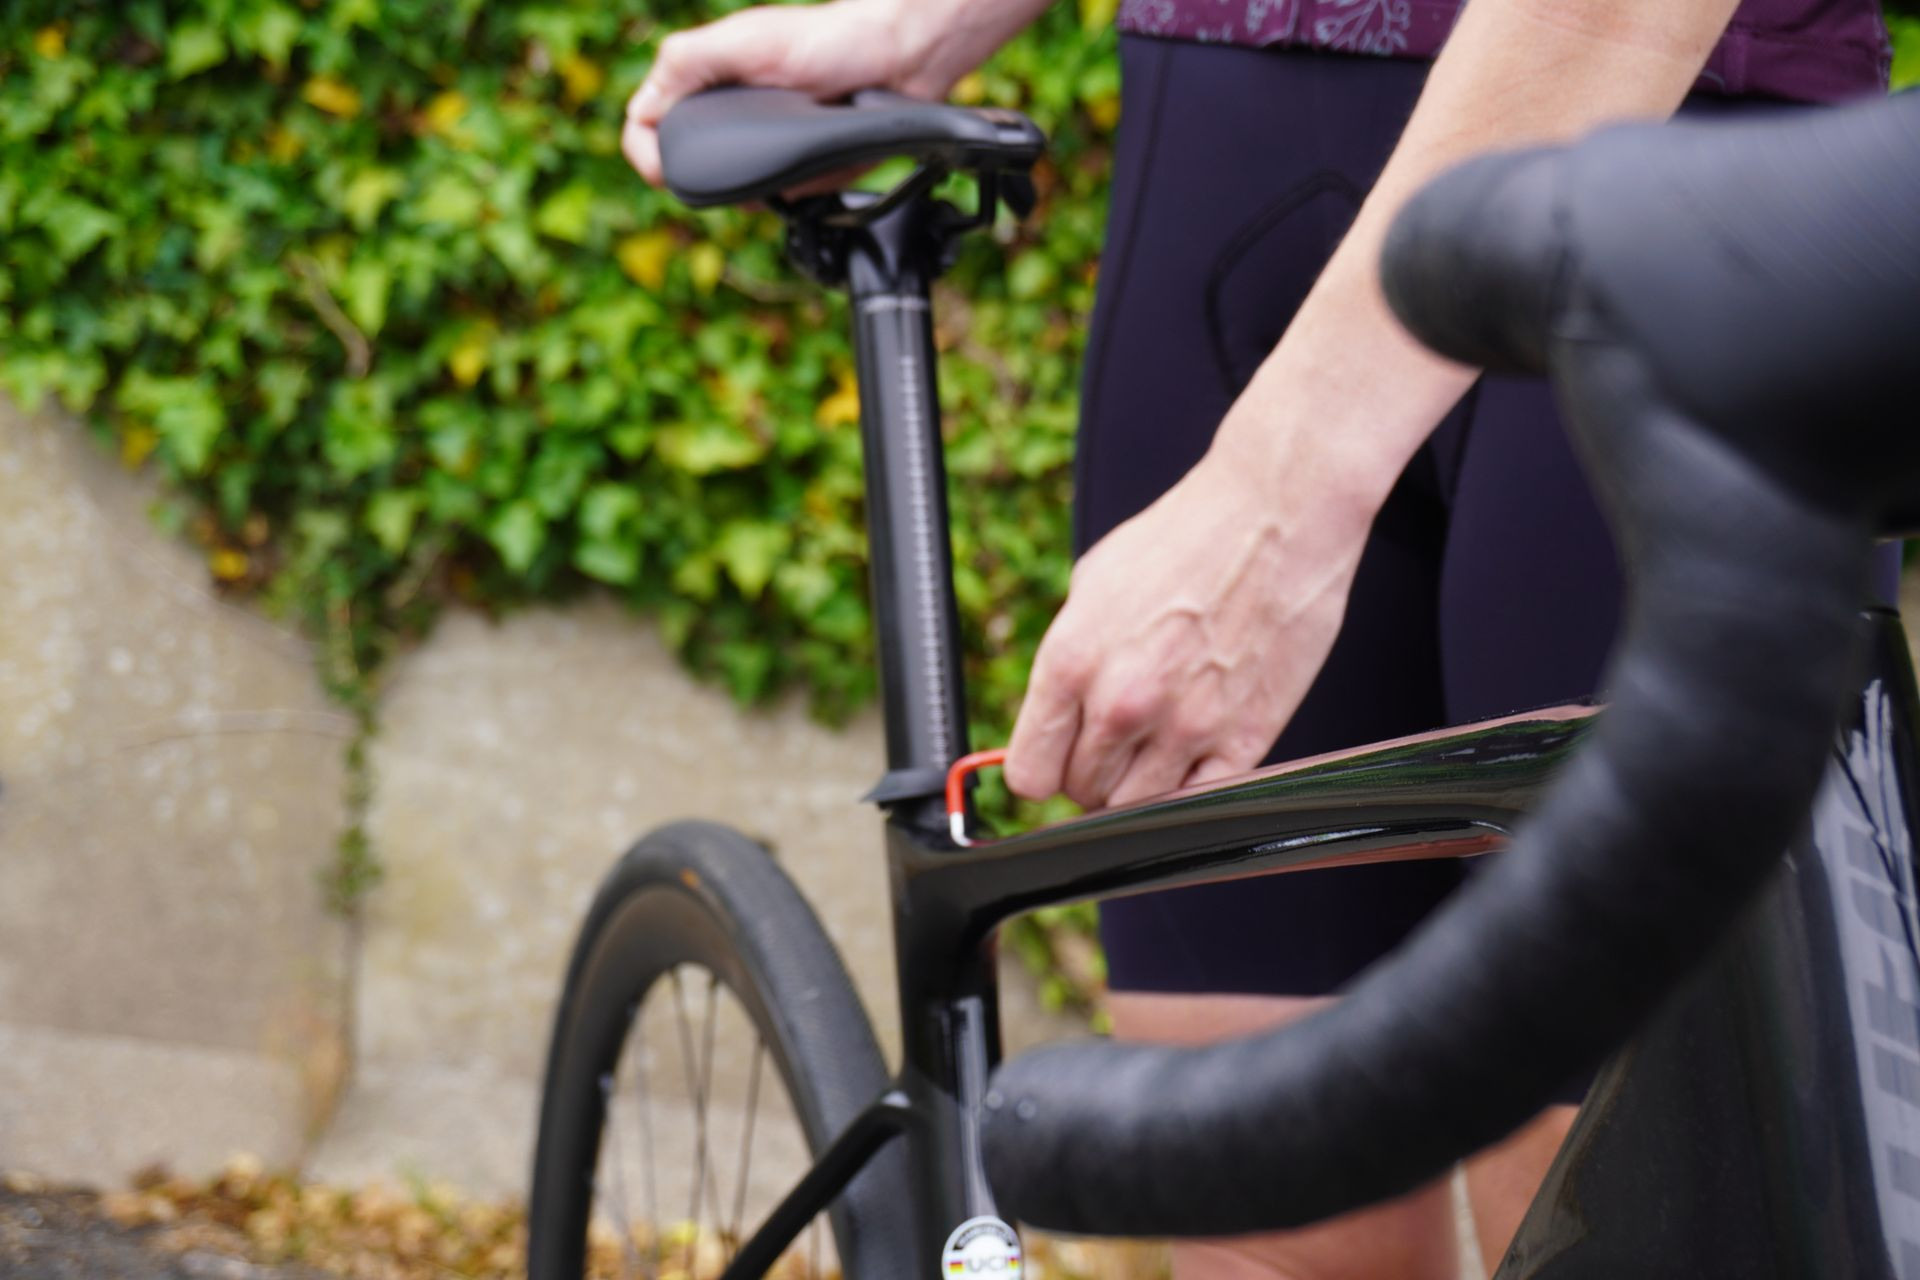
Fine-Tuning and Professional Bike Fit
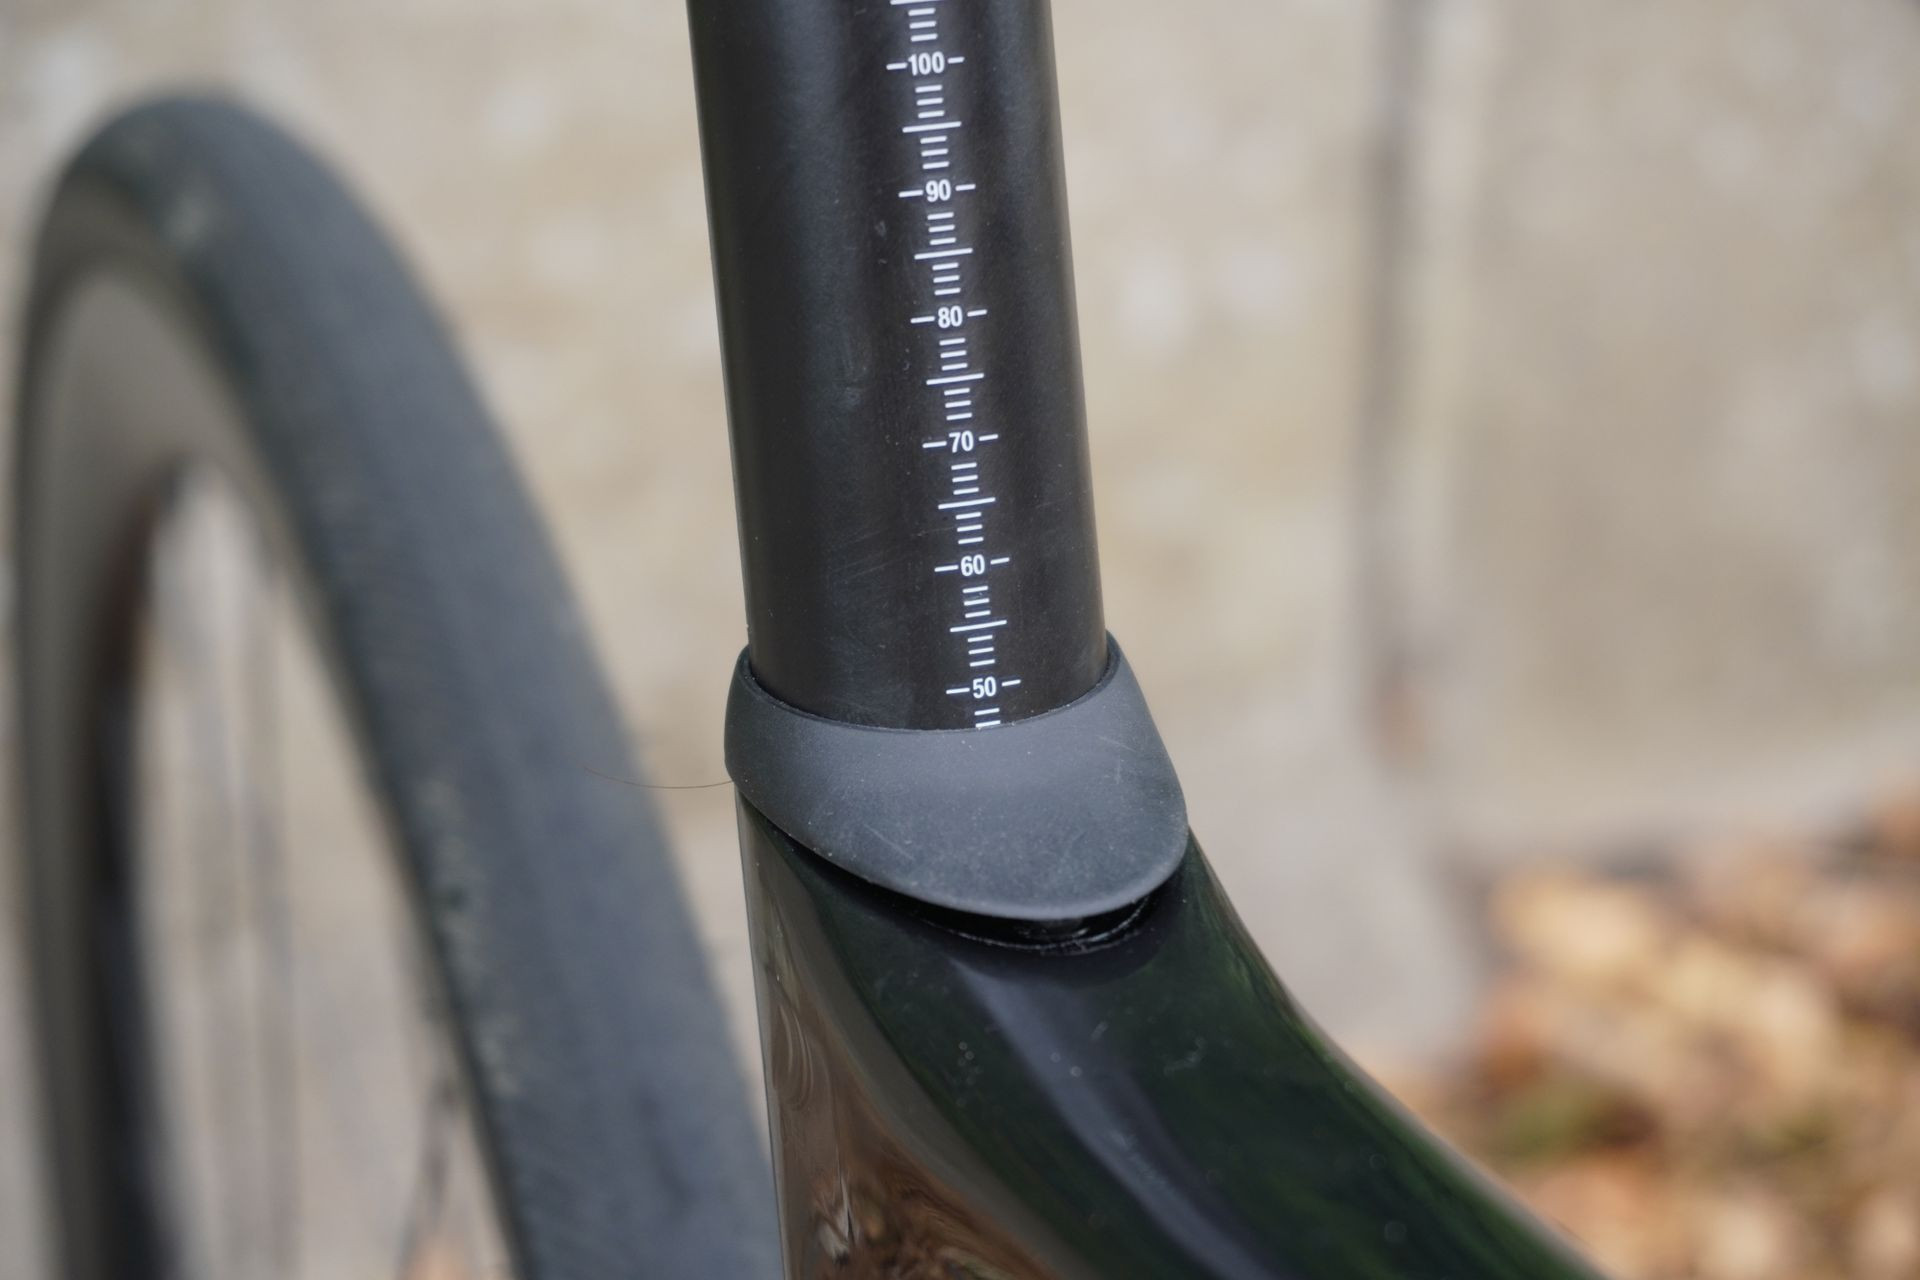 Seatpost on a bike
Alt text: Close-up of a bike seatpost and saddle clamp. Illustrates saddle height adjustability on a bicycle.
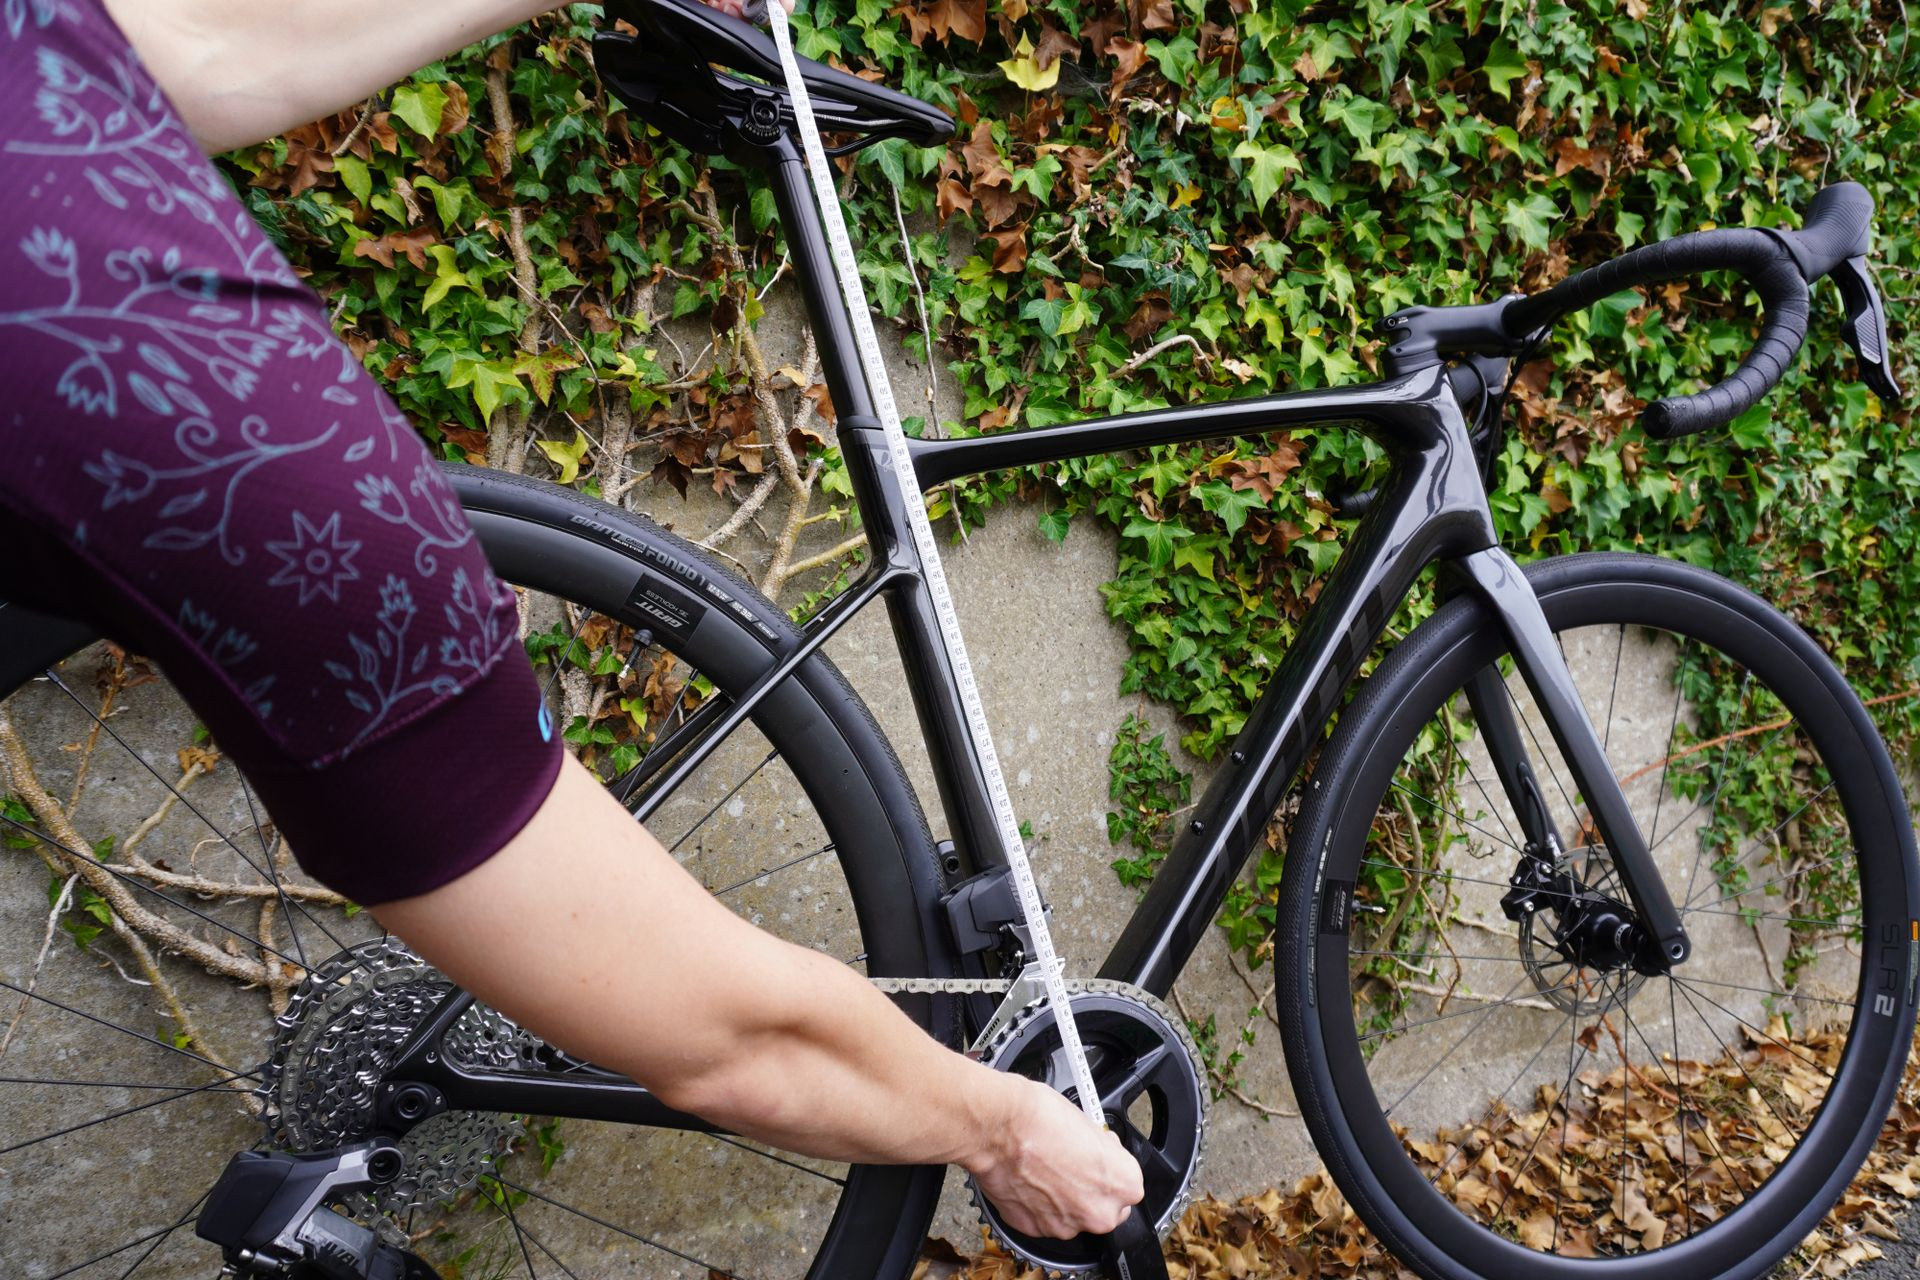
The methods described earlier provide excellent starting points for setting your bike saddle height. However, achieving truly optimized saddle height often requires a process of fine-tuning. Make small adjustments, typically in 2mm increments, and ride, paying close attention to your body’s feedback and your perceived comfort and efficiency. Trial and error, combined with mindful riding, is often the key to dialing in your perfect saddle height.
If, after careful adjustments, your saddle height or overall riding position still doesn’t feel quite right, seeking the expertise of a professional bike fitter is highly recommended. A qualified bike fitter brings a wealth of knowledge, trained observation skills, and specialized tools to analyze your pedaling technique, stability, and any compensatory movements. They will also consider your individual physical characteristics, flexibility, and riding goals.
A bike fitter will observe joint angles, assess your physical screening results, and gather your subjective feedback to determine your optimal saddle height and overall bike position. Crucially, saddle position is the foundation of a good bike fit. Establishing a proper saddle position is essential before addressing other aspects of bike fit, such as handlebar stack and reach. A well-established saddle height is the cornerstone of comfort, efficiency, and injury prevention in cycling.
Conclusion
Finding the right bike saddle height is a journey, not a destination. While formulas and methods offer valuable starting points, listening to your body, making small adjustments, and, when needed, consulting a professional bike fitter are crucial steps in optimizing your cycling experience. Prioritizing correct bike saddle height unlocks greater comfort, power, and enjoyment on every ride, ensuring you can push harder, ride further, and love every mile.