For cyclists who value simplicity and organization, the traditional tool roll remains an unparalleled solution. Ditch the bulky saddlebag and embrace a streamlined, custom approach to carrying your essential Bike Tools. This guide will walk you through creating your own bike tool roll, a project that’s not only practical but also deeply satisfying. We’ll address common frustrations with conventional saddlebags and show you how a DIY bike tool solution can be a superior alternative.
Why Choose a Bike Tool Roll?
Saddlebags serve a purpose, but often come with drawbacks. Firstly, transferring them between bikes can be cumbersome, usually requiring tools or fiddly straps. Secondly, their single-compartment design often means emptying the entire bag to access just one bike tool. A well-designed bike tool roll directly tackles these issues. Its velcro attachment system allows for swift bike-to-bike transfers. Furthermore, individual slots for each bike tool mean you access exactly what you need, without unnecessary rummaging.
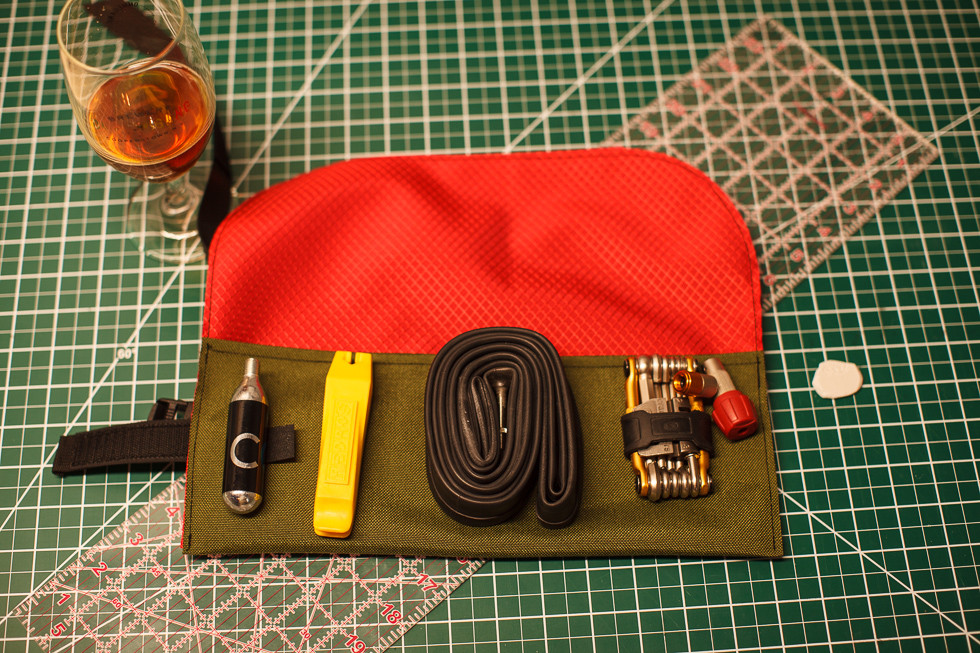
This DIY bike tool roll offers ample space. It can comfortably house CO2 cartridges, a comprehensive multi-tool, tire levers, a spare inner tube, and smaller essentials like zip ties. It’s even designed to accommodate a compact pump, such as the Lezyne Drive Mini, offering significantly more capacity than a standard saddlebag.
The saddle rail attachment is a key feature, prioritizing ease of use. A simple flap secures your tools, while the robust velcro closure prevents unwanted unrolling during rides. The project is so enjoyable and the outcome so useful, you might find yourself making extras!
Gathering Your Materials for a Robust Bike Tool
The durability of your bike tool roll hinges on the materials you select. For this project, we recommend 1000D Cordura fabric for the outer shell. Cordura is renowned for its water resistance and exceptional abrasion resistance, crucial for withstanding the elements and the rigors of cycling. To protect your tools from rubbing against the Cordura’s waterproof coating, a Ripstop nylon lining is ideal.
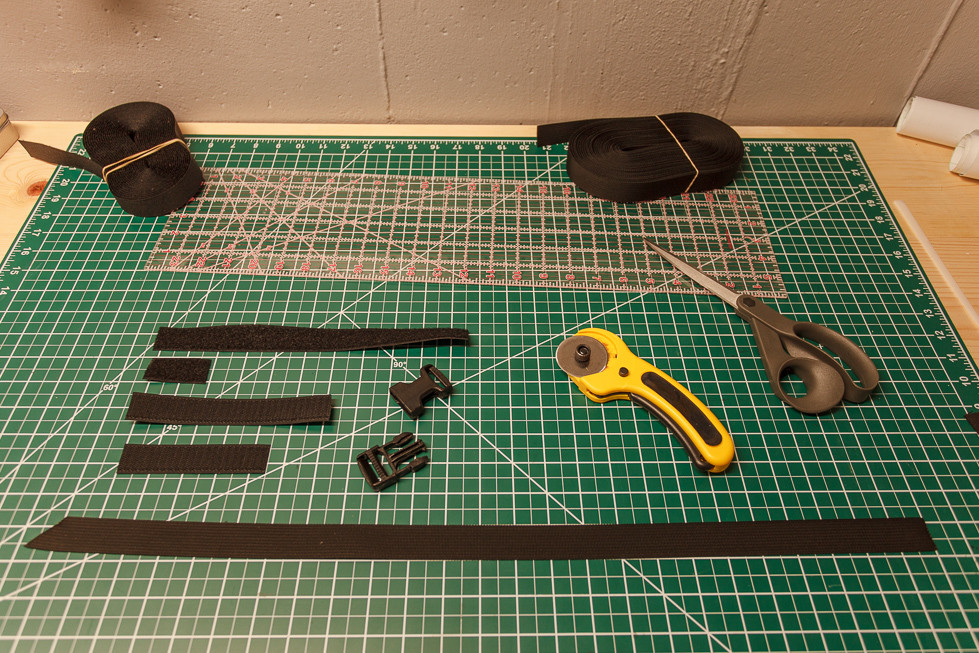
Beyond fabrics, you’ll need sturdy thread, fabric cutting tools, a side-release buckle for secure closure, webbing for straps, velcro for fastening, grosgrain tape for edging, and a sewing machine capable of handling thicker materials.
Here’s a comprehensive list to ensure you have everything at hand:
- 1000D Cordura fabric (shell): Provides weather and wear resistance.
- Ripstop nylon (lining): Offers internal protection and prevents snags.
- 1-inch side-release buckle: Ensures secure and easy fastening.
- 1-inch webbing: Creates durable straps for saddle attachment and closure.
- Thread (Tex 50 or stronger): Guarantees seam strength for heavy-duty fabric.
- 1-inch grosgrain tape: Finishes edges for a professional and fray-resistant finish.
- 1-inch velcro (loop and hook): Provides reliable and adjustable closure.
Sourcing small quantities of these materials can sometimes be challenging and less cost-effective if you’re only making one tool roll. This project becomes particularly appealing when utilizing leftover materials from previous sewing endeavors, making it a sustainable and budget-friendly option.
Step-by-Step Sewing Guide: Assembling Your Bike Tool Roll
This sewing project is straightforward, primarily involving two fabric pieces: the Cordura shell and the ripstop lining. When working with Cordura, remember the less shiny side is the right side, while the shinier side is the wrong side.
Fabric Dimensions: Precision Cutting for the Perfect Fit
For optimal size and functionality, cut the Cordura shell to 16″ x 13″ and the ripstop lining to 10.5″ x 13″. Rounding the top corners of both pieces is a practical step. This prevents excess material when folding the flap closed and simplifies sewing the grosgrain tape edge in the final stages.
Sewing Steps: From Fabric Pieces to Functional Tool Roll
- Cutting the Fabric: Create cardboard templates for both fabric pieces. These templates are invaluable if you plan to make multiple tool rolls. Mark the dimensions for straps and velcro pieces directly on the templates for easy reference. Use a rotary cutter or scissors for precise fabric cutting – whatever you have readily available. The corner rounding is not critical; choose a radius that appeals to you aesthetically. Remember that tighter curves can be more challenging to sew.
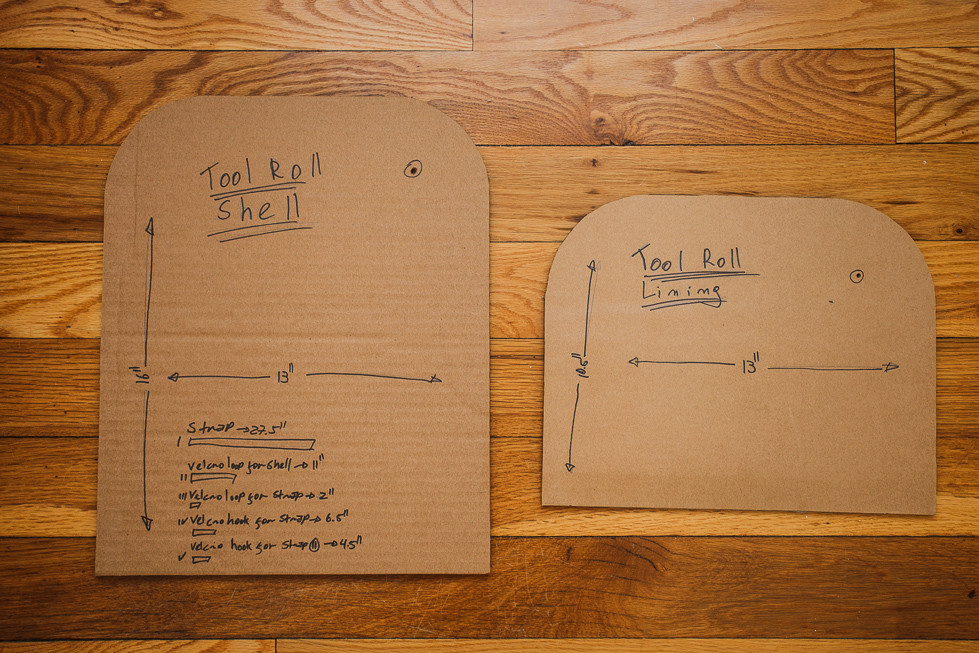 Bike Tool Roll Cardboard Pattern Cardboard templates for cutting the bike tool roll fabric pieces.
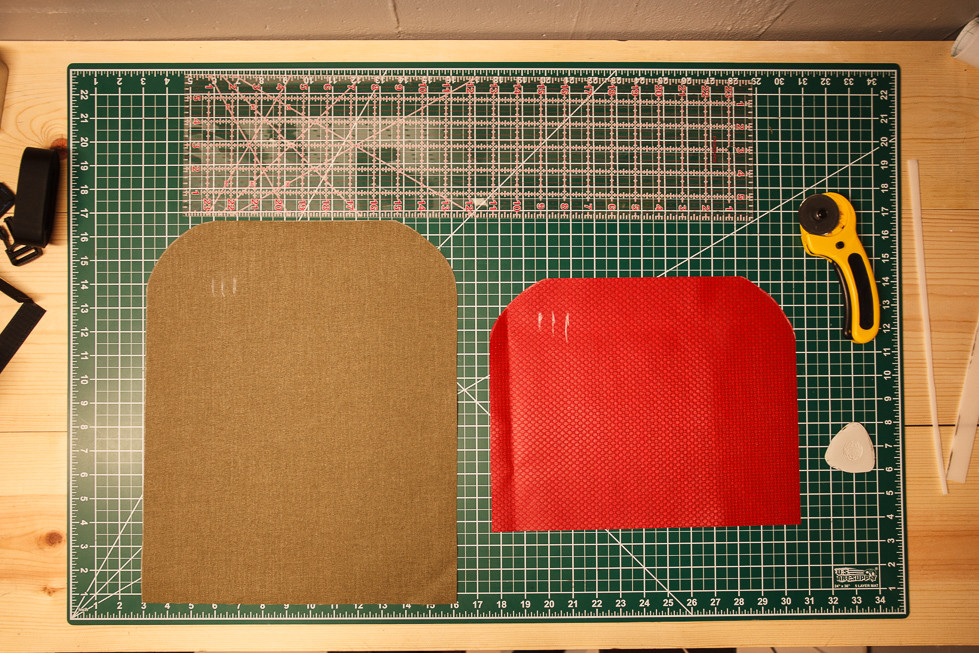 Tool Roll Fabric Pieces Cut fabric pieces for the DIY bike tool roll, ready for assembly.
- Attaching the Velcro Loop: Sew the 11″ piece of loop velcro onto the right side (non-shiny side) of the Cordura shell. Leave a 2″ gap at one end – this spacing will become clear when attaching the strap.
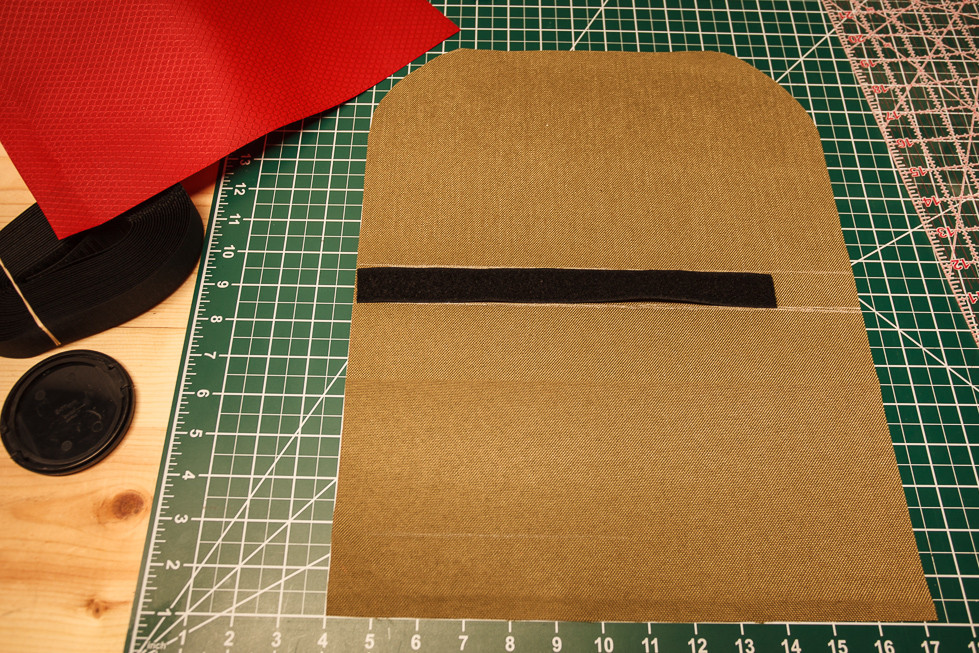 Velcro loop on shell Velcro loop strip sewn onto the Cordura shell of the bike tool roll.
- Creating the Strap: The strap serves dual purposes: securing the tool roll closed and attaching it to your saddle rails. Start with a 27.5″ piece of 1″ nylon webbing. Cut one end at a 45-degree angle to facilitate threading through the buckle. Attach both hook velcro pieces to the same side of the webbing strap.
 Velcro and webbing pieces Velcro and webbing components for creating the bike tool roll strap.
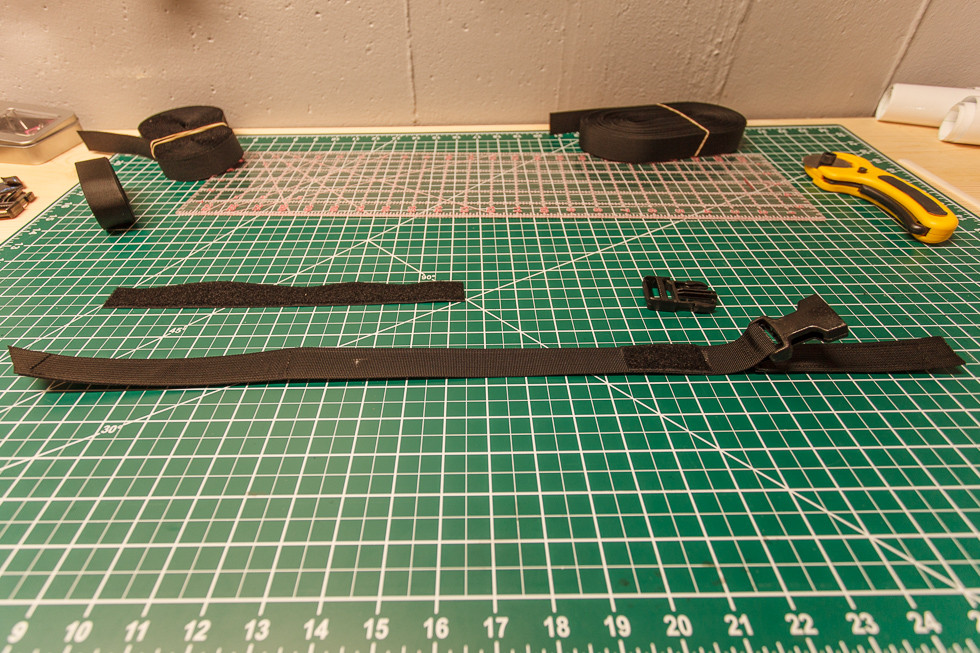 Finished Strap Completed strap with buckle and velcro, ready to secure the bike tool roll.
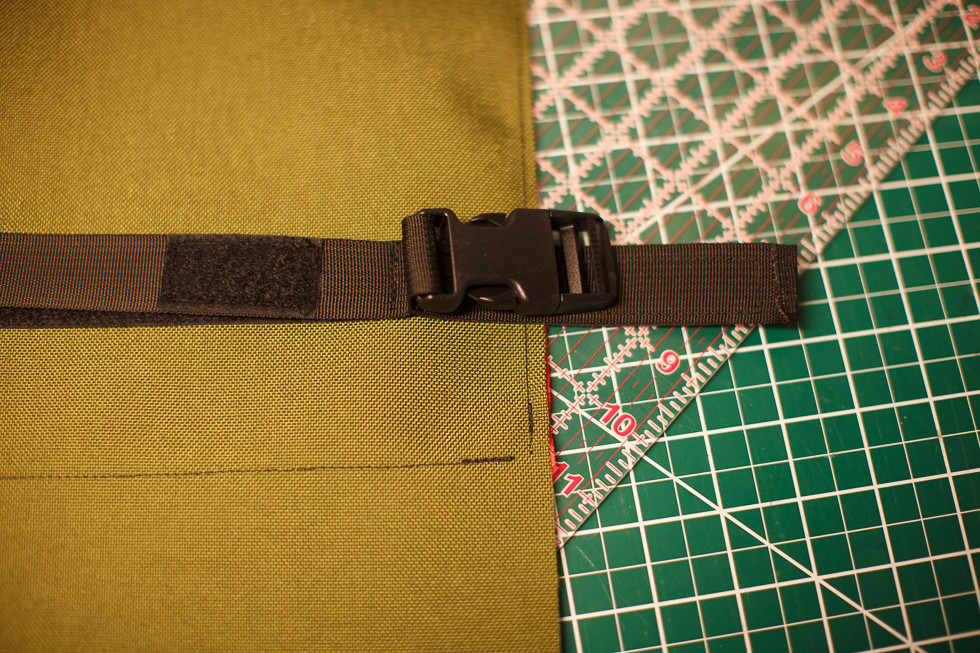 Strap on Tool Roll Strap attached to the tool roll, showing the saddle rail attachment mechanism.
- Joining Fabrics and Hemming: Sew the Cordura shell and ripstop lining with wrong sides together. Align the corners and stitch around the perimeter of the ripstop fabric. Next, hem the bottom edge of the Cordura shell. This creates a clean finish for the main pocket. Fold the bottom edge of the Cordura shell over, using the ripstop nylon as a guide. The bottom of the main pocket should align with the bottom of the ripstop fabric.
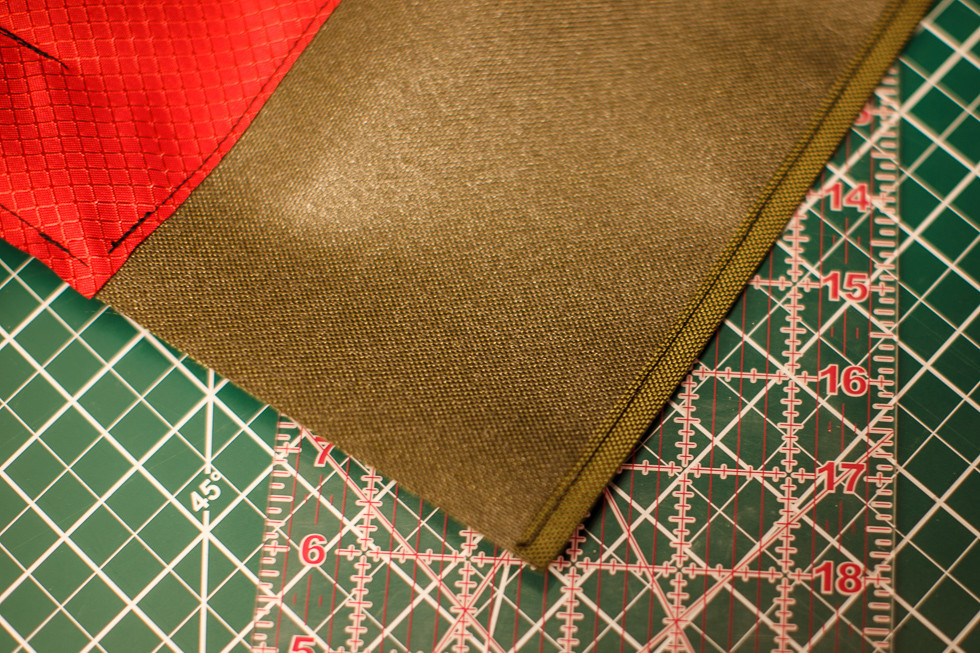 Hemming the cordura shell Hemming the Cordura shell to create a finished edge for the bike tool roll pocket.
 Folding the main pocket Folding the main pocket section of the bike tool roll, guided by the ripstop lining.
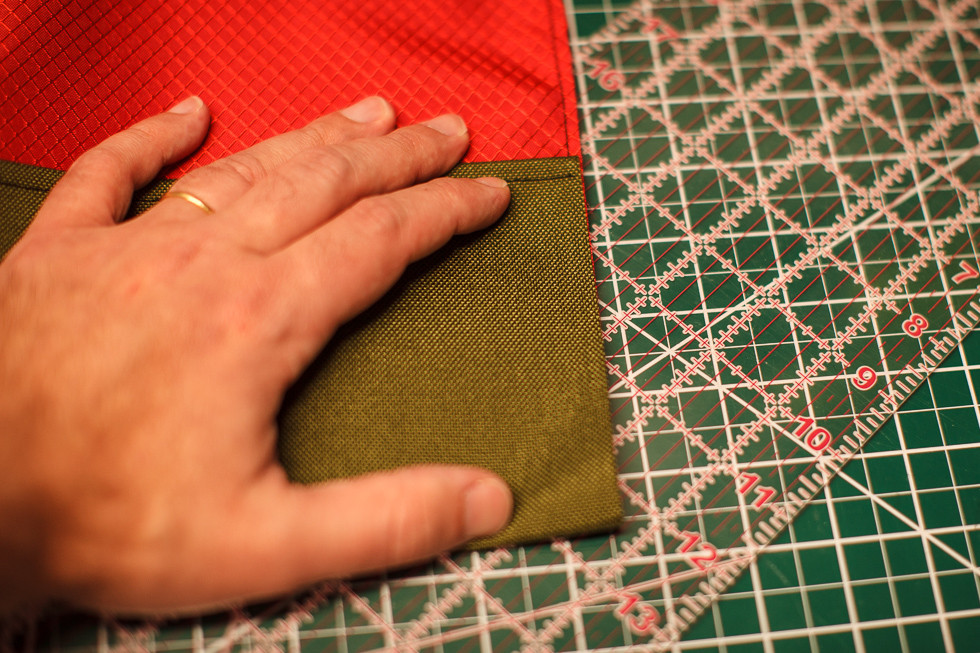
- Creating Pocket Dividers: Lay out your bike tools on the finished pocket to determine the ideal pocket widths. In this example, we used pocket widths of 2″, 2″, 4.5″, and 4″. Mark these divisions to create the pocket dividers.
 Outlining the pocket dividers Marking pocket dividers on the bike tool roll to customize tool organization.
- Adding Grosgrain Tape: The final step is sewing grosgrain tape around all raw edges. This gives your DIY bike tool roll a professional appearance, enhances durability, and prevents fraying.
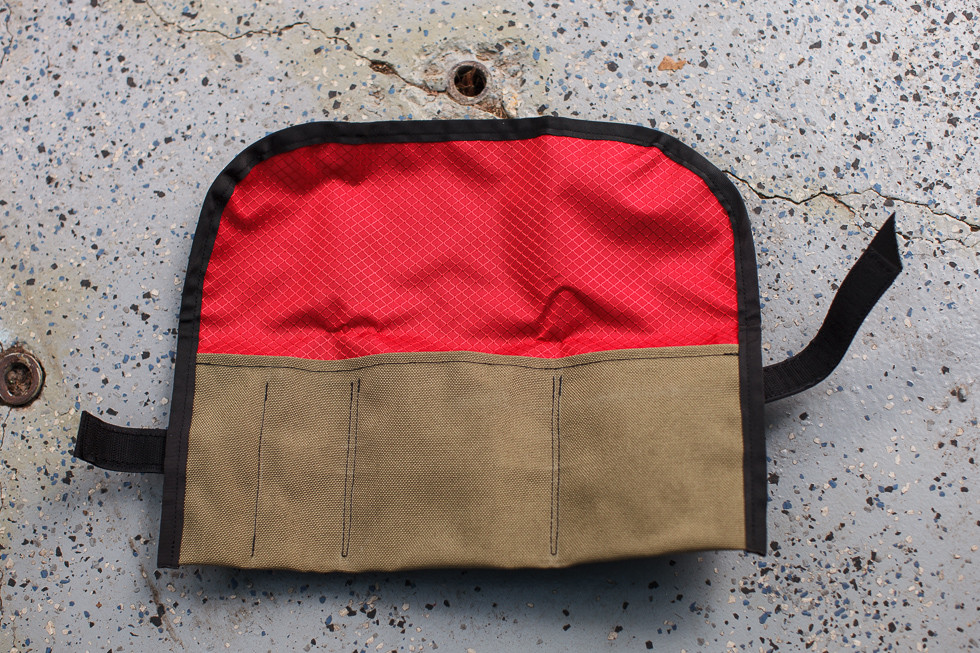 A nifty tool roll The completed DIY bike tool roll, finished with grosgrain tape for a professional look.
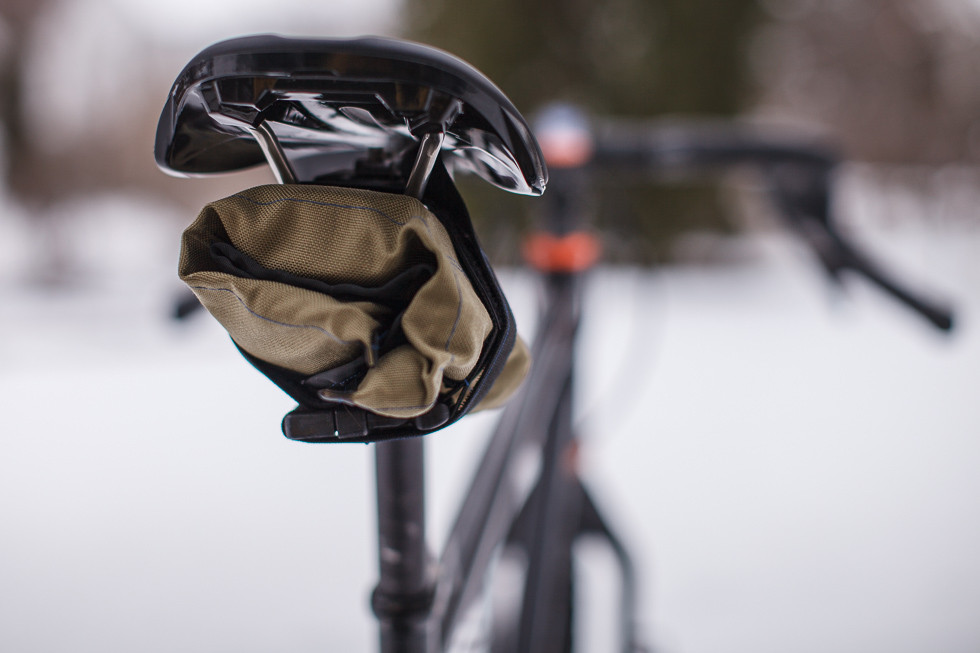
The Real-World Test: Proof in Performance
The true test of any bike accessory is its performance on the road. This DIY bike tool roll has been rigorously tested over numerous miles and has proven completely reliable. While ideally, you won’t need to use your repair tools frequently, it provides immense peace of mind knowing you have essential bike tools readily available for flat fixes or mechanical adjustments. Even after months of use and enduring harsh winter conditions, the tool roll remains in excellent condition, demonstrating its robustness and durability.
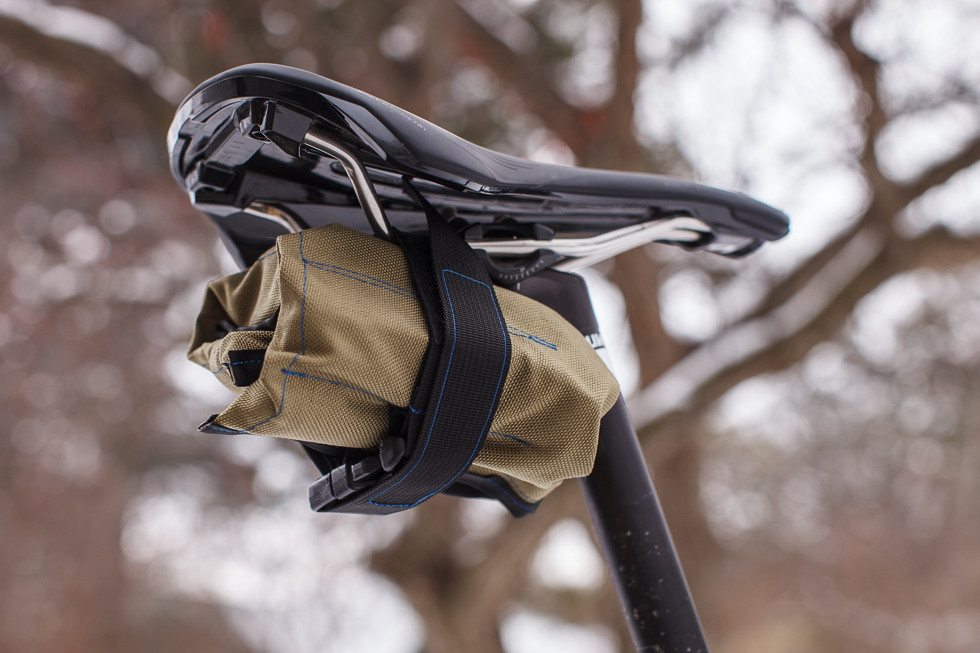
 Tool Roll on Salsa Fargo Bike tool roll mounted on a Salsa Fargo, demonstrating its secure saddle rail attachment.
 Tool Roll on Specialized Saddle Bike tool roll fitted to a Specialized saddle, showcasing its versatility across different bike models.
 Tool Roll on Surly Ogre Bike tool roll on a Surly Ogre, highlighting its compact and unobtrusive design.
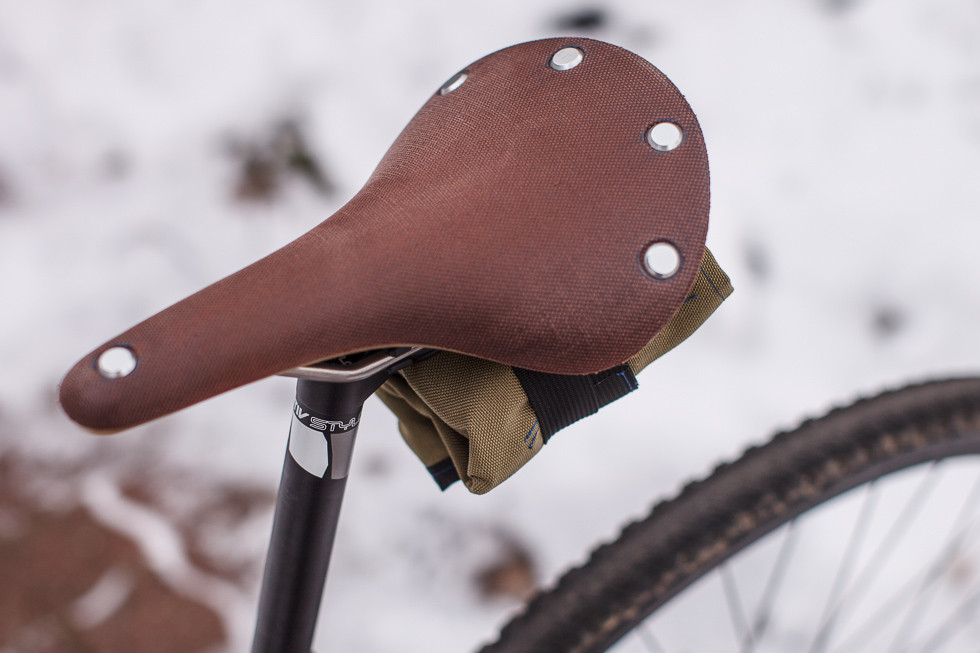
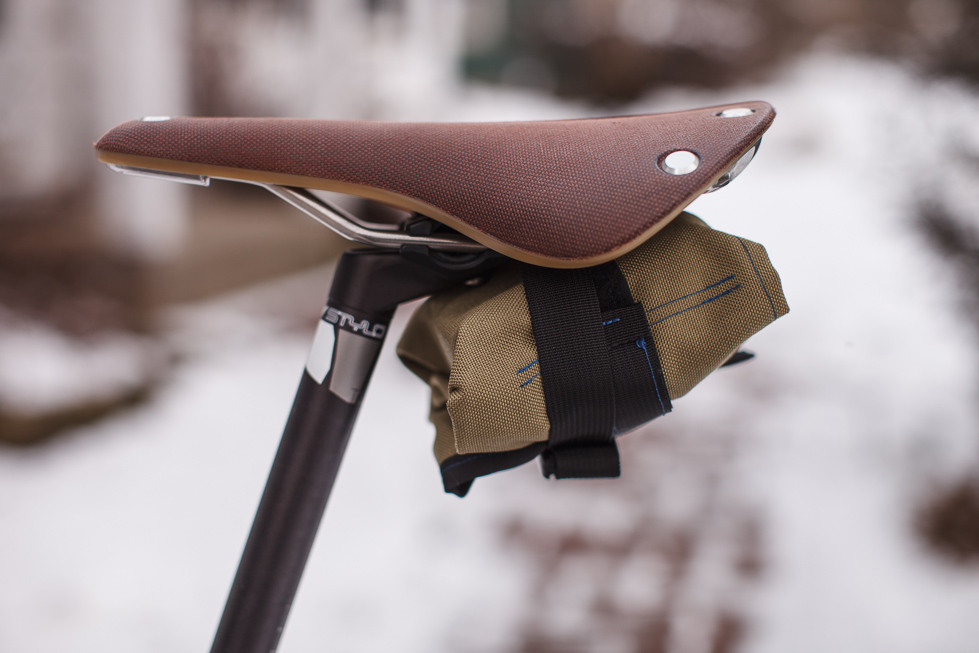 Tool Roll on Brooks Saddle – Side Side view of the bike tool roll on a Brooks saddle, illustrating its secure and low-profile fit.
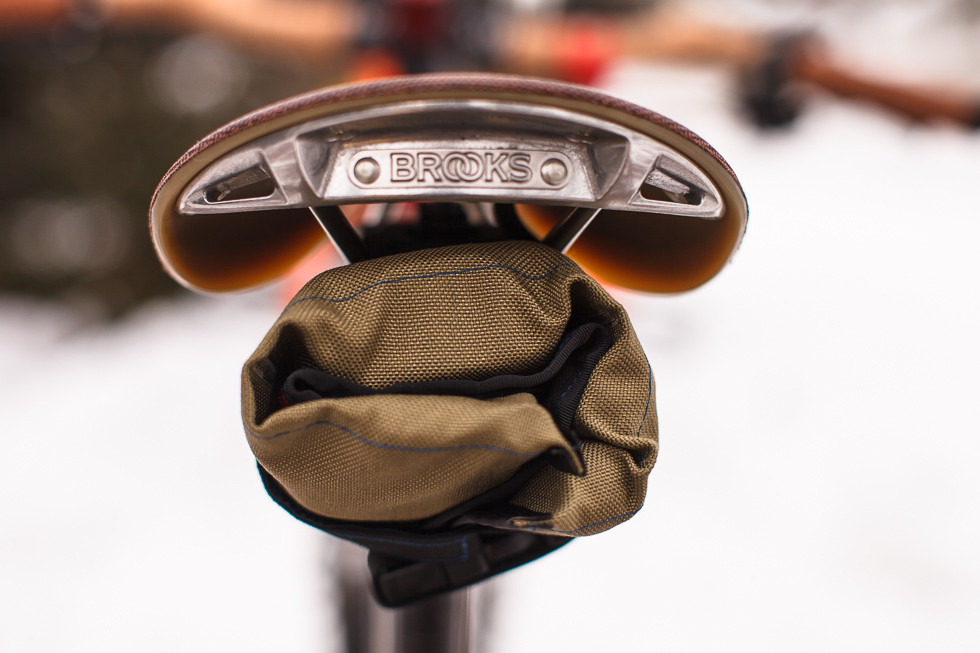 Tool Roll on Brooks Saddle Bike tool roll on a classic Brooks saddle, showing its compatibility with various saddle styles.
Ready-Made Options Available
If DIY isn’t your path, or you appreciate handcrafted gear, explore the range of bike bags and tool rolls available at troutmoose.com. Discover meticulously crafted cycling accessories made with the same dedication to quality and functionality demonstrated in this DIY guide.