
Even for seasoned cyclists, the lifespan of a bike chain can come as a surprise. Despite their robust steel construction, these vital components are indeed consumable. No matter how diligently you maintain your chain, the time will come when replacement is necessary. Understanding when to replace your chain is crucial, not only for optimal performance but also to prevent premature wear on other drivetrain parts. Investing in a chain checker is a smart move to accurately determine chain wear and avoid guesswork.
A worn chain leads to poor shifting, chain slippage under load, and accelerates wear on your cassette and chainrings. Replacing your chain at home is a straightforward process that can save you money and keep your bike running smoothly. This guide will walk you through each step.
Time Needed: 15 minutes
Savings: Approximately £8 (or equivalent in your local currency)
Tools & Materials:
- New Bike Chain (compatible with your bike’s speed)
- Chain Tool
Quick Tip: Ensure your new chain is compatible with the number of sprockets on your cassette. While most brands (excluding Campagnolo) are generally cross-compatible with Shimano and SRAM groupsets, it’s always best to confirm with your local bike shop for compatibility.
Steps to Replace Your Bike Chain
1. Removing the Old Bike Chain
First, we need to remove the worn-out chain. If your chain has a quick link, which is a two-piece connector, you can usually unfasten it by squeezing the link together.
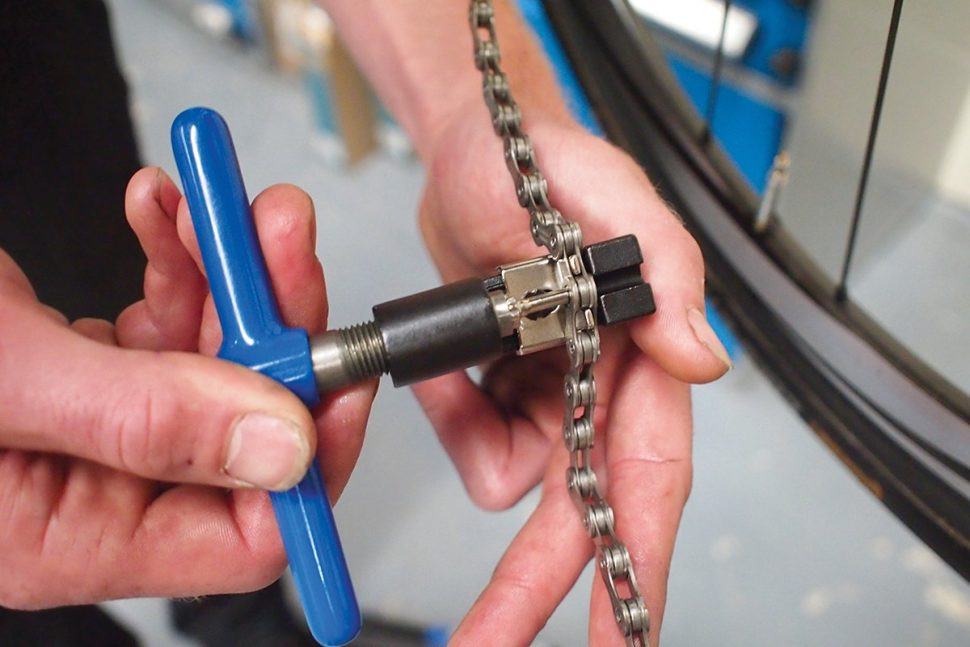 Close up of a chain tool being used to push out a pin from a Shimano bike chain link
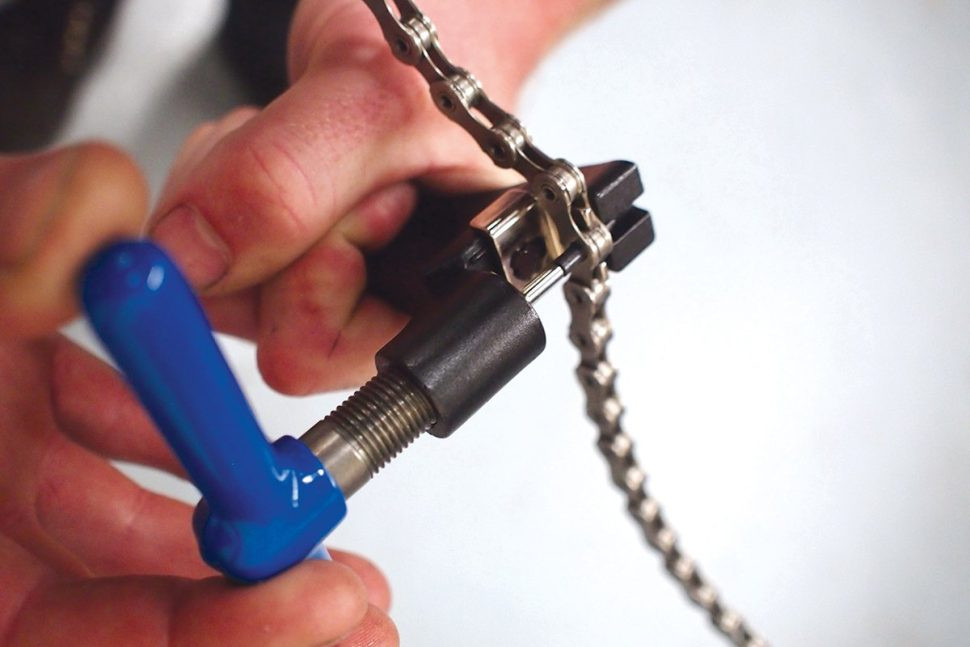
For Shimano chains, and many other brands without a quick link, a chain tool is necessary. Position the chain in the tool, aligning the pin of the tool with a pin on the chain link. Turn the handle of the tool to push the chain pin outwards, breaking the chain.
2. Cleaning Your Cassette and Chainrings
With the old chain removed, this is an ideal opportunity to thoroughly clean and inspect your cassette and chainrings. Examine the teeth of the cassette and chainrings for wear. Healthy teeth will have a symmetrical profile. Worn teeth will often resemble a shark’s tooth, indicating significant wear from the chain.
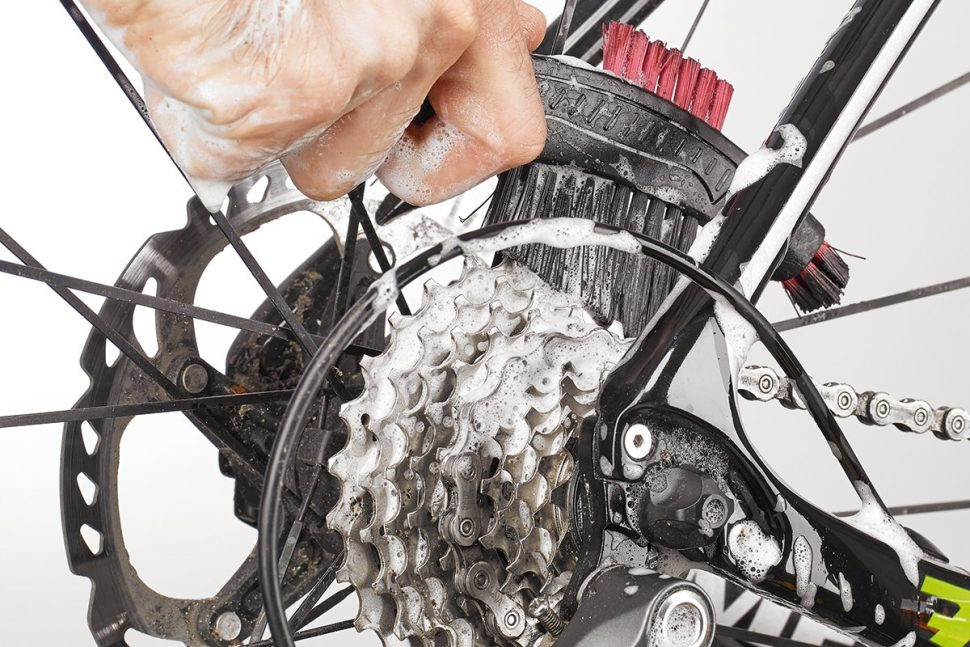 Hands degreasing a bike cassette with a brush and cleaning solution
If the teeth look in good condition, proceed by scrubbing the cassette and chainrings with a degreaser or bike cleaning solution. Installing a new, clean chain onto dirty components is counterproductive and can shorten the lifespan of the new chain.
3. Threading the New Bike Chain
Now, it’s time to install the new chain. Begin by shifting your bike’s gears to the smallest sprocket at the rear and the smallest chainring at the front. Thread the new chain through the front derailleur cage.
 Hands threading a new bike chain through the front derailleur and around the rear cassette
Next, guide the chain around the rear cassette and then around the upper jockey wheel of the rear derailleur. Continue threading the chain through the derailleur cage, ensuring it passes inside the guide plate, and then around the lower jockey wheel.
4. Determining the Correct Chain Length
Accurate chain length is crucial for optimal shifting and drivetrain performance. To determine the correct length, with the chain positioned around the smallest sprocket and chainring, bring the two ends of the chain together below the chainstay.
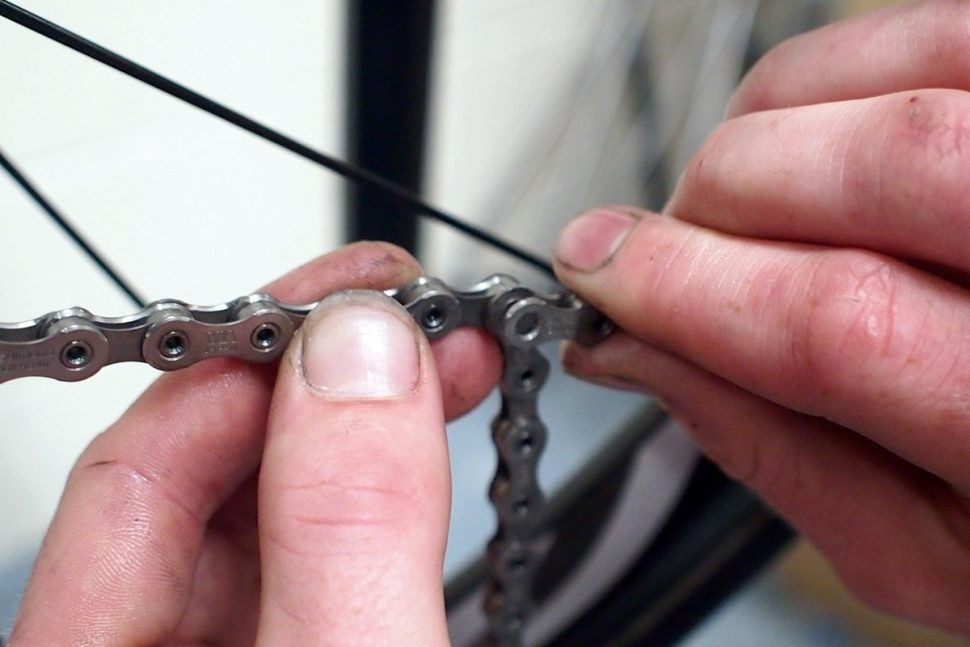 Hands holding the ends of a new bike chain together to measure the correct length below the chainstay
The goal is to find the longest chain length that still provides adequate tension to the rear derailleur, preventing chain sag and ensuring smooth shifting. Remember that you will need to connect an inner link to an outer link to join the chain.
5. Cutting the New Bike Chain to Size
Once you’ve determined the correct link to remove, it’s time to cut the chain to the appropriate length. Shimano recommends orienting the open end of the chain facing rearwards.
 Close up of a chain tool cutting a bike chain at the determined link
Using your chain tool again, position the link you intend to remove between the jaws of the tool. Carefully turn the handle to push the pin out and separate the chain at the desired length. Ensure everything is properly aligned to avoid damaging the chain tool or the chain.
6. Inserting the Connecting Pin
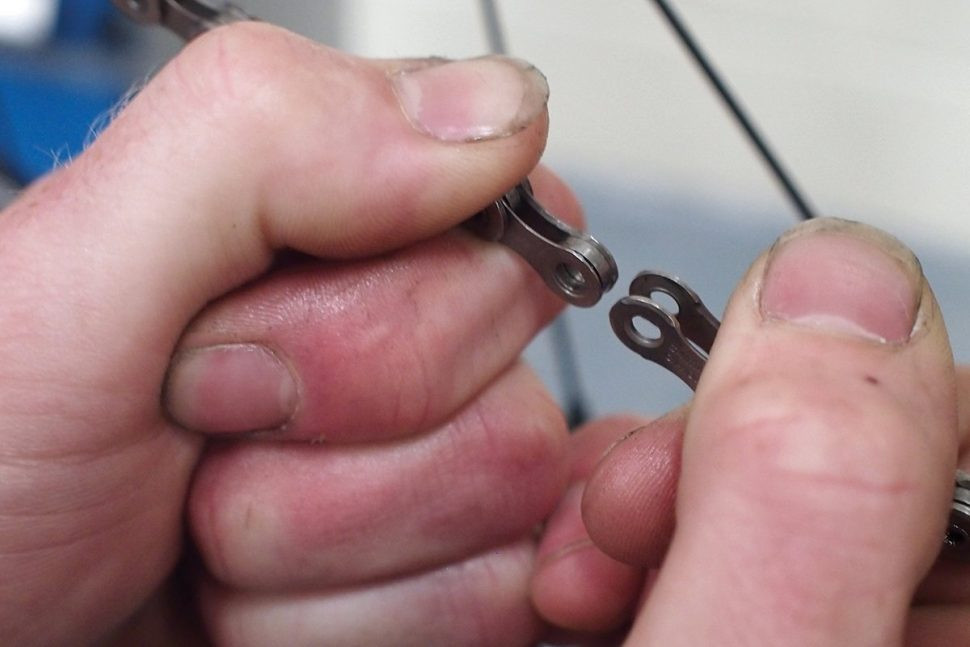
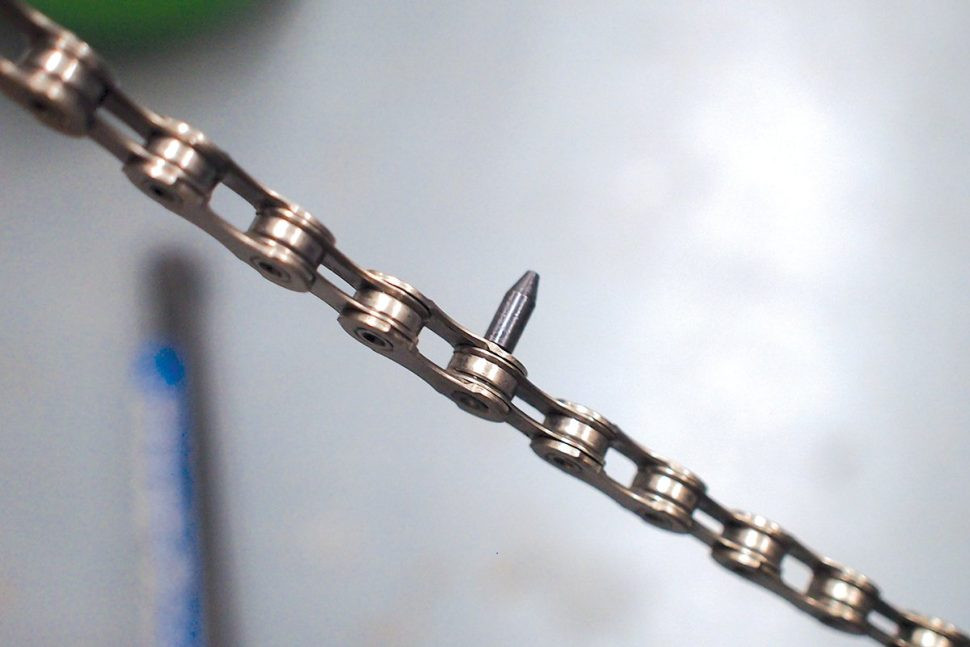
Locate the new connecting pin that came with your new chain. These pins often have a pointed end to aid insertion. Bring the two ends of the chain together and align them. From the drive side of the bike, push the pointed end of the connecting pin into the aligned chain links to hold them together temporarily.
 Hands inserting a new connecting pin into the bike chain to join the ends
The pin should stay in place without needing to be held. Pick up the chain tool again and unscrew the handle a few turns to prepare for the next step.
7. Pushing the Connecting Pin Home
Position the chain link, now held together by the connecting pin, into the chain tool. Turn the handle of the tool to push the pin further into place, connecting the chain securely.
 Close up of a chain tool pushing the connecting pin fully into the bike chain link
As the pin approaches being flush with the outer plate of the chain link, the handle will become easier to turn. Work slowly and carefully to ensure the pin is exactly flush with the outside of the plate. Once correctly positioned, remove the chain tool.
8. Final Checks and Completion
After joining the chain, check that the newly connected link moves freely and smoothly. If the link is stiff or the pin protrudes more than other pins in the chain, reattach the chain tool and gently push the pin a fraction further.
 A newly installed bike chain viewed from the side, showing smooth connection
If the pin is correctly positioned but the link remains stiff, try flexing the chain horizontally at the joint to loosen it up. Once you are satisfied that the link moves freely, snap off the excess portion of the connecting pin using the back of the chain tool or pliers with a sharp twist. Your new bike chain installation is now complete!