Are you tired of tripping over bikes in your garage, under your deck, or even in your driveway? It’s a common problem for families, especially those with kids. Like many, I found myself facing a daily battle with fallen bikes, creating clutter and discouraging my children from even wanting to ride. Our under-deck storage, while intended to be a solution, quickly became a chaotic mess of tangled bikes due to the uneven ground and lack of proper support. Kickstands simply weren’t cutting it, leading to bikes toppling over, pedals getting stuck, and ultimately, bikes being abandoned.
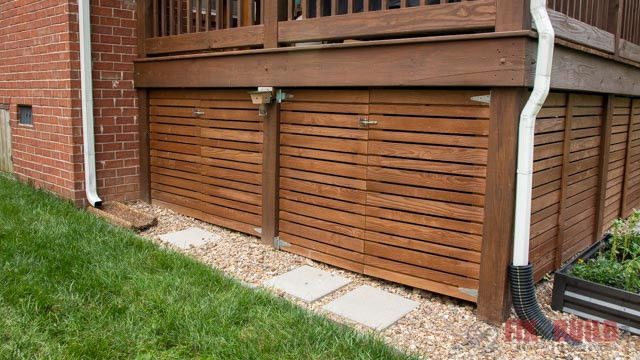 Under deck bike storage problem with bikes falling over
This bike storage frustration sparked a simple yet effective DIY project: building easy Diy Bike Stands. This weekend project using minimal materials and basic tools is the perfect way to bring order to your bike storage and get your family riding again. Say goodbye to bike avalanches and hello to organized, accessible bikes with this straightforward guide to building your own bike stands.
Why You Need a DIY Bike Stand
Before diving into the how-to, let’s consider why a diy bike stand is such a worthwhile addition to your home. Beyond just tidiness, a bike stand offers numerous benefits:
- Organization: The most obvious advantage is organization. Bike stands provide a designated spot for each bike, preventing them from leaning against walls, falling on the ground, or tangling with each other.
- Space Saving: By holding bikes upright, you maximize floor space in your garage, shed, or storage area. This is especially valuable in smaller spaces.
- Bike Protection: Constantly falling bikes can lead to scratches, dents, and damage to components like derailleurs and brakes. A bike stand minimizes the risk of accidental damage.
- Encourages Bike Use: When bikes are easily accessible and neatly stored, it removes a barrier to riding. Kids (and adults!) are more likely to grab their bikes for a spin if they’re not a hassle to get to.
- Cost-Effective: Building your own bike stand from readily available lumber is significantly cheaper than purchasing pre-made metal racks, especially if you need multiple stands.
Simple DIY Bike Stand: Step-by-Step Guide
This guide will walk you through creating a basic yet sturdy diy bike stand using just a few pieces of lumber and minimal tools. It’s designed for simplicity and effectiveness, perfect for beginners and experienced DIYers alike.
Gather Your Materials and Tools
For each bike stand, you will need:
- Lumber:
- One 2×4 board, 8 feet long (This will be enough for two bike stands). Scrap wood is ideal if you have it available, making this project even more budget-friendly.
- Fasteners:
- Wood screws (2 1/2 inch or longer) – Sufficient quantity for assembly.
- Tools:
- Circular saw or hand saw – For cutting the lumber to length.
- Measuring tape and pencil – For accurate measurements.
- Power drill with drill bit and screwdriver bit – For pre-drilling holes and driving screws.
- Safety glasses and hearing protection – Always prioritize safety when working with power tools.
Cutting the Wood
The first step is to cut the 2×4 lumber into the required lengths. For each diy bike stand, you will need:
- Two pieces at 22 inches long. These will form the base of the stand and cradle the bike tire.
- Two pieces at 18 inches long. These will be the cross supports, holding the base pieces together and providing stability.
Carefully measure and mark the wood before cutting. Use a circular saw or hand saw to make straight, clean cuts.
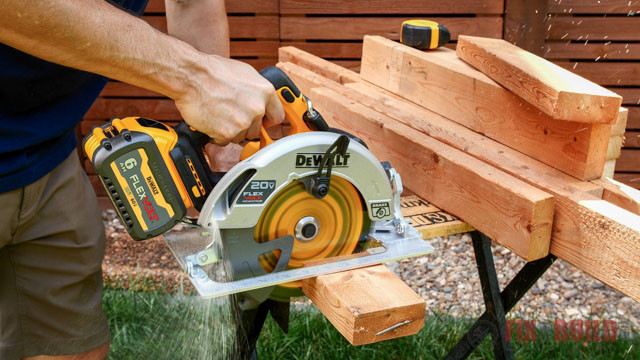 Cutting 2×4 lumber for DIY bike stand with a circular saw
Assembling the Bike Stand
Once the wood is cut, assembly is quick and easy.
-
Position the Base Pieces: Lay the two 22-inch long pieces on their sides, parallel to each other and spaced apart. The spacing will depend on the width of your bike tires. A good starting point is to measure the width of your widest bike tire and add a little extra room for easy bike insertion and removal. For mountain bike tires with knobby treads, ensure you have enough space for a comfortable fit.
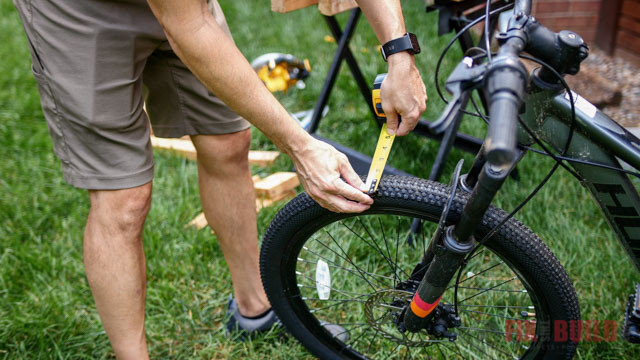 Measuring bike tire width for DIY bike stand spacing
 -
Attach the Cross Supports: Place the 18-inch long pieces across the 22-inch pieces, one at the top and one at the bottom, creating a rectangular frame. The 22-inch pieces should be on the inside, forming a channel for the bike tire to sit in.
-
Pre-drill and Screw: Pre-drilling holes helps prevent the wood from splitting, especially when working with screws near the ends of the boards. Drill pilot holes through the 18-inch pieces into the ends of the 22-inch pieces. Then, drive screws into the pre-drilled holes to securely fasten the frame together.
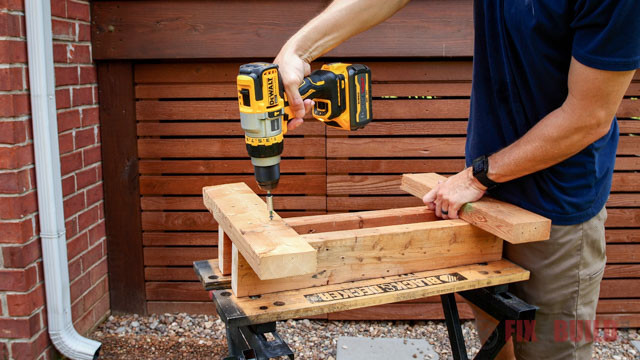 Assembling the DIY bike stand frame with screws
Optional: Securing to the Ground
For added stability, especially if using the bike stand on uneven ground or in a high-traffic area, you can secure it to the ground. Simply drill a hole through each of the 18-inch cross supports and use stakes or landscape anchors to secure the stand to the ground. This is particularly useful if you plan to use the diy bike stand outdoors.
Testing Your Bike Stand
With the bike stand assembled, it’s time to test it out! Place the stand on the ground and roll a bike into the channel created by the 22-inch pieces. The bike should stand upright securely.
 Testing the easy DIY bike stand with a bicycle
Reclaim Your Space and Enjoy Organized Bikes
Once you’ve built your diy bike stands, place them in your desired storage location. Whether it’s under the deck, in the garage, or in a shed, you’ll immediately notice the difference. Bikes will be neatly organized, easier to access, and no longer toppling over.
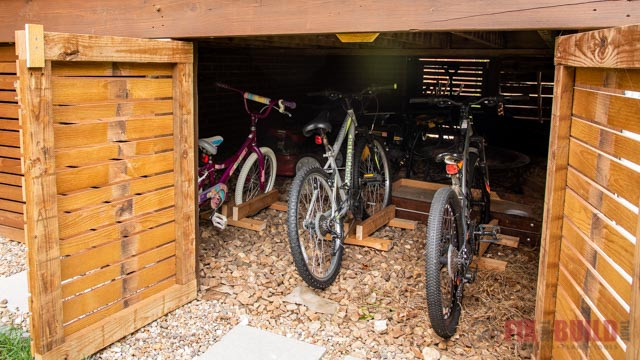 DIY bike stand in use under a deck for organized bike storage
This simple diy bike stand project is a game-changer for bike storage. It’s a quick, affordable, and effective way to solve bike clutter and encourage more bike riding in your family. Get started today and enjoy the peace of mind that comes with an organized bike storage solution!