
Setting the Height Of Bike Saddle correctly is arguably the most crucial element in achieving comfort, maximizing pedaling efficiency, boosting performance, and preventing injuries while cycling. Whether you’re a seasoned cyclist or just starting out, the right saddle height allows you to ride longer, push harder, and enjoy every mile without discomfort.
Beyond selecting the best bike saddle for your individual anatomy, determining your optimum saddle height is the cornerstone of any effective bike setup. This holds true whether you are consulting with a professional bike fitter or undertaking a DIY bike fit in the comfort of your home.
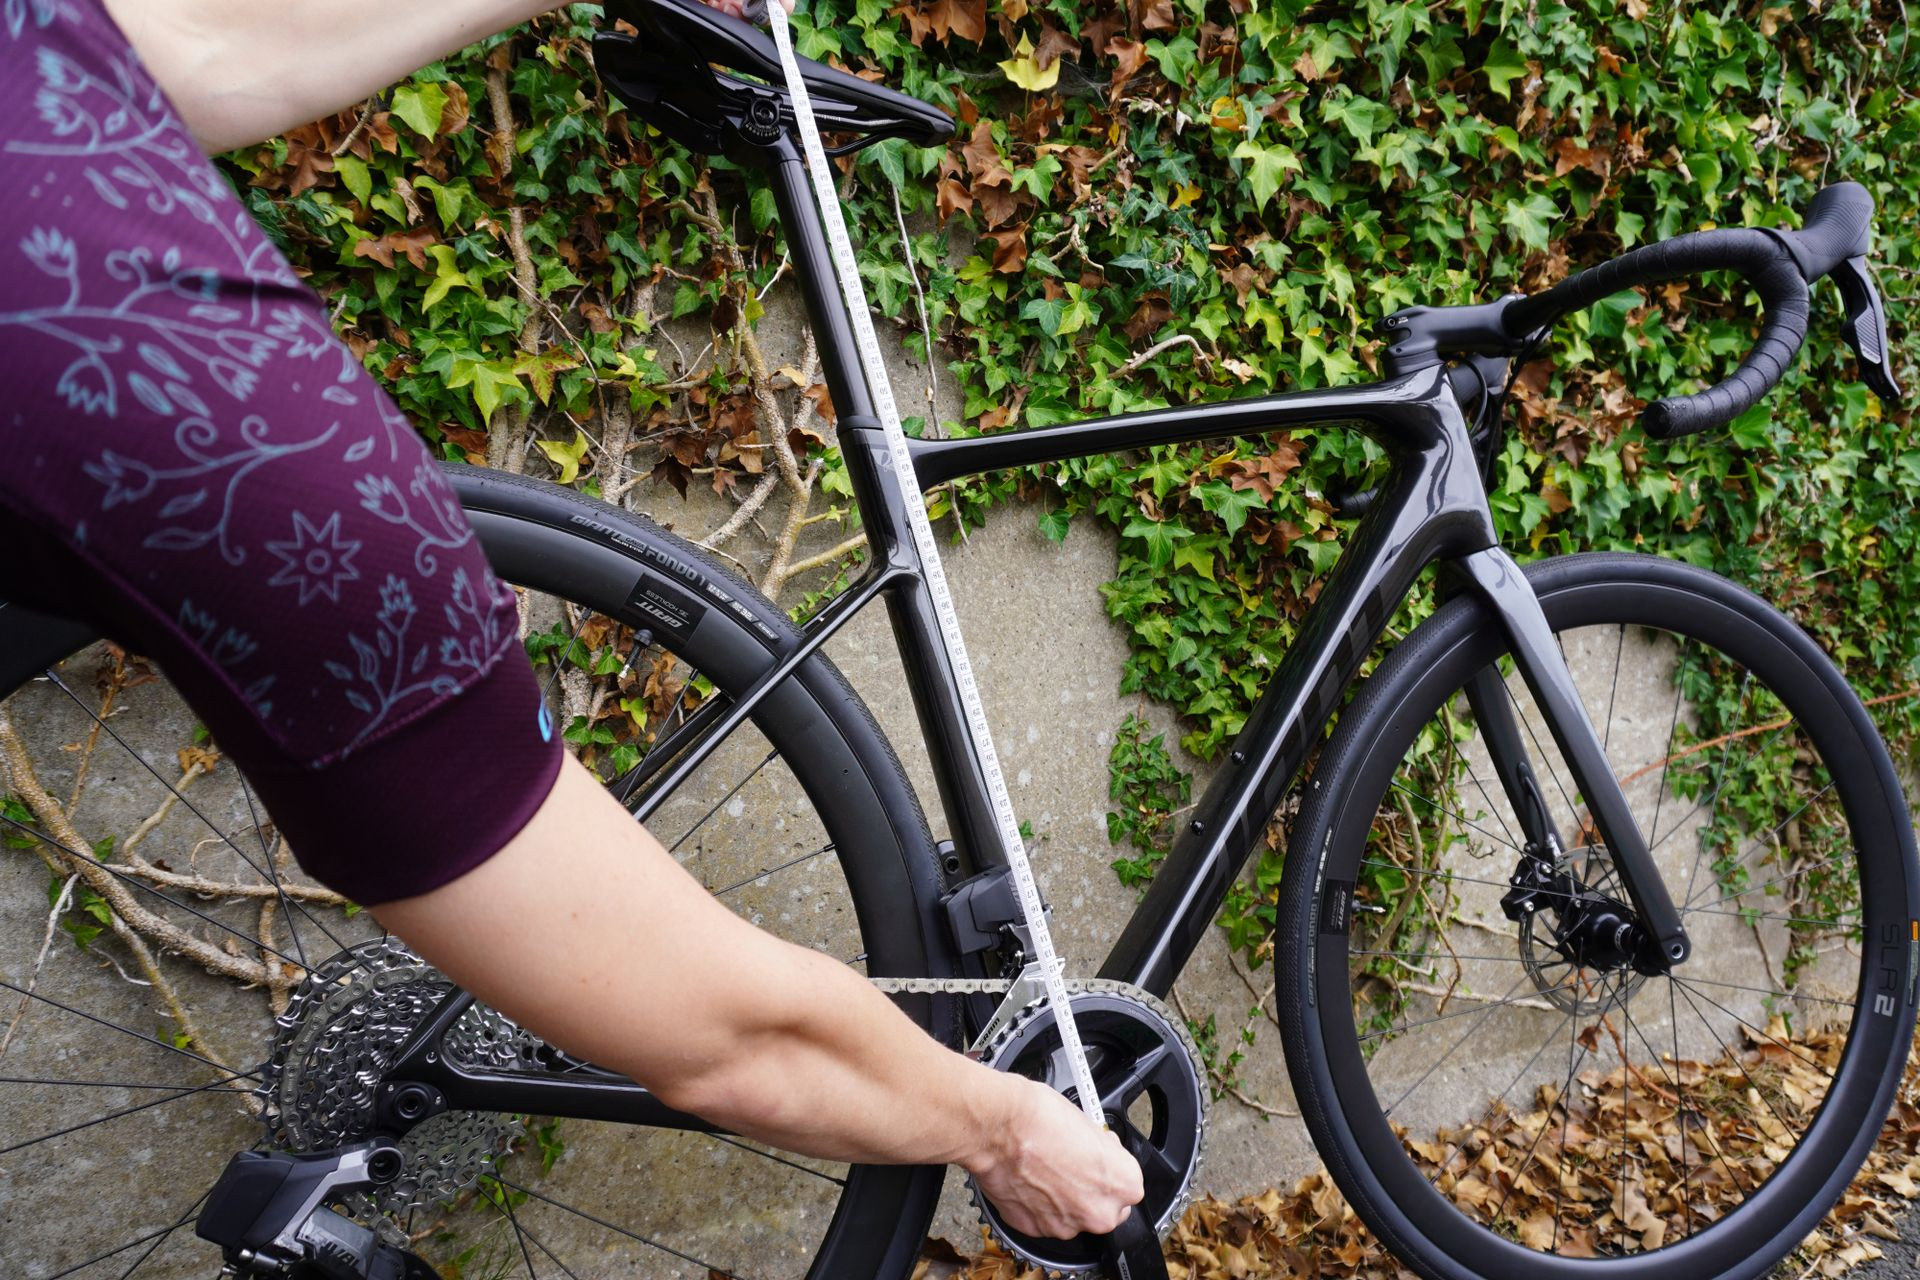
The saddle height is typically measured as the vertical distance from the pedal surface at its lowest point to the top of the saddle, with the crank arm aligned with the seat tube. Another common measurement is taken from the center of the bottom bracket to the top of the saddle, although this method doesn’t account for variations in crank arm length.
Simple Methods to Determine Your Bike Saddle Height
Several basic methods and calculations can serve as a starting point for setting your bike saddle height. Many of these approaches rely on the correlation between saddle height and your lower limb length (inseam) or aim for a specific range of knee joint flexion.
However, it’s important to recognize that these methods are generalized and may not fully accommodate individual differences in flexibility, pedaling style, or body proportions. Formulas are based on averages, so their accuracy can vary significantly from person to person.
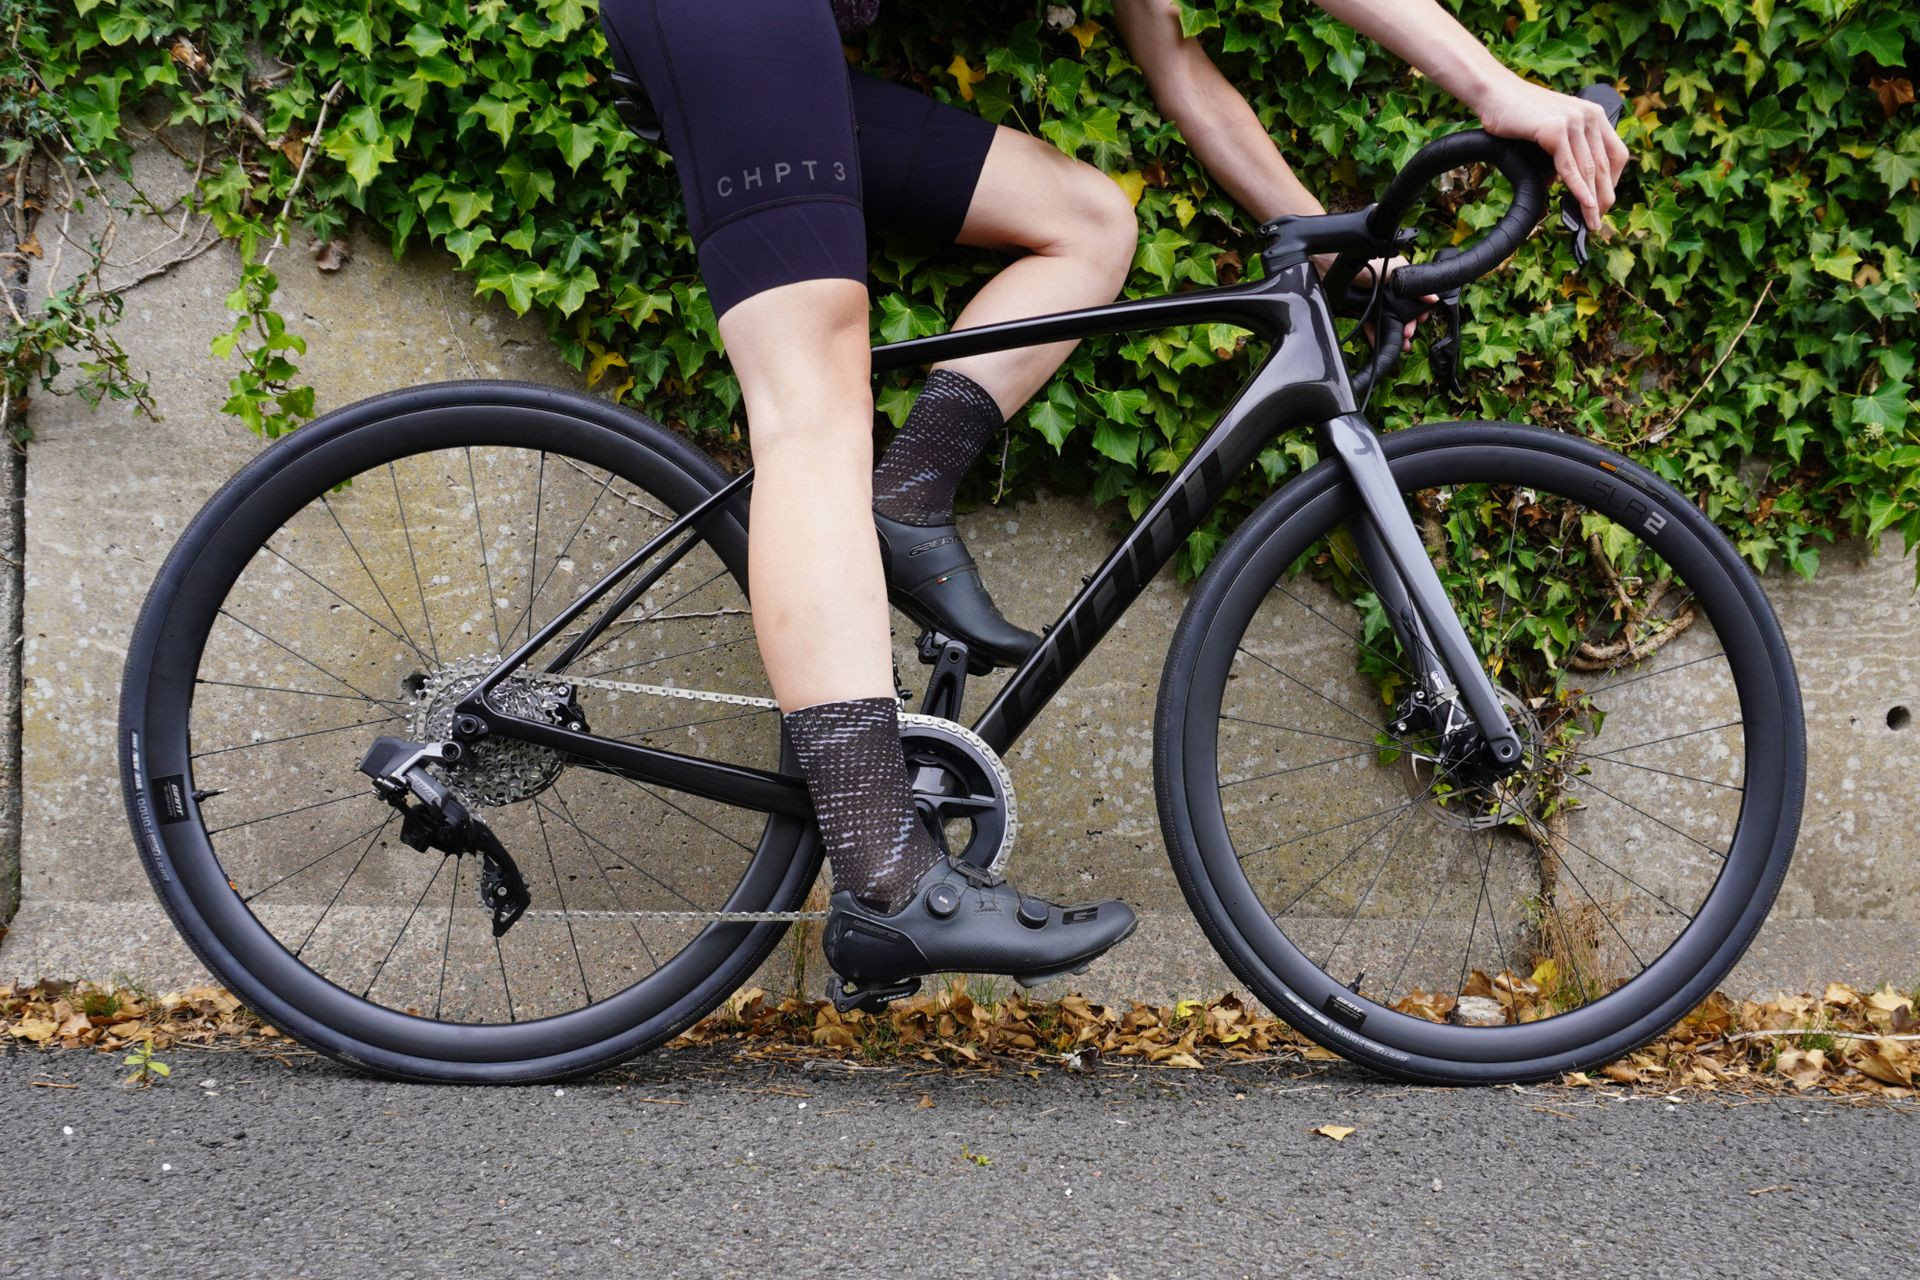
1. The Heel Method (or Heel-to-Toe Method)
 Female cyclist using the heel method to adjust her bike saddle height
The heel method is a straightforward, equipment-free technique for a quick saddle height approximation. It’s particularly useful for initial setups or in situations where precision isn’t critical, such as using a gym exercise bike.
How to use the heel method:
- Position one crank arm in line with the seat post, placing the pedal at its lowest point.
- Sit on your bike saddle and place your heel on the pedal.
- Extend your leg fully, aiming to straighten your knee completely (knee locked out).
- Pedal backward. Your heel should maintain contact with the pedal throughout the pedal stroke without you needing to tilt your pelvis.
- Once this position is achieved, place your foot on the pedal as you normally would for cycling, with the ball of your foot positioned over the pedal axle.
2. The LeMond Method
 Female cyclist using the LeMond method to adjust her bike saddle height
The LeMond method uses a simple calculation based on your inseam measurement to determine saddle height. The measurement is taken from the center of the bottom bracket to the top of the saddle. It’s important to note that this method does not consider crank length.
How to use the LeMond method:
- Measure your inseam: Stand against a wall, shoeless, with feet shoulder-width apart. Place a book (or a similar flat object) firmly between your legs, pressing upwards against your pubic bone as if you were sitting on a saddle. Mark the point on the wall at the top edge of the book. Measure the vertical distance from this mark to the floor. This is your inseam measurement.
- Calculate saddle height: Multiply your inseam measurement (in centimeters or inches) by 0.883. The resulting number is your approximate saddle height, measured from the center of the bottom bracket to the top of the saddle.
3. The Hamley Method
Similar to the LeMond method, the Hamley method also uses your inseam to calculate saddle height. However, the resulting measurement is from the pedal surface to the top of the saddle, thus incorporating crank length.
How to use the Hamley method:
- Use the same inseam measurement obtained for the LeMond method.
- Calculate saddle height: Multiply your inseam measurement by 1.09. The result is your approximate saddle height, measured from the pedal surface to the top of the saddle.
4. The Holmes Method (Knee Angle Method)
The Holmes method focuses on achieving a specific knee angle at the bottom of the pedal stroke. It suggests that an ideal static knee angle should be between 25 and 35 degrees.
How to use the Holmes method:
- Mount your bike on a turbo trainer.
- Pedal until you feel comfortable in your saddle.
- Stop pedaling with one crank arm at the bottom of the pedal stroke.
- Have an assistant use a goniometer (an angle measuring tool) to measure the angle of your knee. The landmarks for measurement are:
- Lateral femoral condyle (outermost point of the thigh bone at the knee)
- Lateral malleolus (outer ankle bone)
- Greater trochanter (bony protrusion at the top of the femur, near the hip)
Research suggests that the Holmes method may help prevent common cycling overuse injuries and improve performance. Studies have indicated that a 25-degree knee angle is associated with increased anaerobic power, while both 25 and 35-degree angles show improved aerobic efficiency compared to angles outside this range.
The Accuracy of These Saddle Height Methods: Limitations to Consider
 Female cyclist adjusting the height of her bike saddle
Numerous studies have shown that static methods based on simple body measurements (like 88.3% or 109% of inseam) do not consistently guarantee an optimal knee angle during actual pedaling. A study by Peverler et al. (2007) found that using 109% of inseam as a guide is unreliable and often results in knee angles outside the recommended 25 to 35-degree range more than half the time.
Personal analysis of saddle heights determined through comprehensive bike fits in clinics, compared to these formulaic methods, reveals similar discrepancies.
One major reason for these differences is that these methods fail to account for individual variations in the lengths of the femur (thigh bone), tibia (shin bone), and foot. Inseam measurement alone cannot capture these individual leg segment proportions, leading to wide variations in achieved knee angles.
Another factor might be the age of many studies used to develop inseam-based saddle height predictions. Many were conducted in the 1990s, when toe clips were prevalent, rather than modern clipless pedals.
Among these methods, knee angle-based methods like Holmes are generally preferred over simple formulas. However, even knee angle methods are not without potential errors.
Accurate identification and marking of anatomical landmarks for knee angle measurement can be challenging, especially for those without training. Furthermore, knee angle measurement is influenced by ankle angle, so maintaining a consistent ankle position between static measurement and dynamic pedaling is crucial. There’s also variation in when knee angle is measured – some use bottom dead center (crank at 90 degrees), while others use the point of maximum knee extension (crank in line with the seat post).
Research indicates that knee angle measurements differ between static and dynamic (while pedaling) evaluations. A study suggests a static knee flexion angle of 25 to 35 degrees may correspond to a 30 to 40-degree angle during dynamic pedaling. Dynamic measurements often require video analysis or motion capture equipment for accuracy. A literature review further suggests that optimal dynamic knee angle varies with cycling intensity, with a range of 33 to 43 degrees at bottom dead center (BDC) at low intensity and 30 to 40 degrees at BDC at high intensity.
Other Factors That Influence Optimal Saddle Height
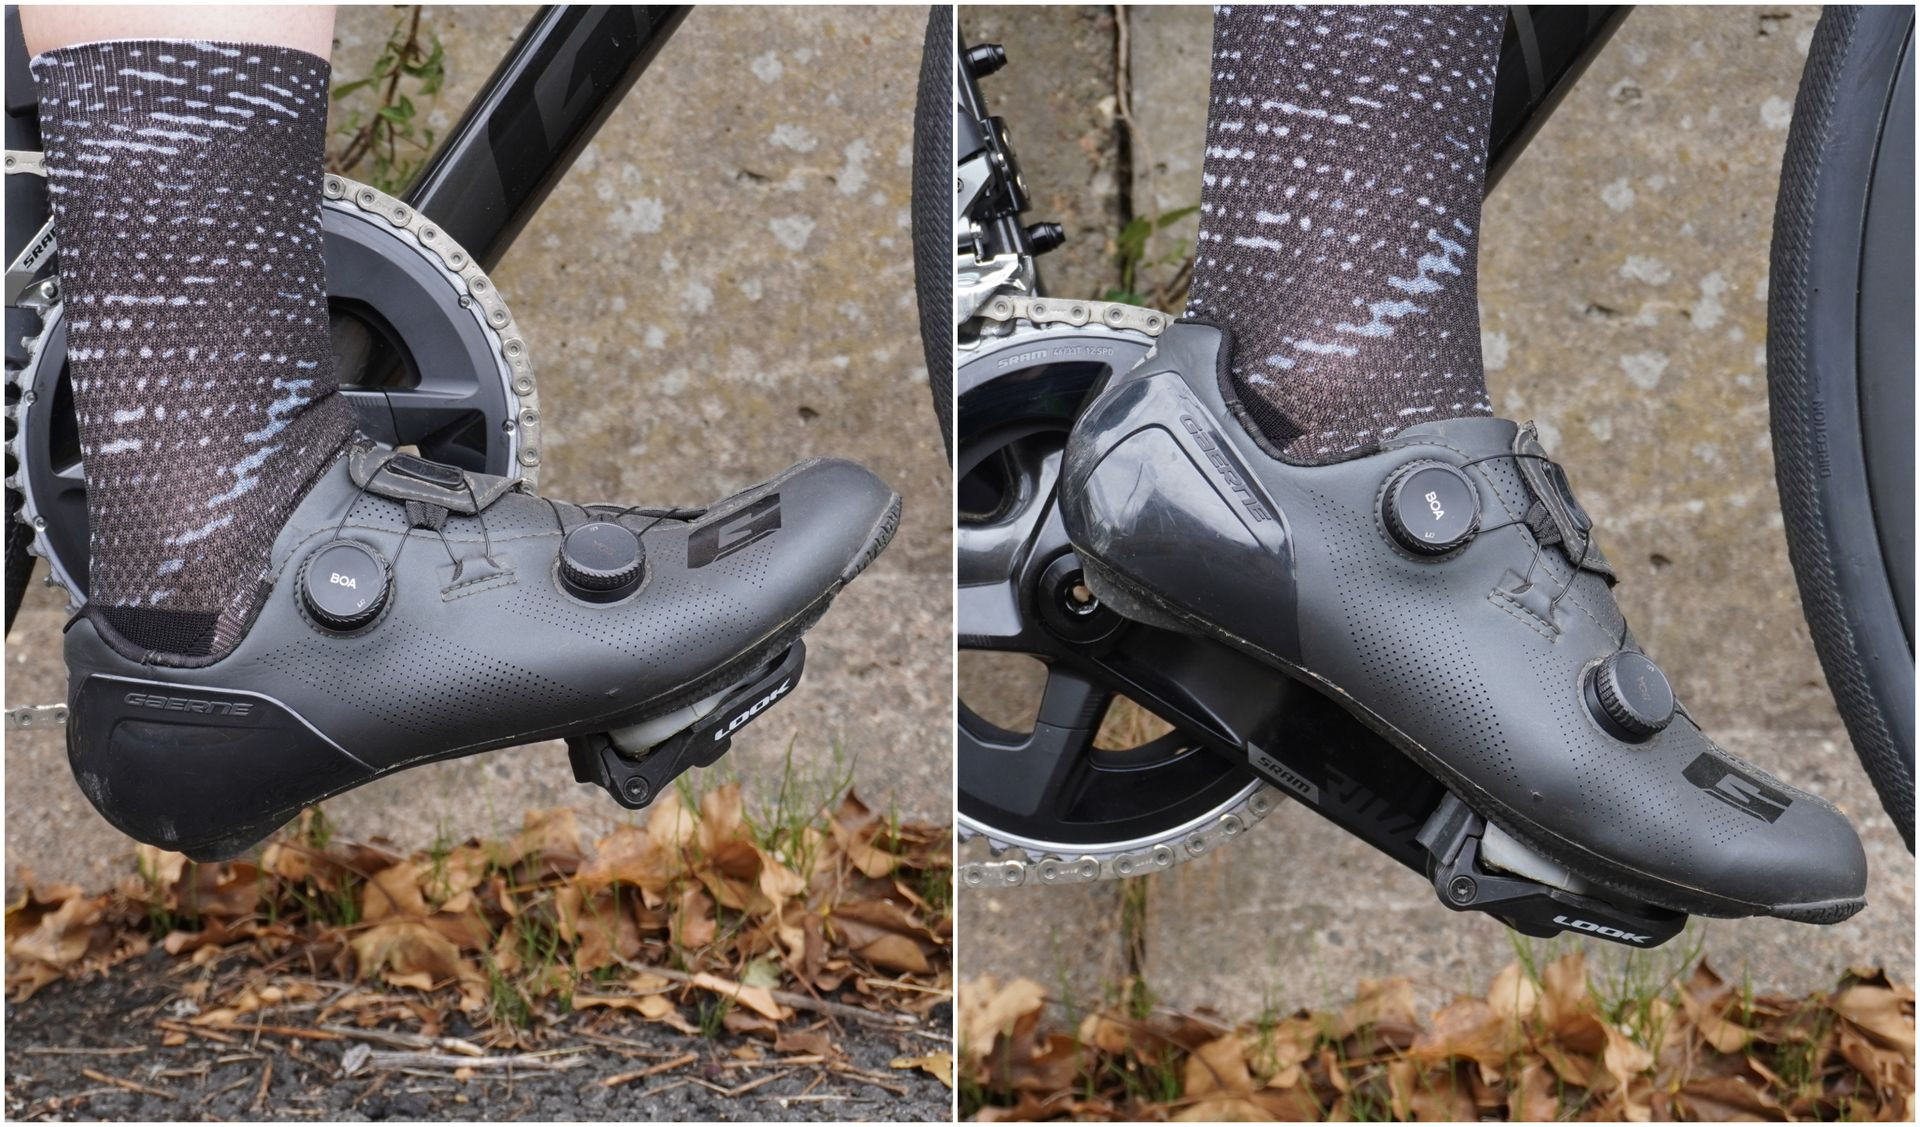 Different ankle positions
Beyond simple measurements, several other factors can significantly influence your ideal saddle height:
- Ankle Position: Your pedaling ankle position affects the effective leg extension at the bottom of the pedal stroke. Cyclists with a toe-down pedaling style tend to have less knee extension at BDC, which might indicate a slightly lower saddle height is appropriate. Conversely, a toe-down style could also be a compensation for a saddle that’s too high.
- Pedaling Style and Effort: Some cyclists alter their pedaling style under high load or during intense efforts. Dropping the heel to engage calf muscles for power production is a common technique that effectively raises the saddle height during those moments.
- Hamstring Flexibility: Limited hamstring flexibility can lead to greater knee flexion during pedaling, potentially requiring a slightly lower saddle position to maintain comfort and efficient muscle recruitment.
- Saddle Position (Fore/Aft): Your position on the saddle itself affects your effective saddle height. Sitting further forward on the saddle effectively lowers your riding position, while sitting further back raises it.
- Equipment Variations: Differences in stack height between cycling shoes and pedals, and even variations in the thickness of the chamois in different best bib shorts can impact your required saddle height. Adjustments may be necessary when changing any of these equipment components.
Signs Your Bike Saddle Height Might Be Incorrect
A correctly set bike saddle height should result in several positive indicators:
- Stable Pelvis: Your pelvis should remain stable with your sit bones well-supported on the saddle. Excessive side-to-side tilting of the pelvis can indicate a saddle that is too high.
- Stable Foot: Your foot should remain stable throughout the pedal stroke without excessive toe-down or heel-down movement.
- Smooth Pedal Stroke: The pedal stroke should feel smooth and continuous, without any “dead spots” or a sensation of losing contact with the pedal at the bottom. A dead spot may suggest the saddle is too high.
- Minimal Saddle Movement: You shouldn’t need to constantly shift forward or backward on the saddle to achieve comfortable knee extension.
- Balanced Muscle Recruitment: You should feel a balanced engagement of different muscle groups, without any muscle group feeling excessively strained or dominant (e.g., not quadriceps-dominant).
- Minimal Discomfort: You should experience minimal discomfort, particularly in the knees (front, back, or sides).
The repetitive nature of cycling makes correct saddle height crucial for injury prevention. Incorrect saddle height is a common cause of cycling-related issues, including knee pain, saddle discomfort (pressure, numbness, sores), hip pain/impingement, hamstring tendinopathy, back pain, Achilles tendon issues, neck pain, and hand and wrist pain/numbness. However, you don’t need to be experiencing pain to have a saddle height that isn’t optimal for your best performance and comfort.
Achieving Your Optimal Bike Saddle Height
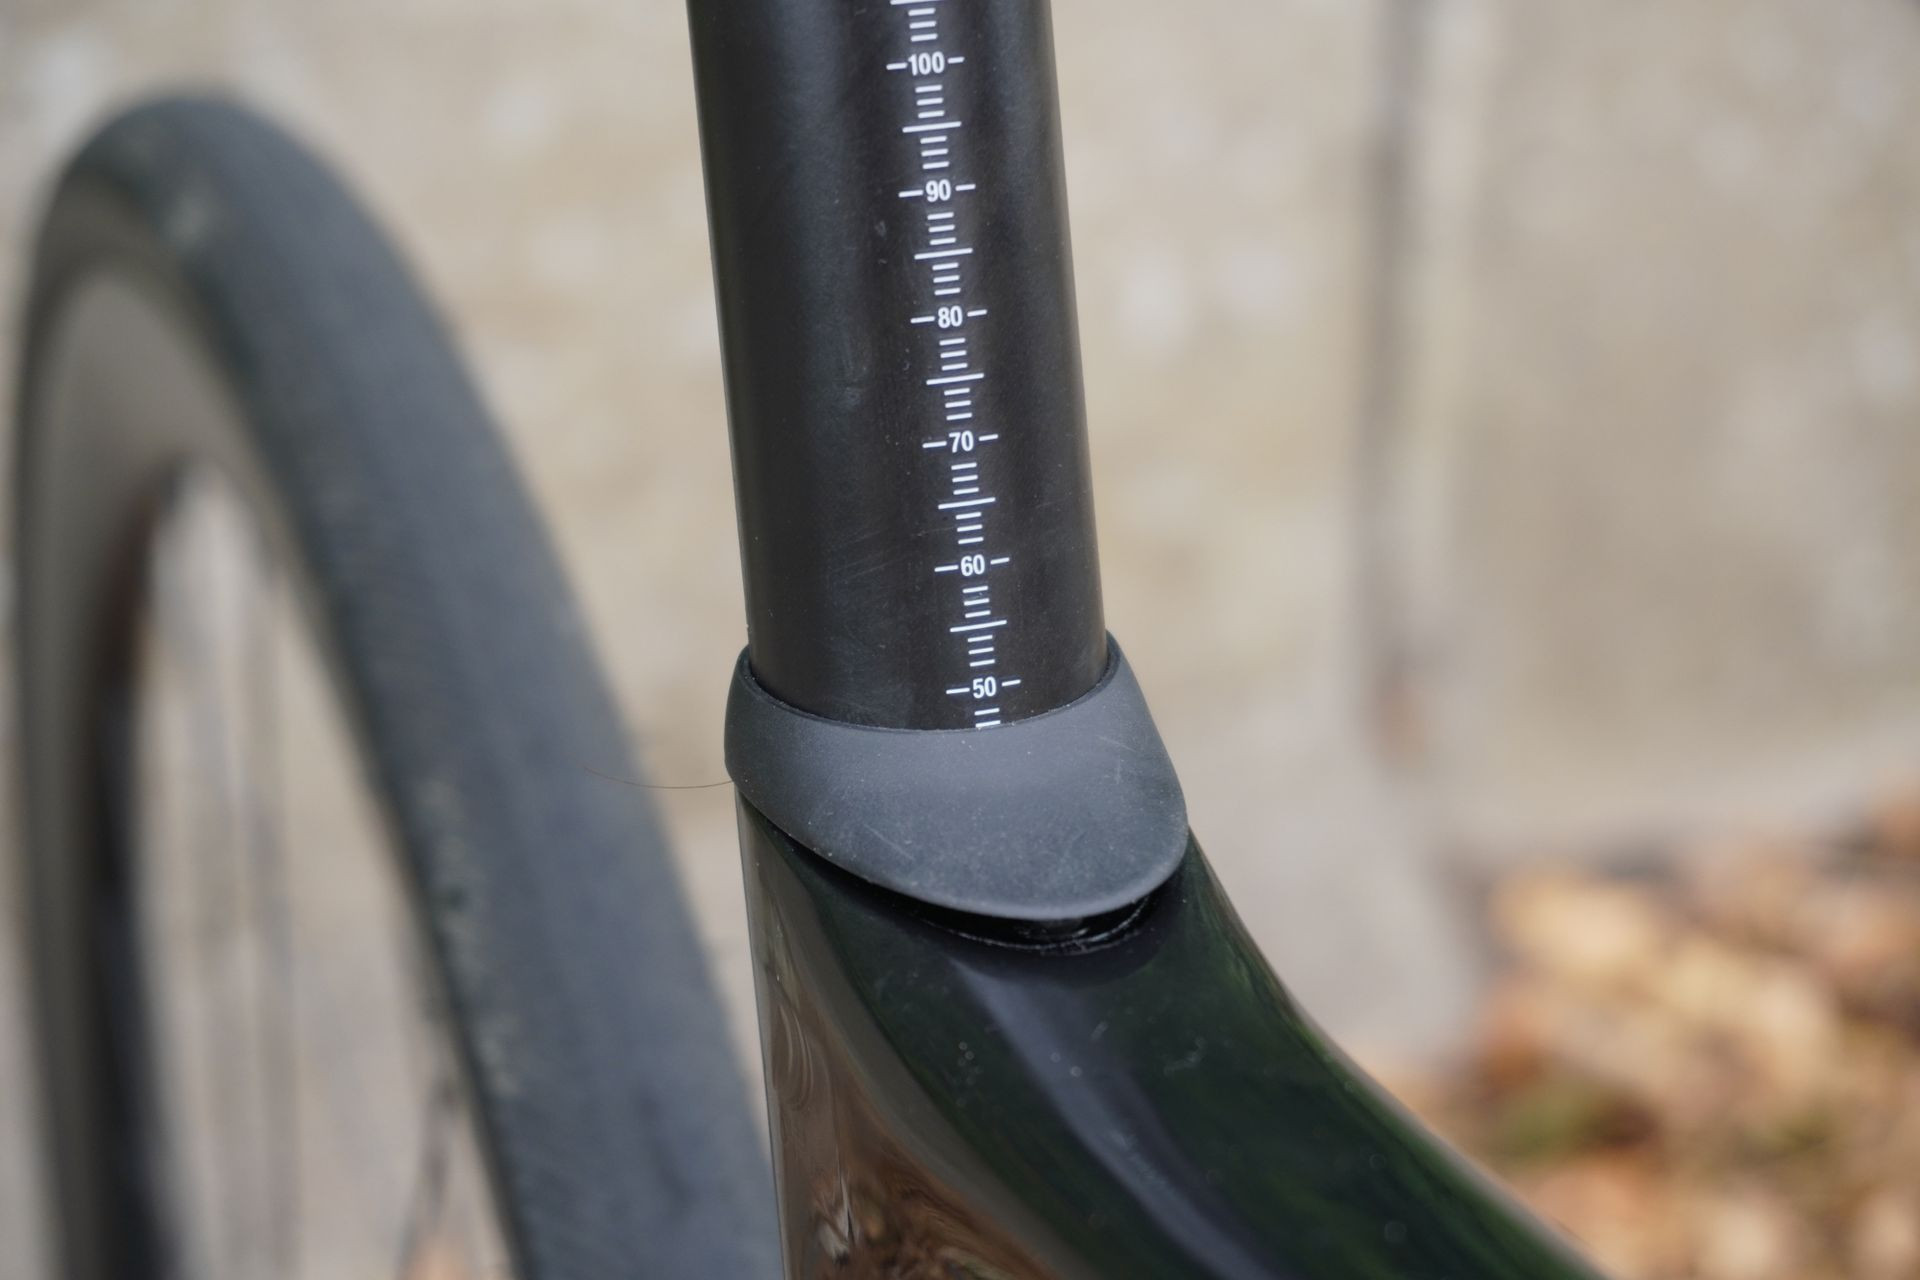 Seatpost on a bike
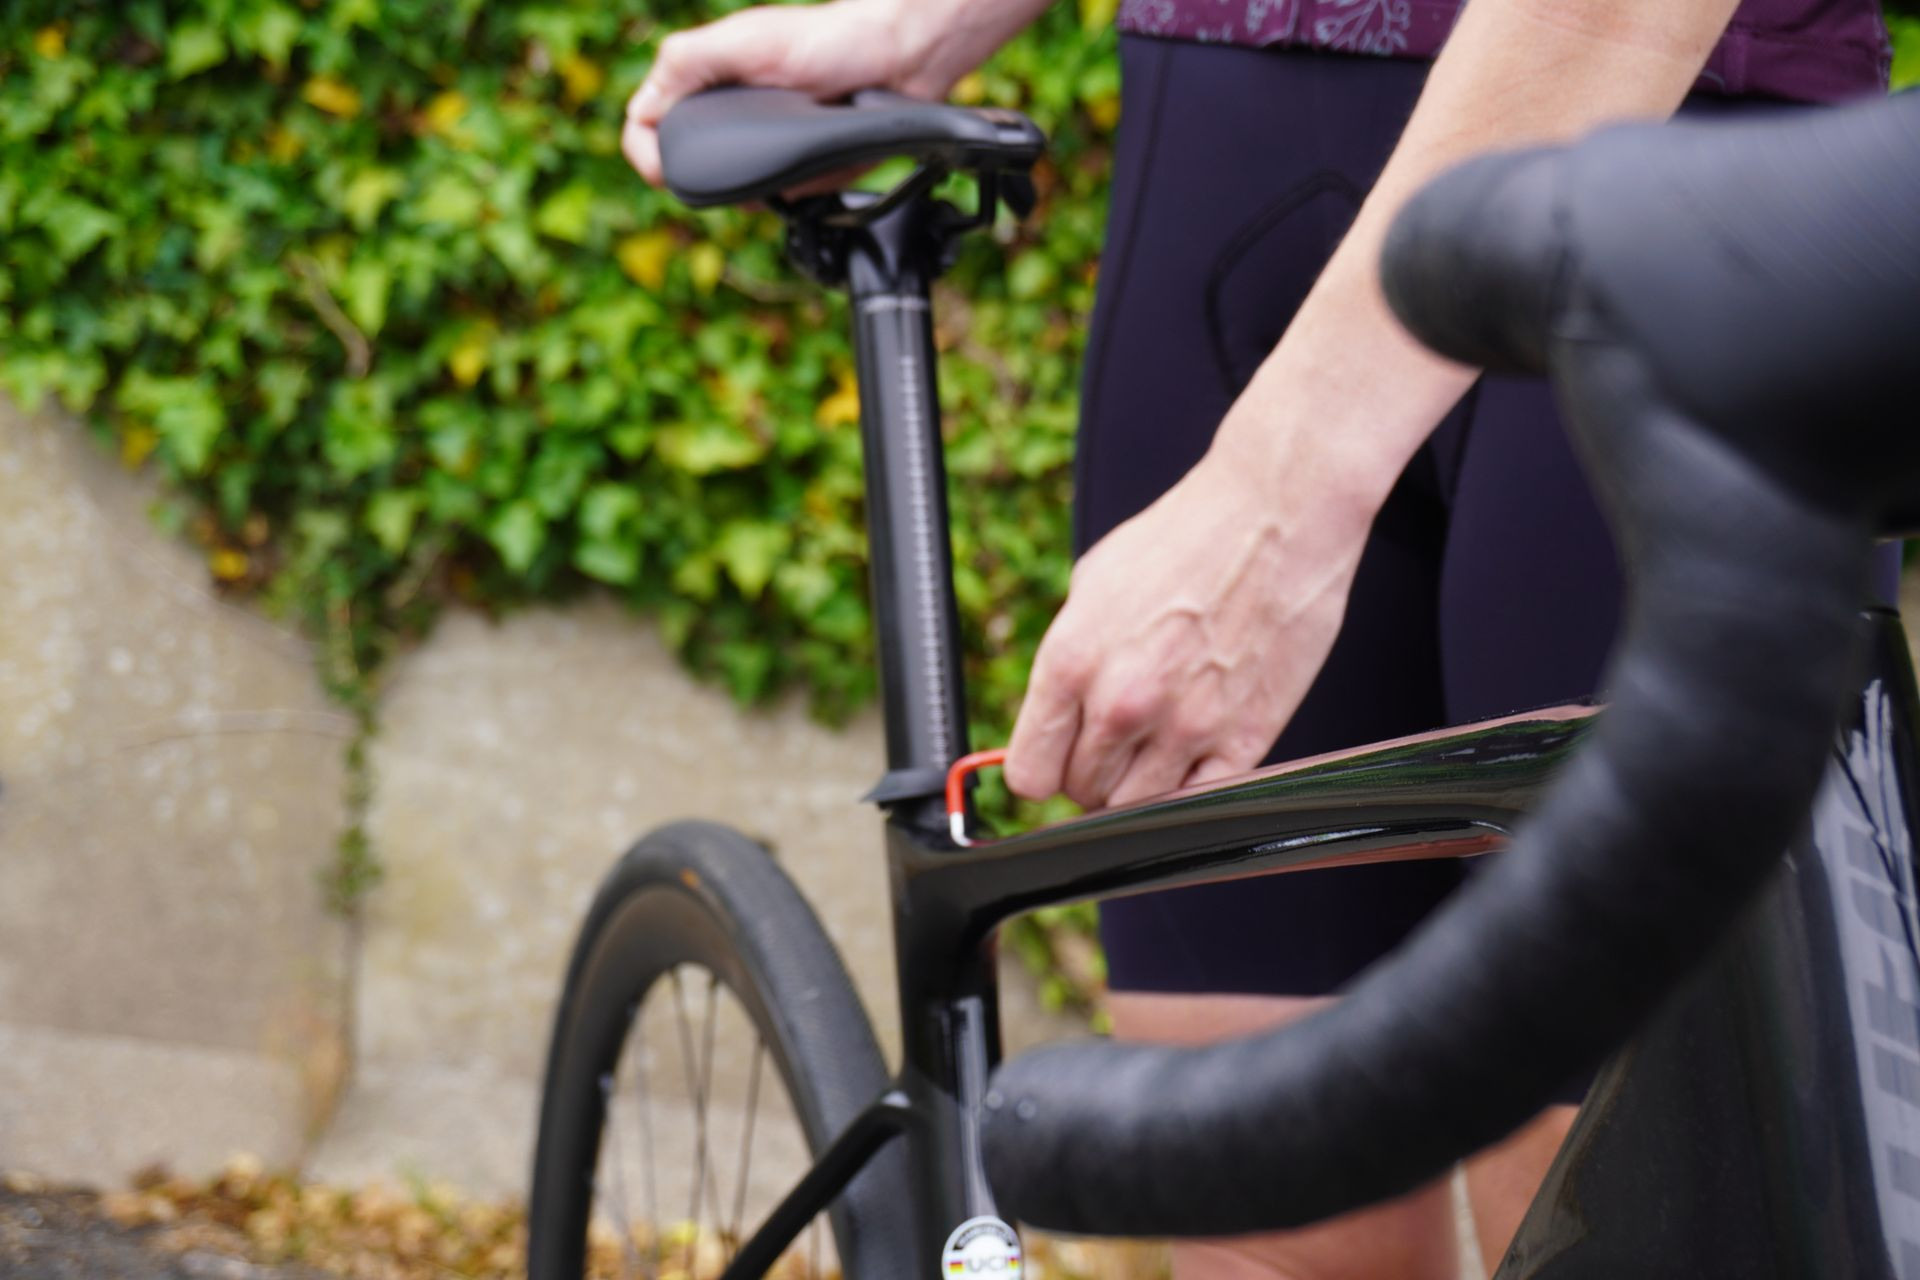
The methods described above provide useful starting points for setting your saddle height. However, fine-tuning to achieve your truly optimal height often requires a process of small adjustments (2mm increments are recommended) based on your body’s feedback and your own awareness of how you feel while riding.
If, after careful trial and error, your saddle height or overall bike position still doesn’t feel quite right, seeking the expertise of a professional bike fitter is highly recommended.
Remember that saddle height is only one aspect of saddle position. Fore/aft saddle position, saddle tilt, and saddle characteristics (width, shape, firmness, cutout, etc.) also significantly impact comfort and pedaling efficiency. Adjusting any of these saddle position parameters might necessitate a slight adjustment to your saddle height. Similarly, changes to cleat position can also influence your optimal saddle height. For example, raising the saddle by 10mm will also shift it approximately 3mm backward due to the seat post angle.
A skilled bike fitter utilizes their in-depth knowledge and trained observational skills to assess your pedaling technique, smoothness, stability, and any compensatory movements. They will also gather feedback from you about how the position feels.
Bike fitters may observe or measure joint angles and use information from a physical assessment to precisely determine the optimal saddle height and overall saddle position tailored to your individual needs and riding style.
Saddle position is the very foundation of a good bike fit. Establishing a proper saddle position is essential before effectively addressing handlebar stack and reach, ensuring a balanced and efficient cycling posture.