
Setting the Height Of Seat On Bike, also known as saddle height, is arguably the most crucial adjustment you can make to ensure your bicycle fits you correctly. This adjustment is fundamental for comfort, pedaling efficiency, and preventing injuries. Whether you’re riding a road bike, mountain bike, hybrid, or gravel bike, the principles of setting the correct saddle height remain consistent.
This guide will walk you through the essential steps to determine and adjust your ideal bike seat height. We’ll cover measuring your current setup, using practical methods to find the right height, and understanding how saddle height impacts your overall cycling experience. Getting this right is the first step towards enjoyable and pain-free rides.
Understanding Your Current Bike Saddle Setup
Before making any adjustments, it’s wise to document your current saddle position. This baseline measurement is invaluable, especially if you experiment and find that your changes aren’t working. Having your initial settings recorded allows you to easily revert to a known starting point.
Besides the height of your bike seat, two other key saddle adjustments play a crucial role in your bike fit: saddle fore/aft position (setback) and saddle tilt. Let’s learn how to measure each of these to understand your current configuration.
1. Measuring Your Initial Saddle Height
To accurately measure your current saddle height, you’ll need a tape measure and to identify the middle point of your saddle. Saddle height is conventionally measured from the center of the top of your saddle to the center of the bottom bracket.
-
Step 1: Mark the Saddle Midpoint: Measure the length of your saddle from the very front to the very back. Find the midpoint of this measurement and mark it on the top surface of your saddle. This ensures consistent measurement each time.
-
Step 2: Measure to the Bottom Bracket: Using your tape measure, start at the midpoint you marked on your saddle and extend it in a straight line down to the center of your bike’s bottom bracket.
-
Step 3: Record the Measurement: Note down this measurement to the nearest millimeter. For instance, you might record 764mm. This is your baseline saddle height.
2. Determining Your Saddle Fore/Aft Position (Setback)
Saddle fore/aft, or setback, refers to the horizontal position of your saddle relative to the bottom bracket. This adjustment influences your weight distribution and knee alignment over the pedals.
-
Step 1: Prepare Your Bike: Position your bike against a wall. Ensure the bike is upright (vertically perpendicular to the floor) and straight against the wall (horizontally perpendicular). You can do this with the bike on a stationary trainer or with the rear wheel still in place.
-
Step 2: Measure to the Bottom Bracket (Measurement One): Measure the horizontal distance from the wall to the center of the bottom bracket. Record this as measurement one.
-
Step 3: Measure to the Saddle Tip (Measurement Two): Measure the horizontal distance from the wall to the tip of your saddle. Record this as measurement two.
-
Step 4: Calculate Setback: To find your saddle setback, subtract measurement one from measurement two. The result is the horizontal distance your saddle is set back from the bottom bracket.
3. Assessing Your Saddle Tilt
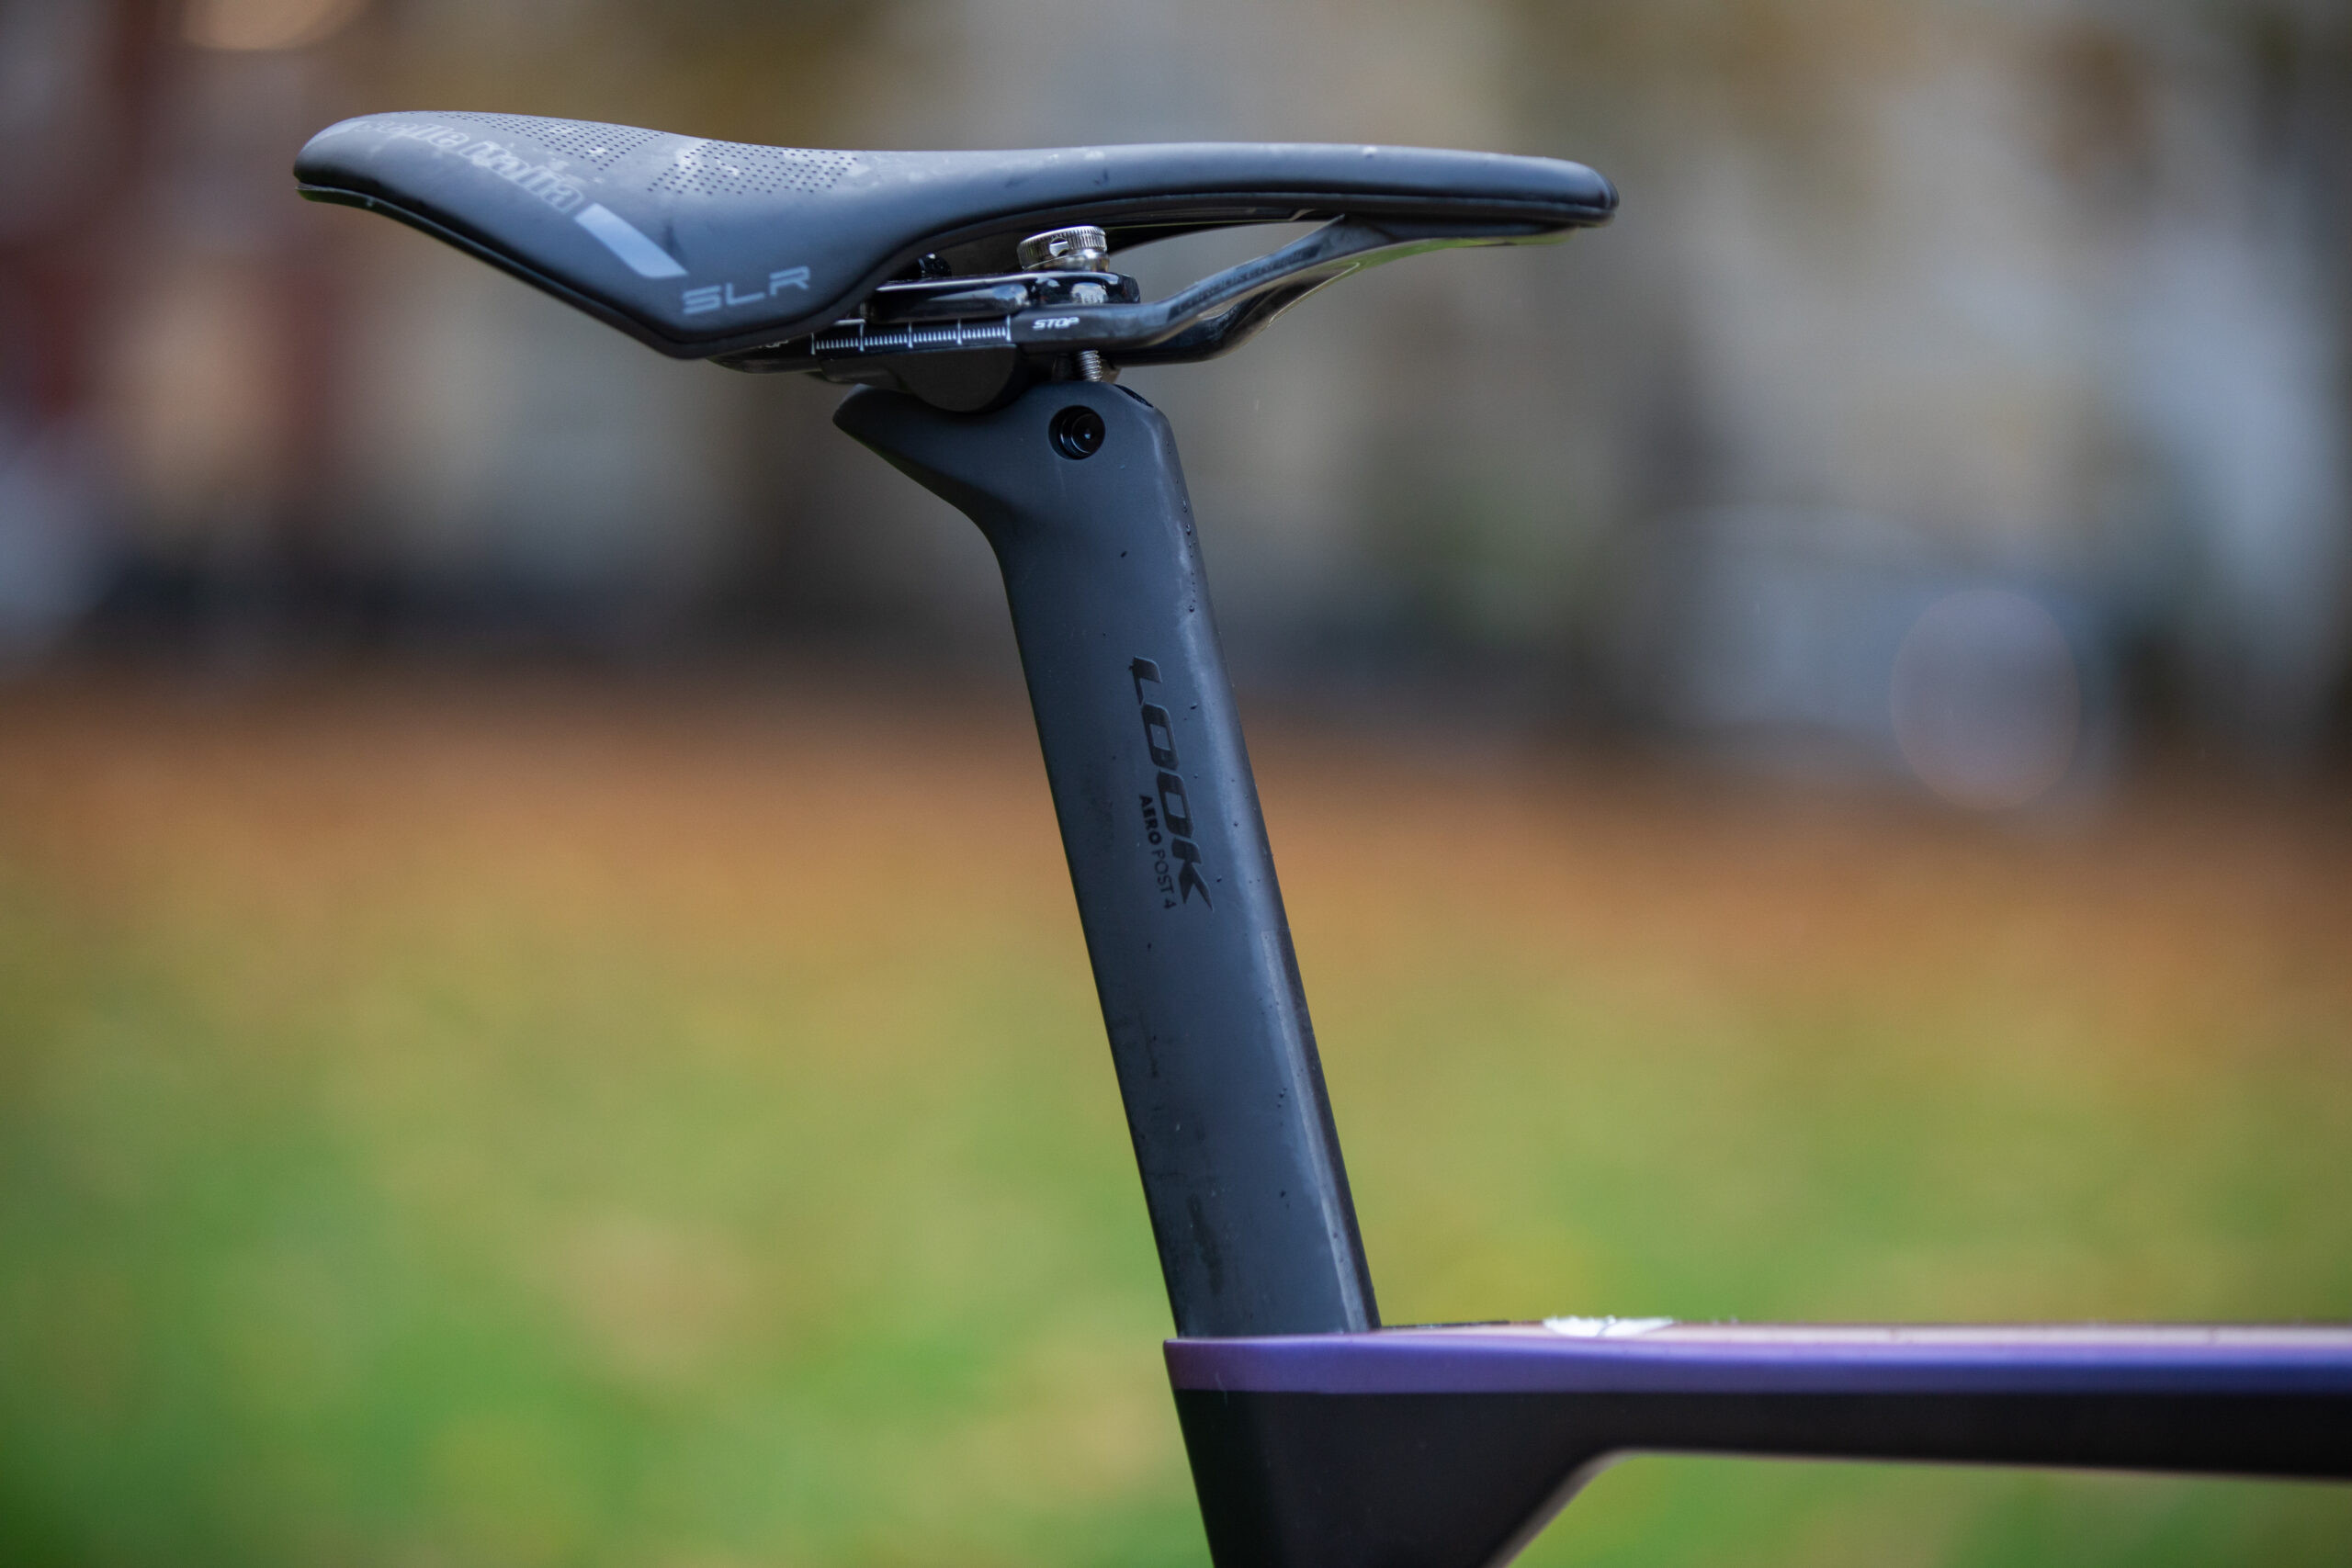 Look 795 Blade RS seatpost and Selle Italia saddle
Saddle tilt, or angle, affects pressure distribution and comfort. Many saddles have curved surfaces, so measuring the overall angle is more effective than trying to measure at specific points.
-
Step 1: Level Your Bike: Ensure your bicycle is on a level surface. This is crucial for accurate tilt measurement.
-
Step 2: Use a Straight Edge and Inclinometer: Place a flat piece of board or a straight edge across the saddle. Use a smartphone app with an inclinometer or a dedicated inclinometer to measure the angle of the board resting on your saddle.
-
Step 3: Record the Tilt: Note the saddle tilt to the nearest tenth of a degree. This is your baseline saddle tilt.
Methods to Find Your Perfect Bike Seat Height
With your current measurements recorded, it’s time to explore methods to find your optimal saddle height. Here are three popular techniques, ranging from quick estimations to more refined approaches.
1. The Heel Method: A Quick Starting Point
The heel method is a simple and fast way to get a reasonable initial saddle height setting. It’s best performed with your bike either in a doorway or on a stationary trainer.
-
Step 1: Mount Your Bike and Position Your Heel: Sit on your bike and place your heel on the pedal at the bottom of the pedal stroke (six o’clock position). Make sure you are wearing your cycling shoes, or the type of shoes you usually ride in.
-
Step 2: Pedal Backwards Slowly: Pedal backwards slowly, focusing on your knee extension at the bottom of the pedal stroke.
-
Step 3: Observe Knee Extension: Ideally, with your heel on the pedal, your leg should be nearly fully extended, with just a slight bend at the knee.
-
Step 4: Adjust for Proper Foot Position: When you move your foot to your normal pedaling position (ball of your foot on the pedal), this slight knee bend with your heel on the pedal should translate to the correct knee bend for efficient pedaling.
-
Step 5: Fine-tune Based on Hip Rocking: If you find you have to rock your hips side-to-side to reach the bottom of the pedal stroke when pedaling normally, your saddle is likely too high. Lower it in small increments (1-2 cm at a time) until the hip rocking stops. Conversely, if you feel your legs are too bent at the bottom of the stroke, raise the saddle slightly until you achieve a comfortable and efficient leg extension.
2. Using a Smartphone Camera for Dynamic Assessment
 Charlie Allenby riding on a turbo trainer
Filming your pedal stroke can provide valuable visual feedback on your saddle height. This method requires assistance from someone to record you while you pedal, ideally on a turbo trainer for stability.
-
Step 1: Set up Recording: Have someone film you from the side as you pedal. Use a turbo trainer or lean against a wall for support if needed.
-
Step 2: Pedal Naturally: Pedal as you normally would. If you use clipless pedals, clip in. If you prefer flat pedals, position your foot with approximately one-third in front of the pedal axle and two-thirds behind.
-
Step 3: Analyze Knee Angle at Bottom of Stroke: Review the video, focusing on the angle of your knee when the pedal is at its lowest point (around the five or six o’clock position).
-
Step 4: Aim for 25-35 Degree Knee Bend: The generally accepted range for knee bend at the bottom of the pedal stroke is between 25 and 35 degrees.
-
Step 5: Adjust Based on Knee Angle and Comfort:
-
Knee Angle Less Than 25 Degrees (Too Straight): Your saddle is likely too low. You might experience knee pain at the front of your knee or feel like you’re overworking your quadriceps. Raise the saddle slightly.
-
Knee Angle Greater Than 35 Degrees (Too Bent): Your saddle is likely too high. You might feel a dull ache in your lower back. Lower the saddle slightly.
-
Optimal Range: Adjust the saddle height in small increments and re-record until your knee angle falls within the 25-35 degree range and you feel comfortable and balanced.
-
 Setting saddle height right
3. Formula-Based Saddle Height Calculation
 Specialized Roubaix SL8 Expert
Formulas offer a mathematical approach to estimating saddle height based on your body measurements, specifically your inseam. Two common formulas are the LeMond method and the Hamley method.
-
Step 1: Measure Your Inseam: Stand with your back against a wall, feet slightly apart, and wear cycling shorts. Place a book or ruler between your legs, pressing gently upwards as if you were sitting on a saddle. Measure the distance from the top of the book to the floor. This is your inseam. Measure in millimeters for accuracy.
-
Step 2: LeMond Method: Multiply your inseam measurement (in millimeters) by 0.883. This result is the approximate distance between the top of your saddle and the center of your bottom bracket. This method doesn’t account for crank length.
-
Step 3: Hamley Method: Multiply your inseam measurement (in millimeters) by 1.09. This result is the approximate distance between the top of your saddle and the pedal axle when it’s at the six o’clock position. This method indirectly considers crank length.
-
Step 4: Apply Formula Result and Fine-tune: Use the saddle height calculated by either formula as a starting point. Fine-tune based on your comfort and the other methods described above. Formulas provide a good initial setting, but individual body proportions and riding styles may require further adjustments.
Achieving the Right Saddle Tilt for Comfort
Saddle tilt is crucial for supporting your sit bones (ischial tuberosities) correctly. Proper tilt ensures that your weight is distributed comfortably and efficiently.
-
Understanding Sit Bone Support: When seated, you should feel pressure on your sit bones. If you don’t, it might be due to incorrect saddle tilt or an unsuitable saddle shape or width.
-
Saddle Shape and Width: Before adjusting tilt, ensure your saddle is appropriate for your anatomy. If you suspect your saddle itself is the issue, consider exploring guides on choosing the right saddle.
-
Adjusting Tilt for Sit Bone Pressure:
-
Front of Saddle Too High: If the front of the saddle is tilted too high, it can prevent your sit bones from making proper contact, leading to discomfort. Lower the front of the saddle slightly.
-
Front of Saddle Too Low: If the saddle is tilted too far down at the front, you might slide forward, placing excessive pressure on your hands and soft tissues. Raise the front of the saddle slightly.
-
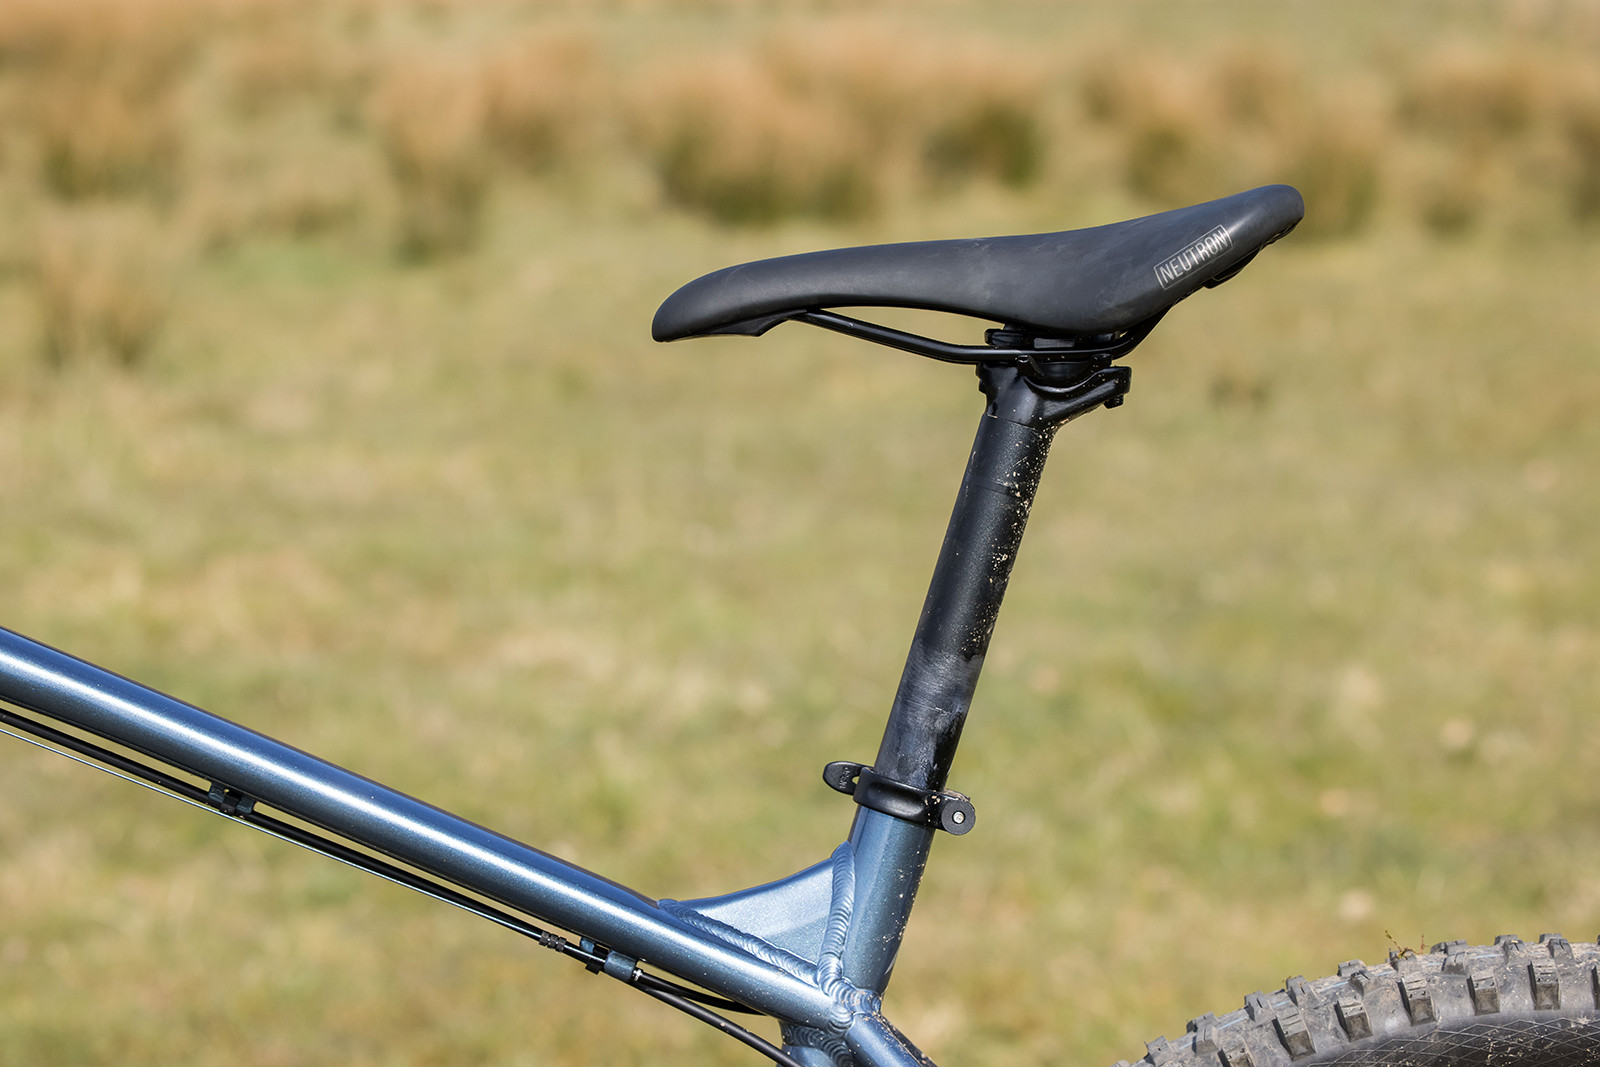 Nukeproof Neutron saddle on the Vitus Sentier 27 hardtail mountain bike
- Using an Inclinometer to Measure and Adjust: Use a straight edge and an inclinometer to measure your current saddle tilt. Make small adjustments, typically within the 0 to 6-degree range for most saddles. Test ride after each adjustment to find the tilt that best supports your sit bones and eliminates pressure points.
Knowing When Your Bike Seat Height is Correct
 Cervelo ZFS-5 XX SL AXS full suspension mountain bike
Several indicators can help you determine if your height of seat on bike is correctly set, leading to efficient and comfortable cycling.
-
Level Foot Position: Your foot should remain relatively level throughout the pedal stroke, without excessive toe-pointing or heel-dropping.
-
Stable Pelvis: Your pelvis should be stable while pedaling, with no noticeable rocking from side to side. Hip rocking often indicates the saddle is too high.
-
Consistent Saddle Position: You should maintain a consistent position on the saddle without shifting forward or backward excessively. Incorrect saddle height can cause riders to move around on the saddle to find comfort.
-
Smooth Pedal Stroke: Your pedal stroke should feel smooth and continuous, without a sensation of losing contact with the pedal at the bottom of the stroke.
-
Minimal Knee Discomfort: You should experience minimal to no knee pain. Pain at the front of the knee can suggest a saddle that’s too low, while pain at the back of the knee might indicate a saddle that’s too high.
-
Balanced Muscle Load: You should feel an even engagement of your leg muscles throughout the pedal stroke, without overworking specific muscle groups.
If you achieve these indicators and still experience discomfort or inefficiency, consider evaluating your handlebar height or cleat position, as these also significantly impact bike fit and comfort. Adjusting your height of seat on bike is a critical first step towards a better cycling experience, but it’s part of a holistic approach to bike fitting.