
Are you ready to ensure your motorcycle is always running at its best? At usabikers.net, we understand the importance of keeping your bike in top condition. This comprehensive guide will walk you through essential motorcycle tune-up steps, covering everything from cleaning to detailed adjustments. Regular maintenance will not only improve your riding experience but also extend the life of your bike.
1. Why Is Tuning Up Your Bike Important?
Tuning up your bike is essential for several reasons. It improves performance, ensures safety, and extends the life of your motorcycle. Regular maintenance identifies and fixes potential issues before they become major problems.
Improved Performance
A well-tuned bike delivers optimal performance. By ensuring all components are in excellent working order, you’ll experience smoother rides, better fuel efficiency, and more responsive handling. A properly tuned engine provides the right amount of power, making your rides more enjoyable and efficient.
Enhanced Safety
Safety is paramount for any motorcycle rider. Regular tune-ups include checking critical safety components such as brakes, tires, and lights. Ensuring these are in good condition minimizes the risk of accidents and keeps you safe on the road. According to the Motorcycle Safety Foundation (MSF), regular motorcycle inspections significantly reduce the likelihood of mechanical failures leading to accidents.
Extended Lifespan
Preventive maintenance can significantly extend the lifespan of your motorcycle. Regular tune-ups help prevent wear and tear, reducing the need for costly repairs down the road. Keeping your engine, drivetrain, and other components properly maintained ensures your bike remains reliable for years to come.
2. What Tools Do You Need to Tune Up Your Bike?
Having the right tools is essential for performing an effective tune-up on your motorcycle. Here’s a list of must-have tools for any biker:
| Tool | Description |
|---|---|
| Socket Set | Essential for tightening and loosening bolts and nuts of various sizes. |
| Wrench Set | Needed for specific fasteners that sockets cannot reach. |
| Screwdriver Set | Includes both flathead and Phillips head screwdrivers for different types of screws. |
| Torque Wrench | Ensures fasteners are tightened to the manufacturer’s specified torque, preventing damage. |
| Pliers | Useful for gripping, bending, and cutting wires or small parts. |
| Multimeter | Used to test electrical components and circuits. |
| Spark Plug Wrench | Specifically designed for removing and installing spark plugs. |
| Feeler Gauges | Used to measure small gaps, such as valve clearances. |
| Carburetor Synchronizer | For bikes with carburetors, this tool helps synchronize them for optimal performance. |
| Compression Tester | Measures the compression in each cylinder, indicating engine health. |
| Chain Lubricant & Cleaner | Keeps your chain clean and properly lubricated, extending its life. |
| Cleaning Supplies | Includes brushes, cloths, and solvents for cleaning various parts of your bike. |
| Motorcycle Jack or Stand | Lifts your bike for easier access to wheels, suspension, and other components. |
Having these tools on hand will make the tune-up process smoother and more efficient.
3. How to Prepare Your Bike for a Tune-Up?
Preparing your bike before starting the tune-up process is crucial for a thorough and effective job. Here’s what you need to do:
Gather Your Tools and Supplies
Ensure you have all the necessary tools and supplies within reach. Refer to the tool list in Section 2 and gather everything you need before you begin. This will save you time and prevent interruptions during the tune-up.
Clean Your Bike
A clean bike is easier to work on and allows you to identify potential issues more easily. Use a motorcycle-specific cleaner and a soft cloth to remove dirt, grime, and grease from the frame, engine, and other components. Be sure to clean the chain and sprockets as well.
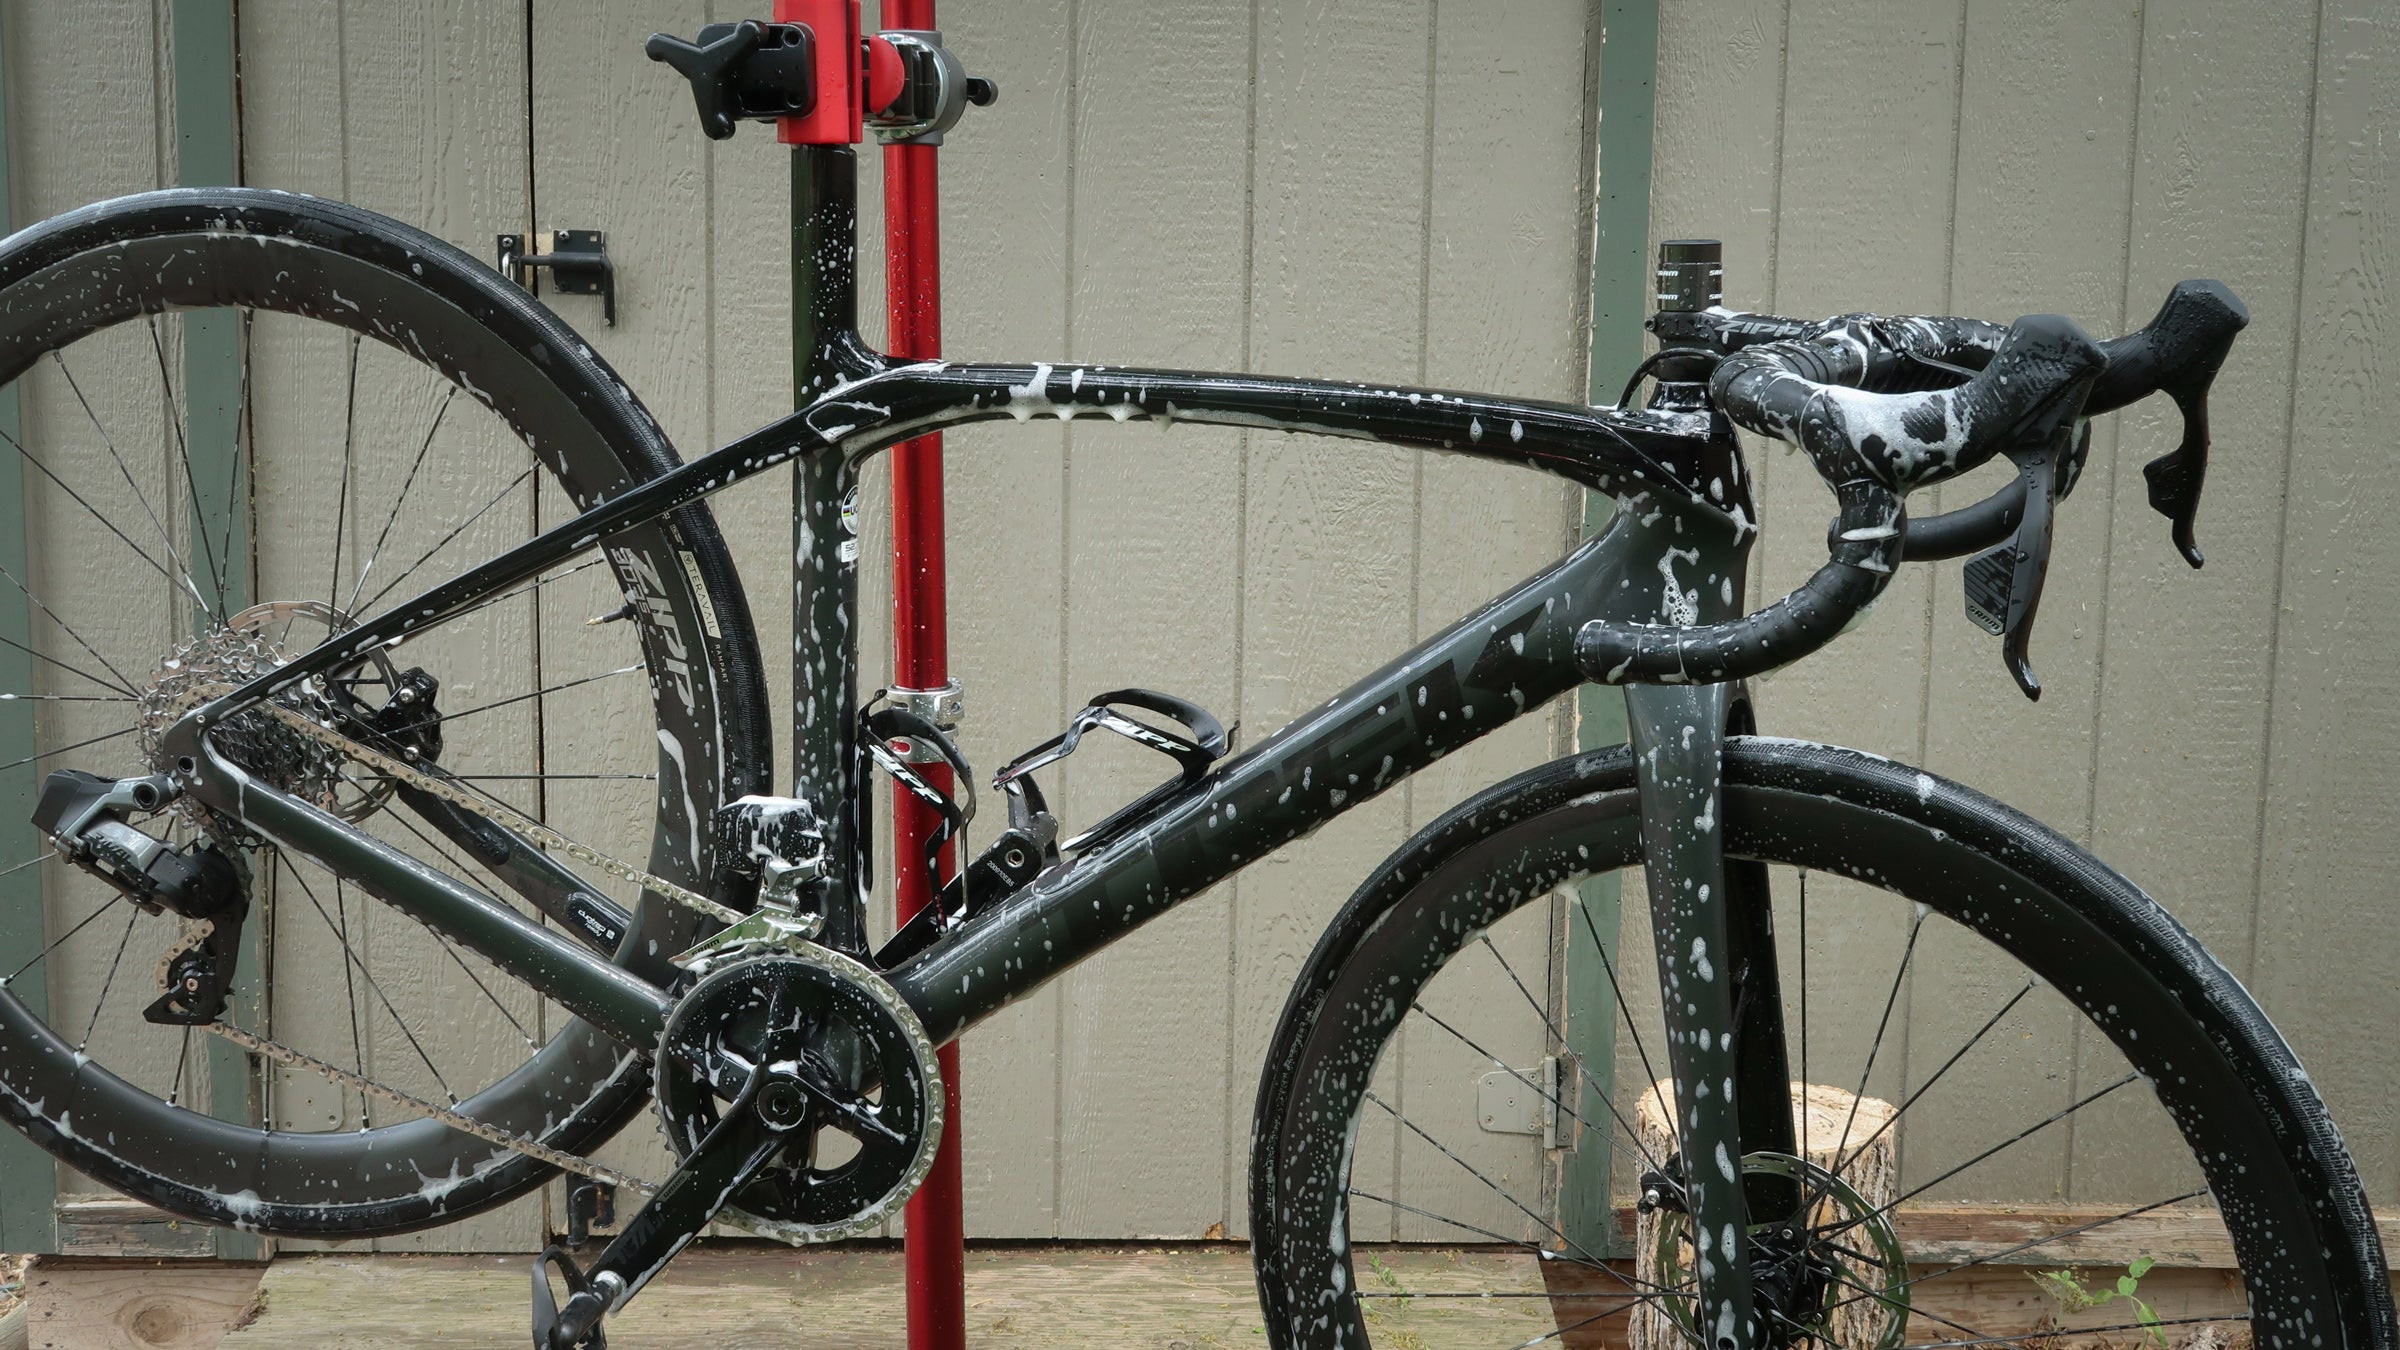 Cleaning a motorcycle to prepare it for tuning
Review Your Motorcycle’s Service Manual
Your motorcycle’s service manual is an invaluable resource. It provides detailed information on maintenance schedules, torque specifications, and other critical data. Review the manual to understand the specific requirements for your bike model.
Create a Clean Workspace
Choose a well-lit and clean workspace. This will help you stay organized and prevent parts from getting lost. Use a motorcycle jack or stand to lift your bike, providing easier access to all components.
Safety First
Always prioritize safety. Wear appropriate protective gear, such as gloves and eye protection. Disconnect the battery to prevent accidental electrical shocks. Ensure the bike is stable and secure on the jack or stand before starting any work.
4. What Are the 10 Essential Steps to Tune Up Your Bike?
Here are ten essential steps to tuning up your motorcycle, ensuring it runs smoothly and safely.
Step 1: Check and Replace Spark Plugs
The spark plugs are vital for igniting the fuel-air mixture in your engine. Over time, they can become fouled or worn, leading to poor performance.
How to Check Spark Plugs
-
Locate the Spark Plugs: Consult your service manual to find the location of the spark plugs.
-
Remove the Spark Plugs: Use a spark plug wrench to carefully remove each spark plug.
-
Inspect the Spark Plugs: Check the spark plugs for signs of wear, fouling, or damage. Look for:
- Worn Electrodes: Rounded or eroded electrodes.
- Fouling: Carbon buildup or oily deposits.
- Cracks or Damage: Any physical damage to the insulator.
-
Gap Measurement: Use a feeler gauge to measure the gap between the electrodes. Compare the measurement to the specification in your service manual.
How to Replace Spark Plugs
- Gap the New Spark Plugs: If necessary, adjust the gap of the new spark plugs using a spark plug gapping tool.
- Install the New Spark Plugs: Carefully thread the new spark plugs into the cylinder head by hand to avoid cross-threading.
- Tighten the Spark Plugs: Use a torque wrench to tighten the spark plugs to the specified torque.
Step 2: Inspect and Clean the Air Filter
The air filter prevents dirt and debris from entering your engine. A dirty air filter restricts airflow, reducing performance and fuel efficiency.
How to Inspect the Air Filter
- Locate the Air Filter: Refer to your service manual to find the air filter housing.
- Remove the Air Filter: Open the air filter housing and remove the air filter.
- Inspect the Air Filter: Check the air filter for dirt, debris, and damage. If the filter is excessively dirty or damaged, it needs to be replaced.
How to Clean or Replace the Air Filter
-
Cleaning (for Reusable Filters):
- Tap the filter gently to remove loose dirt and debris.
- Use compressed air to blow out the remaining dirt from the inside out.
- Wash the filter with a mild detergent and water.
- Rinse thoroughly and allow the filter to air dry completely.
- Apply air filter oil to the filter.
-
Replacement (for Disposable Filters):
- Simply replace the old filter with a new one.
Step 3: Check and Adjust Valve Clearances
Valve clearances ensure proper valve timing and engine performance. Incorrect valve clearances can lead to reduced power, poor fuel economy, and engine damage.
How to Check Valve Clearances
- Prepare the Engine: Ensure the engine is cool.
- Remove Valve Covers: Remove the valve covers to access the valves.
- Position the Engine: Rotate the engine to the correct position (usually Top Dead Center – TDC) for checking valve clearances, as specified in your service manual.
- Measure Clearances: Use a feeler gauge to measure the clearance between the valve stem and the rocker arm or tappet.
How to Adjust Valve Clearances
- Adjust Shims or Tappets: Depending on your bike model, adjust the valve clearances by replacing shims or adjusting tappets.
- Re-measure: After adjustment, re-measure the valve clearances to ensure they are within the specified range.
- Reinstall Valve Covers: Reinstall the valve covers with new gaskets if necessary.
Step 4: Synchronize Carburetors or Inspect Fuel Injection System
For bikes with carburetors, synchronization ensures each cylinder receives the correct fuel-air mixture. For fuel-injected bikes, inspect the system for proper operation.
How to Synchronize Carburetors
- Connect Carburetor Synchronizer: Connect a carburetor synchronizer to each carburetor.
- Start the Engine: Start the engine and allow it to reach operating temperature.
- Adjust Carburetors: Adjust the carburetors until the synchronizer readings are balanced.
How to Inspect the Fuel Injection System
- Check Fuel Injectors: Inspect the fuel injectors for dirt and debris. Clean them if necessary.
- Check Fuel Pressure: Use a fuel pressure gauge to check the fuel pressure. Ensure it is within the specified range.
- Inspect Fuel Lines: Inspect the fuel lines for leaks or damage.
Step 5: Inspect and Adjust the Throttle Cable
The throttle cable connects the throttle grip to the carburetors or fuel injection system. Proper adjustment ensures smooth throttle response.
How to Inspect and Adjust the Throttle Cable
- Check Cable Condition: Inspect the throttle cable for fraying, kinks, or damage.
- Adjust Free Play: Adjust the throttle cable free play according to your service manual. Too much free play can result in delayed throttle response, while too little can cause the engine to idle too high.
- Lubricate the Cable: Lubricate the throttle cable to ensure smooth operation.
Step 6: Change the Oil and Filter
Regular oil changes are crucial for engine lubrication and longevity. Old oil can become contaminated and lose its lubricating properties.
How to Change the Oil and Filter
- Warm Up the Engine: Run the engine for a few minutes to warm the oil.
- Drain the Old Oil: Place a drain pan under the oil drain plug and remove the plug to drain the old oil.
- Replace the Oil Filter: Remove the old oil filter and replace it with a new one.
- Reinstall the Drain Plug: Reinstall the drain plug with a new crush washer and torque it to the specified value.
- Add New Oil: Add the correct amount of new oil as specified in your service manual.
- Check Oil Level: Check the oil level using the dipstick or sight glass.
Step 7: Inspect and Lubricate the Chain
The chain transfers power from the engine to the rear wheel. Proper maintenance ensures smooth and efficient operation.
How to Inspect the Chain
- Check Chain Slack: Check the chain slack according to your service manual.
- Inspect for Wear: Look for signs of wear, such as stiff links, rust, or excessive slack.
- Check Sprockets: Inspect the sprockets for worn or damaged teeth.
How to Lubricate the Chain
- Clean the Chain: Use a chain cleaner to remove dirt and grime.
- Lubricate the Chain: Apply chain lubricant evenly along the entire length of the chain.
- Wipe Off Excess Lube: Wipe off any excess lubricant to prevent dirt buildup.
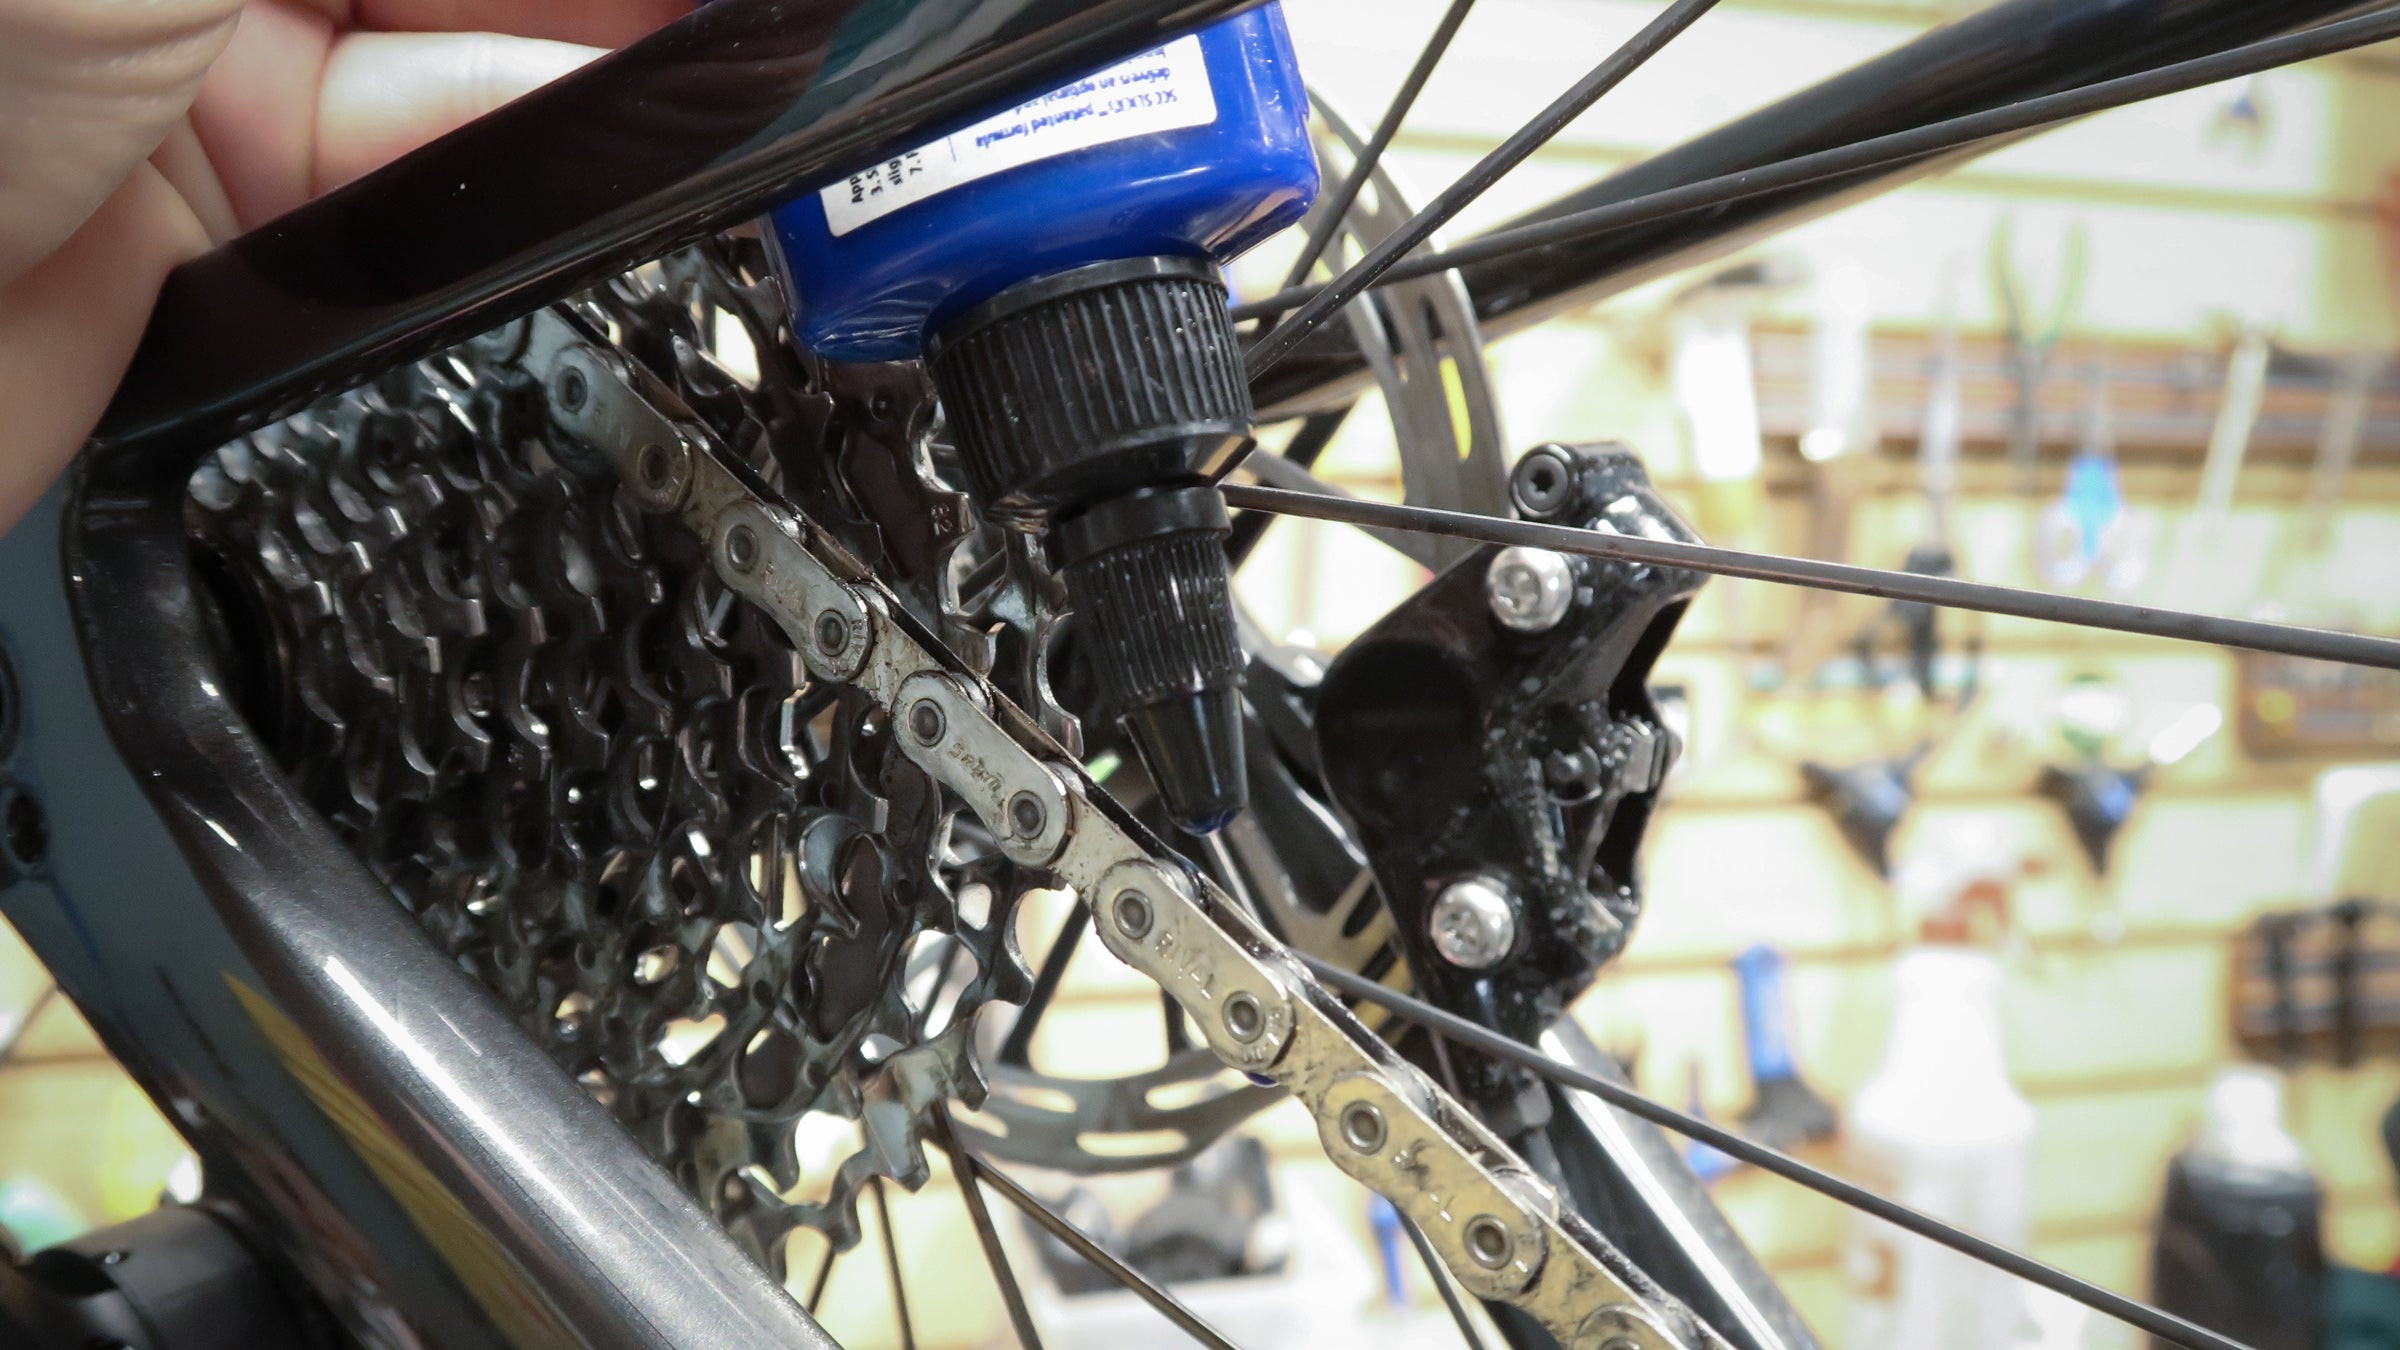 Lubricating the chain on a motorcycle
Step 8: Check the Brakes
Properly functioning brakes are essential for safety. Inspecting and maintaining your brakes ensures reliable stopping power.
How to Check the Brakes
- Inspect Brake Pads: Check the brake pads for wear. Replace them if they are worn to the wear limit.
- Check Brake Discs: Inspect the brake discs for damage, cracks, or excessive wear.
- Check Brake Fluid Level: Ensure the brake fluid level is within the specified range.
- Inspect Brake Lines: Inspect the brake lines for leaks or damage.
How to Maintain the Brakes
- Replace Worn Pads: Replace worn brake pads with new ones.
- Bleed the Brakes: Bleed the brakes to remove air from the system.
- Check Caliper Operation: Ensure the brake calipers are operating smoothly and not sticking.
Step 9: Check the Tires
Tires are your motorcycle’s only contact point with the road. Proper tire maintenance ensures optimal grip and handling.
How to Check the Tires
- Check Tire Pressure: Use a tire pressure gauge to check the tire pressure. Adjust the pressure to the specified value.
- Inspect for Wear: Check the tires for wear, cuts, or damage.
- Check Tread Depth: Use a tread depth gauge to measure the tread depth. Replace the tires if the tread depth is below the legal limit.
Step 10: Check and Test the Lights
Properly functioning lights are essential for visibility and safety. Ensure all lights are working correctly.
How to Check and Test the Lights
- Check Headlight: Ensure the headlight is working and properly aimed.
- Check Taillight: Ensure the taillight is working.
- Check Brake Light: Ensure the brake light activates when the brakes are applied.
- Check Turn Signals: Ensure the turn signals are working.
- Check Auxiliary Lights: Check any auxiliary lights for proper operation.
5. What Are Some Common Bike Tune-Up Mistakes to Avoid?
Even experienced bikers can make mistakes when tuning up their motorcycles. Here are some common errors to avoid:
Over-Tightening Fasteners
Over-tightening bolts and nuts can strip threads or damage components. Always use a torque wrench to tighten fasteners to the specified torque.
Using the Wrong Oil
Using the wrong type of oil can damage your engine. Always use the oil type and viscosity recommended in your service manual.
Neglecting the Air Filter
A dirty air filter can significantly reduce engine performance. Regularly inspect and clean or replace the air filter.
Ignoring Valve Clearances
Incorrect valve clearances can lead to serious engine damage. Check and adjust valve clearances according to the maintenance schedule in your service manual.
Skipping Chain Maintenance
A poorly maintained chain can wear out quickly and affect performance. Regularly clean and lubricate the chain.
Neglecting Brake Maintenance
Neglecting brake maintenance can compromise your safety. Regularly inspect brake pads, discs, and fluid levels.
Ignoring Tire Pressure and Condition
Improper tire pressure and worn tires can affect handling and safety. Regularly check tire pressure and inspect tires for wear and damage.
6. How Often Should You Tune Up Your Bike?
The frequency of motorcycle tune-ups depends on several factors, including the bike’s make and model, riding conditions, and how frequently you ride. However, a general guideline is to perform a tune-up every 6,000 to 12,000 miles or at least once a year.
Factors Affecting Tune-Up Frequency
- Bike Model: Some motorcycles require more frequent maintenance than others. Consult your service manual for specific recommendations.
- Riding Conditions: If you frequently ride in dusty or harsh conditions, you may need to tune up your bike more often.
- Riding Frequency: If you ride your bike frequently, you will need to tune it up more often than if you only ride occasionally.
Maintenance Schedule
Here’s a general maintenance schedule for motorcycle tune-ups:
| Component | Frequency |
|---|---|
| Spark Plugs | Every 6,000 to 12,000 miles or annually |
| Air Filter | Every 3,000 to 6,000 miles or as needed |
| Valve Clearances | Every 12,000 to 24,000 miles or as specified in the service manual |
| Carburetor Sync | Every 6,000 to 12,000 miles or as needed |
| Throttle Cable | Every 3,000 to 6,000 miles or as needed |
| Oil and Filter | Every 3,000 to 6,000 miles or every 6 months |
| Chain | Every 500 to 1,000 miles (clean and lubricate) |
| Brakes | Every 3,000 to 6,000 miles (inspect), every 12,000 to 24,000 miles (replace pads if needed) |
| Tires | As needed (check pressure weekly, replace when worn) |
| Lights | Weekly (check for proper operation) |
7. What Are the Benefits of Regular Bike Maintenance?
Regular motorcycle maintenance offers numerous benefits, including improved performance, enhanced safety, extended lifespan, and cost savings.
Improved Performance
A well-maintained motorcycle performs better. Regular tune-ups ensure the engine runs smoothly, the throttle responds quickly, and the bike handles predictably.
Enhanced Safety
Safety is paramount for any motorcycle rider. Regular maintenance includes checking critical safety components such as brakes, tires, and lights, ensuring they are in good condition.
Extended Lifespan
Preventive maintenance can significantly extend the lifespan of your motorcycle. Regular tune-ups help prevent wear and tear, reducing the need for costly repairs down the road.
Cost Savings
While regular maintenance requires an investment of time and money, it can save you money in the long run. By identifying and fixing potential issues early, you can prevent major repairs and extend the lifespan of your bike.
8. Can You Damage Your Bike if You Don’t Tune It Up?
Yes, neglecting to tune up your motorcycle can lead to significant damage. Lack of maintenance can cause minor issues to escalate into major problems, resulting in costly repairs and potential safety hazards.
Engine Damage
- Worn Spark Plugs: Can cause misfires, reduced power, and increased fuel consumption.
- Dirty Air Filter: Restricts airflow, leading to reduced performance and potential engine damage.
- Incorrect Valve Clearances: Can cause reduced power, poor fuel economy, and engine damage.
- Old Oil: Loses its lubricating properties, leading to increased wear and potential engine damage.
Drivetrain Damage
- Poorly Maintained Chain: Can wear out quickly, leading to chain breakage and potential damage to the sprockets and transmission.
Brake System Damage
- Worn Brake Pads: Can damage the brake discs and reduce braking performance.
- Old Brake Fluid: Can absorb moisture, reducing braking performance and potentially causing corrosion in the brake system.
Tire Damage
- Improper Tire Pressure: Can cause uneven wear, reduced handling, and potential tire failure.
- Worn Tires: Reduce grip and handling, increasing the risk of accidents.
9. What Are the Signs That Your Bike Needs a Tune-Up?
Recognizing the signs that your motorcycle needs a tune-up can help you address potential issues before they become major problems. Here are some common indicators:
Poor Engine Performance
- Reduced Power: If your bike feels sluggish or lacks its usual power, it may be time for a tune-up.
- Rough Idling: An uneven or rough idle can indicate issues with the spark plugs, air filter, or carburetor synchronization.
- Misfiring: Misfires can be caused by worn spark plugs or other ignition problems.
- Poor Fuel Economy: A sudden drop in fuel economy can indicate that your engine is not running efficiently.
Starting Problems
- Difficulty Starting: If your bike is hard to start, it may be due to worn spark plugs, a dirty air filter, or other issues.
Unusual Noises
- Engine Knocking: Can indicate valve problems or other engine damage.
- Chain Noise: A noisy chain can indicate that it needs to be cleaned and lubricated or replaced.
- Brake Noise: Squealing or grinding noises from the brakes can indicate worn brake pads or other brake problems.
Handling Issues
- Poor Handling: If your bike feels unstable or difficult to handle, it may be due to worn tires, improper tire pressure, or suspension problems.
10. How to Find the Best Motorcycle Community to Share Experiences and Get Advice?
Finding the right motorcycle community can enhance your biking experience by providing a platform to share experiences, seek advice, and connect with fellow enthusiasts. Here are some ways to find the best community for you:
Online Forums
Online forums are a great place to connect with other bikers. These forums often have dedicated sections for different bike models, riding styles, and regions.
Social Media Groups
Social media platforms like Facebook and Instagram host numerous motorcycle groups. These groups offer a convenient way to share photos, ask questions, and participate in discussions.
Local Motorcycle Clubs
Local motorcycle clubs offer opportunities to meet fellow bikers in person. These clubs often organize rides, events, and workshops.
Motorcycle Events and Rallies
Attending motorcycle events and rallies is a great way to meet other bikers and learn about different communities. These events often feature vendors, demonstrations, and group rides.
Usabikers.net
Usabikers.net is your go-to resource for all things motorcycle-related. From detailed bike reviews and maintenance guides to a thriving community forum, you’ll find everything you need to enhance your riding experience. Join us today to connect with fellow bikers, share your adventures, and get expert advice!
Address: 801 Sturgis Main St, Sturgis, SD 57785, United States.
Phone: +1 (605) 347-2000
Website: usabikers.net
FAQ: How to Tune Up My Bike
1. What is a motorcycle tune-up?
A motorcycle tune-up is a comprehensive maintenance procedure that ensures your bike runs smoothly and efficiently by checking and adjusting various components.
2. How often should I tune up my motorcycle?
Generally, every 6,000 to 12,000 miles or at least once a year.
3. What tools do I need for a motorcycle tune-up?
You’ll need a socket set, wrench set, screwdrivers, torque wrench, pliers, multimeter, spark plug wrench, feeler gauges, chain lubricant, and cleaning supplies.
4. Why is it important to check valve clearances?
Checking valve clearances ensures proper valve timing, preventing reduced power, poor fuel economy, and engine damage.
5. How do I synchronize carburetors on my bike?
Use a carburetor synchronizer to balance the readings on each carburetor, ensuring each cylinder receives the correct fuel-air mixture.
6. What are the signs that my motorcycle needs a tune-up?
Signs include poor engine performance, rough idling, difficulty starting, and unusual noises.
7. Can I damage my bike if I don’t tune it up regularly?
Yes, neglecting tune-ups can lead to engine damage, drivetrain issues, and compromised safety.
8. What is the correct way to check my motorcycle tires?
Check tire pressure with a gauge, inspect for wear and damage, and measure tread depth with a tread depth gauge.
9. How do I properly lubricate my motorcycle chain?
Clean the chain with a chain cleaner, apply chain lubricant evenly, and wipe off any excess lubricant.
10. Where can I find a reliable motorcycle community for advice and support?
Online forums, social media groups, local motorcycle clubs, and events like those found on usabikers.net are great resources for community and advice.