
Knowing how to remove your bike pedals is a fundamental skill for any cyclist, whether you’re performing routine maintenance, upgrading to new pedals, or packing your bike for travel. While it might seem straightforward, there are a few common pitfalls that can turn this simple task into a frustrating ordeal. This guide will walk you through each step, ensuring you remove your bike pedals correctly and efficiently.
Step 1: Gather the Right Tools for Bike Pedal Removal
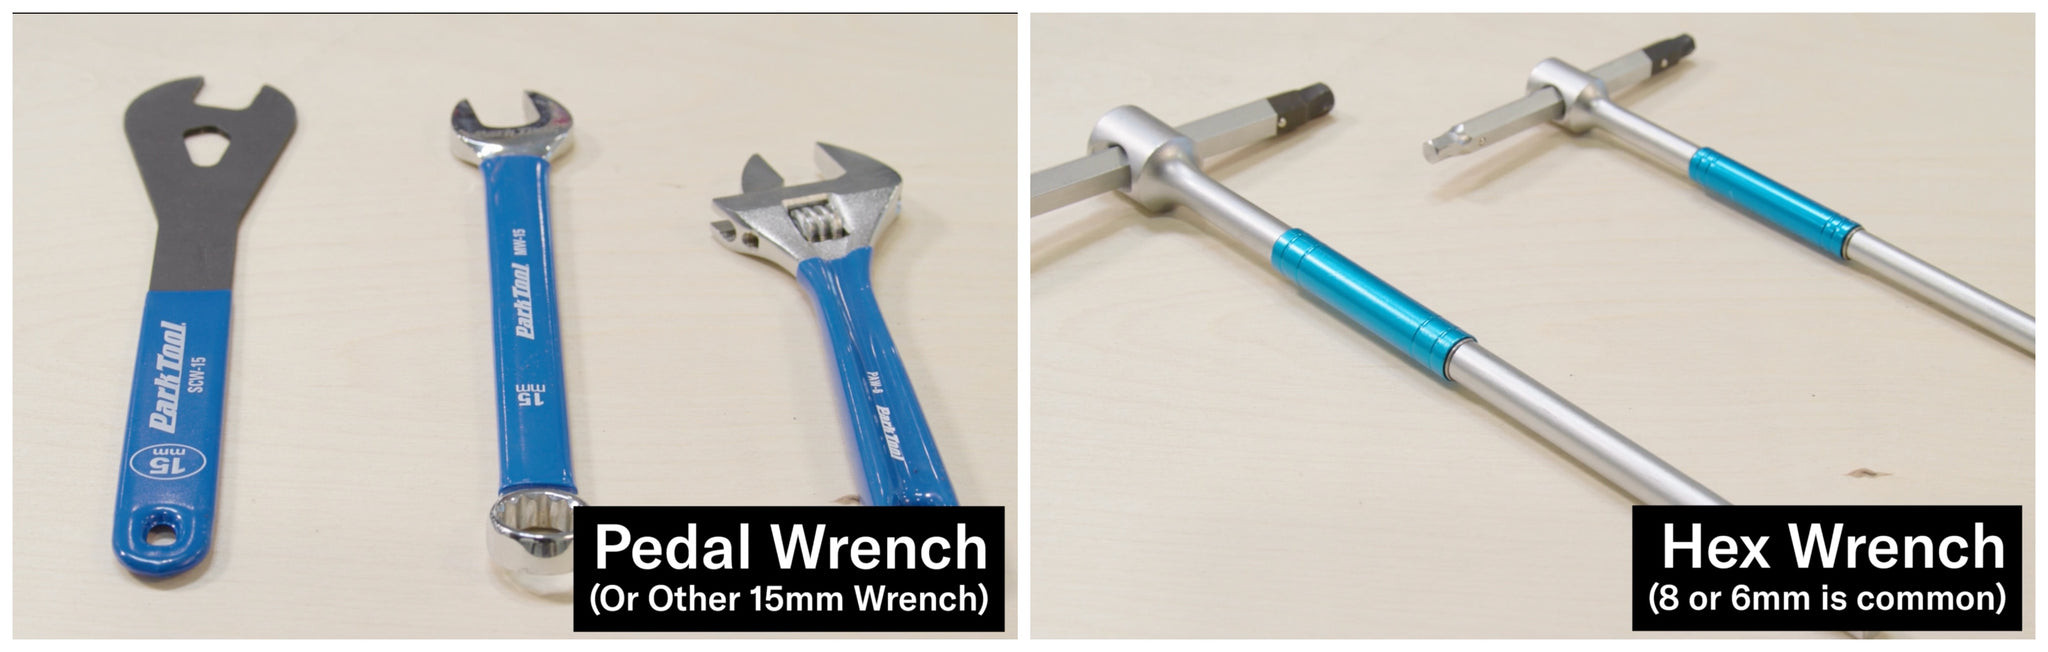 Tools needed to remove bike pedals: pedal wrench and hex wrenches
Before you start, it’s crucial to have the correct tool for your specific pedals. Attempting to remove pedals with the wrong tool can lead to damage or injury. Most bike pedals are designed to be removed with one of these three tools:
-
Pedal Wrench / 15mm Wrench: Older and budget-friendly pedals often feature flat sections on the pedal spindle specifically designed for a 15mm pedal wrench. Pedal wrenches are typically thinner than standard wrenches, making them ideal for fitting in the narrow space between the pedal and the crank arm. While a dedicated pedal wrench is recommended, a narrow 15mm box wrench or an adjustable crescent wrench can also work if they are slim enough.
Caution: Using a thin 15mm cone wrench, as shown in some examples, requires extra care. These wrenches are prone to slipping and can potentially round off the wrench flats on your pedals. A dedicated pedal wrench offers a more secure and safer grip.
-
8mm Hex Wrench: Many modern clipless and flat pedals utilize an 8mm hex wrench (Allen wrench) that fits into the end of the pedal spindle.
-
6mm Hex Wrench: Some newer or more lightweight pedals may use a smaller 6mm hex wrench fitting instead of the 8mm.
Inspect your pedals closely to determine whether you need a pedal wrench or a hex wrench, and check for the size if it’s a hex wrench fitting.
Step 2: Understand Bike Pedal Thread Direction for Removal
 Right side bike pedal thread direction for removal
 Left side bike pedal thread direction for removal
The most confusing aspect of pedal removal (and installation) is understanding the thread direction. It’s not the same for both pedals!
- Right (Drive Side) Pedal: Standard thread. To remove, spin counterclockwise. Think “righty-tighty, lefty-loosey” but in reverse for removal.
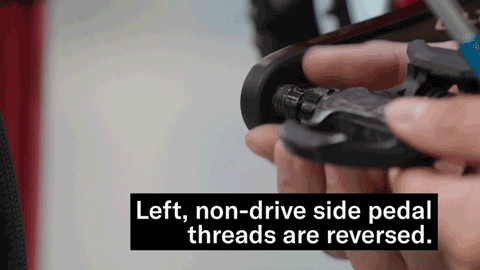
- Left (Non-Drive Side) Pedal: Reverse thread. To remove, spin clockwise. This is opposite to what you might instinctively expect.
The left pedal has a reverse thread to prevent it from loosening while you pedal forward.
Here’s a helpful visual trick to remember the removal direction:
 Bike pedal removal direction – spin top of spindle towards rear wheel
- To Remove: Imagine you are looking down at your pedal from above. To loosen and remove the pedal, spin the TOP of the pedal spindle towards the REAR of the bike for both the left and right pedals.
If you’re unsure which pedal is which, most pedals are marked with an “R” for right and “L” for left, usually stamped on the pedal spindle. If there are no markings, examine the threads closely to see which direction tightens or loosens them.
Step 3: Removing Your Bike Pedals – Step-by-Step
Now that you have the right tool and understand the thread direction, let’s remove those pedals:
-
Position Your Bike: Secure your bike in a bike stand or lean it firmly against a wall. You’ll need to apply some force, so stability is important.
-
Engage the Tool:
- Pedal Wrench/15mm Wrench: Position the wrench on the flats of the pedal spindle, ensuring it’s fully engaged for a secure grip.
- Hex Wrench: Insert the hex wrench fully into the end of the pedal spindle.
-
Apply Force in the Correct Direction: Remember to spin the top of the pedal spindle towards the rear wheel to loosen. You may need to apply significant force, especially if the pedals haven’t been removed in a while. A sharp, firm push is often more effective than slow, gradual pressure.
-
Loosen and Unscrew: Once you break the initial tightness, the pedal should unscrew relatively easily by hand. Continue turning in the correct direction until the pedal is completely removed.
-
Repeat for the Other Pedal: Switch to the other side of the bike and repeat steps 2-4 for the opposite pedal, remembering to reverse the direction if needed (though the “towards the rear wheel” trick works for both sides for removal).
Dealing with Stuck Bike Pedals
Sometimes, pedals can be stubbornly stuck, especially if they haven’t been greased properly during installation or if corrosion has occurred. Here are a few tips for dealing with stubborn pedals:
- Increased Leverage: Use a longer wrench or slide a pipe over the end of your wrench to increase leverage. Be careful not to overdo it and risk damaging the wrench or pedal.
- Penetrating Oil: Apply a penetrating oil or lubricant (like WD-40 or a dedicated penetrating oil) to the pedal threads. Let it soak for several minutes to help break down corrosion and loosen the threads.
- Heat (Use with Caution): In extreme cases, gently heating the crank arm around the pedal threads with a heat gun or hairdryer (not a torch!) can help to expand the metal slightly and break the bond. Be extremely cautious with heat and avoid overheating or damaging your crank arm.
- Professional Help: If you’ve tried these methods and the pedals are still stuck, it’s best to seek assistance from a professional bike mechanic to avoid damaging your bike components.
Removing bike pedals is a simple yet essential maintenance task. By using the right tools, understanding thread direction, and applying these steps, you can confidently remove your pedals for maintenance, upgrades, or travel. Remember to grease the threads when reinstalling your pedals to prevent them from seizing in the future and making removal even easier next time!