Are your mountain bike’s disc brakes feeling mushy or weak? Bleeding your disc brakes is the solution you need to restore their power and responsiveness, and usabikers.net is here to guide you through the process. This comprehensive guide will walk you through each step, ensuring your brakes perform at their best, giving you confidence on the trails. By maintaining your brakes, you’ll experience enhanced control, greater safety, and a smoother ride.
1. What is Brake Bleeding and Why Is It Important?
Brake bleeding is the process of removing air bubbles and old fluid from your bike’s hydraulic disc brake system, which is crucial for optimal performance. Over time, air can seep into the system, causing a spongy lever feel and reduced braking power. Keeping the brake fluid fresh through regular bleeding ensures consistent and reliable stopping power, essential for safe mountain biking.
1.1 What Happens If You Don’t Bleed Your Brakes?
If you neglect to bleed your brakes, several issues can arise, compromising your safety and riding experience.
- Reduced Braking Power: Air bubbles in the hydraulic system compress under pressure, reducing the force applied to the brake pads.
- Spongy Lever Feel: The brake lever feels soft and unresponsive, making it difficult to modulate braking force accurately.
- Inconsistent Performance: Brake performance becomes unpredictable, especially during long descents or in demanding conditions.
- Increased Risk of Brake Fade: Overheating can cause the brake fluid to boil, leading to a complete loss of braking power.
- Damage to Brake Components: Contaminated or old brake fluid can corrode internal components, leading to costly repairs.
1.2 How Often Should You Bleed Your Brakes?
The frequency of brake bleeding depends on several factors, including riding conditions, brake usage, and the type of brake fluid used.
- General Recommendation: Bleed your brakes at least once a year.
- Frequent Riders: If you ride frequently or in demanding conditions, bleed your brakes every 6 months.
- New Brakes: Bleed new brakes after the initial break-in period to remove any air introduced during installation.
- After Maintenance: Bleed your brakes after any maintenance that involves disconnecting the brake lines.
- When Performance Diminishes: If you notice a spongy lever feel or reduced braking power, bleed your brakes immediately.
1.3 What are the Benefits of Bleeding Your Brakes?
Bleeding your brakes offers numerous benefits, enhancing your safety and riding experience.
- Improved Braking Power: Removing air bubbles restores the hydraulic pressure, providing consistent and reliable stopping power.
- Enhanced Lever Feel: The brake lever becomes firm and responsive, allowing for precise modulation of braking force.
- Consistent Performance: Brakes perform predictably in all conditions, ensuring confidence and control on the trails.
- Reduced Risk of Brake Fade: Fresh brake fluid resists overheating, minimizing the risk of brake fade during long descents.
- Extended Component Life: Regular maintenance prevents corrosion and wear, extending the lifespan of your brake components.
- Increased Safety: Reliable brakes enhance your ability to control your bike, reducing the risk of accidents and injuries.
1.4 What are the Differences Between DOT Fluid and Mineral Oil?
Brake fluids come in two main types: DOT fluid and mineral oil. Understanding their differences is crucial for proper brake maintenance.
| Feature | DOT Fluid | Mineral Oil |
|---|---|---|
| Composition | Glycol-based | Petroleum-based |
| Hygroscopic | Yes (absorbs moisture from the air) | No (does not absorb moisture) |
| Boiling Point | Higher boiling point when new, but decreases as it absorbs moisture | Lower boiling point, but remains more stable over time |
| Compatibility | Only compatible with DOT-specified brake systems; using it in mineral oil systems can cause seal damage. | Only compatible with mineral oil-specified brake systems; using it in DOT systems can cause seal damage. |
| Maintenance | Requires more frequent bleeding due to moisture absorption (every 6-12 months) | Requires less frequent bleeding (every 12-18 months) |
| Environmental Impact | Corrosive and harmful to paint and skin | Less corrosive and environmentally friendly |
| Common Brands | SRAM, Hayes | Shimano, Magura |
| Performance | DOT fluid generally offers slightly better performance in extreme conditions due to its higher boiling point when new, but this advantage diminishes as it absorbs moisture. | Mineral oil provides consistent performance over time due to its non-hygroscopic nature, making it suitable for various riding conditions. |
| Cost | Usually less expensive | Usually more expensive |
According to research from the Motorcycle Safety Foundation (MSF), in July 2025, using the correct type of fluid is essential for brake system longevity and performance.
2. Identifying the Need for Brake Bleeding
Recognizing the signs that your brakes need bleeding is crucial for maintaining optimal performance and safety. Here are some key indicators to watch for:
2.1 Spongy or Soft Brake Lever Feel
A spongy or soft brake lever is one of the most common indicators that your brakes need bleeding. This occurs when air bubbles are present in the hydraulic system, allowing the lever to compress without fully engaging the brakes.
- Normal Brake Lever Feel: A properly functioning brake lever should feel firm and responsive, providing immediate feedback when engaged.
- Spongy Lever Feel: If the lever feels soft and requires excessive travel before the brakes engage, it indicates air in the system.
- Inconsistent Lever Feel: The lever feel may vary depending on temperature or riding conditions, further suggesting the presence of air bubbles.
2.2 Reduced Braking Power
A noticeable decrease in braking power is another sign that your brakes may need bleeding. Air bubbles in the system reduce the hydraulic pressure, diminishing the force applied to the brake pads.
- Normal Braking Power: Properly functioning brakes should provide ample stopping power with minimal effort.
- Reduced Stopping Distance: If it takes longer to stop than usual, it indicates a loss of braking efficiency.
- Increased Lever Force: You may need to apply more force to the lever to achieve the same level of braking power.
2.3 Brake Fade
Brake fade is the temporary loss of braking power due to overheating, which can occur more readily when air or moisture is present in the system.
- Causes of Brake Fade: Prolonged braking, especially on long descents, can cause the brake fluid to overheat, leading to a loss of braking power.
- Symptoms of Brake Fade: The brake lever may feel soft or unresponsive, and the brakes may produce a burning smell.
- Prevention of Brake Fade: Bleeding your brakes regularly helps maintain optimal fluid condition, reducing the risk of brake fade.
2.4 Unusual Noises
Unusual noises, such as squealing or grinding, can sometimes indicate issues with your brake system, including the need for bleeding.
- Squealing Noises: Squealing can be caused by contaminated brake pads or rotors, but it can also indicate air in the system.
- Grinding Noises: Grinding noises usually indicate worn brake pads, but they can also be a sign of damage to the rotors or calipers.
- Vibrations: Vibrations during braking can be caused by warped rotors or loose components, but they can also be exacerbated by air in the system.
2.5 Visual Inspection
A visual inspection of your brake system can reveal potential issues, such as leaks or contaminated fluid, which may necessitate bleeding.
- Leaks: Check for any signs of brake fluid leaks around the calipers, levers, and hoses.
- Fluid Color: Inspect the color of the brake fluid in the reservoir. Dark or cloudy fluid indicates contamination.
- Component Condition: Examine the brake pads, rotors, and calipers for wear or damage.
3. Essential Tools and Materials for Bleeding Disc Brakes
Having the right tools and materials is essential for a successful brake bleeding process. Here’s a comprehensive list of what you’ll need:
3.1 Brake Bleed Kit
A brake bleed kit typically includes syringes, hoses, and fittings designed for your specific brake system.
- Compatibility: Ensure the bleed kit is compatible with your brake brand (Shimano, SRAM, etc.) and fluid type (DOT or mineral oil).
- Components: The kit should include syringes for pushing fluid through the system, hoses with secure fittings, and adaptors for various brake models.
- Quality: Invest in a high-quality bleed kit to ensure durability and prevent leaks during the bleeding process.
3.2 Brake Fluid
Using the correct brake fluid is crucial for maintaining the integrity and performance of your brake system.
- Type: Determine whether your brakes use DOT fluid or mineral oil, and use the appropriate type.
- Specification: For DOT fluid, use the recommended specification (DOT 4 or DOT 5.1).
- Freshness: Always use fresh, unopened brake fluid to avoid contamination and ensure optimal performance.
3.3 Hex Wrenches
Hex wrenches are necessary for removing and installing various components, such as bleed screws and caliper bolts.
- Sizes: Common sizes needed for brake work include 2mm, 2.5mm, 3mm, 4mm, and 5mm.
- Quality: Use high-quality hex wrenches to prevent stripping bolt heads.
- Torque Wrench: A torque wrench is recommended for tightening bolts to the correct specifications.
3.4 Open-Ended Wrench
An open-ended wrench is used to loosen and tighten the bleed nipple on the brake caliper.
- Size: The size of the wrench will vary depending on your brake model, but 7mm and 8mm are common.
- Precision: Use a wrench that fits snugly to avoid rounding off the bleed nipple.
3.5 Isopropyl Alcohol
Isopropyl alcohol is used to clean brake components and remove any contaminants.
- Concentration: Use a concentration of at least 90% for effective cleaning.
- Application: Apply isopropyl alcohol with a clean rag or spray bottle.
3.6 Shop Towels or Rags
Shop towels or rags are essential for wiping up spills and cleaning brake components.
- Material: Use lint-free towels to avoid leaving residue on brake surfaces.
- Quantity: Have plenty of towels on hand to handle spills and cleaning tasks.
3.7 Safety Glasses and Gloves
Safety glasses and gloves are crucial for protecting yourself from brake fluid and other chemicals.
- Eye Protection: Wear safety glasses to prevent brake fluid from splashing into your eyes.
- Hand Protection: Wear gloves to protect your skin from brake fluid and cleaning agents.
3.8 Bleed Block or Pad Spacer
A bleed block or pad spacer is used to keep the brake pistons from extending too far during the bleeding process.
- Compatibility: Ensure the bleed block is compatible with your brake caliper.
- Installation: Insert the bleed block between the brake pistons after removing the brake pads.
3.9 Torque Wrench
A torque wrench is essential for tightening bolts to the correct specifications, preventing damage to brake components.
- Range: Choose a torque wrench with a range that covers the torque specifications for your brake components.
- Accuracy: Ensure the torque wrench is calibrated for accurate readings.
3.10 Repair Stand (Optional)
A repair stand can make the bleeding process easier by holding your bike securely in place.
- Stability: Choose a repair stand that is stable and can support the weight of your bike.
- Adjustability: Look for a repair stand with adjustable height and clamp settings.
4. Step-by-Step Guide to Bleeding Disc Brakes on a Mountain Bike
Follow these detailed steps to effectively bleed your disc brakes and restore their performance.
4.1 Preparation
- Gather Your Tools: Collect all the necessary tools and materials listed above.
- Prepare Your Bike: Place your bike on a repair stand or lean it against a stable surface.
- Remove Wheels and Brake Pads: Remove the wheels and brake pads from the calipers.
- Install Bleed Block: Insert a bleed block or pad spacer between the pistons in each caliper.
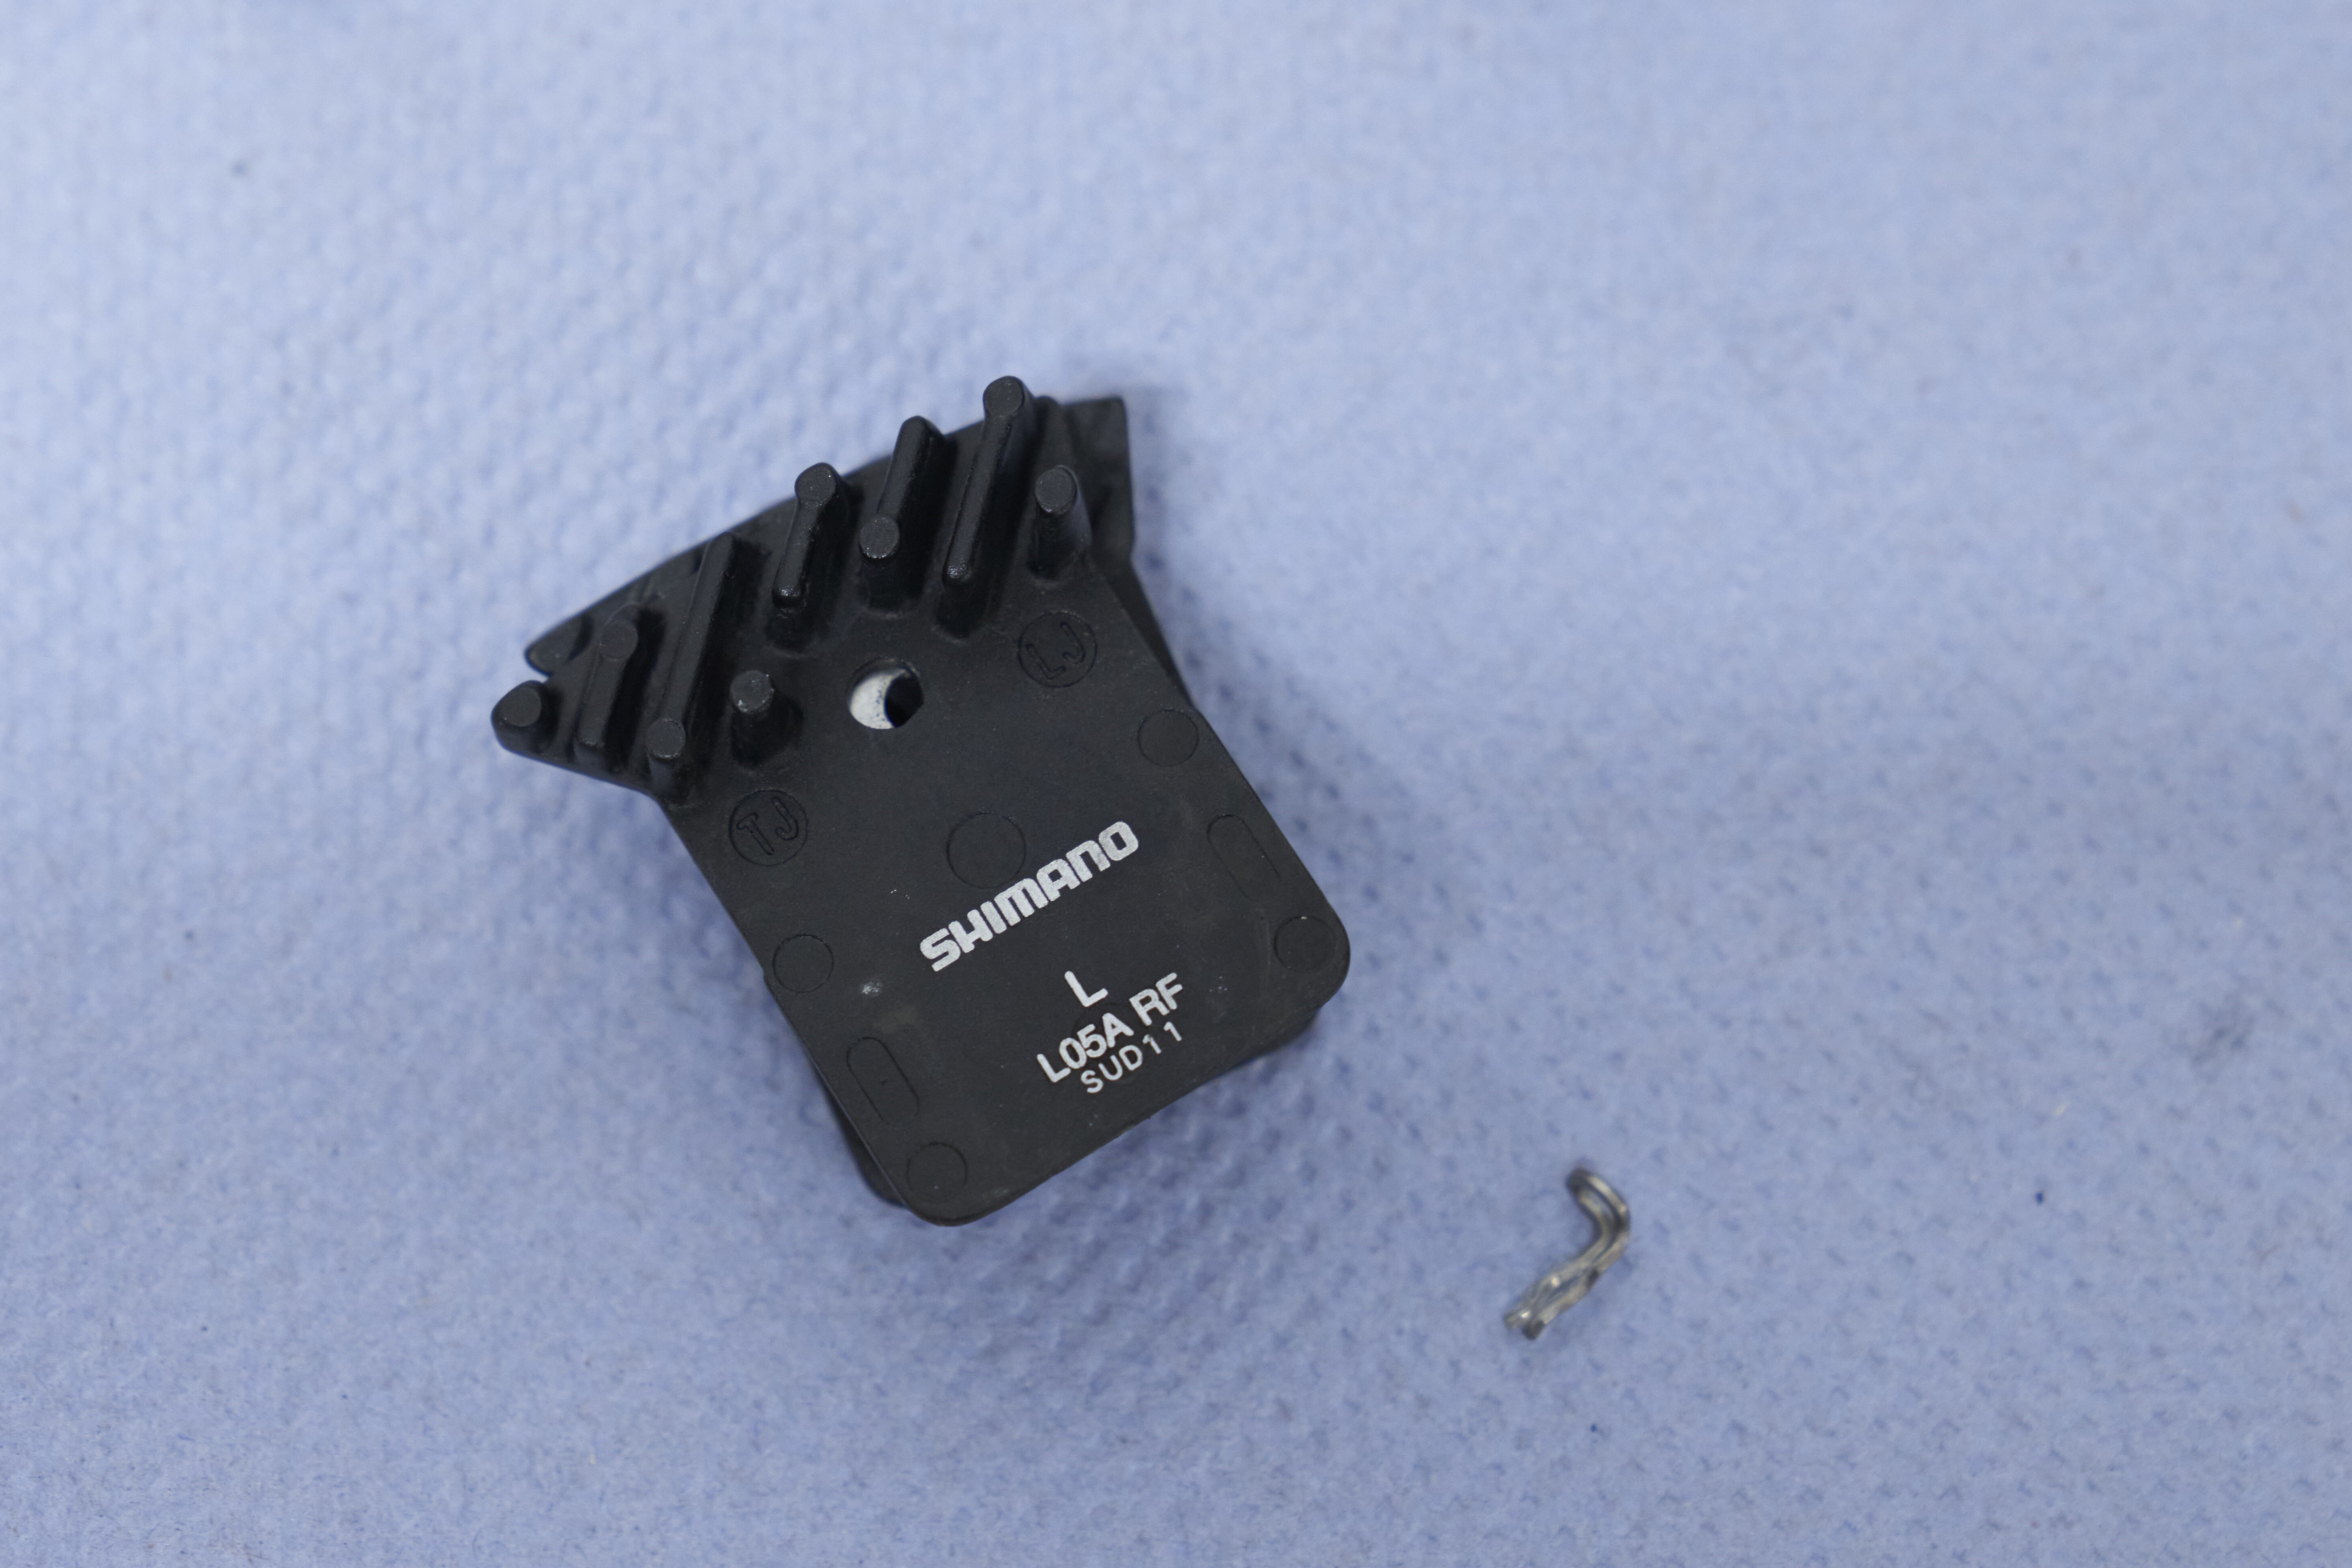 Shimano L05A disc brake pads on a blue towel
Handle the disc brake pads carefully and avoid contamination.
4.2 Setting Up the Syringes
- Fill Syringes: Fill one syringe with fresh brake fluid and leave the other empty.
- Remove Air Bubbles: Tap the syringes to remove any air bubbles, and ensure the hoses are securely attached.
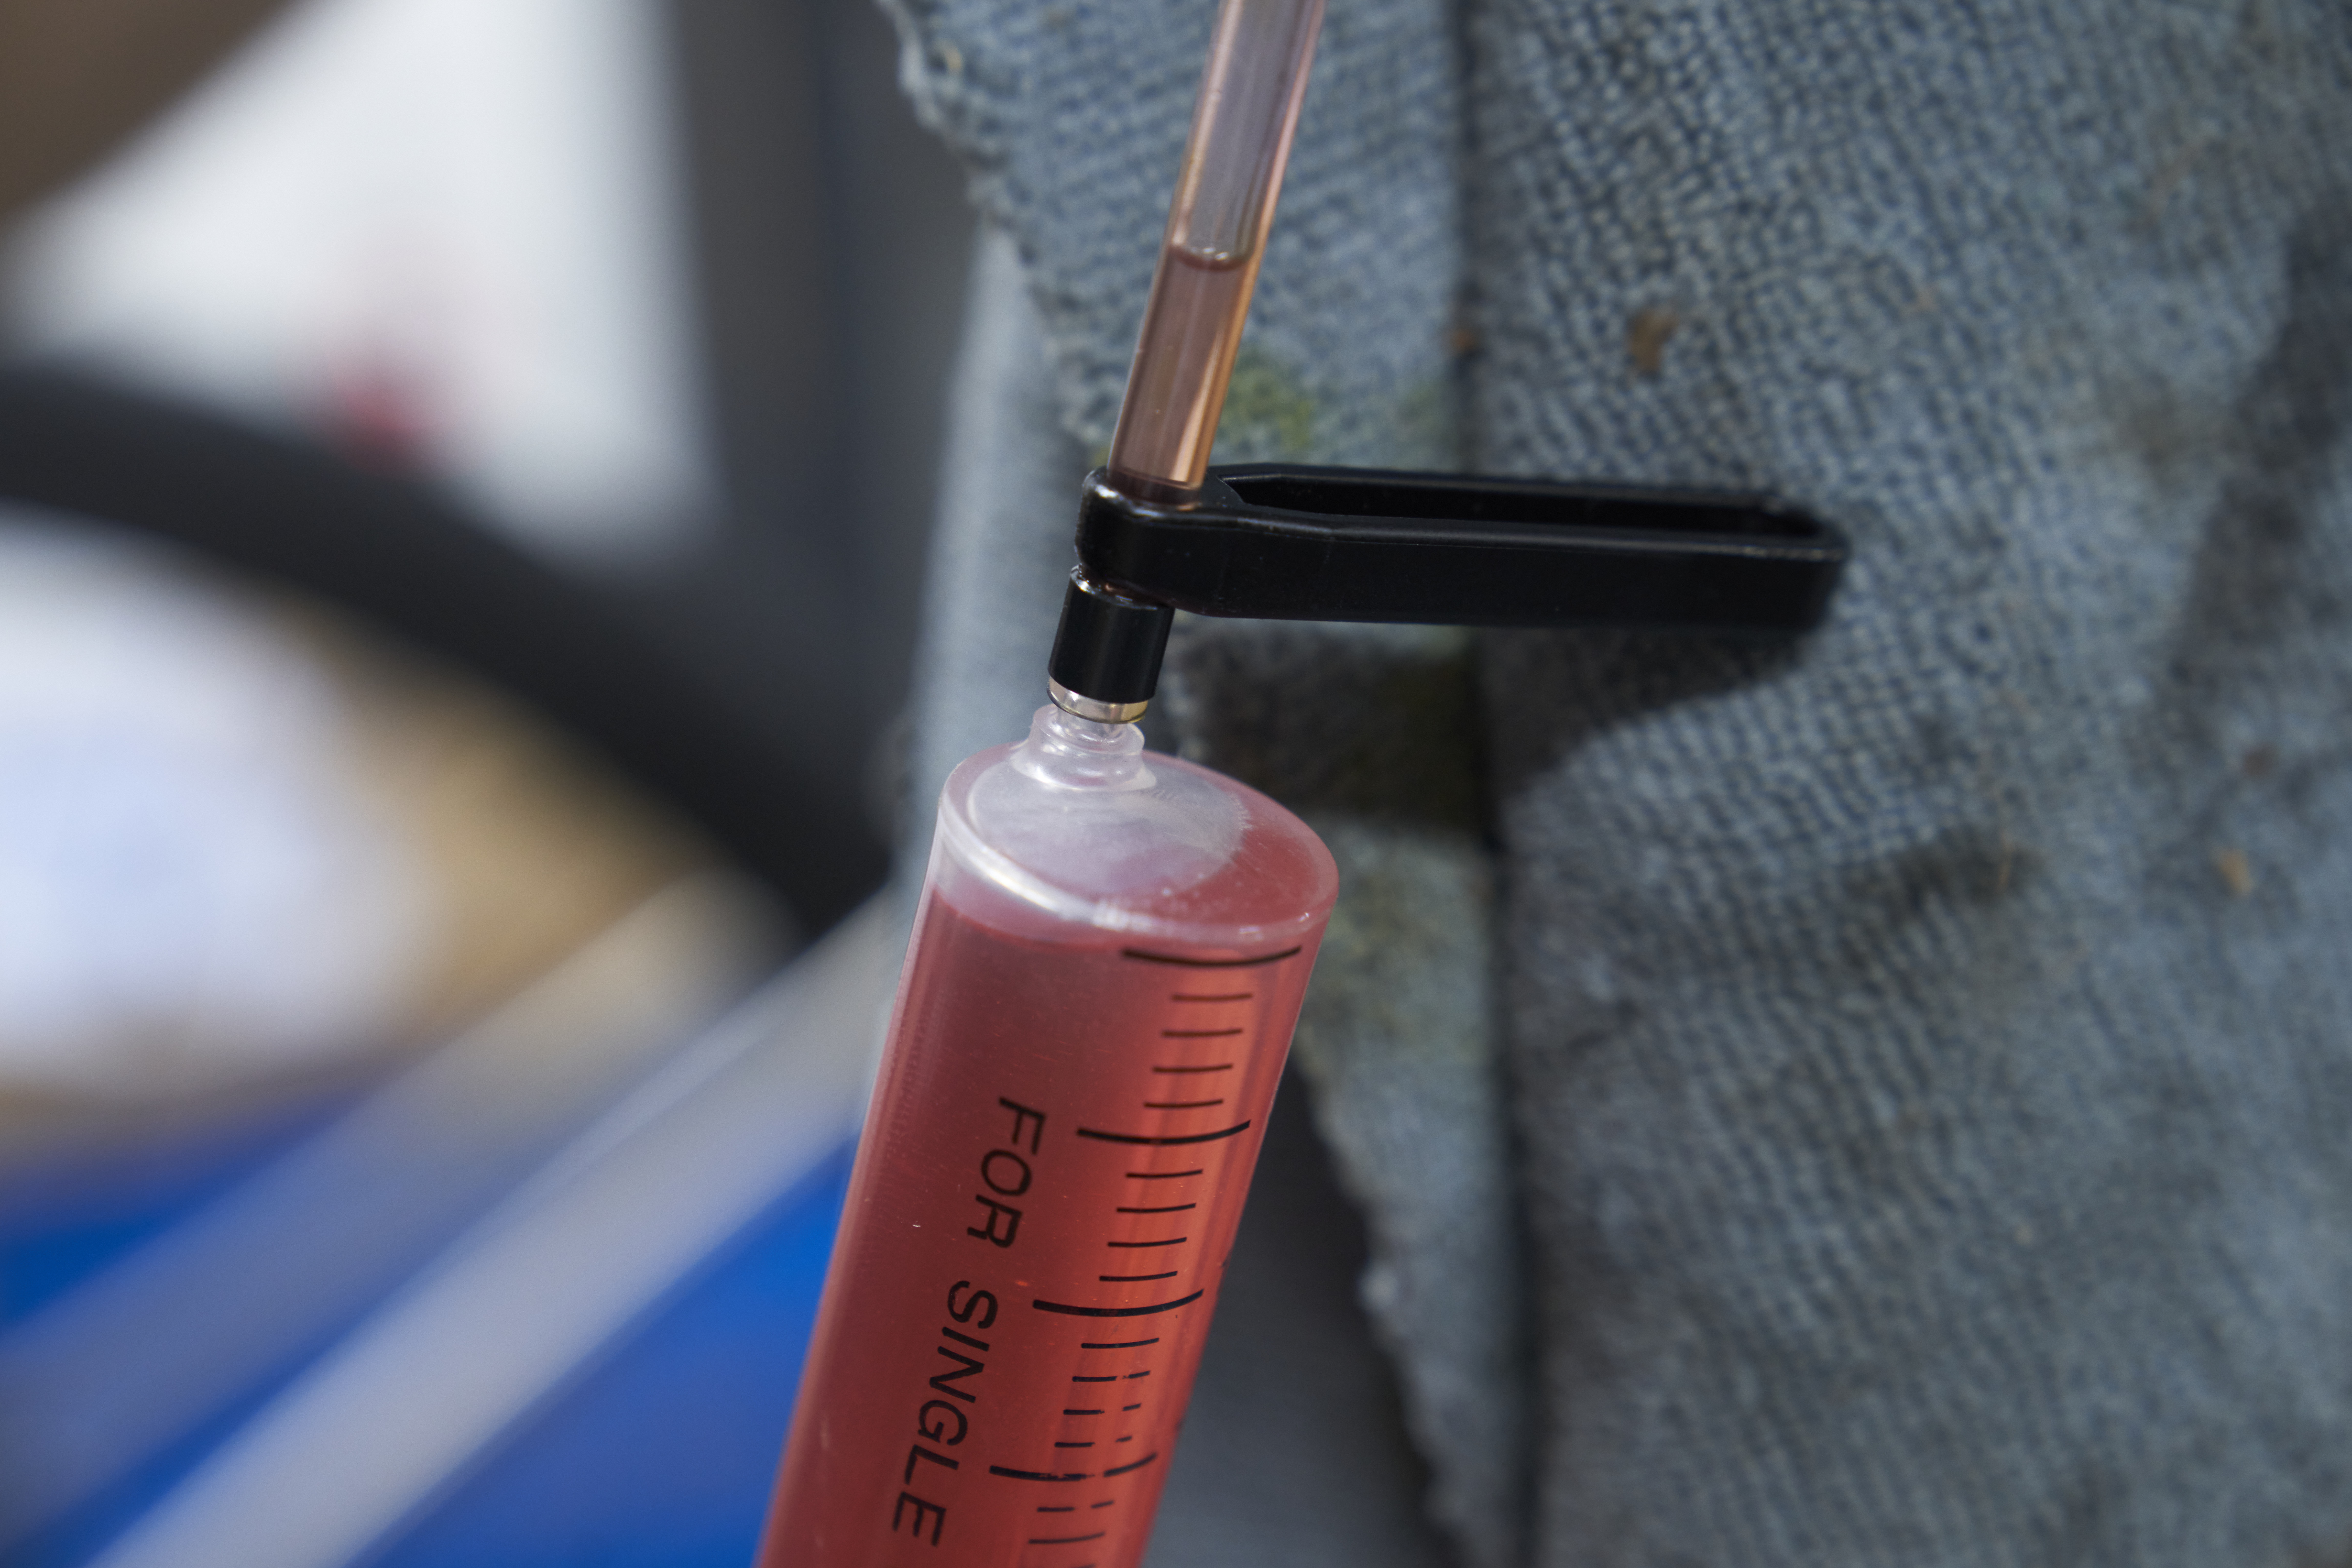 Shimano mineral oil in bleed syringe
Hold the syringe vertically to let the bubbles rise to the top.
4.3 Connecting the Syringes
- Attach Syringe to Caliper: Connect one syringe to the bleed port on the brake caliper.
- Attach Syringe to Lever: Connect the other syringe to the bleed port on the brake lever.
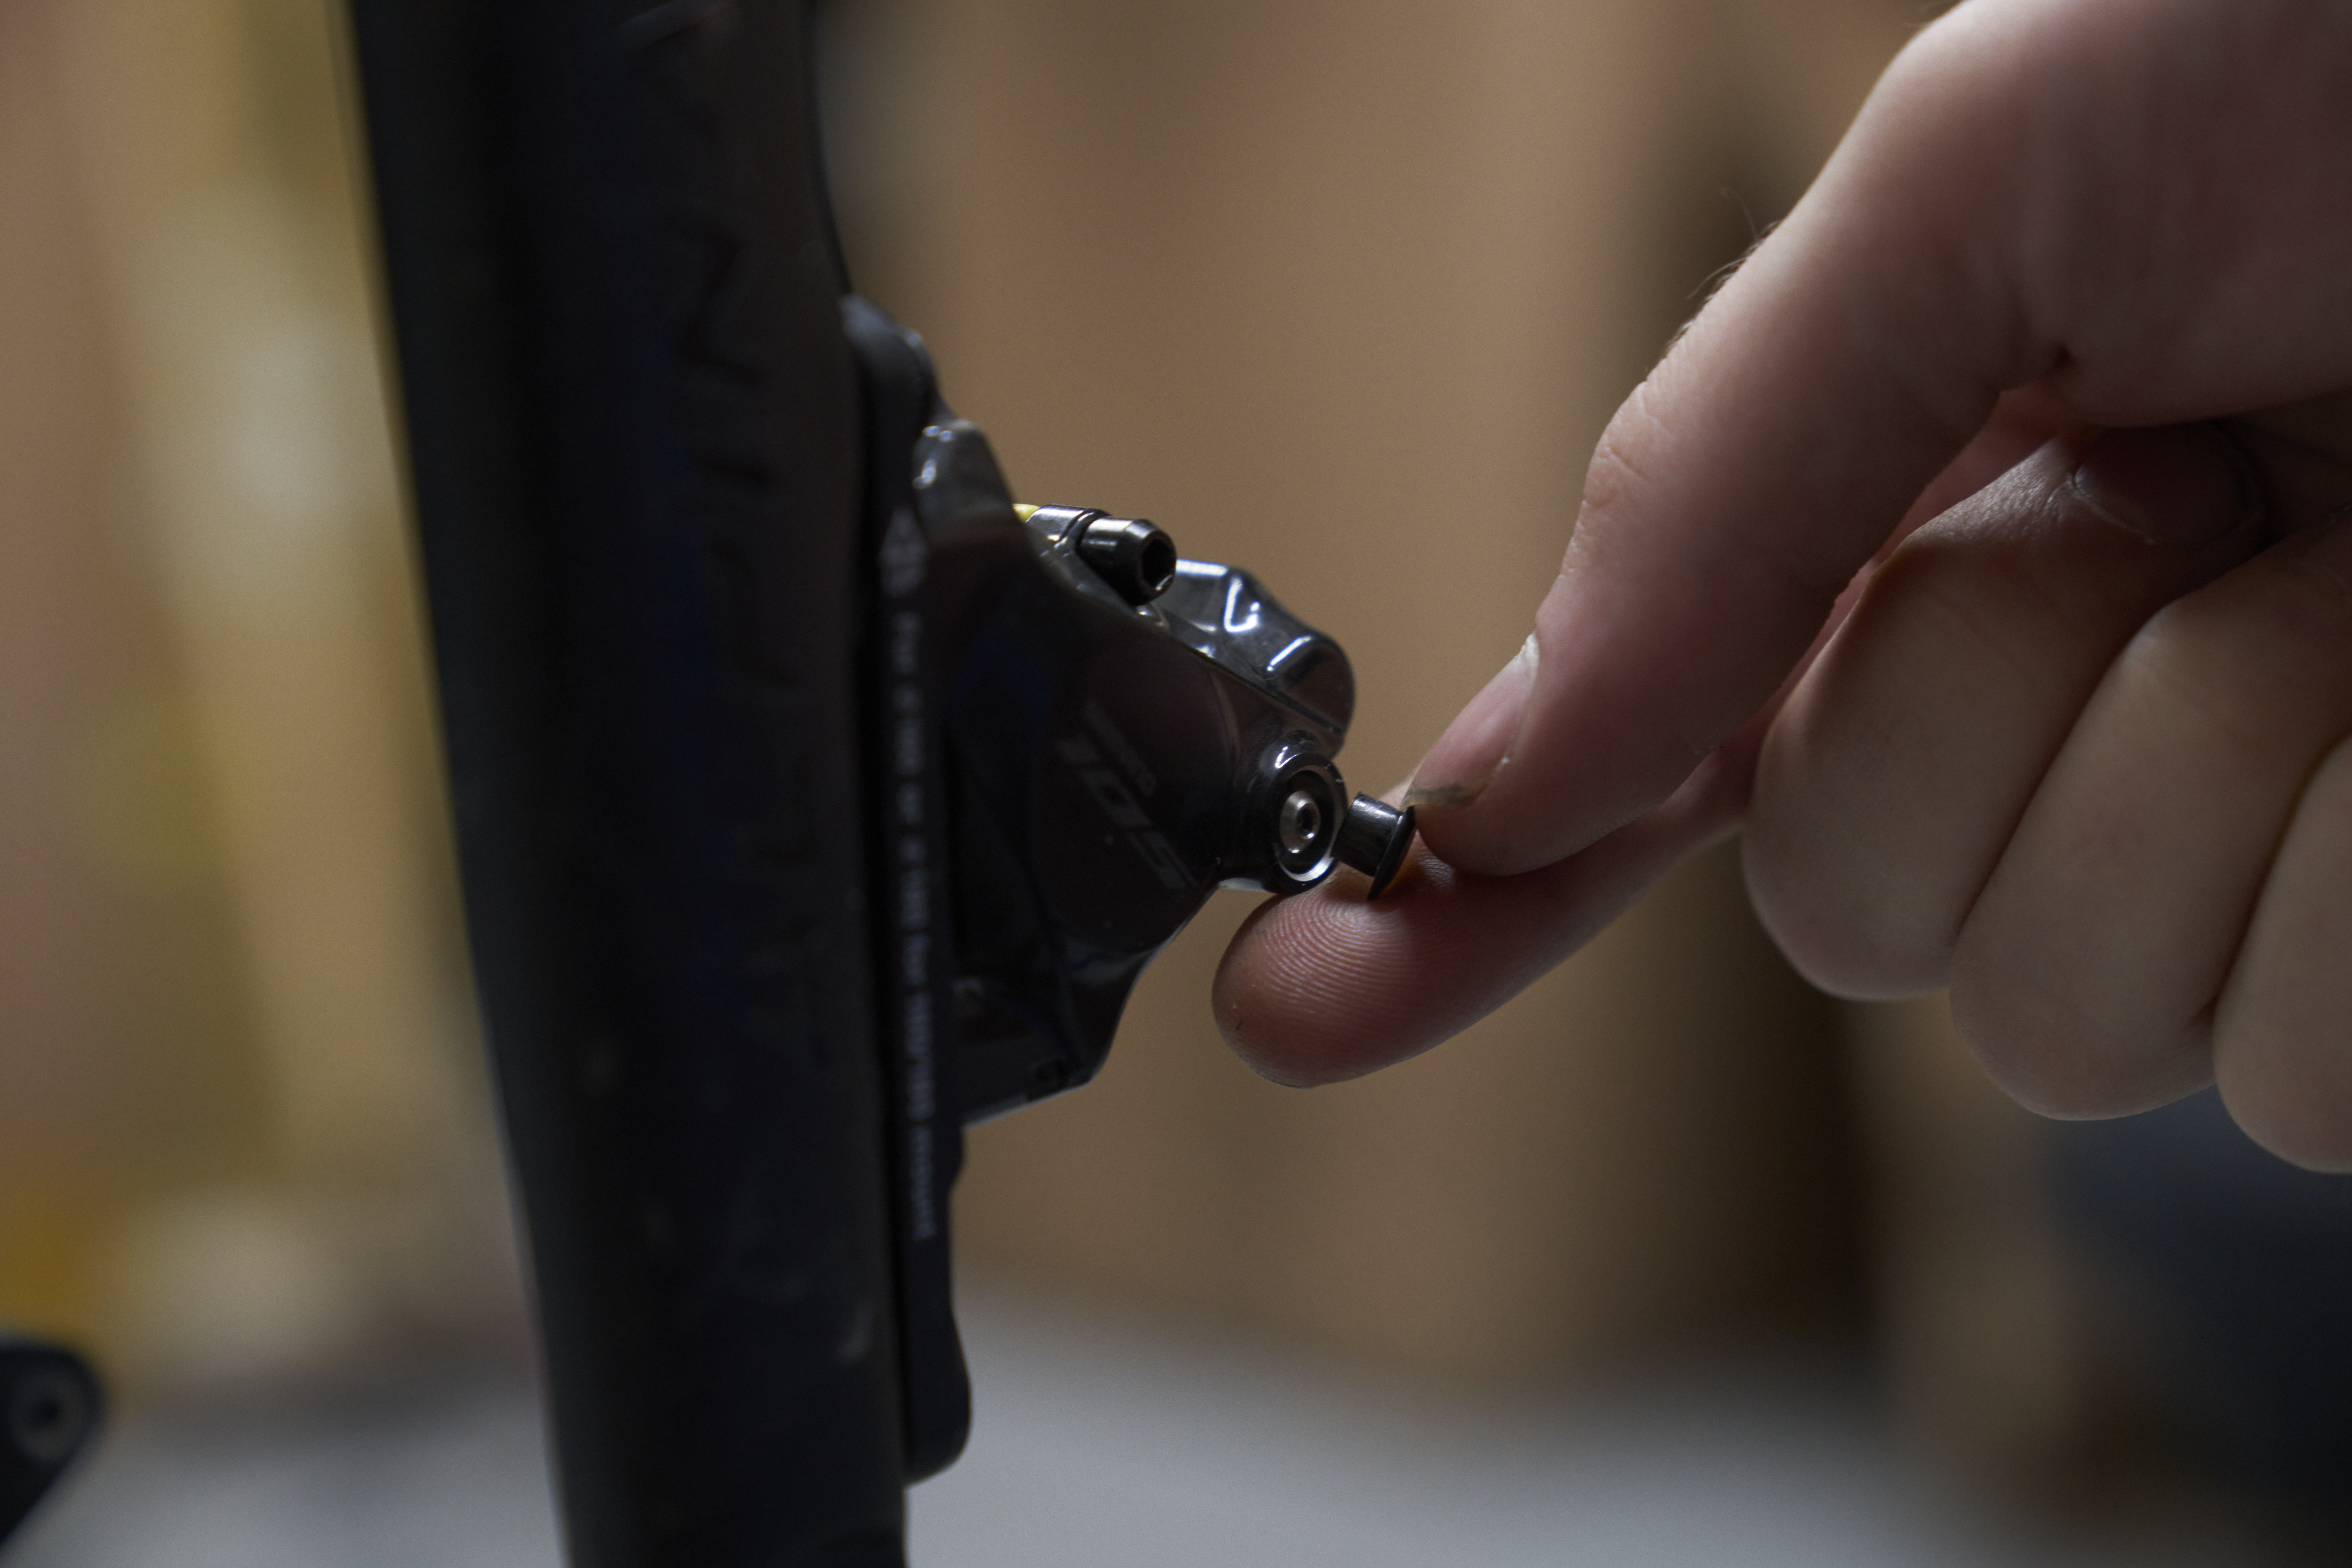 Shimano 105 Di2 brake caliber bleed port screw
The latest Shimano calipers feature a separate bleed boss and port.
4.4 Bleeding the Brakes
- Open Bleed Nipples: Loosen the bleed nipples on both the caliper and lever.
- Push Fluid Through: Slowly push fluid from the syringe at the caliper towards the lever, watching for air bubbles in the hose.
- Alternate Pushing and Pulling: Alternate between pushing and pulling fluid with the syringes to remove all air bubbles.
- Close Bleed Nipples: Once no more air bubbles are visible, close the bleed nipples on both the caliper and lever.
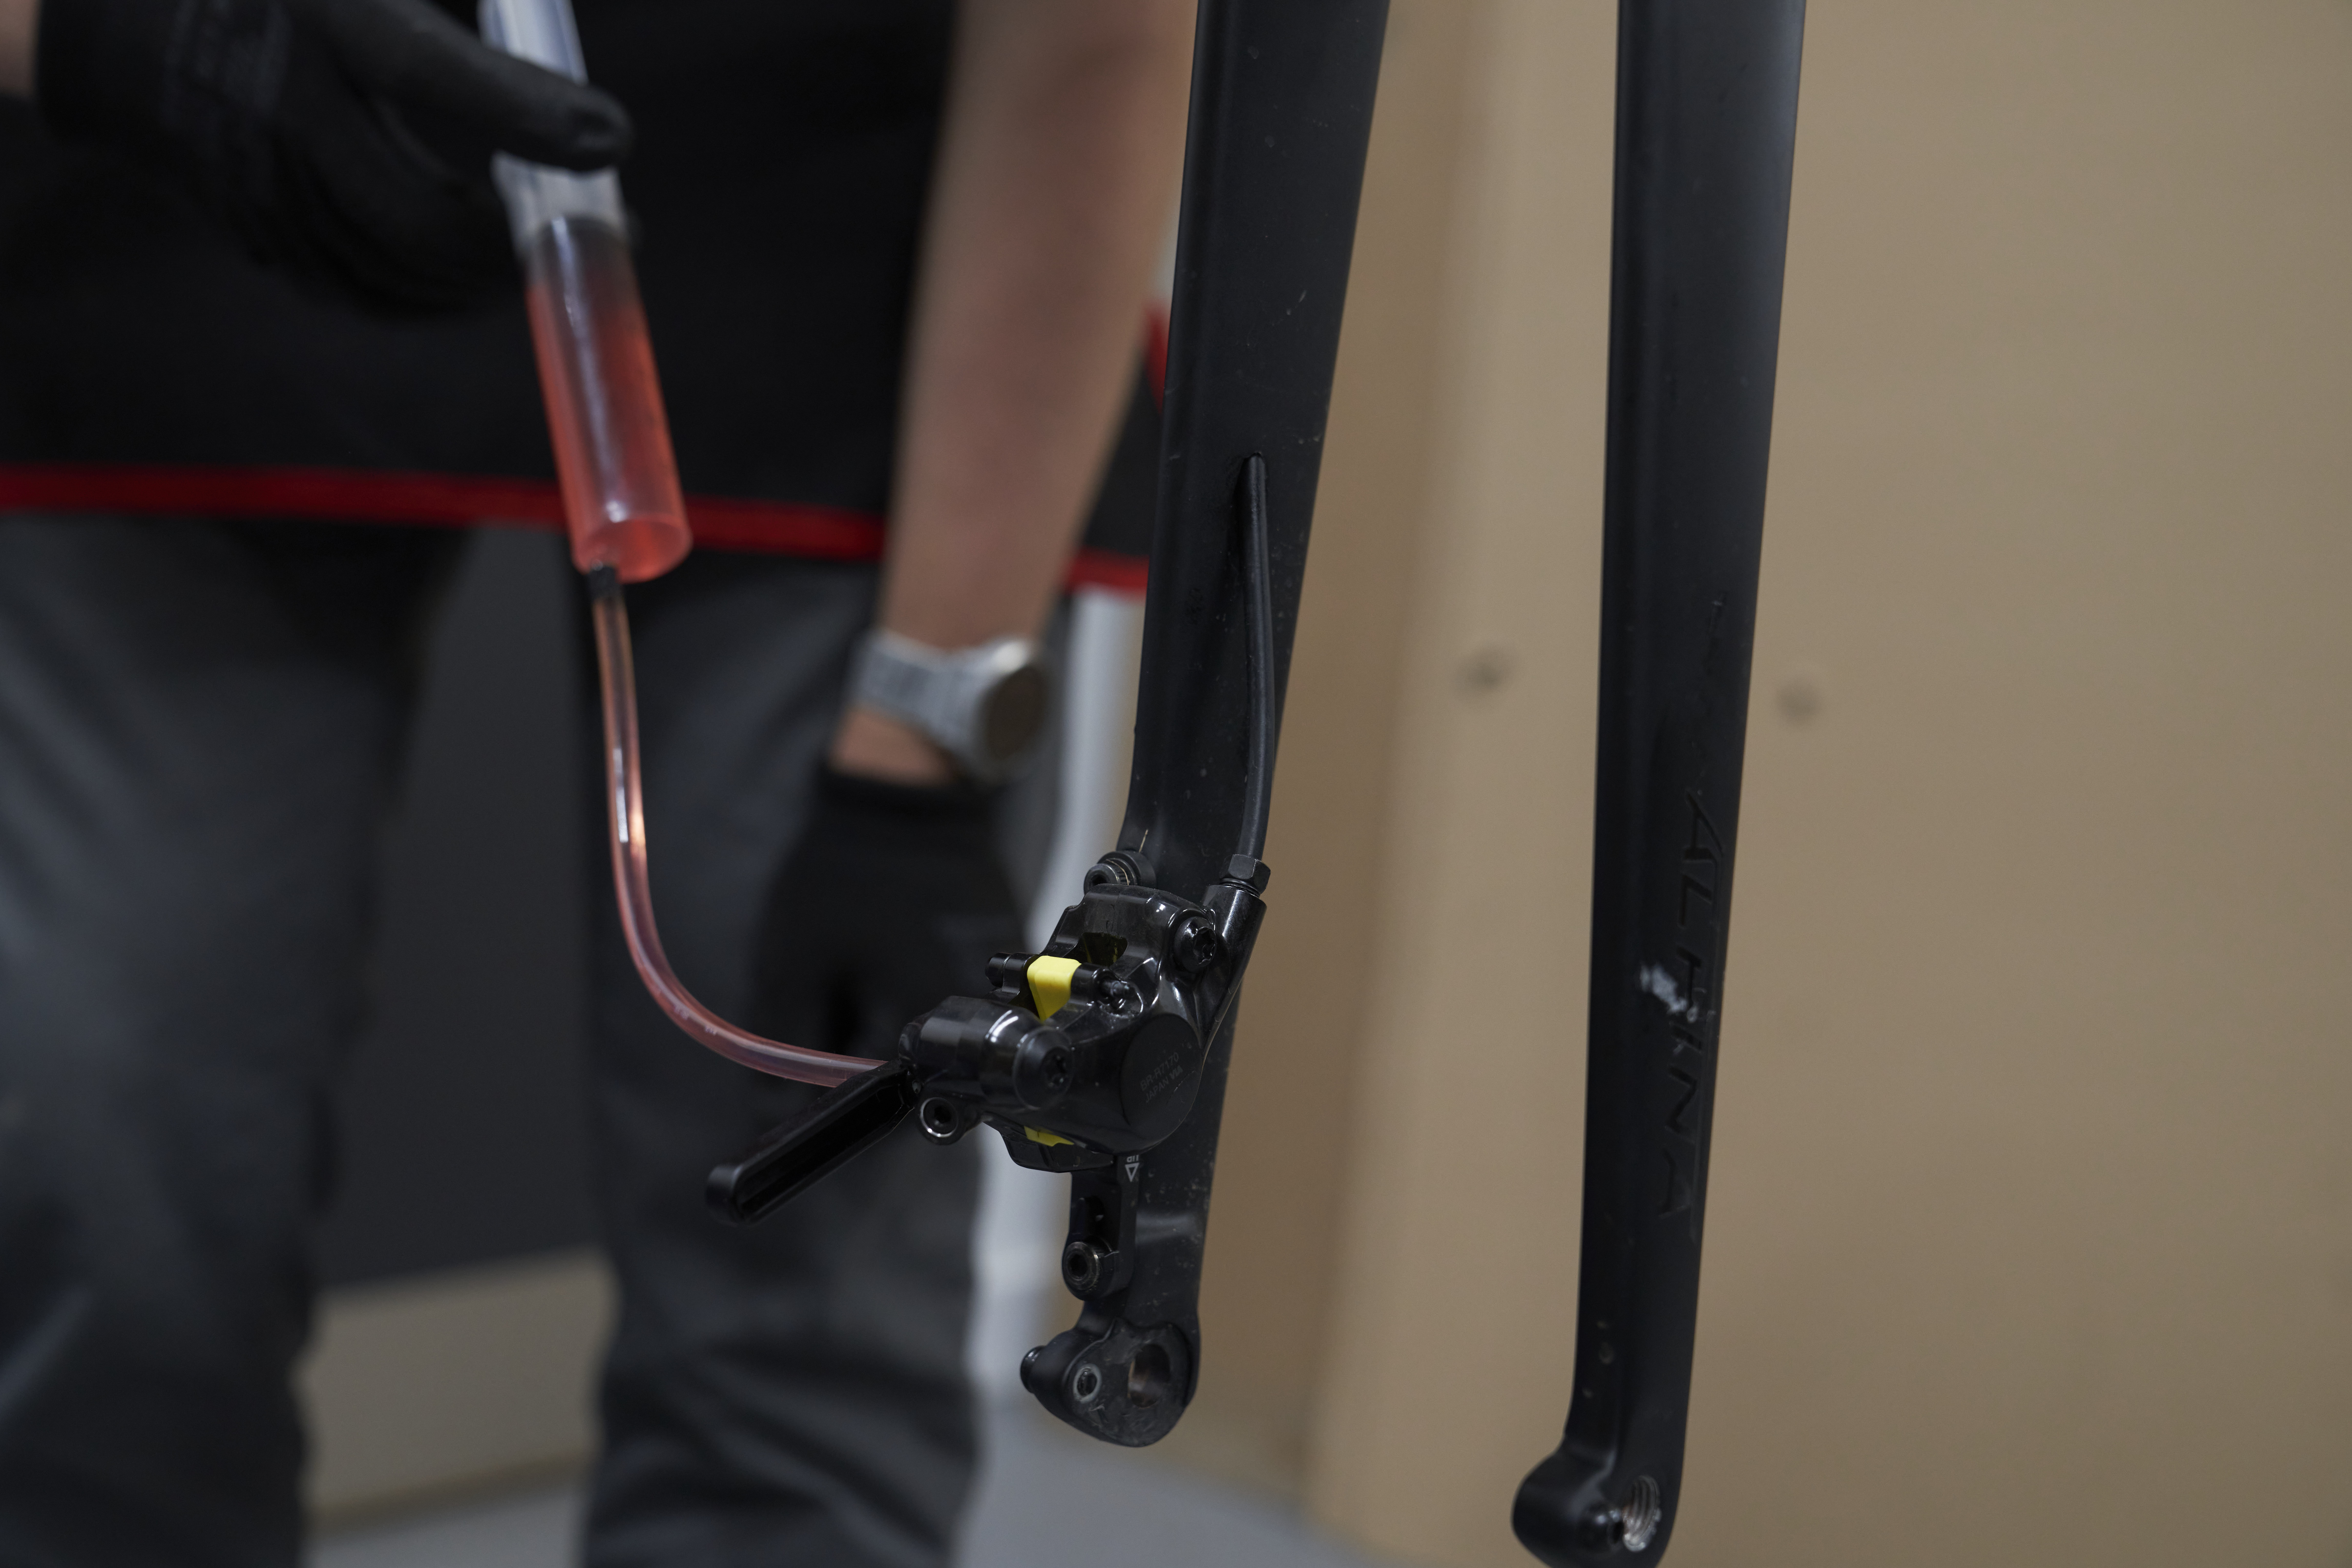 Oscar Huckle bleeding a Shimano 105 Di2 brake
Push the fresh oil into the caliper.
4.5 Finalizing the Bleed
- Remove Syringes: Disconnect the syringes from the bleed ports.
- Clean Components: Clean the calipers, levers, and hoses with isopropyl alcohol to remove any spilled brake fluid.
- Reinstall Brake Pads and Wheels: Reinstall the brake pads and wheels on your bike.
- Test Brakes: Test the brakes to ensure they are working properly, and repeat the bleeding process if necessary.
4.6 Shimano Brakes
- Prepare the Bike: Place your bike on a repair stand, ensuring it is stable. Remove the wheels and brake pads. Use a clean rag to wipe down the calipers to remove any dirt or debris.
- Position the Caliper: For the rear caliper, you may find it easier to remove it from the frame and let it dangle vertically. This allows air bubbles to escape more easily.
- Install Bleed Block: Insert a bleed block between the caliper pistons. This prevents the pistons from moving too far out during the bleed.
- Prepare the Syringe: Fill a Shimano-compatible syringe with mineral oil. Remove any air bubbles by holding the syringe vertically and gently tapping it.
- Attach the Syringe: Remove the bleed port screw on the caliper. Attach the syringe filled with mineral oil to the bleed port.
- Open the Bleed Nipple: Using a 7mm wrench, gently loosen the bleed nipple on the caliper by about a quarter turn.
- Push the Fluid: Slowly push the mineral oil through the syringe. Watch for air bubbles entering the system. Continue until you see fresh, clean fluid without bubbles coming through.
- Close the Bleed Nipple: Close the bleed nipple by tightening it gently with the 7mm wrench while still applying pressure to the syringe.
- Remove the Syringe: Once the bleed nipple is tightened, remove the syringe from the caliper.
- Repeat at the Lever: Locate the bleed port on the brake lever. Remove the bleed screw, ensuring the O-ring comes out with it. Attach the bleed funnel.
- Position the Lever: Rotate the lever so the bleed screw is the highest point. This helps air bubbles move into the funnel.
- Burp the System: Gently tap the brake lever, hose, and caliper to encourage any trapped air bubbles to rise.
- Add Mineral Oil: Ensure the bleed funnel is at least a quarter full with mineral oil.
- Operate the Lever: Slowly pull the brake lever repeatedly, watching for any bubbles in the funnel. Continue until no more bubbles appear.
- Finalize the Bleed: Once the system is free of bubbles, install the plunger in the bleed funnel.
- Replace the Bleed Screw: Remove the plunger and replace the bleed screw, making sure the O-ring is in place. Tighten gently.
- Clean Up: Clean the caliper and lever with isopropyl alcohol to remove any spilled mineral oil.
- Reinstall Components: Reinstall the brake pads and wheels. Test the brakes to ensure they are working properly.
- Test Ride: Take the bike for a short test ride in a safe area to ensure the brakes are functioning correctly.
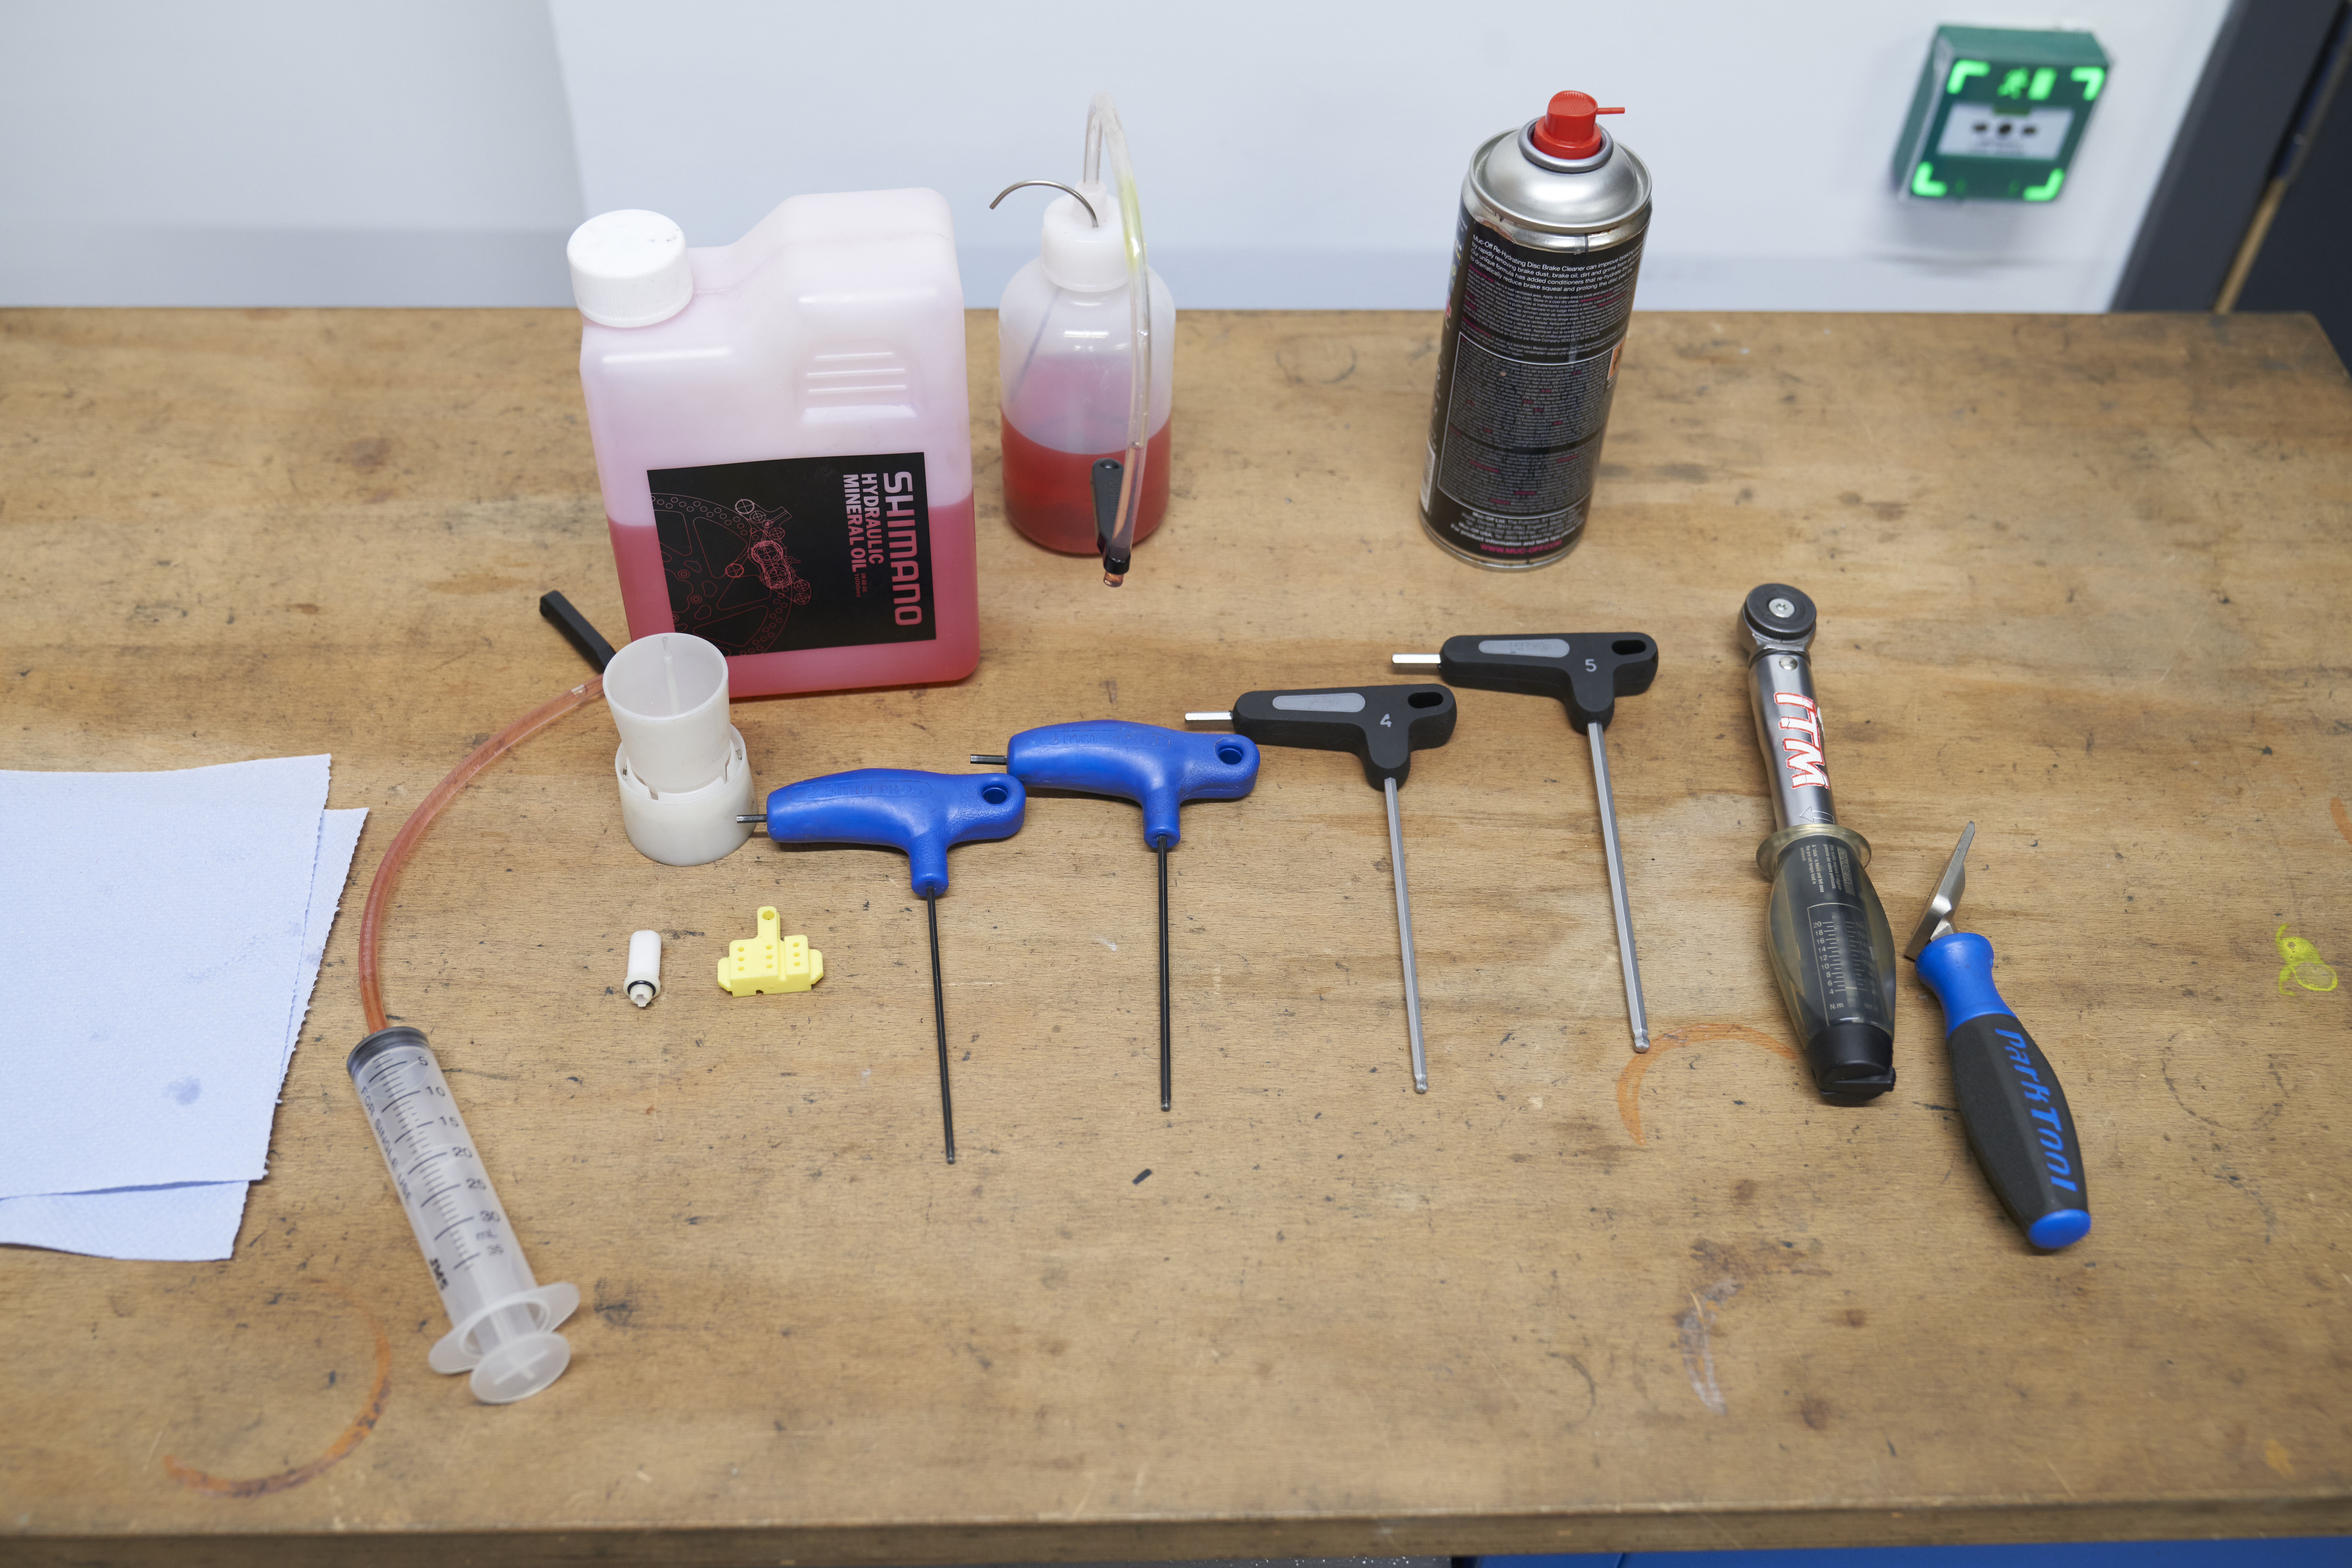 Tools required to bleed Shimano hydraulic disc brakes
A Shimano bleed kit will include most of the tools required for the job.
4.7 SRAM Brakes
- Gather Tools and Materials: Collect the necessary tools, including a SRAM bleed kit, DOT 5.1 brake fluid, T10 and T25 Torx wrenches, a syringe, and a bleed block.
- Prepare the Bike: Place your bike on a repair stand. Remove the brake pads and install a bleed block to keep the pistons in place.
- Position the Levers and Calipers: Ensure the bleed screws on both the lever and caliper are accessible.
- Prepare the Syringes: Fill two syringes with DOT 5.1 brake fluid. Remove any air bubbles.
- Connect Syringes: Attach one syringe to the bleed port on the lever and the other to the bleed port on the caliper.
- Open Bleed Screws: Loosen the bleed screws on both the lever and caliper.
- Push Fluid Through: Slowly push the fluid from one syringe to the other, watching for air bubbles.
- Alternate and Tap: Alternate pushing and pulling fluid while tapping the brake lines and components to dislodge trapped air.
- Remove Syringes: Once the fluid is clear and free of bubbles, close the bleed screws and remove the syringes.
- Clean and Reassemble: Clean any spilled fluid with isopropyl alcohol. Reinstall the brake pads and wheels.
- Test Brakes: Test the brake lever feel and braking performance. Repeat the process if necessary.
- Final Check: Ensure all components are properly tightened and perform a test ride.
4.8 Alternative Method: Back Bleeding
Back bleeding is an alternative method where you push fluid from the caliper up to the lever. This can be useful for removing stubborn air bubbles.
- Set Up: Prepare the bike and remove the brake pads, installing a bleed block.
- Connect Syringe to Caliper: Attach a syringe filled with brake fluid to the caliper bleed port.
- Open Bleed Nipple: Loosen the bleed nipple on the lever.
- Push Fluid Upward: Slowly push fluid from the caliper up to the lever, allowing air to escape at the lever.
- Close Bleed Nipple: Once the fluid is clear, close the bleed nipple on the lever.
- Clean and Test: Clean any spilled fluid and test the brakes.
5. Burp Bleeding: A Quick Fix
Burp bleeding is a simplified version of the full bleeding process, ideal for addressing minor air buildup or after shortening brake hoses.
5.1 When to Use Burp Bleeding
- Minor Sponginess: If your brakes feel slightly spongy but don’t require a full bleed, burp bleeding can help.
- After Hose Shortening: After shortening brake hoses, some air may enter the system, and burp bleeding can remove it.
- Regular Maintenance: As part of regular maintenance, burp bleeding can help maintain optimal brake performance.
5.2 Tools Required for Burp Bleeding
- Brake Bleed Kit: A basic bleed kit with a syringe and hose.
- Brake Fluid: The correct type of brake fluid for your system.
- Hex Wrenches: For removing the bleed port screw.
- Shop Towels: For cleaning up any spills.
5.3 Steps for Burp Bleeding
- Prepare the Bike: Place your bike on a repair stand.
- Locate Bleed Port: Find the bleed port on the brake lever.
- Attach Syringe: Attach a syringe filled with brake fluid to the bleed port.
- Open Bleed Port: Gently open the bleed port screw.
- Flick the Lever and Hose: Gently flick the brake lever and hose to encourage air bubbles to rise.
- Draw Out Air: Use the syringe to draw out any air bubbles from the system.
- Close Bleed Port: Once no more air bubbles are visible, close the bleed port screw.
- Test the Brakes: Test the brake lever feel and braking performance.
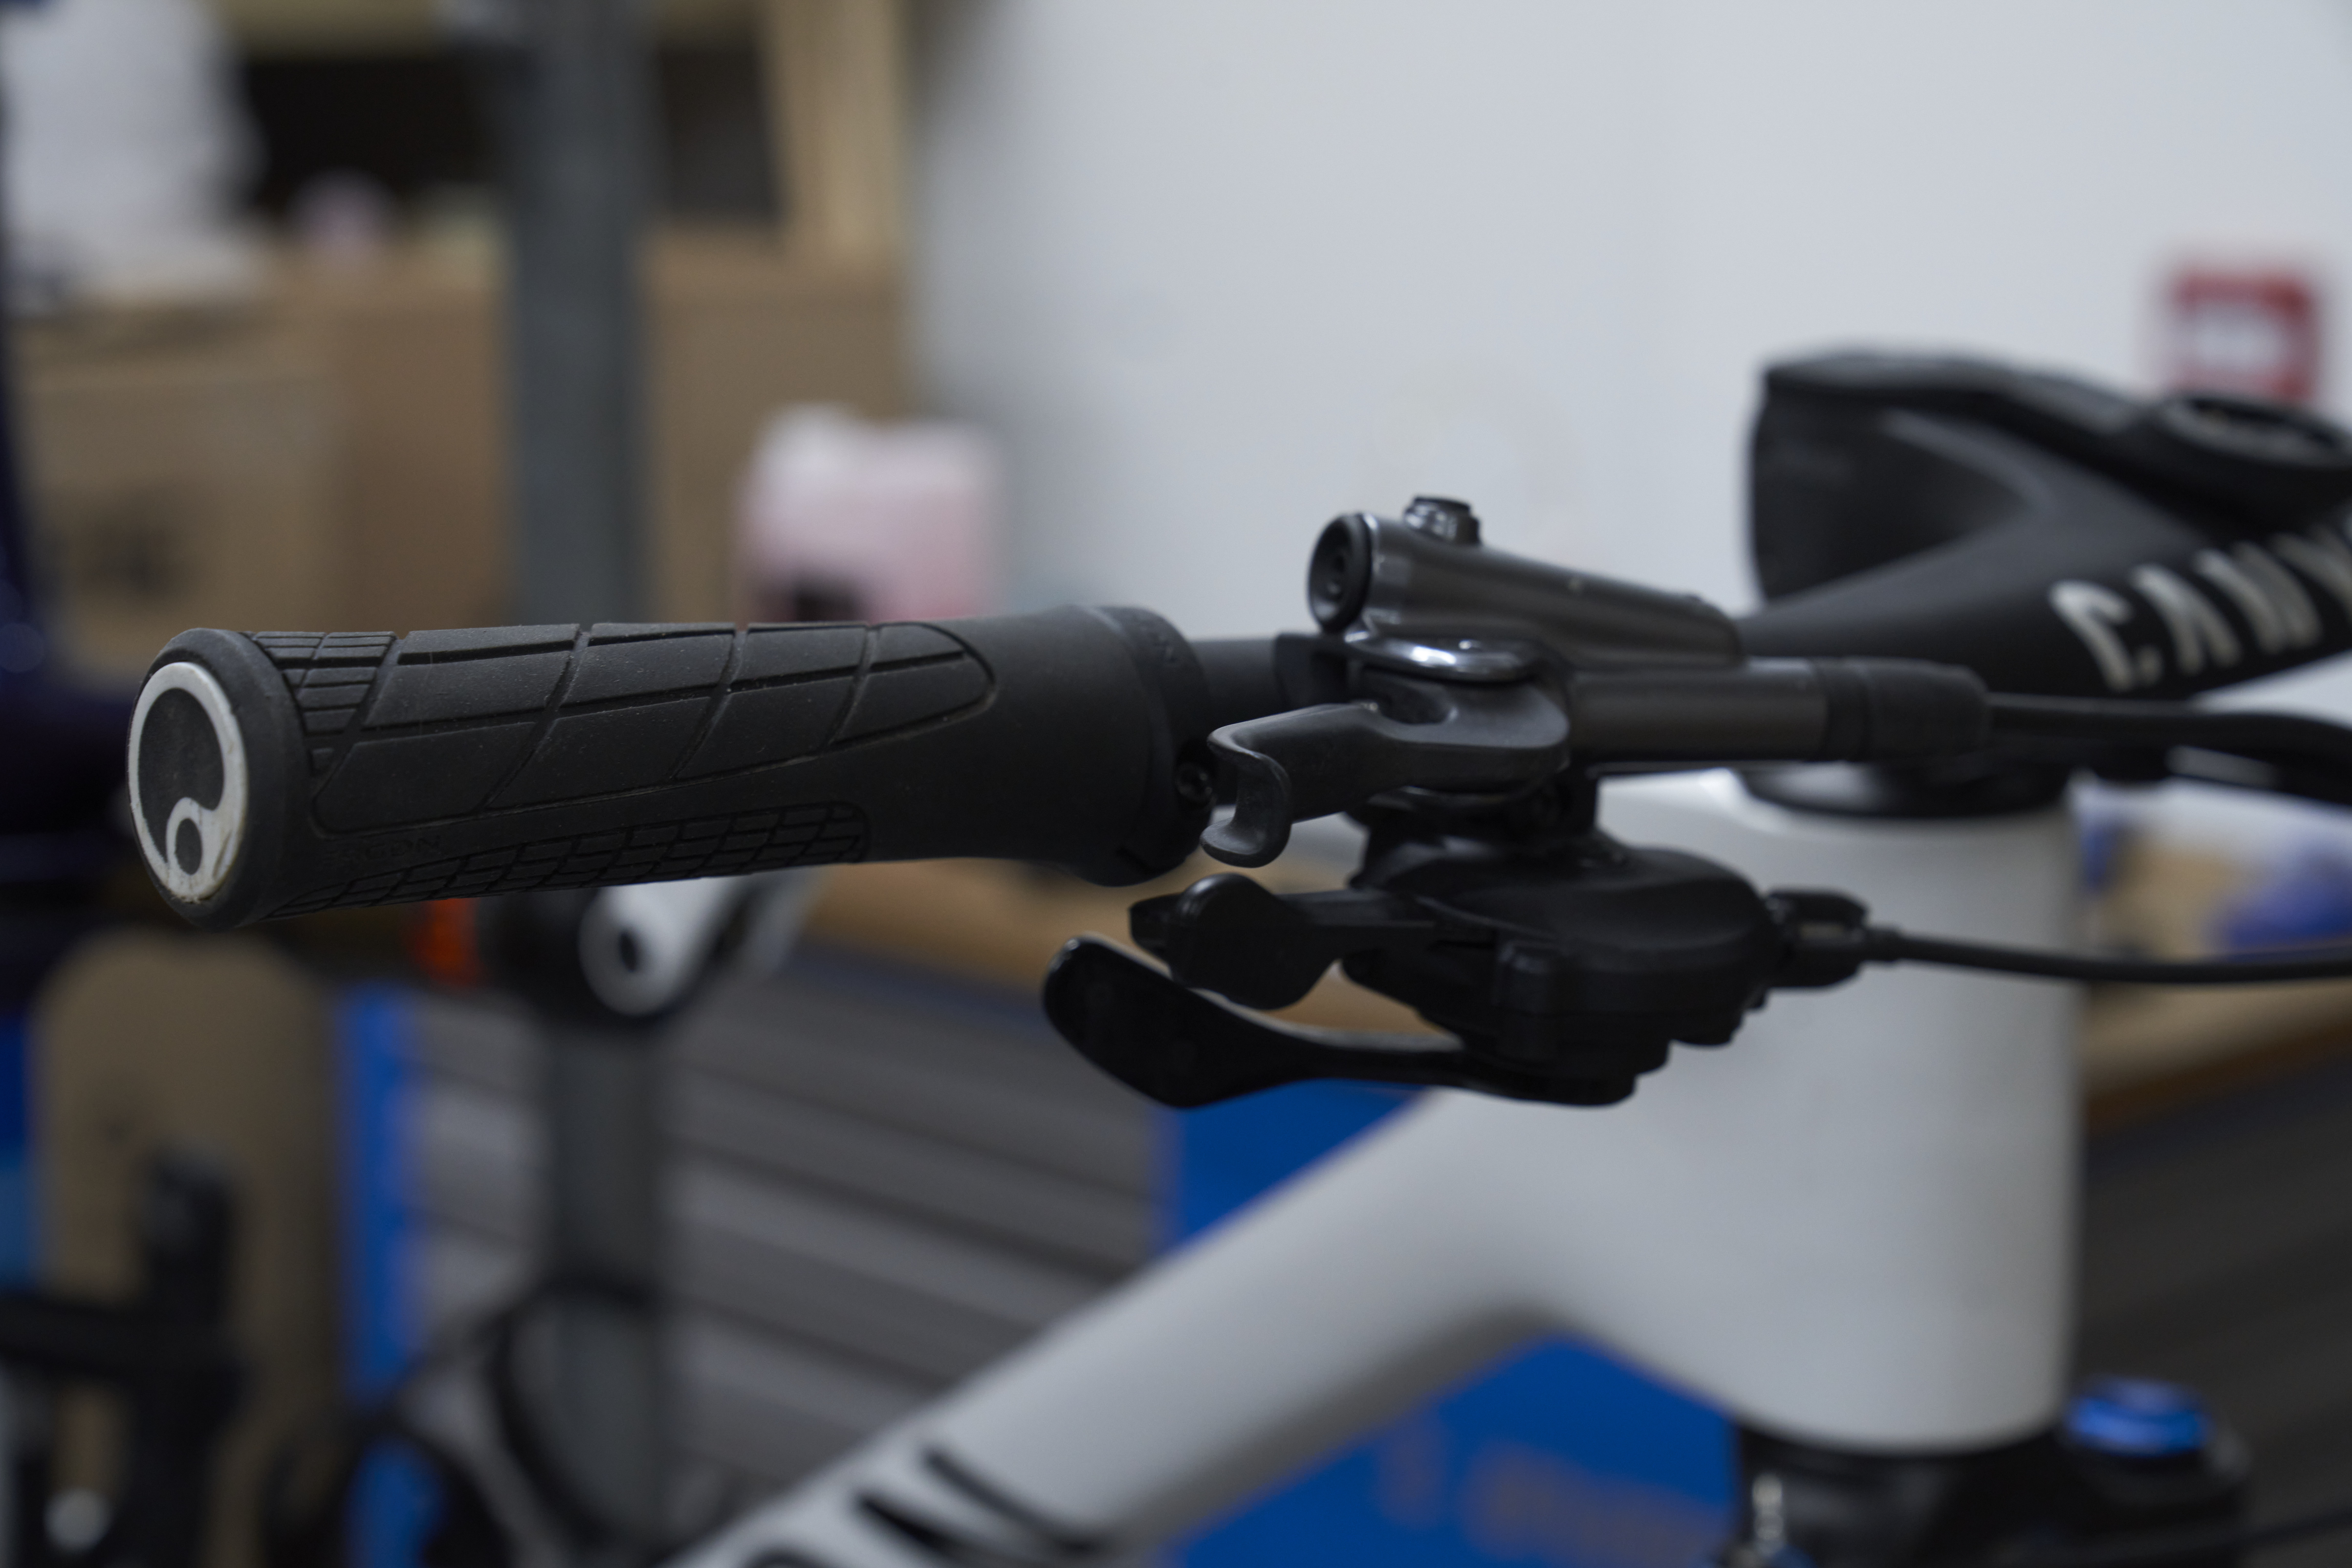 Shimano XTR shifter on Canyon Lux
Level the bleed port screw.
6. Common Mistakes to Avoid
Avoiding common mistakes ensures a successful brake bleeding process and prevents damage to your brake system.
6.1 Using the Wrong Brake Fluid
Using the wrong brake fluid can cause severe damage to your brake system, leading to brake failure.
- DOT Fluid in Mineral Oil Systems: DOT fluid can corrode the seals in mineral oil systems, causing leaks and brake failure.
- Mineral Oil in DOT Fluid Systems: Mineral oil can damage the seals in DOT fluid systems, leading to leaks and brake failure.
- Checking Compatibility: Always check the manufacturer’s specifications to ensure you are using the correct brake fluid for your system.
6.2 Introducing Air into the System
Introducing air into the system defeats the purpose of bleeding the brakes.
- Improper Syringe Technique: Ensure the syringes are free of air bubbles before connecting them to the brake system.
- Loose Fittings: Ensure all fittings are tight and secure to prevent air from entering the system during the bleeding process.
- Running the Reservoir Dry: Avoid running the brake fluid reservoir dry, as this can introduce air into the system.
6.3 Overtightening Bleed Nipples
Overtightening bleed nipples can damage the threads, making it difficult to bleed the brakes in the future.
- Stripped Threads: Overtightening can strip the threads on the bleed nipple, requiring replacement of the caliper or lever.
- Proper Torque: Use a torque wrench to tighten bleed nipples to the manufacturer’s specifications.
- Gentle Tightening: Tighten bleed nipples gently, just enough to create a seal.
6.4 Contaminating Brake Pads and Rotors
Contaminating brake pads and rotors can reduce braking performance and cause noise.
- Brake Fluid Contamination: Avoid getting brake fluid on the brake pads or rotors during the bleeding process.
- Cleaning Contaminated Components: If brake fluid gets on the brake pads or rotors, clean them with isopropyl alcohol.
- Replacing Contaminated Pads: Severely contaminated brake pads may need to be replaced.
6.5 Neglecting Safety Precautions
Neglecting safety precautions can lead to injury or damage to your bike.
- Eye Protection: Always wear safety glasses to protect your eyes from brake fluid.
- Hand Protection: Wear gloves to protect your skin from brake fluid and cleaning agents.
- Proper Ventilation: Work in a well-ventilated area to avoid inhaling brake fluid vapors.
7. Troubleshooting Common Issues
Even with careful attention, issues can arise during the brake bleeding process. Here’s how to troubleshoot them:
7.1 Spongy Lever After Bleeding
If the brake lever still feels spongy after bleeding, it indicates that air remains in the system.
- Re-Bleed the Brakes: Repeat the bleeding process, paying close attention to removing all air bubbles.
- Check for Leaks: Inspect the brake system for leaks, which can allow air to enter the system.
- Tap Brake Lines: Gently tap the brake lines and components to dislodge any trapped air.
7.2 Brake Fluid Leaks
Brake fluid leaks can compromise braking performance and damage components.
- Inspect Fittings: Check all fittings for tightness and proper sealing.
- Replace Damaged Parts: Replace any damaged seals, hoses, or fittings.
- Tighten Connections: Ensure all connections are properly tightened to prevent leaks.
7.3 Difficulty Pushing Fluid Through
Difficulty pushing fluid through the system can indicate a blockage or restriction.
- Check for Blockages: Inspect the brake lines and components for blockages or kinks.
- Loosen Bleed Nipples: Ensure the bleed nipples are open enough to allow fluid to flow freely.
- Clean Components: Clean the brake lines and components with isopropyl alcohol to remove any debris.
7.4 Noisy Brakes After Bleeding
Noisy brakes after bleeding can be caused by contamination or misalignment.
- Clean Rotors and Pads: Clean the rotors and brake pads with isopropyl alcohol to remove any contaminants.
- Realign Calipers: Realign the calipers to ensure they are properly centered over the rotors.
- Check Pad Wear: Inspect the brake pads for wear and replace them if necessary.
7.5 Brake Fade Persists
If brake fade persists after bleeding, it indicates that the brake fluid is still contaminated or the system is overheating.
- Flush the System: Flush the entire brake system with fresh brake fluid.
- Upgrade Brake Components: Consider upgrading to higher-performance brake pads or rotors to improve heat dissipation.
- Adjust Riding Technique: Avoid prolonged braking on long descents to prevent overheating.
8. Maintenance Tips for Disc Brakes
Regular maintenance is essential for keeping your disc brakes in top condition and ensuring reliable performance.
8.1 Regular Cleaning
Regularly clean your disc brakes to remove dirt, grime, and contaminants.
- Use Isopropyl Alcohol: Clean the rotors and calipers with isopropyl alcohol and a clean rag.
- Avoid Harsh Chemicals: Avoid using harsh chemicals or solvents, which can damage brake components.
- Clean After Muddy Rides: Clean your brakes after riding in muddy or wet conditions to prevent corrosion and wear.
8.2 Inspecting Brake Pads and Rotors
Regularly inspect your brake pads and rotors for wear and damage.
- Check Pad Thickness: Monitor the thickness of the brake pads and replace them when they reach the wear limit.
- Inspect Rotors for Damage: Check the rotors for warping, cracks, or excessive wear.
- Replace Worn Components: Replace worn brake pads and rotors to maintain optimal braking performance.
8.3 Checking for Leaks
Regularly check your brake system for leaks.
- Inspect Fittings and Hoses: Inspect all fittings and hoses for signs of leaks or damage.
- Tighten Connections: Tighten any loose connections to prevent leaks.
- Replace Damaged Parts: Replace any damaged hoses, seals, or fittings to prevent leaks.
8.4 Storing Your Bike Properly
Store your bike properly to prevent damage to the brake system.
- Avoid Extreme Temperatures: Store your bike in a cool, dry place to avoid extreme temperatures, which can damage brake fluid and components.
- Protect from Moisture: Protect your bike from moisture to prevent corrosion and rust.
- Release Brake Pressure: If storing your bike for an extended period, release the brake pressure to prevent the pistons from sticking.
8.5 Professional Servicing
Consider professional servicing for your disc brakes.
- Annual Check-Up: Schedule an annual check-up with a professional bike mechanic to inspect and service your brakes.
- Complex Repairs: Entrust complex repairs or maintenance tasks to a qualified mechanic.
- Expert Advice: Seek expert advice on brake upgrades, maintenance, and troubleshooting.
9. Enhancing Your Biking Experience with Properly Maintained Brakes
Properly maintained disc brakes not only ensure your safety but also enhance your overall biking experience.
9.1 Increased Confidence on the Trails
Reliable brakes provide increased confidence on the trails.
- Precise Control: Properly functioning brakes allow for precise control over your bike, enhancing your ability to navigate challenging terrain.
- Predictable Performance: Consistent braking performance ensures you can confidently tackle descents and technical sections.
- Reduced Anxiety: Knowing your brakes are in top condition reduces anxiety and allows you to focus on enjoying the ride.
9.2 Smoother Riding Experience
Well-maintained brakes contribute to a smoother riding experience.
- Consistent Braking: Consistent braking performance eliminates jerky or unpredictable stops, resulting in a smoother ride.
- Reduced Vibration: Properly aligned and maintained brakes minimize vibration and noise, enhancing your comfort on the trails.
- Enhanced Control: Improved control over your bike translates to a smoother and more enjoyable riding experience.
9.3 Extended Component Life
Regular maintenance extends the lifespan of your brake components.
- Preventing Corrosion: Regular cleaning and maintenance prevent corrosion and wear, prolonging the life of your brake components.
- Reducing Wear: Proper alignment and maintenance reduce wear on brake pads and rotors, saving you money on replacements.
- Optimizing Performance: Maintaining your brakes ensures they perform optimally for longer, reducing the need for frequent repairs or replacements.
9.4 Safety and Injury Prevention
Properly maintained brakes enhance your safety and help prevent injuries.
- Reliable Stopping Power: Reliable brakes provide the stopping power you need to avoid accidents and collisions.
- Preventing Brake Failure: Regular maintenance prevents brake failure, reducing the risk of accidents and injuries.
- Enhanced Control: Improved control over your bike enhances your ability to react to unexpected obstacles or hazards.
9.5 Enjoyment of the Sport
Ultimately, properly maintained brakes enhance your enjoyment of mountain biking.
- Peace of Mind: Knowing your brakes are in top condition provides peace of mind, allowing you to fully enjoy your rides.
- Enhanced Performance: Optimal braking performance enhances your ability to tackle challenging trails and improve your riding skills.
- Freedom and Adventure: Reliable brakes give you the freedom to explore new trails and push your limits, knowing you can stop safely when needed.
10. FAQ: Common Questions About Bleeding Disc Brakes
Here are some frequently asked questions about bleeding disc brakes on a mountain bike:
10.1 Can I use DOT 4 instead of DOT 5.1 brake fluid?
Yes, DOT 4 and DOT 5.1 brake fluids are compatible and can be used interchangeably in brake systems that specify DOT 4 or DOT 5.1. However, DOT 5 fluid is silicone-based and should not be used in systems designed for DOT 4 or 5.1 as it is not compatible and can cause damage.
10.2 How do I know if I need to bleed my brakes?
You need to bleed your brakes if you experience a spongy or soft lever feel, reduced braking power, brake fade, or unusual noises during braking. A visual inspection can also reveal potential issues like leaks or contaminated fluid.
10.3 Can I bleed my brakes without a bleed kit?
While it is possible to bleed your brakes without a dedicated bleed kit, it is not recommended. A bleed kit provides the necessary tools and fittings for a clean and efficient bleeding process.
10.4 How long does it take to bleed disc brakes?
The time it takes to bleed disc brakes can vary depending on your experience level and the complexity of the brake system. On average, it takes between 30 minutes to an hour to bleed both front and rear brakes.
10.5 Can I reuse brake fluid after bleeding?
No, you should never reuse brake fluid after bleeding. Used brake fluid can be contaminated with moisture and debris, which can compromise braking performance.
10.6 What is the best brake fluid for my mountain bike?
The best brake fluid for your mountain bike depends on the brake system. Shimano and Magura brakes use mineral oil, while SRAM and Hayes brakes use DOT fluid. Always use the brake fluid recommended by the manufacturer.
10.7 How do I clean brake rotors and pads?
To clean brake rotors and pads, use isopropyl alcohol and a clean rag. Avoid using harsh chemicals or solvents, which can damage the brake components.
10.8 What causes brake fade?
Brake fade is caused by the brake fluid overheating, which can lead to a temporary loss of braking power. Factors that contribute to brake fade include prolonged braking, contaminated brake fluid, and worn brake components.
10.9 How often should I replace my brake pads?
You should replace your brake pads when they reach the wear limit or if they are contaminated. Regularly inspect your brake pads for wear and replace them as needed.
10.10 Can I upgrade my disc brakes for better performance?
Yes, you can upgrade your disc brakes for better performance. Options include upgrading to larger rotors, higher-performance brake pads, or complete brake systems with improved modulation and power.
By following this comprehensive guide, you can confidently bleed your disc brakes and maintain them for optimal performance. Remember to prioritize safety, use the correct tools and materials, and perform regular maintenance to enjoy a smoother, safer, and more enjoyable mountain biking experience. For more detailed guides, community forums, and expert advice, visit usabikers.net today and join our community of passionate riders.
Address: 801 Sturgis Main St, Sturgis, SD 57785, United States.
Phone: +1 (605) 347-2000.
Website: usabikers.net.

