
Building your own road bike lets you create a personalized machine, and usabikers.net is here to guide you through the process. By hand-picking each component, you can optimize performance and comfort to match your specific riding style. With the right knowledge and tools, constructing your own road bike can be a rewarding experience. Explore usabikers.net for resources on bike maintenance, cycling tips, and biker community connections.
1. Why Consider Building a Road Bike?
Building your own road bike offers unparalleled customization, allowing you to tailor every aspect to your specific needs and preferences. Choosing each component lets you optimize performance, comfort, and aesthetics for a truly personalized ride.
- Customization: You have complete control over every part of the bike.
- Performance: Select components that match your riding style and performance goals.
- Cost Control: Allocate your budget to the areas that matter most to you.
2. Is Building a Road Bike More Expensive?
Generally, buying a complete road bike is more cost-effective due to manufacturers’ bulk purchasing power. However, with smart shopping and patience, building your own can be competitive or even cheaper.
- Manufacturer Discounts: Bike companies get discounts on components due to large orders.
- Finding Deals: Sales, used parts, and careful planning can reduce costs.
- Component Transfer: Reusing parts from an existing bike can save money.
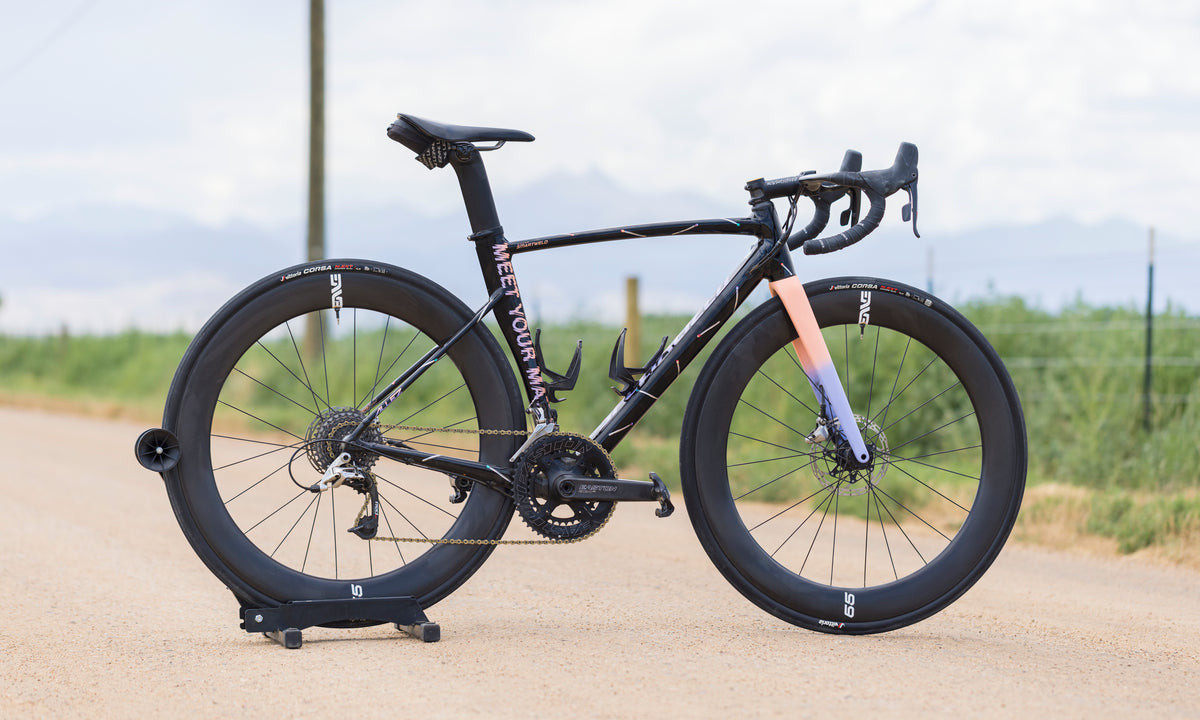 Specialized Allez Sprint
3. What Mechanical Skills Are Needed to Build a Road Bike?
Building a road bike requires patience, the right tools, and a willingness to learn. While it may seem daunting, resources like YouTube tutorials and expert advice can make the process manageable.
- Patience and Perseverance: Building a bike takes time and effort.
- Essential Tools: Having the correct tools is crucial for proper assembly.
- Learning Resources: Online tutorials and guides can help you through the process.
4. What Parts are Needed to Build a Road Bike?
You’ll need a variety of components to build your road bike, and here’s a breakdown:
- Frame: The foundation of your bike.
- Fork: Connects the front wheel to the frame.
- Groupset: Includes shifters, derailleurs, brakes, crankset, and cassette.
- Wheels: Essential for rolling.
- Tires: Provide grip and comfort.
- Saddle: Where you sit.
- Handlebars: For steering and control.
- Stem: Connects the handlebars to the fork.
- Seatpost: Connects the saddle to the frame.
- Pedals: Where you place your feet to propel the bike.
5. What Tools Do I Need To Build a Road Bike?
Having the right tools will make the build process smoother and more efficient.
| Tool | Purpose |
|---|---|
| Bike stand | Holds the bike in place for easier work. |
| Metric Hex wrench set | Tightening and loosening bolts. |
| T25 Torx wrench | For specific bolts, often on disc brakes. |
| Bottom bracket wrench | Installing and removing the bottom bracket. |
| Cable routing tool | Guides cables through internally routed frames. |
| Hacksaw and cutting guide | Cutting steerer tubes and handlebars. |
| Star nut install tool | Installing the star nut in the fork steerer. |
| Cable and housing cutter | Cutting cables and housing for brakes and derailleurs. |
| Brake bleed kit | Bleeding hydraulic brakes. |
| Cassette lockring tool | Removing and installing the cassette. |
| Torque wrench | Ensuring bolts are tightened to the correct specification. |
| Grease | Lubricating parts for smooth operation. |
| Carbon assembly paste | Prevents slippage and damage on carbon parts. |
 How to build your own bike from a frame parts needed
 How to build your own bike from a frame tools needed
6. What Are The Key Mechanical Tasks Involved?
Building a road bike involves a series of steps that require careful attention to detail.
- Install Seatpost: Insert the seatpost into the frame and secure it.
- Install Headset: Install the headset cups into the head tube of the frame.
- Cut Fork Steerer: Measure and cut the fork steerer to the correct length.
- Install Star Nut/Compression Plug: Insert the star nut or compression plug into the fork steerer.
- Install Fork, Stem, and Handlebars: Attach the fork, stem, and handlebars to the frame.
- Install Bottom Bracket and Crankset: Install the bottom bracket into the frame and attach the crankset.
- Install Derailleurs: Mount the front and rear derailleurs to the frame.
- Install Cassette: Attach the cassette to the rear wheel.
- Mount Tires and Brake Rotors: Install tires and brake rotors onto the wheels.
- Install Wheels: Attach the wheels to the frame.
- Measure and Install Chain: Determine the correct chain length and install it.
- Install Shifters and Brakes: Mount the shifters and brakes to the handlebars.
- Route Cables/Hoses: Route all shift cables and brake hoses through the frame.
- Adjust Shifting: Fine-tune the shifting for smooth gear changes.
- Bleed Brakes: Bleed hydraulic brakes to remove air bubbles.
- Install Touch Points: Install the saddle, pedals, and handlebar grips or tape.
7. What Frame Standards Should I Be Aware Of?
Understanding frame standards is crucial for ensuring component compatibility.
7.1. Rear Dropout Spacing
This refers to the width between the frame’s dropouts, where the rear wheel sits.
- Older Frames: 130mm (road bikes), 135mm (mountain bikes).
- Newer Mountain Bikes: 12x148mm Boost spacing.
- Super-Boost Spacing: 12x157mm (less common).
- Newer Road and Gravel Bikes: 12x142mm thru-axles.
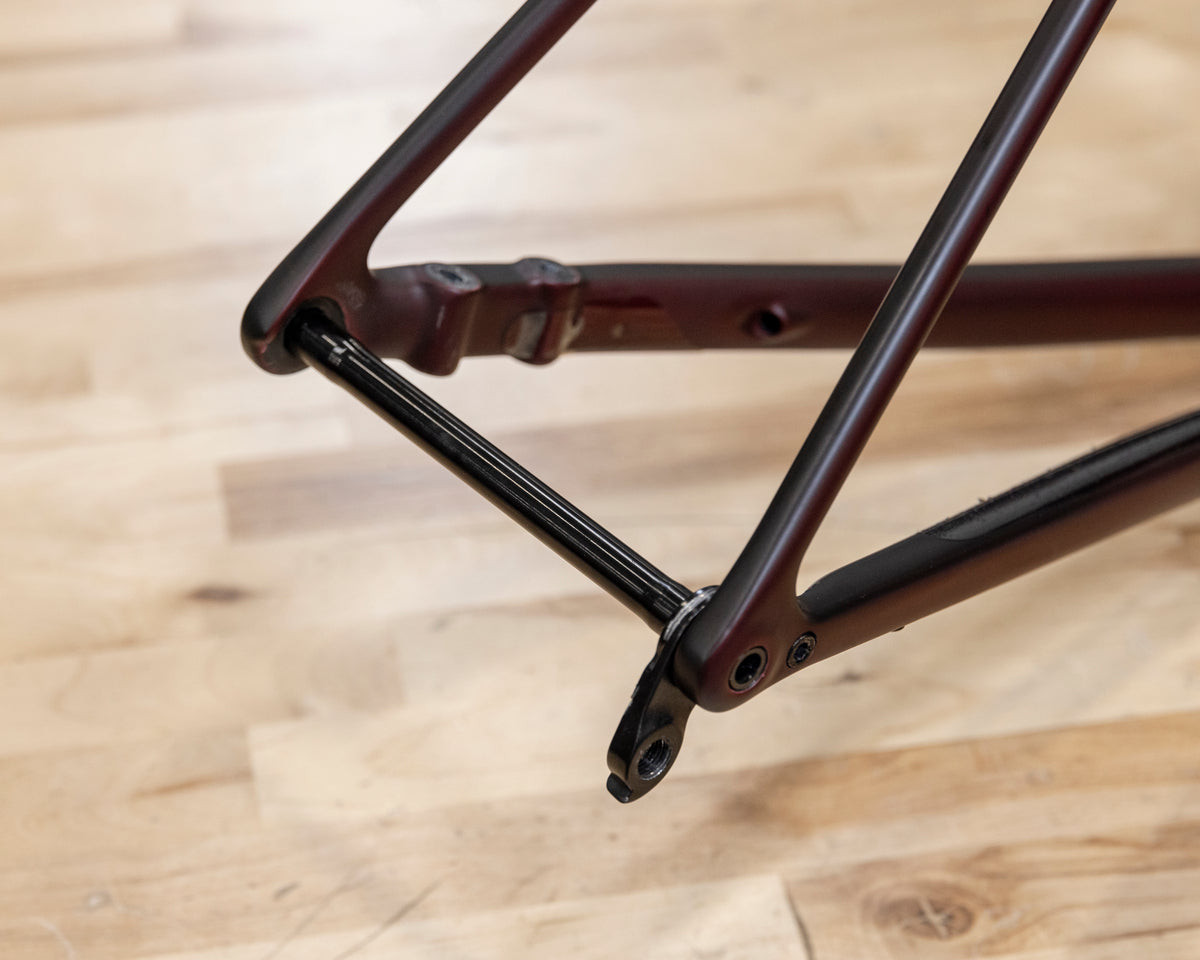 Build your own bike frame rear dropout spacing
7.2. Frame Brake Mounts
This determines how your brakes attach to the frame.
- Older Mountain Bikes: Cantilever or V-brake calipers.
- Rim Brake/Older Road Bike Frames: Rim brake calipers.
- Modern Mountain Bike Frames: Post-mount or I.S. mount.
- Disc Road, Gravel, and Cyclocross Bikes: Flat-mount disc brake calipers.
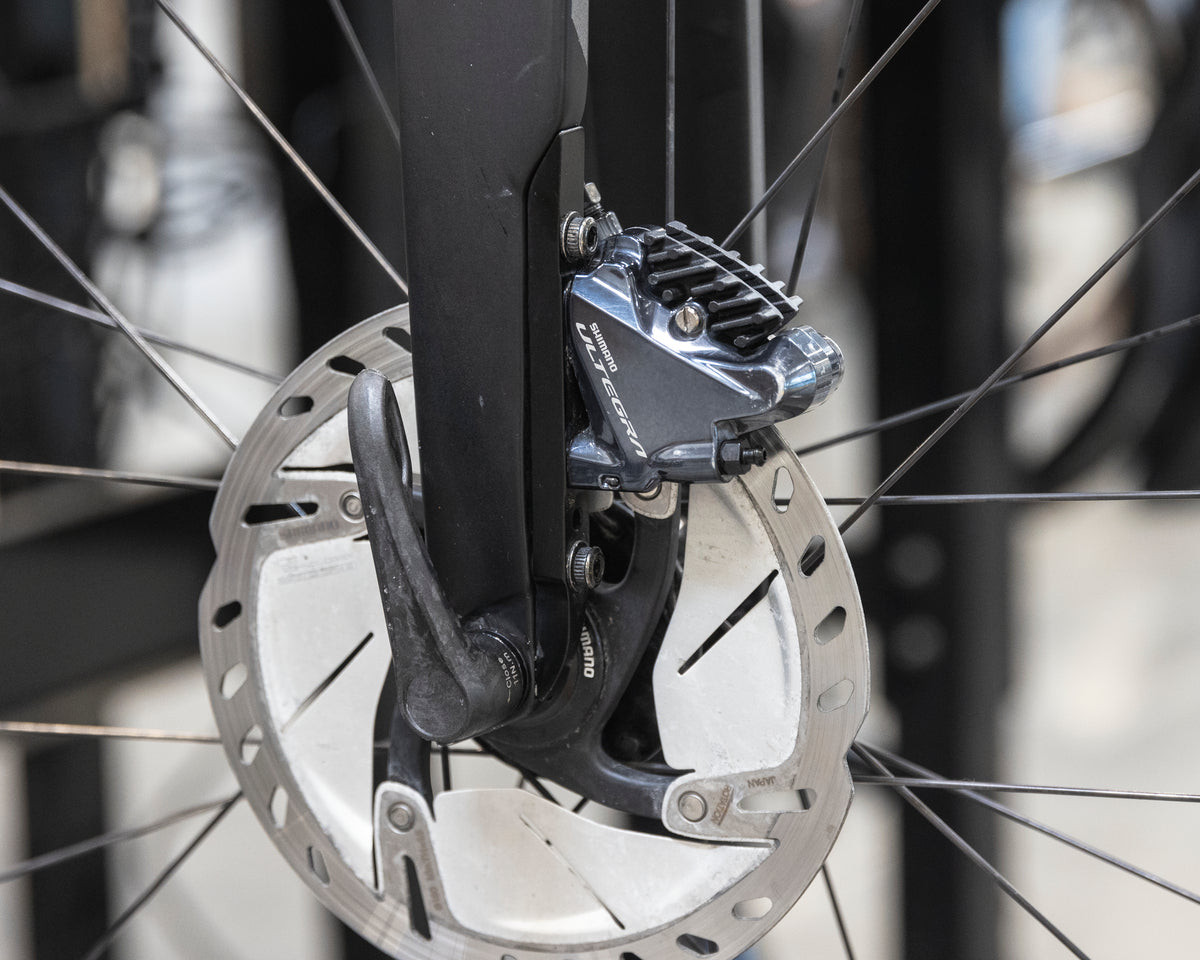 How to build your own bike frame disc brake mounts
7.3. Bottom Bracket Standards
Bottom bracket standards can be threaded or press-fit.
- Threaded Bottom Brackets: Typically BSA (English threaded), 68mm or 73mm wide.
- Press-Fit Bottom Brackets: BB30, PF30, BBRight, BB386, and BB90.
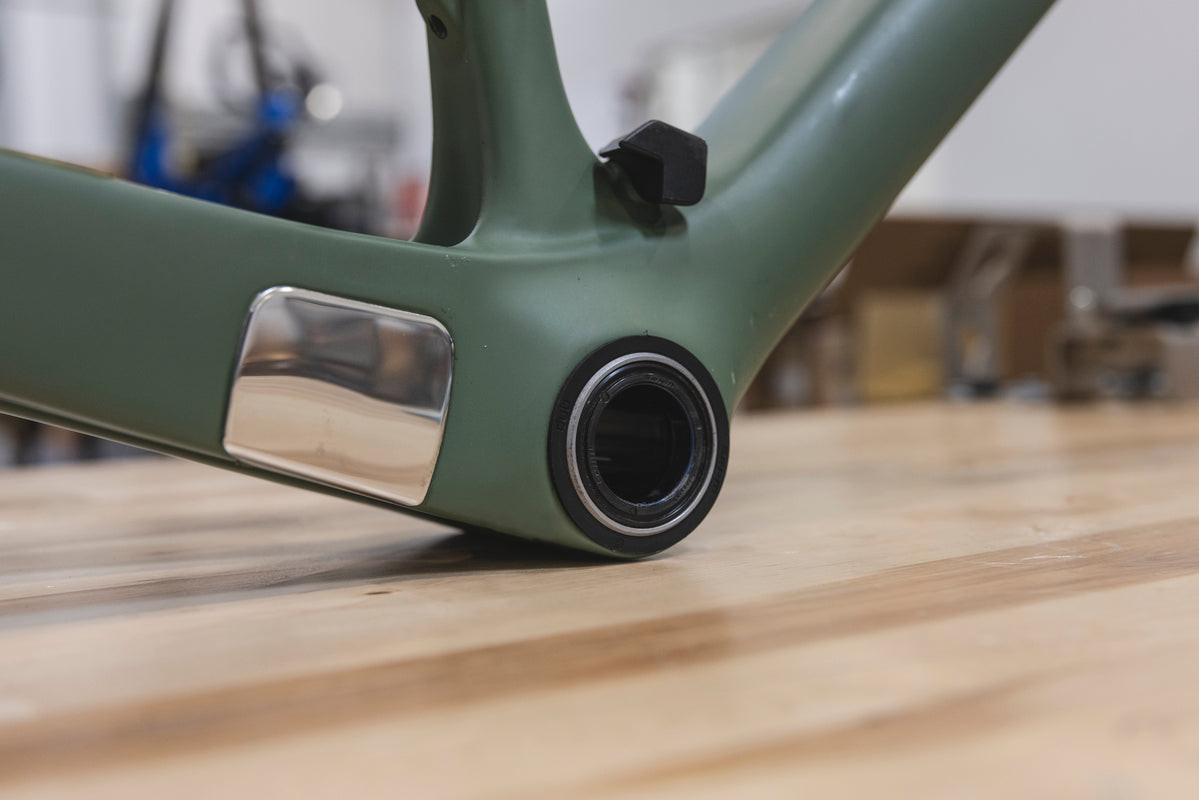 How to build your own bike bottom bracket standards
7.4. Front Derailleur Mount
This is less relevant on modern mountain bikes but important for road bikes.
- Braze-On Front Derailleur: Direct-mount option with a tab on the seat tube.
- Seat Tube Clamp Front Derailleur: Requires a clamp matching the seat tube diameter.
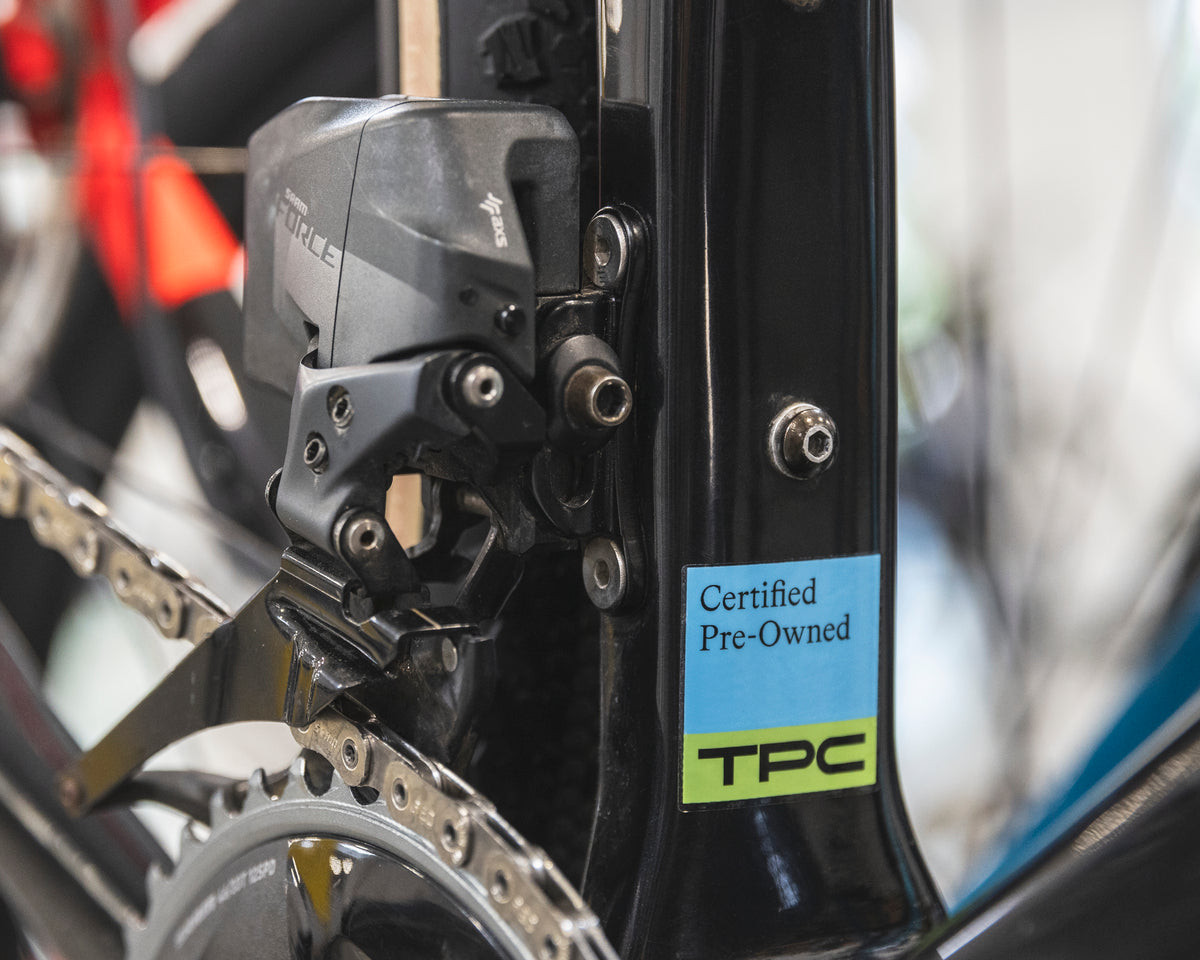 How to build your own bike front derailleur mount
7.5. Seatpost Diameter
Ensure the seatpost matches the frame’s seat tube.
- Road Bikes: Typically 27.2mm, but some use larger diameters.
- Mountain Bikes: Usually 30.9mm or 31.6mm.
 How to build your own bike frame seatpost diameter
7.6. Steerer Tube Diameter
This determines how the fork fits into the frame’s head tube.
- Older Bikes: Straight 1 1/8” steerer tubes.
- Newer Bikes: Tapered steerer tubes (1 1/2” to 1 1/8”).
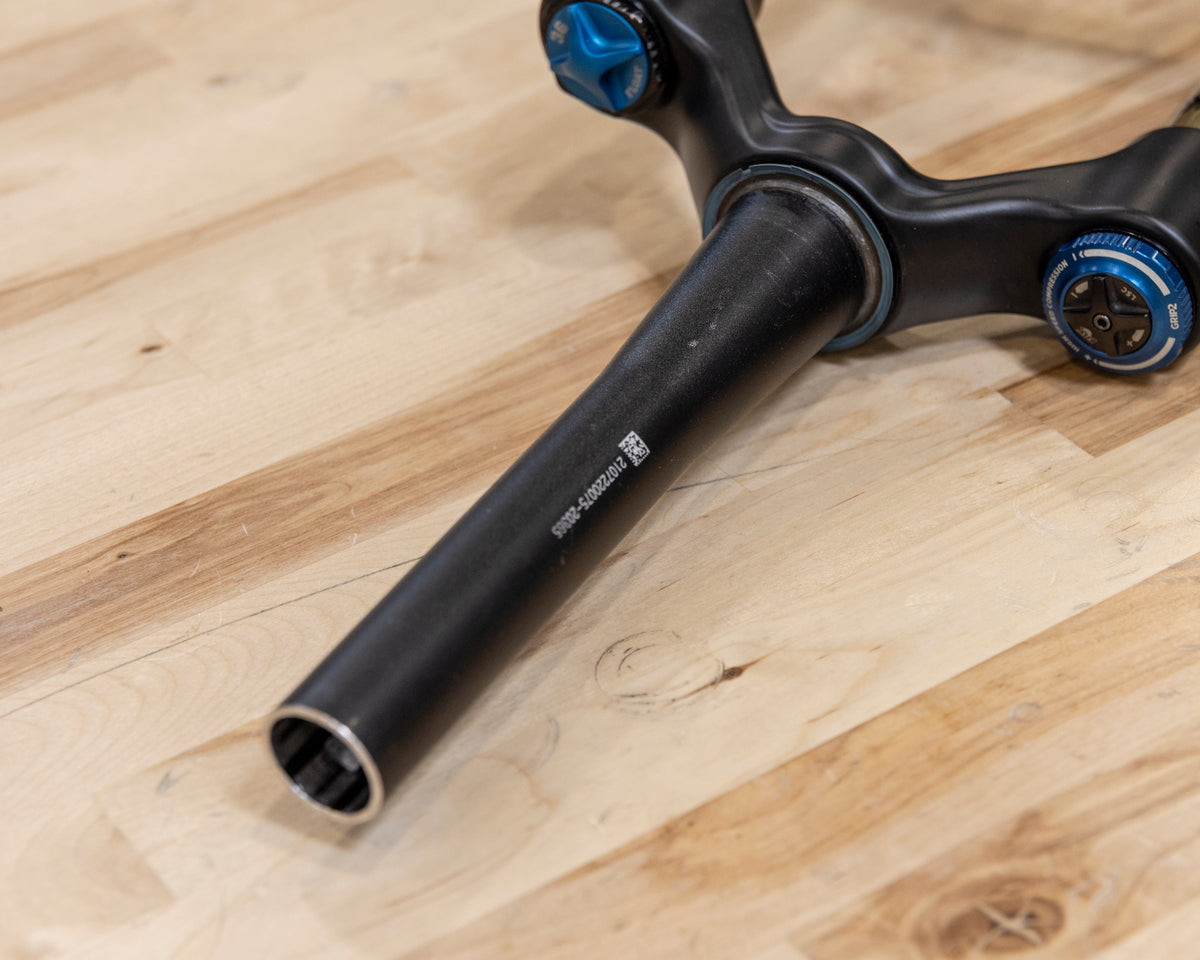 How to build your own bike frame fork steerer diameter
8. What Other Compatibility Considerations Are There?
- Disc Rotors and Wheels: Centerlock or six-bolt.
- Tires and Rims: Tubeless-ready if desired.
- Cassette: Match the cassette driver to the cassette.
- Shifting Components: Match brands and cog count.
- Front Hub Spacing and Axle: Ensure fork and front axle match.
9. How To Build A Custom Bike Online
Several online retailers provide tools to customize your bike, allowing you to select different frames, wheels, components, and color schemes. The company will assemble the bike and ship it to you.
Advantages:
- Simplicity: Easy selection of components.
- Ease of Use: User-friendly interfaces.
- Professional Assembly: Assembled by experienced mechanics.
Disadvantages:
- Limited Options: Restricted to retailer’s stock.
- Cost: Can be more expensive due to assembly and shipping costs.
10. How To Build A Bike Yourself
Buying each part separately and assembling the bike at home requires a good understanding of bike mechanics and the necessary tools.
Advantages:
- Complete Customization: Total control over every component.
- Cost Savings: Can be cheaper if you source parts wisely.
Disadvantages:
- Time-Consuming: Finding and assembling parts can be lengthy.
- Technical Knowledge Needed: Requires a solid understanding of bike mechanics.
11. DIY Vs Online Build
Both methods offer the chance to create a custom bike but cater to different needs. Online customization is simpler, while DIY offers more control but requires more effort and expertise.
- Online: Simpler, easier, but less customizable.
- DIY: More control, potentially cheaper, but requires more knowledge and time.
12. Embrace the Challenge and Build Your Own Bike!
Building a bike from the frame up is a rewarding experience. Planning, organization, and the right mindset are key to overcoming challenges.
- Plan Ahead: Make a list and stay organized.
- Right Mindset: Be prepared for challenges.
- Local Bike Shop: Seek assistance if needed.
13. Building a Road Bike – Frequently Asked Questions (FAQ)
- Is it cheaper to build a road bike or buy one?
- Buying a complete bike is often cheaper, but building your own can be competitive with careful shopping.
- What are the essential tools for building a road bike?
- Essential tools include a bike stand, hex wrench set, torque wrench, and cable cutters.
- How do I ensure component compatibility?
- Check frame standards like rear dropout spacing, brake mounts, and bottom bracket type.
- What is the most challenging part of building a road bike?
- The most challenging aspects often involve routing cables, adjusting derailleurs, and bleeding brakes.
- Where can I find reliable information on bike building?
- Websites like usabikers.net, YouTube tutorials, and local bike shops are excellent resources.
- Can I use used parts to build a road bike?
- Yes, using used parts can save money, but ensure they are in good condition and compatible.
- How long does it take to build a road bike?
- It can take anywhere from a few hours to several days, depending on your experience and the complexity of the build.
- What should I do if I encounter a problem during the build?
- Consult online resources, seek advice from experienced friends, or visit a local bike shop.
- Is it necessary to torque every bolt to the specified value?
- Yes, using a torque wrench is crucial to prevent damage to components, especially carbon parts.
- How do I choose the right frame size for my road bike build?
- Consult size charts from the frame manufacturer or visit a bike shop for professional fitting advice.
Ready to embark on your road bike building journey? Visit usabikers.net for detailed guides, expert tips, and a supportive community to help you every step of the way. Connect with fellow enthusiasts, share your progress, and discover the joy of riding a bike you built yourself. Join the usabikers.net community today and let’s build something amazing together Address: 801 Sturgis Main St, Sturgis, SD 57785, United States. Phone: +1 (605) 347-2000. Website: usabikers.net.