
How to draw a bike easy? This is a common question among motorcycle enthusiasts and art lovers alike. At usabikers.net, we provide an easy-to-follow, step-by-step guide to help you create amazing bike drawings, blending the thrill of motorcycling with artistic expression.
1. Why Learn How to Draw a Bike Easy?
Learning how to draw a bike easy offers numerous benefits for motorcycle enthusiasts and art lovers. Drawing allows you to express your passion for bikes in a creative way, capture the essence of your favorite models, and appreciate the intricate details of motorcycle design. According to a study by the American Art Therapy Association, engaging in art can reduce stress and improve mental well-being, making drawing a relaxing and fulfilling hobby for bikers.
1.1. Benefits of Drawing for Bikers
Drawing provides a unique way to connect with the world of motorcycles:
- Creative Expression: Drawing allows you to express your love for motorcycles in a personal and creative way.
- Improved Observation Skills: Drawing enhances your ability to observe and appreciate the details of motorcycle design.
- Relaxation and Stress Relief: Art can be a therapeutic activity, helping you relax and de-stress.
- Personalized Art: Create unique artwork featuring your favorite bikes, personalized to your taste.
- Community Sharing: Share your drawings with fellow bikers and art enthusiasts at usabikers.net, fostering a sense of community and shared passion.
1.2. Understanding Your Drawing Style
Everyone has a unique drawing style. Recognizing and developing yours is key to enjoying the process:
- Realism: Focuses on accurate representation and detail.
- Stylized: Simplifies and exaggerates features for a unique look.
- Cartoonish: Emphasizes fun and exaggerated proportions.
- Technical: Concentrates on the mechanical aspects and precise details of the bike.
2. Essential Tools for Drawing Bikes
Having the right tools can significantly enhance your drawing experience. Here’s a list of essential supplies:
- Pencils:
- Graphite Pencils: These come in various grades (e.g., HB, 2B, 4B) for different shades and line weights.
- Mechanical Pencils: Great for precise lines and details.
- Erasers:
- Kneaded Erasers: Ideal for lifting graphite to create highlights.
- Pencil Erasers: Useful for correcting small mistakes.
- Paper:
- Sketchbook: For practicing and quick sketches.
- Drawing Paper: Higher quality paper for finished drawings.
- Rulers and Stencils:
- Ruler: Helps create straight lines.
- Circle Stencils: Useful for drawing wheels and other circular elements.
- Other Supplies:
- Sharpener: Keeps your pencils sharp.
- Blending Stumps: For smooth shading.
- Reference Images: Essential for accuracy and detail.
2.1. Digital Drawing Tools
For those who prefer digital art, here are some popular tools:
- Drawing Tablets:
- Wacom Tablets: Industry-standard for digital art.
- Huion Tablets: More affordable alternatives with great features.
- Stylus Pens:
- Apple Pencil: For iPad users.
- Stylus Pens for Android Tablets: Various options for different devices.
- Software:
- Adobe Photoshop: Professional-grade raster graphics editor.
- Clip Studio Paint: Popular among illustrators and comic artists.
- Procreate: User-friendly app for iPad.
3. Step-by-Step Guide: How to Draw a Bike Easy
Follow these steps to create a basic motorcycle drawing:
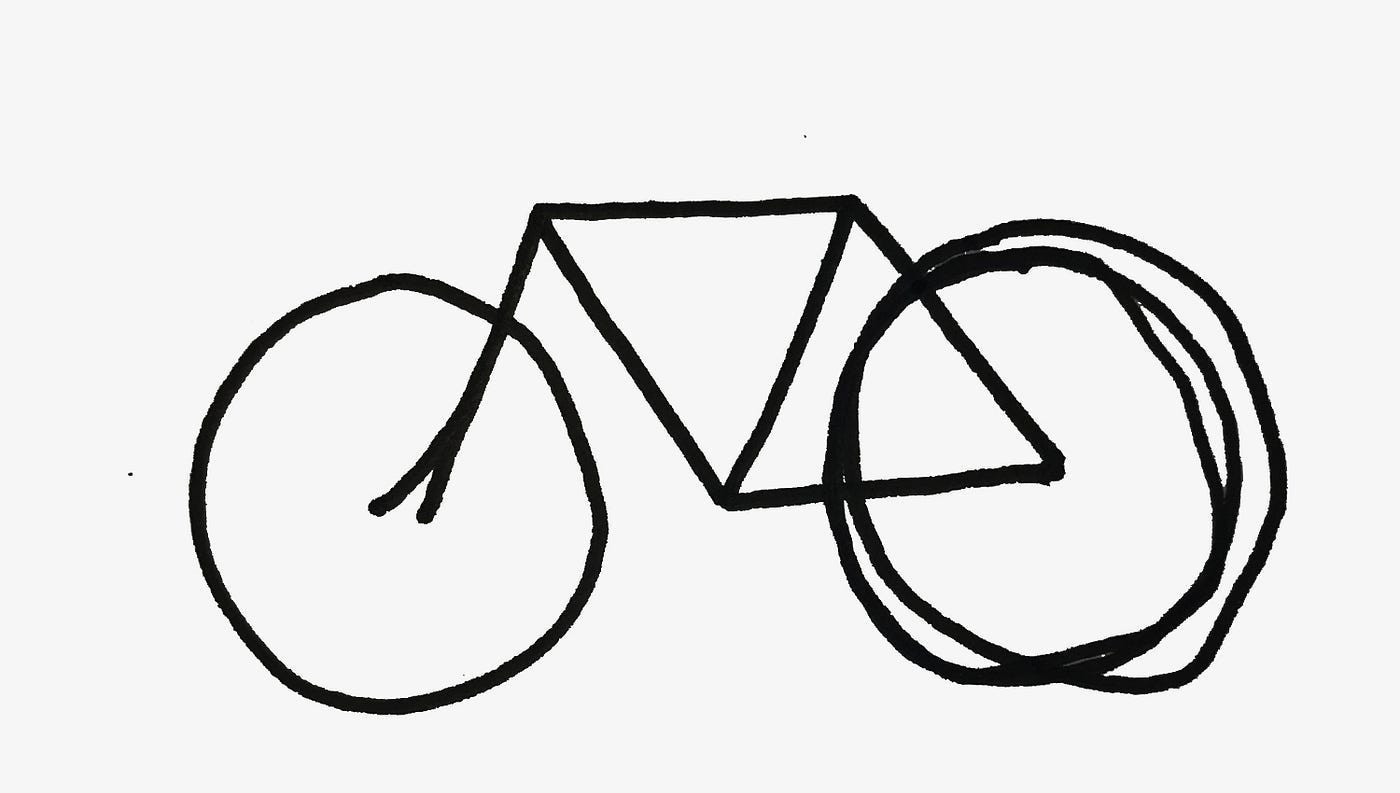
3.1. Step 1: Basic Shapes and Framework
Start with simple shapes to outline the bike’s structure.
- Wheels: Draw two circles for the wheels. Use a compass or stencil for accuracy.
- Frame: Sketch the frame using straight lines connecting the wheels. This will form the basic structure of the bike.
- Body: Add simple shapes to represent the body, such as a rectangle for the fuel tank and a triangle for the seat.
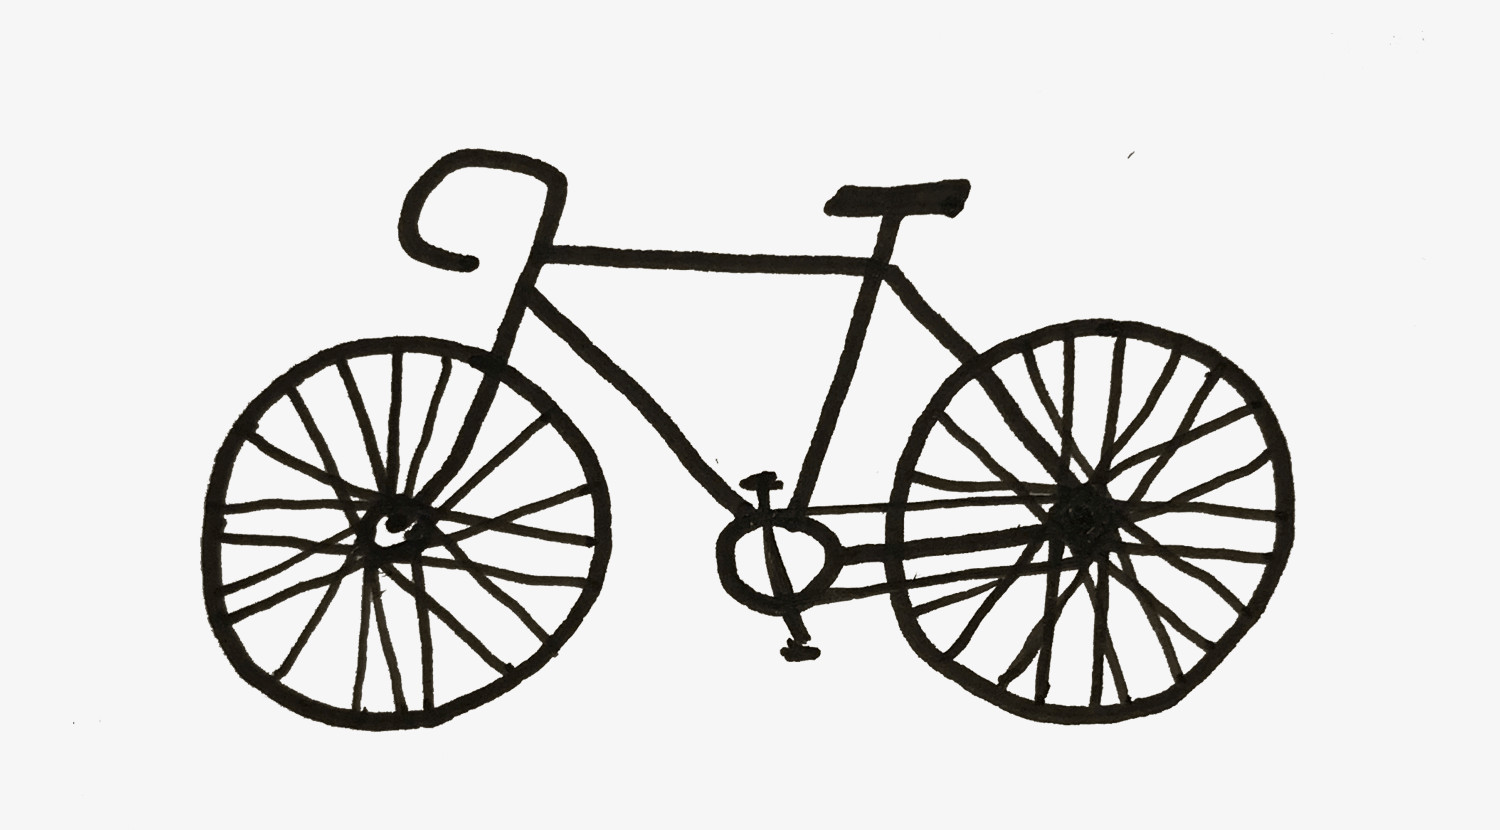 Basic shapes outline for a motorcycle drawing, illustrating the initial framework.
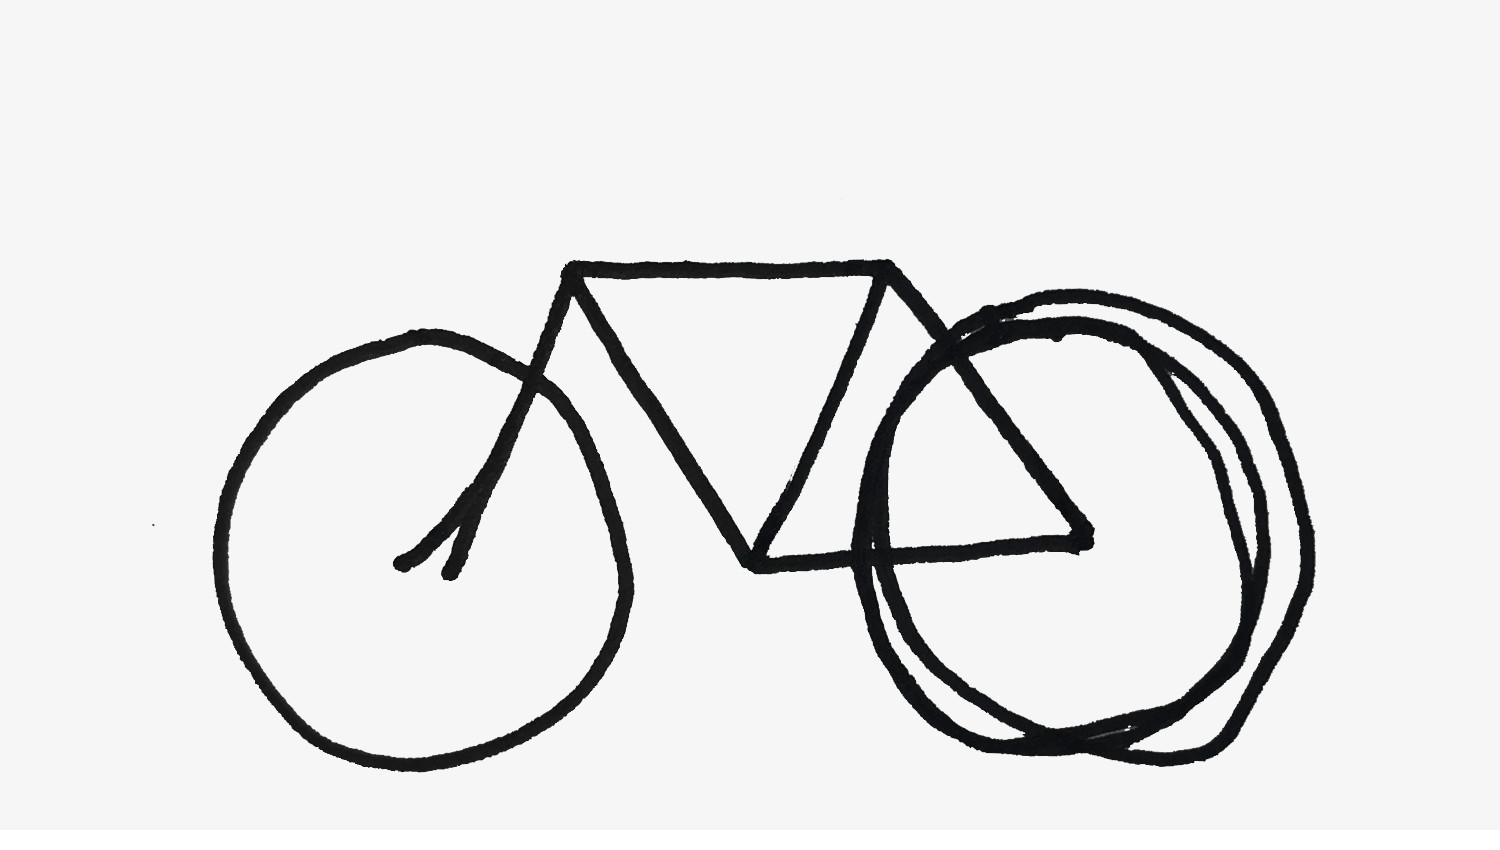
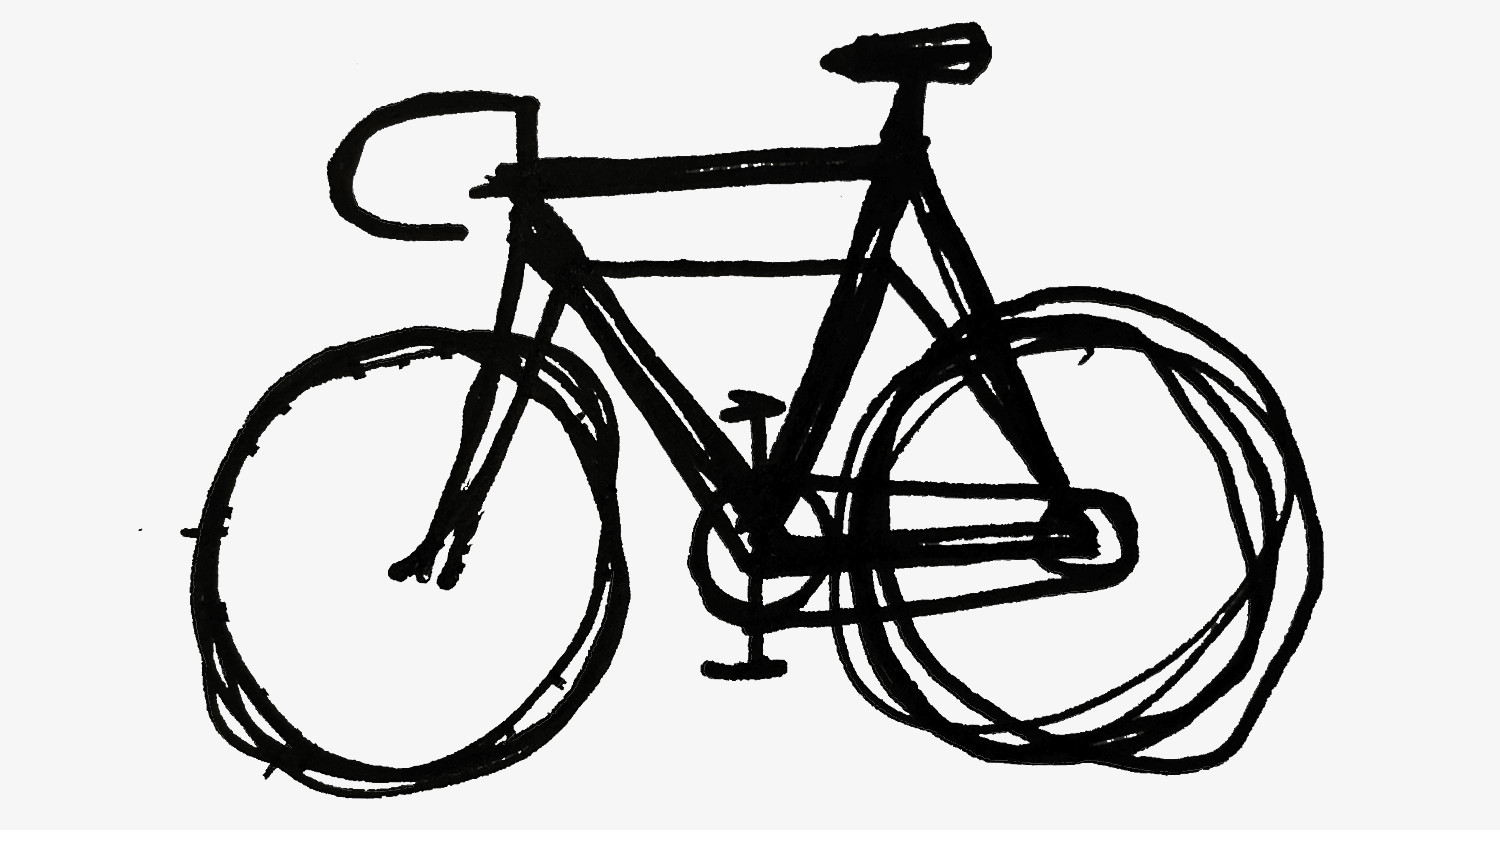
3.2. Step 2: Refining the Frame and Body
Refine the basic shapes to resemble the bike’s actual structure.
- Frame Details: Add curves and details to the frame, making it more realistic.
- Fuel Tank: Shape the fuel tank to match your reference image, adding curves and contours.
- Seat: Define the seat shape, considering its height and length.
- Handlebars: Sketch the handlebars, ensuring they are proportionate to the bike.
 Refined frame and body shapes in a motorcycle drawing, showing enhanced details and contours.
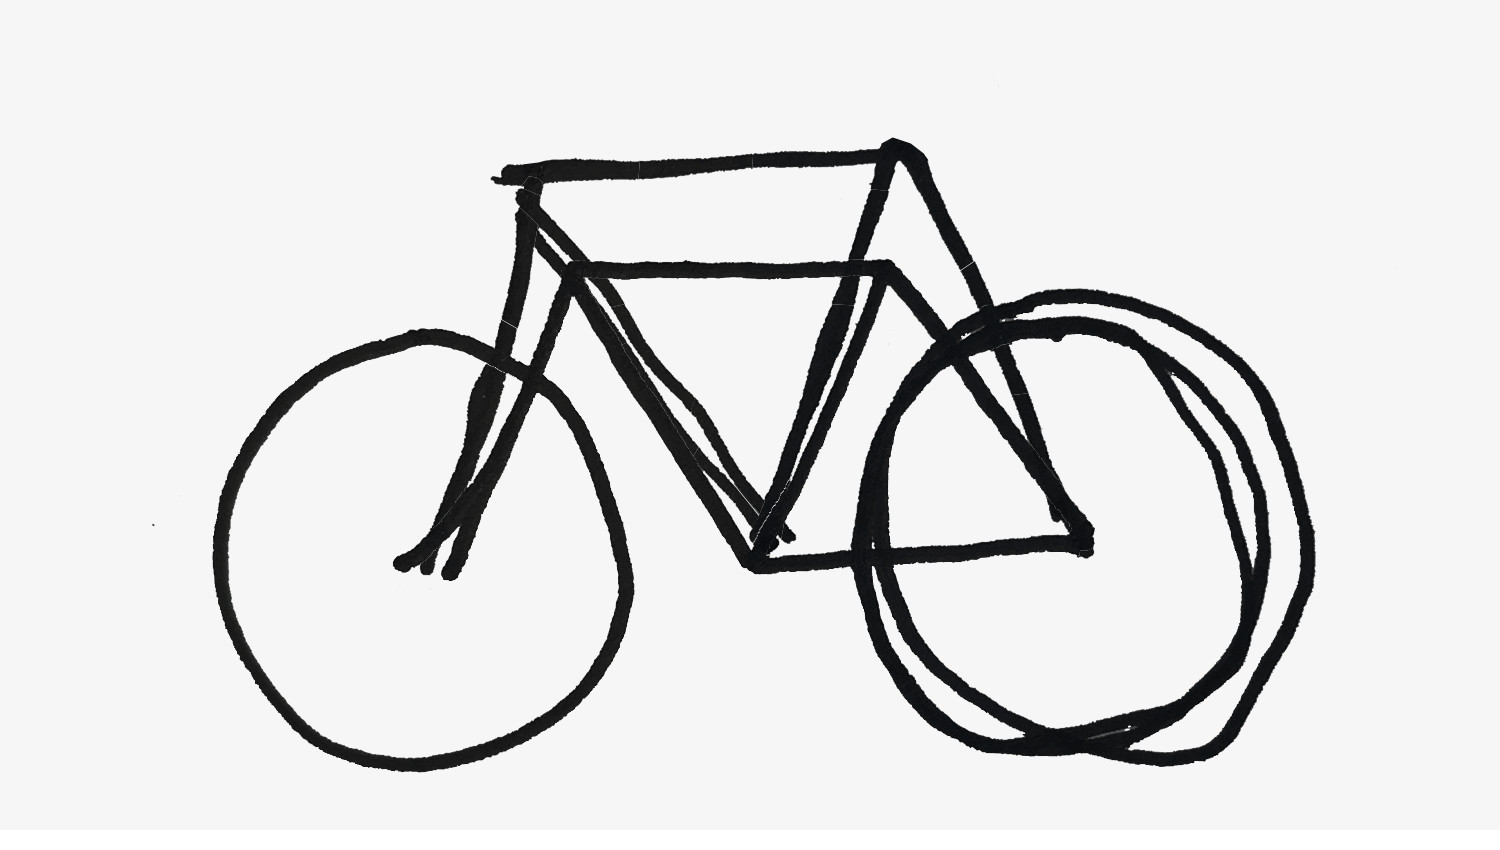
3.3. Step 3: Adding Mechanical Details
Include essential mechanical components to make the drawing more authentic.
- Engine: Sketch the engine block, adding basic shapes for cylinders and other parts.
- Exhaust System: Draw the exhaust pipes, following their path from the engine to the rear.
- Suspension: Add the front and rear suspension, including forks and shocks.
- Brakes: Include brake rotors and calipers on both wheels.
 Mechanical details added to a motorcycle drawing, including engine, exhaust, and suspension components.
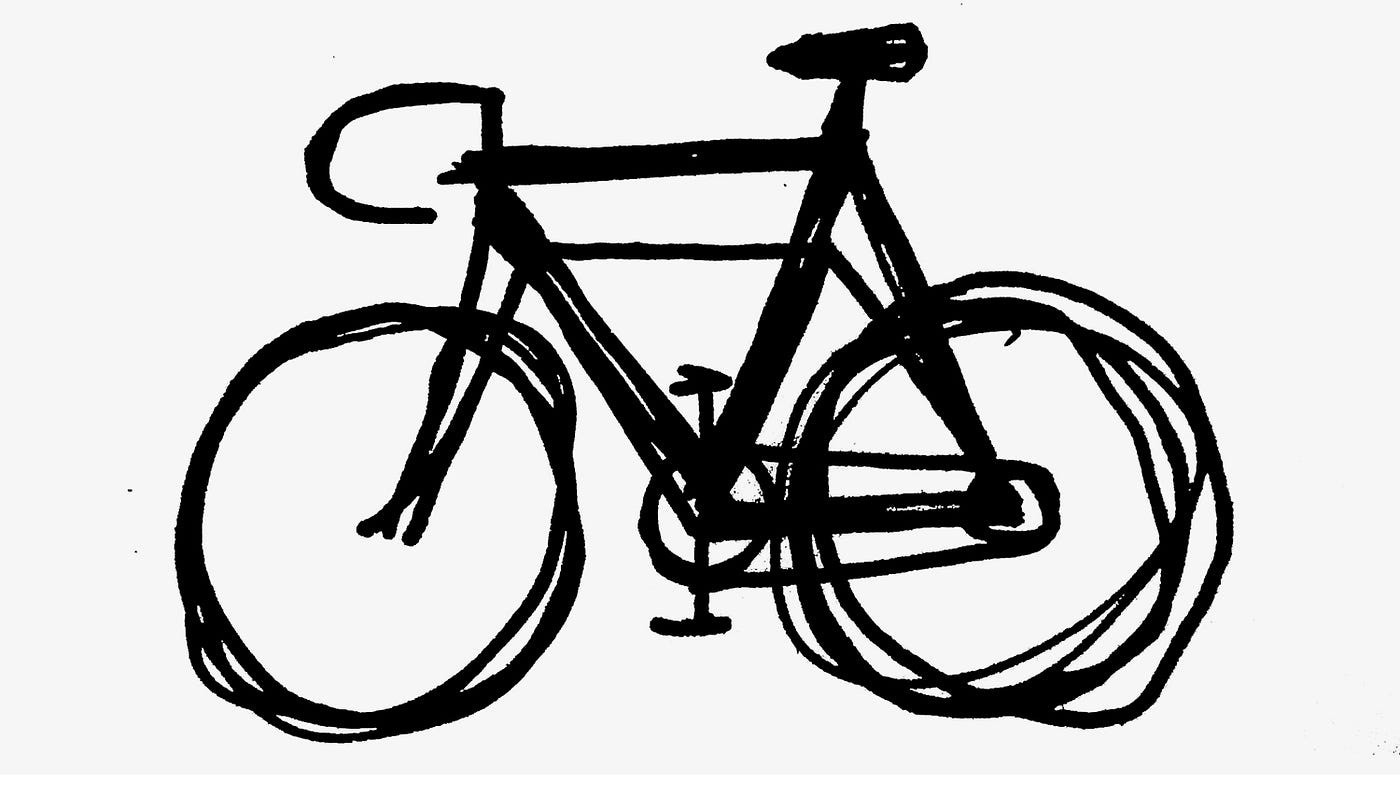
3.4. Step 4: Detailing the Wheels and Tires
Focus on the wheels to enhance the realism of your drawing.
- Tires: Add thickness to the wheels to represent the tires.
- Rims: Draw the rims inside the tires, including spokes or solid designs.
- Axles: Include the axles connecting the wheels to the frame.
- Fenders: Add the front and rear fenders, following their shape and curvature.
 Detailed wheels and tires in a motorcycle drawing, illustrating spoke design and fender shapes.
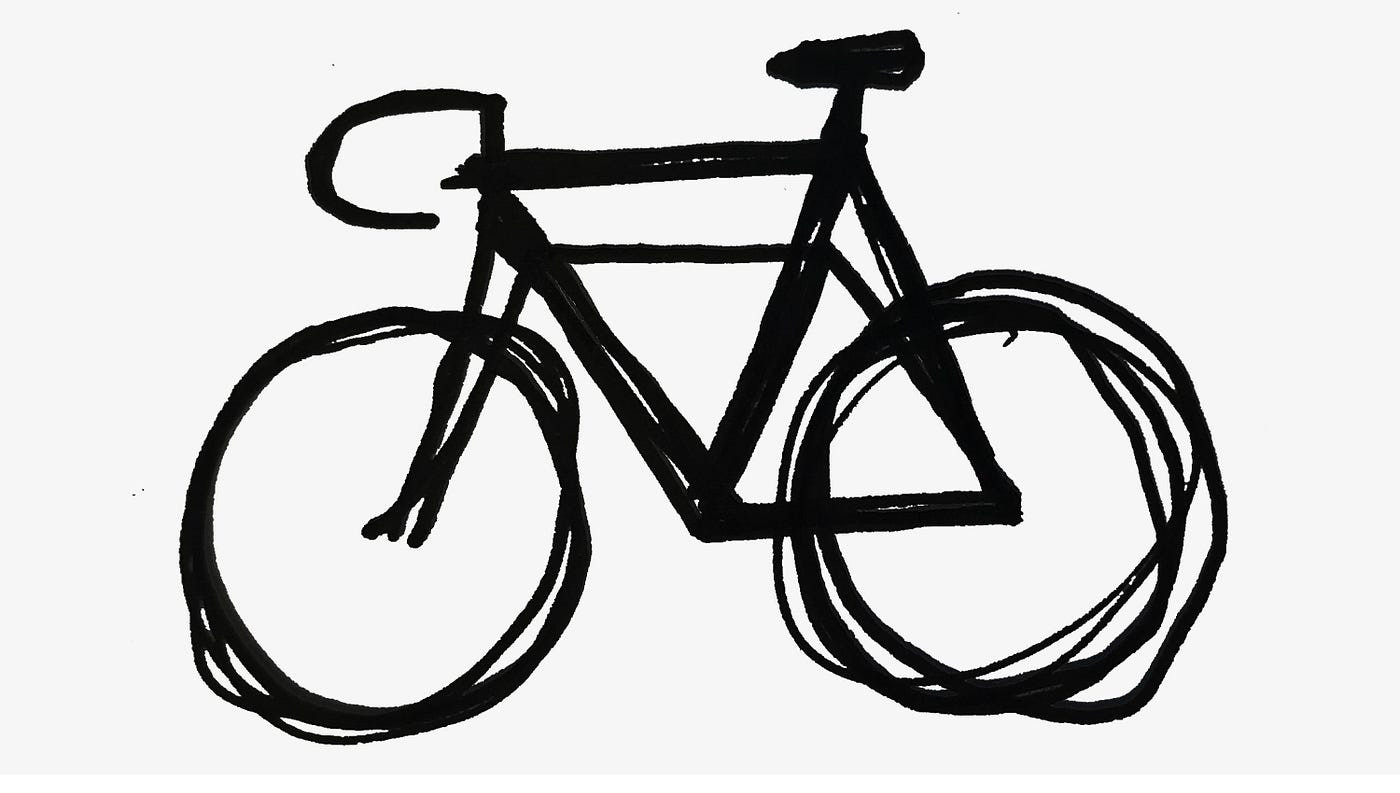
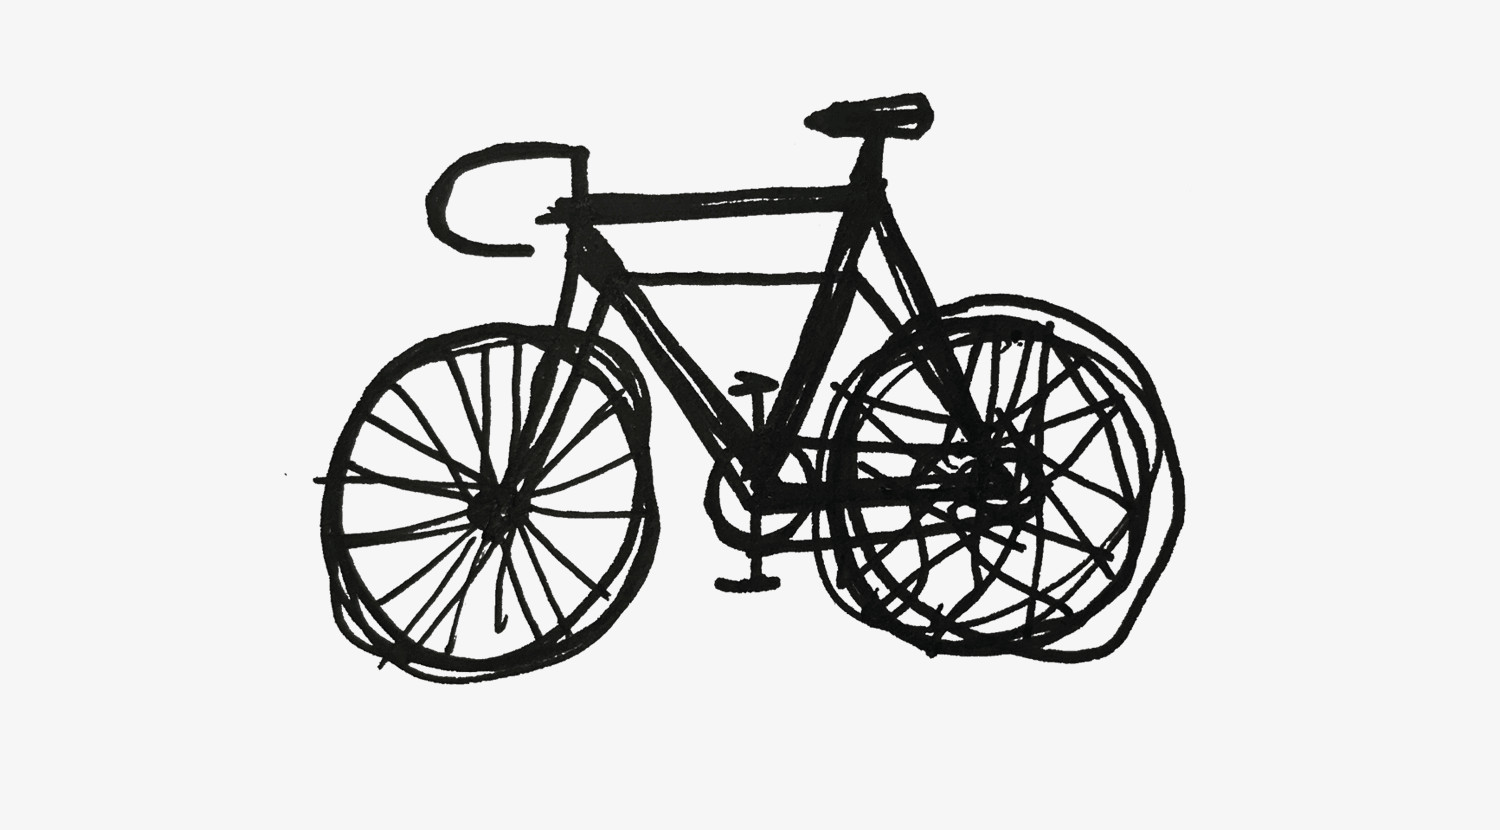
3.5. Step 5: Adding Finishing Touches
Complete the drawing with final details and shading.
- Lights: Add headlights, taillights, and turn signals.
- Mirrors: Include rearview mirrors on the handlebars.
- License Plate: Draw the license plate on the rear fender.
- Shading: Add shading to give depth and dimension to the drawing. Use light and dark areas to create contrast.
 Completed motorcycle drawing with finishing touches, including lights, mirrors, and shading for depth.
4. Tips and Tricks for Better Bike Drawings
Improving your drawing skills involves practice and understanding key techniques:
4.1. Understanding Perspective
Perspective is crucial for creating realistic drawings.
- One-Point Perspective: All lines converge at a single vanishing point.
- Two-Point Perspective: Lines converge at two vanishing points, creating a more dynamic view.
- Three-Point Perspective: Lines converge at three vanishing points, often used for dramatic, high-angle shots.
4.2. Mastering Shading Techniques
Shading adds depth and realism to your drawings.
- Hatching: Using parallel lines to create shadows.
- Cross-Hatching: Intersecting lines to build up darker areas.
- Stippling: Using dots to create tonal variations.
- Blending: Smoothing out graphite for a seamless transition between light and dark areas.
 Example of perspective correction in a motorcycle drawing, improving the geometry of the frame.
4.3. Using Reference Images Effectively
Reference images are essential for accuracy.
- Multiple Angles: Use references from different angles to understand the bike’s form.
- High Resolution: Choose high-resolution images to see fine details.
- Lighting: Pay attention to how light affects the bike’s appearance, noting shadows and highlights.
5. Different Styles of Bike Drawings
Explore various drawing styles to find what suits you best:
5.1. Realistic Drawings
Realistic drawings aim to capture the bike’s exact appearance.
- Attention to Detail: Focus on accurately representing every aspect of the bike.
- Precise Proportions: Ensure all parts are correctly sized and positioned.
- Accurate Shading: Use shading to create a lifelike representation.
5.2. Stylized Drawings
Stylized drawings offer a unique, artistic interpretation.
- Exaggerated Features: Emphasize certain aspects for visual impact.
- Simplified Forms: Reduce complex shapes to simpler ones.
- Creative Shading: Use shading to enhance the style, not just realism.
 Drawing of handlebars and saddle, emphasizing the importance of key components for riders.
5.3. Technical Drawings
Technical drawings focus on the mechanical aspects.
- Detailed Diagrams: Include precise measurements and component layouts.
- Exploded Views: Show how parts fit together.
- Labeling: Clearly label all components for easy identification.
6. Common Mistakes to Avoid When Drawing Bikes
Avoid these common errors to improve your drawings:
6.1. Incorrect Proportions
Proportions are key to a realistic drawing.
- Measure Carefully: Use a ruler or reference points to ensure correct sizes.
- Check Against Reference: Regularly compare your drawing to the reference image.
- Practice: Consistent practice improves your ability to judge proportions accurately.
6.2. Lack of Detail
Details bring your drawings to life.
- Focus on Small Elements: Include details like bolts, cables, and textures.
- Use High-Resolution References: High-quality images provide the necessary details.
- Take Your Time: Rushing can lead to omitted details.
6.3. Poor Shading
Effective shading adds depth and realism.
- Understand Light and Shadow: Study how light interacts with the bike’s surfaces.
- Use a Variety of Techniques: Experiment with hatching, cross-hatching, and blending.
- Practice Regularly: Shading improves with consistent practice.
7. Finding Inspiration for Your Bike Drawings
Inspiration can come from various sources. Here are a few ideas:
7.1. Motorcycle Shows and Events
Attending motorcycle shows and events can spark creativity.
- Observe Different Models: Note the unique features of each bike.
- Take Photos: Capture images from various angles for reference.
- Sketch On-Site: Practice quick sketches to capture the essence of the bikes.
7.2. Online Communities and Forums
Engage with online communities for ideas and feedback.
- usabikers.net: Share your drawings and get feedback from fellow enthusiasts.
- Art Forums: Join art-focused forums to learn new techniques.
- Social Media: Follow artists and biker groups for inspiration.
 Sign-up pitch for weekly email updates, encouraging readers to join the community.
7.3. Motorcycle Magazines and Websites
Magazines and websites offer a wealth of visual inspiration.
- Detailed Photos: Use high-quality images for reference.
- Technical Specs: Understand the bike’s design and components.
- Custom Builds: Get ideas from unique and modified motorcycles.
8. How to Showcase Your Bike Art
Share your creations with the world and connect with fellow enthusiasts.
8.1. Online Platforms
Use online platforms to display your artwork.
- usabikers.net: Share your drawings with a community of motorcycle lovers.
- Instagram: Create an art account to showcase your work.
- Art Websites: Platforms like DeviantArt and ArtStation offer exposure.
8.2. Local Art Shows
Participate in local art shows to gain recognition.
- Community Events: Display your art at local fairs and festivals.
- Art Galleries: Submit your work to local galleries for consideration.
- Networking: Connect with other artists and art enthusiasts.
8.3. Custom Merchandise
Create custom merchandise featuring your bike art.
- T-Shirts: Design shirts with your drawings.
- Prints: Offer prints of your artwork.
- Accessories: Create stickers, mugs, and other items.
9. Advanced Techniques for Bike Drawing
Elevate your skills with these advanced techniques.
9.1. Using Digital Software
Digital software offers powerful tools for creating stunning bike art.
- Layers: Use layers to separate elements and make editing easier.
- Brushes: Experiment with different brushes for various effects.
- Effects: Add special effects like glows, textures, and filters.
9.2. Rendering Chrome and Metal
Rendering reflective surfaces like chrome requires careful attention.
- Observe Reflections: Study how light reflects off chrome in your reference images.
- Use Gradients: Create smooth transitions between light and dark areas.
- Add Highlights: Include bright highlights to simulate the shine of metal.
 Adding pedals and drive chain to a motorcycle drawing, enhancing the mechanical details.
9.3. Creating Realistic Textures
Adding realistic textures enhances the visual appeal of your drawings.
- Leather: Use fine lines and shading to simulate the texture of leather seats and grips.
- Rubber: Create a slightly rough surface for tires and rubber components.
- Metal: Use smooth gradients and highlights for metal parts.
10. Resources for Continued Learning
Continue learning and improving your bike drawing skills with these resources.
10.1. Online Tutorials
Online tutorials offer step-by-step guidance.
- YouTube: Search for bike drawing tutorials by various artists.
- Skillshare: Take online classes focused on drawing techniques.
- Art Websites: Many art websites offer free tutorials and lessons.
10.2. Books and Publications
Books provide in-depth knowledge and techniques.
- Drawing Books: Look for books specifically focused on motorcycle or vehicle drawing.
- Art Instruction Books: General art instruction books can improve your overall skills.
- Magazines: Motorcycle magazines often feature detailed photos and technical information.
10.3. Art Classes and Workshops
Attend art classes and workshops for hands-on instruction.
- Local Art Centers: Check for classes at local art centers and community colleges.
- Workshops: Participate in workshops led by experienced artists.
- Online Courses: Take online courses for convenient learning.
11. Building a Community Around Your Art
Connect with fellow artists and enthusiasts to share your passion.
11.1. Joining Online Groups
Online groups offer a platform to connect with like-minded individuals.
- usabikers.net: Share your drawings and get feedback from fellow bikers.
- Facebook Groups: Join art and motorcycle-related groups.
- Forums: Participate in discussions on art forums.
 Adding spokes to a motorcycle wheel, enhancing the visual complexity and realism.
11.2. Participating in Challenges
Art challenges provide motivation and inspiration.
- Drawing Prompts: Follow daily or weekly drawing prompts.
- Themed Challenges: Participate in challenges focused on specific themes.
- Community Challenges: Join challenges organized by online communities.
11.3. Collaborating with Other Artists
Collaborating with other artists can broaden your horizons.
- Joint Projects: Work on a drawing together, each contributing unique skills.
- Art Swaps: Exchange artwork with other artists.
- Critique Sessions: Provide and receive feedback on each other’s work.
12. Adapting Your Style to Different Bike Models
Each bike model has unique features that require adaptation.
12.1. Sport Bikes
Sport bikes are known for their aerodynamic design and aggressive stance.
- Sharp Angles: Emphasize the sharp angles and sleek lines.
- Aggressive Stance: Capture the bike’s forward-leaning posture.
- Detailed Fairings: Pay attention to the intricate details of the fairings.
12.2. Cruisers
Cruisers feature a laid-back riding position and classic design.
- Curved Lines: Emphasize the curved lines and flowing shapes.
- Low Stance: Capture the bike’s low-to-the-ground appearance.
- Chrome Details: Highlight the chrome accents and shiny surfaces.
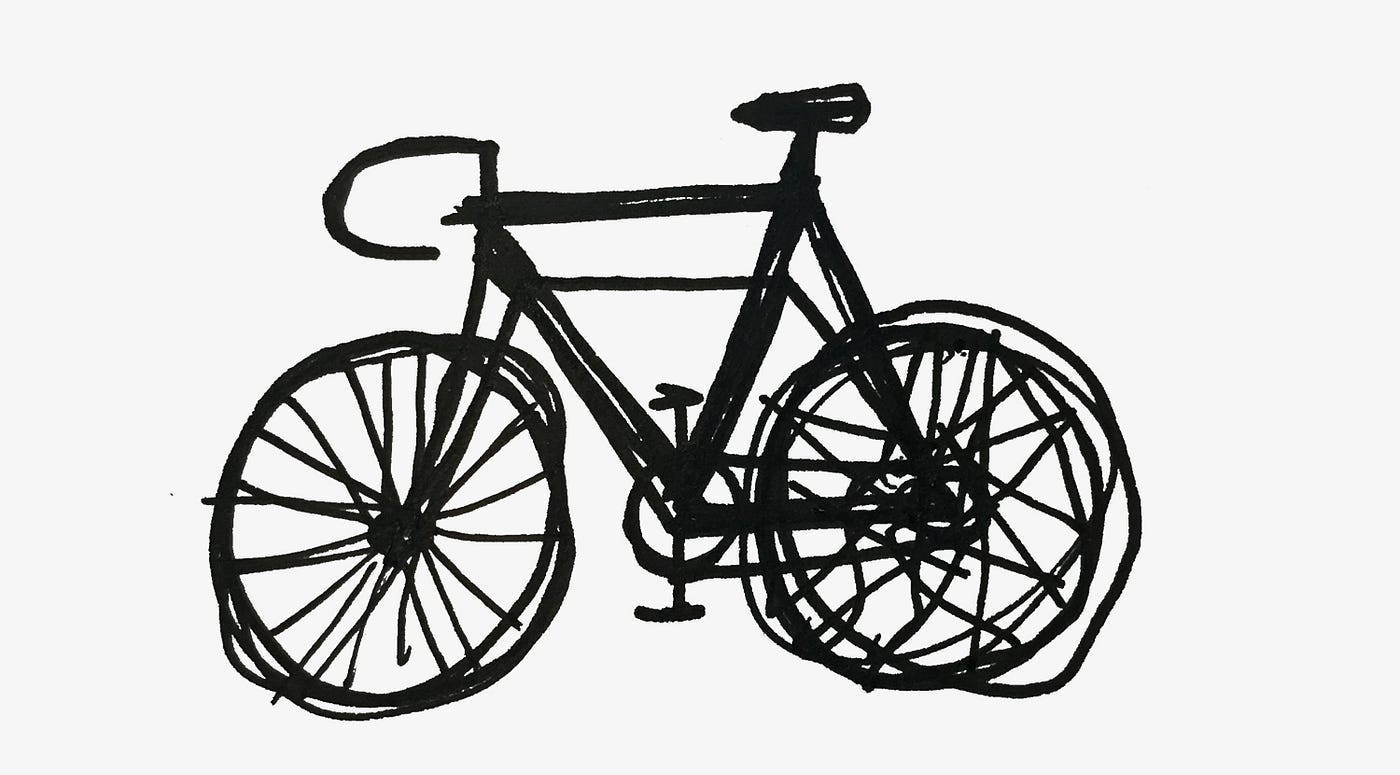 More detailed spoke design on a motorcycle wheel, illustrating complexity and attention to detail.
12.3. Adventure Bikes
Adventure bikes are designed for off-road and long-distance travel.
- Rugged Features: Emphasize the bike’s rugged and durable appearance.
- High Suspension: Capture the tall suspension and off-road tires.
- Functional Accessories: Include details like luggage racks and protective bars.
13. Integrating Storytelling into Your Bike Art
Add depth to your drawings by incorporating storytelling elements.
13.1. Creating a Scene
Place the bike in a setting that tells a story.
- Background Details: Include elements like roads, landscapes, or cityscapes.
- Weather Effects: Add rain, snow, or sunlight to create atmosphere.
- Character Interaction: Include riders or other characters interacting with the bike.
13.2. Capturing Emotion
Convey emotion through your drawings.
- Rider Expression: Focus on the rider’s facial expression and body language.
- Dynamic Poses: Use dynamic poses to convey movement and energy.
- Color Palette: Choose colors that evoke specific emotions.
13.3. Telling a Narrative
Use a series of drawings to tell a story.
- Sequential Art: Create a comic strip or graphic novel featuring bikes.
- Storyboard: Use drawings to plan out a scene or event.
- Illustrate a Journey: Depict a biker’s journey through a series of illustrations.
14. The Future of Bike Art
Explore emerging trends and technologies in bike art.
14.1. Virtual Reality Art
Virtual reality offers new possibilities for creating immersive art experiences.
- 3D Modeling: Create virtual bike models that can be viewed from any angle.
- Interactive Art: Allow viewers to interact with your art in a virtual environment.
- VR Painting: Use VR tools to paint and draw in a 3D space.
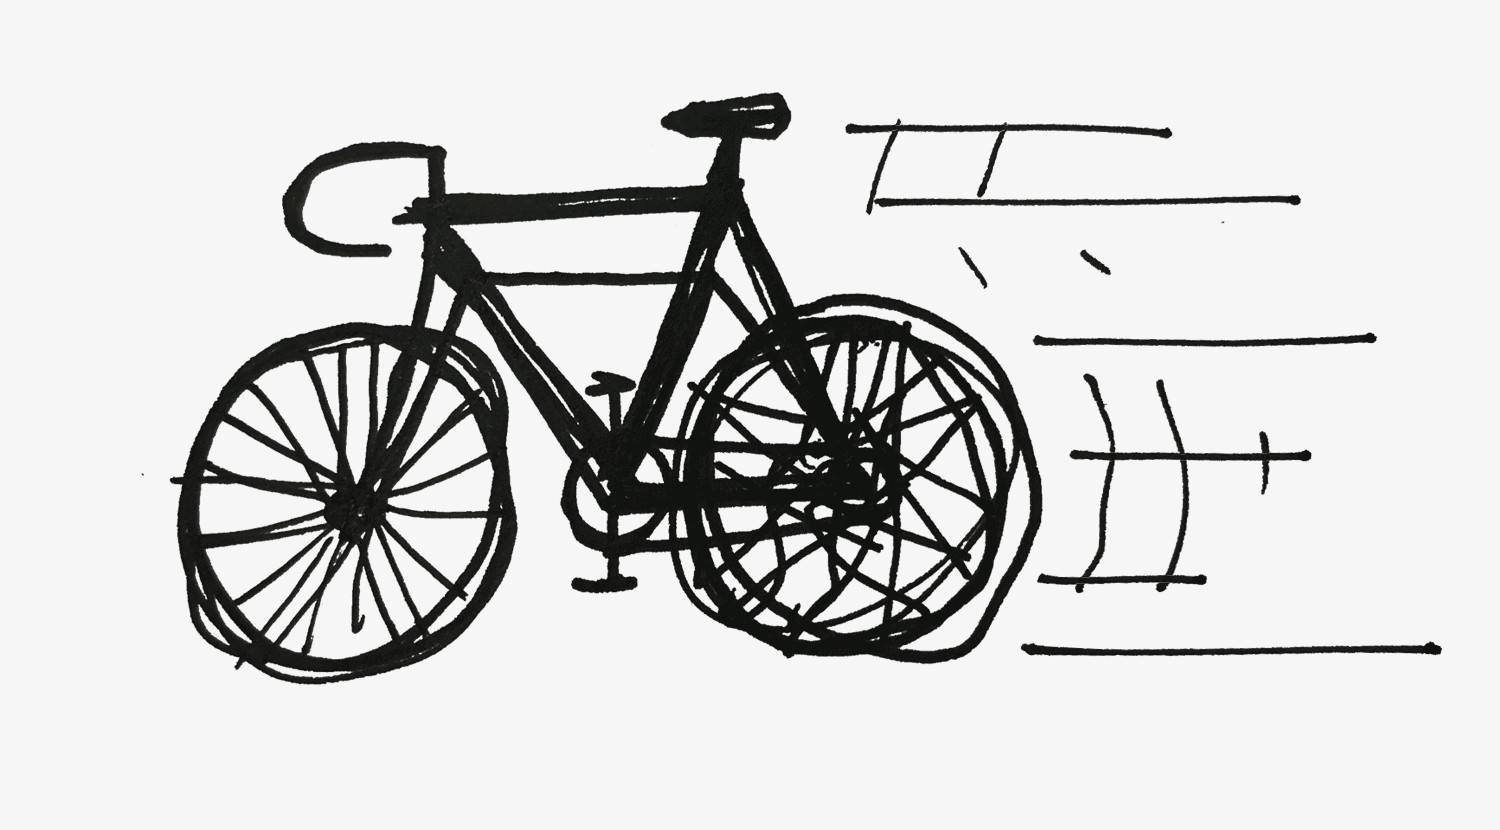
 Adding "shooty speed lines" to a motorcycle drawing to convey motion and speed.
14.2. Augmented Reality Art
Augmented reality overlays digital art onto the real world.
- AR Murals: Create murals that come to life when viewed through a smartphone or tablet.
- Interactive Installations: Design installations that respond to viewer interaction.
- AR Prints: Create prints that reveal hidden layers when viewed through an AR app.
14.3. AI-Assisted Art
Artificial intelligence can assist artists in various ways.
- Style Transfer: Use AI to apply different art styles to your bike drawings.
- Content Generation: Generate new bike designs based on your input.
- Enhancement Tools: Use AI-powered tools to enhance the quality of your drawings.
15. Resources and Communities for Bike Artists
Here are some valuable resources and communities for bike artists:
15.1. Online Forums and Groups
Engage with fellow artists and enthusiasts in online communities.
- usabikers.net: Share your artwork and connect with motorcycle lovers.
- DeviantArt: A popular platform for showcasing and discovering art.
- ArtStation: A community for professional artists and designers.
- Facebook Groups: Join groups dedicated to motorcycle art and drawing.
15.2. Art Supply Stores
Visit local art supply stores for quality materials and advice.
- Local Art Stores: Support local businesses and get personalized recommendations.
- Online Retailers: Shop for art supplies online for convenience and variety.
- Specialty Stores: Visit stores that specialize in drawing and illustration materials.
15.3. Motorcycle Events and Shows
Attend motorcycle events and shows to find inspiration and connect with fellow enthusiasts.
- Local Bike Nights: Showcase your art at local bike nights and gatherings.
- Motorcycle Rallies: Display your work at motorcycle rallies and festivals.
- Custom Bike Shows: Participate in custom bike shows and competitions.
16. Frequently Asked Questions (FAQs)
16.1. What are the best pencils for drawing bikes?
Graphite pencils in grades HB, 2B, and 4B are ideal for sketching and shading. Mechanical pencils are great for fine details.
16.2. How can I improve my shading skills?
Practice different shading techniques like hatching, cross-hatching, and blending. Study light and shadow in reference images.
 Motorcycle on fire, illustrating a dramatic and intense scene.
16.3. What is the best paper for drawing motorcycles?
Sketchbook paper is good for practice, while higher-quality drawing paper is best for finished pieces.
16.4. How do I draw accurate proportions?
Use a ruler or reference points to measure and compare proportions. Practice regularly to improve your eye for accuracy.
16.5. What are some common mistakes to avoid?
Avoid incorrect proportions, lack of detail, and poor shading. Use reference images and take your time.
16.6. Where can I find inspiration for my drawings?
Attend motorcycle shows, join online communities, and browse motorcycle magazines and websites.
16.7. How can I showcase my bike art?
Share your work on online platforms like usabikers.net, participate in local art shows, and create custom merchandise.
16.8. What advanced techniques can I learn?
Explore digital software, rendering chrome and metal, and creating realistic textures.
16.9. Are there any resources for continued learning?
Utilize online tutorials, books, art classes, and workshops to enhance your skills.
16.10. How can I build a community around my art?
Join online groups, participate in art challenges, and collaborate with other artists.
17. Final Thoughts: Embrace Your Inner Artist
Learning how to draw a bike easy is a rewarding journey that combines your love for motorcycles with artistic expression. With practice, dedication, and the right resources, you can create stunning bike art that captures the spirit and beauty of these incredible machines. Join us at usabikers.net to share your creations, connect with fellow enthusiasts, and discover even more about the world of motorcycle art. So grab your pencils, find your inspiration, and let your inner artist roar to life.
Visit usabikers.net today to explore more articles, connect with our community, and share your passion for motorcycles. Whether you’re looking for information on the latest bike models, tips on riding safety, or inspiration for your next drawing, usabikers.net is your go-to resource. Join our forum, read our expert reviews, and become a part of the usabikers.net family. Let’s ride and create together.
Address: 801 Sturgis Main St, Sturgis, SD 57785, United States
Phone: +1 (605) 347-2000
Website: usabikers.net