
Maintaining properly inflated bike tires is a fundamental skill for every cyclist, from beginners to seasoned riders. Under-inflated tires can lead to a sluggish and inefficient ride, compromised handling and grip, and an increased risk of punctures. Conversely, tires pumped to the correct pressure enhance your cycling experience, providing optimal performance, comfort, and safety. This guide will walk you through everything you need to know about How To Fill Bike Tires effectively. We’ll cover a step-by-step process, explore different valve types and pump options, and help you understand the ideal tire pressure for your rides.
1. Gather Your Tools: Choosing the Right Bike Pump
Before you start inflating your bike tires, it’s crucial to have the right tools at hand. The most essential tool is a bike pump. However, not all pumps are created equal, and compatibility with your bike’s valve type is key. Most modern bike pumps are designed to work with both Schrader and Presta valves, and many offer versatile heads that accommodate both. Ensuring you have a compatible pump is the first step in learning how to fill bike tires correctly.
There are three main types of bike pumps you should be familiar with:
Track Pump
 A cyclist using a track pump to inflate a bicycle tire
A track pump, also known as a floor pump, is an indispensable tool for home use. Characterized by its tall stature, a track pump features a footplate for stability, a long hose for easy valve access, and a built-in pressure gauge. This type of pump is designed for efficiency, allowing you to inflate tires quickly and easily to the desired pressure. The pressure gauge is particularly valuable, enabling you to achieve accurate inflation, which is critical for optimal bike performance.
Mini Pump
A cyclist uses a compact mini pump with a hose on the roadside to inflate a bicycle tire during a ride.
Mini pumps are compact and lightweight, making them perfect for taking with you on rides. In the event of a flat tire while you’re out cycling, a mini pump is your reliable companion. While they may require more effort and time compared to a track pump to inflate a tire fully, mini pumps are designed to be portable and get you back on the road or trail. For enhanced ease of use and to minimize stress on the valve, opt for a mini pump that includes a hose.
CO2 Inflator
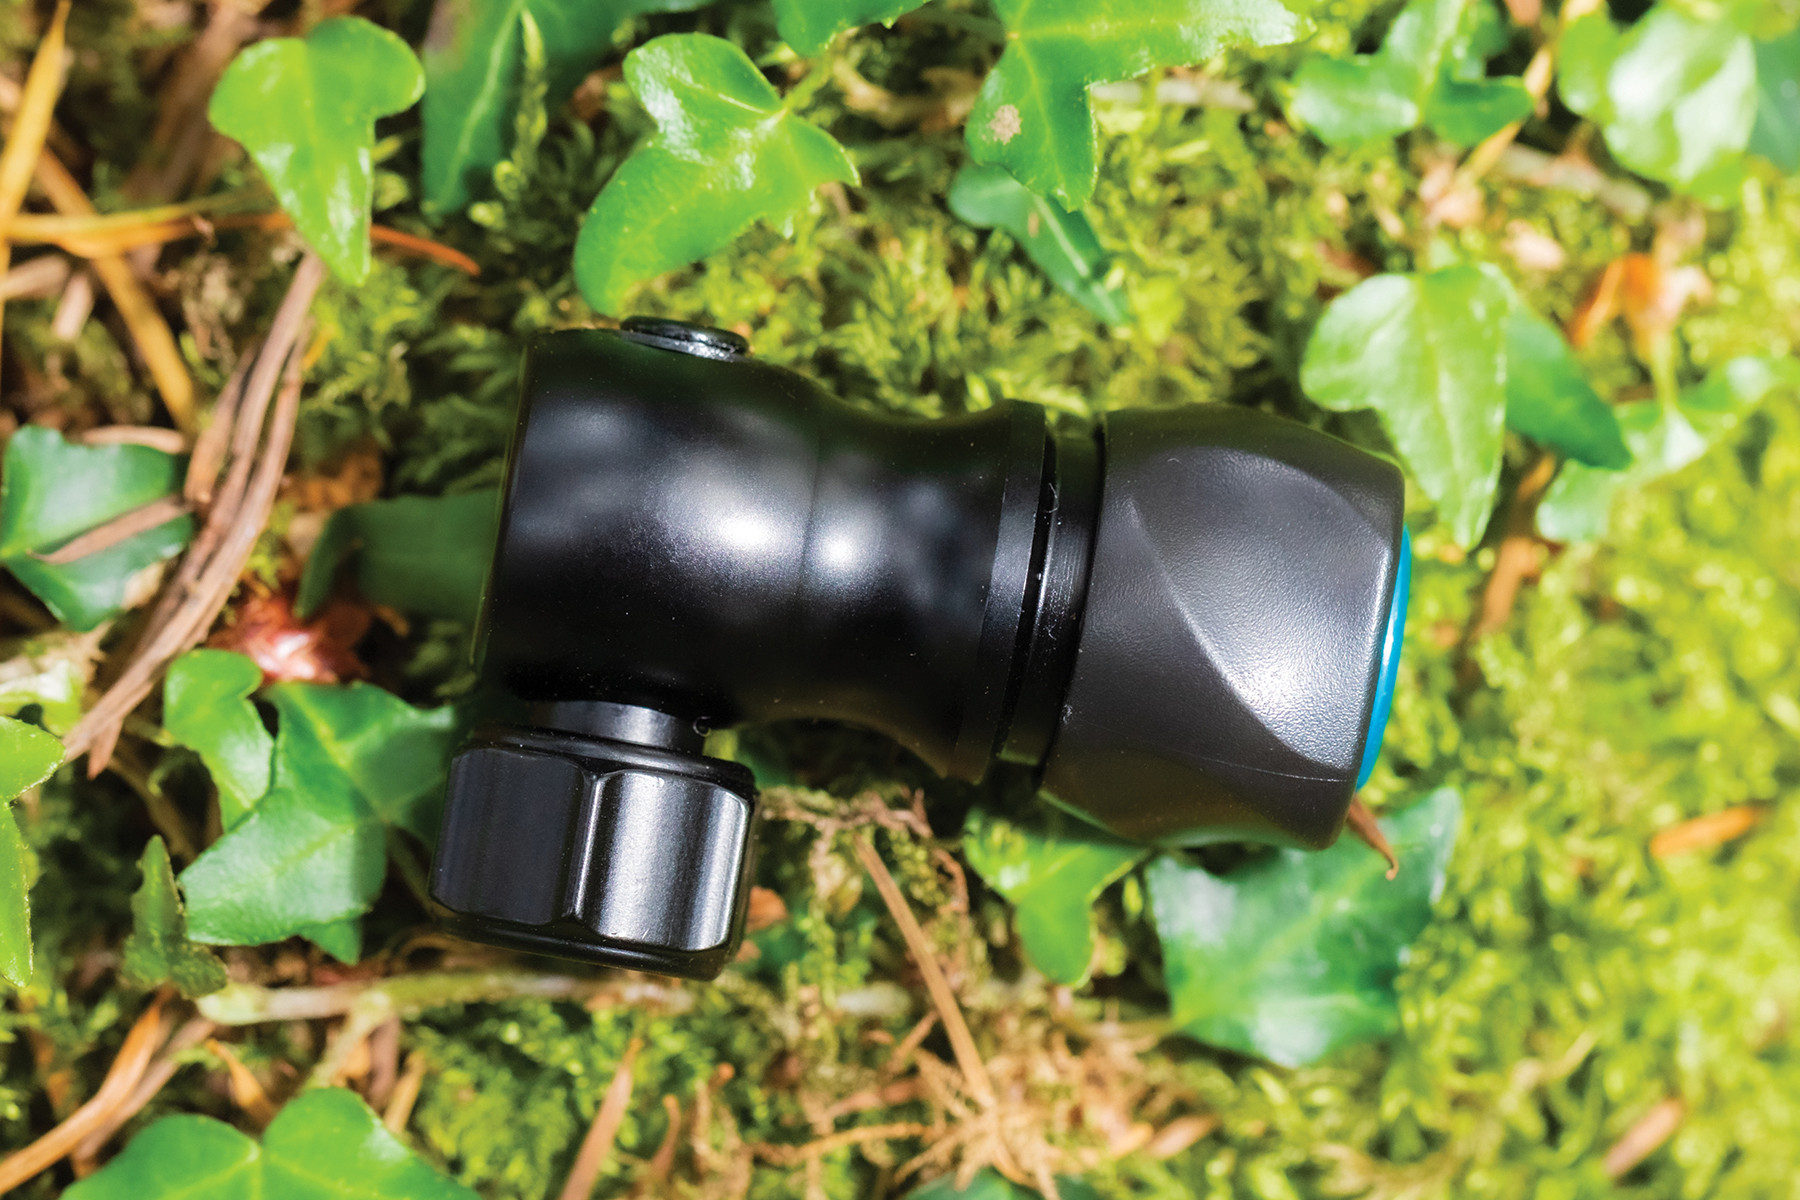 CO2 inflators and cartridges for quickly inflating bicycle tires
CO2 inflators offer the fastest way to inflate a bike tire, utilizing cartridges of compressed carbon dioxide. These are particularly favored by racers and cyclists who prioritize speed and efficiency during repairs. However, CO2 inflators are generally considered a supplementary tool rather than a primary pump. CO2-inflated tires tend to lose pressure more quickly than those inflated with air, and you’ll need to carry replacement cartridges for each inflation. It’s advisable to also carry a mini pump as a backup in case you experience multiple punctures or run out of CO2 cartridges.
2. Identify Your Bike Tire Valve Type
Before you can effectively fill your bike tires, you must determine the type of valve your inner tubes use. There are primarily two main types found on modern bicycles: Presta and Schrader. Less commonly, you might encounter Dunlop valves, and tubeless setups utilize specialized tubeless valves. Understanding your valve type is crucial for using the correct pump and inflation technique.
Presta Valve
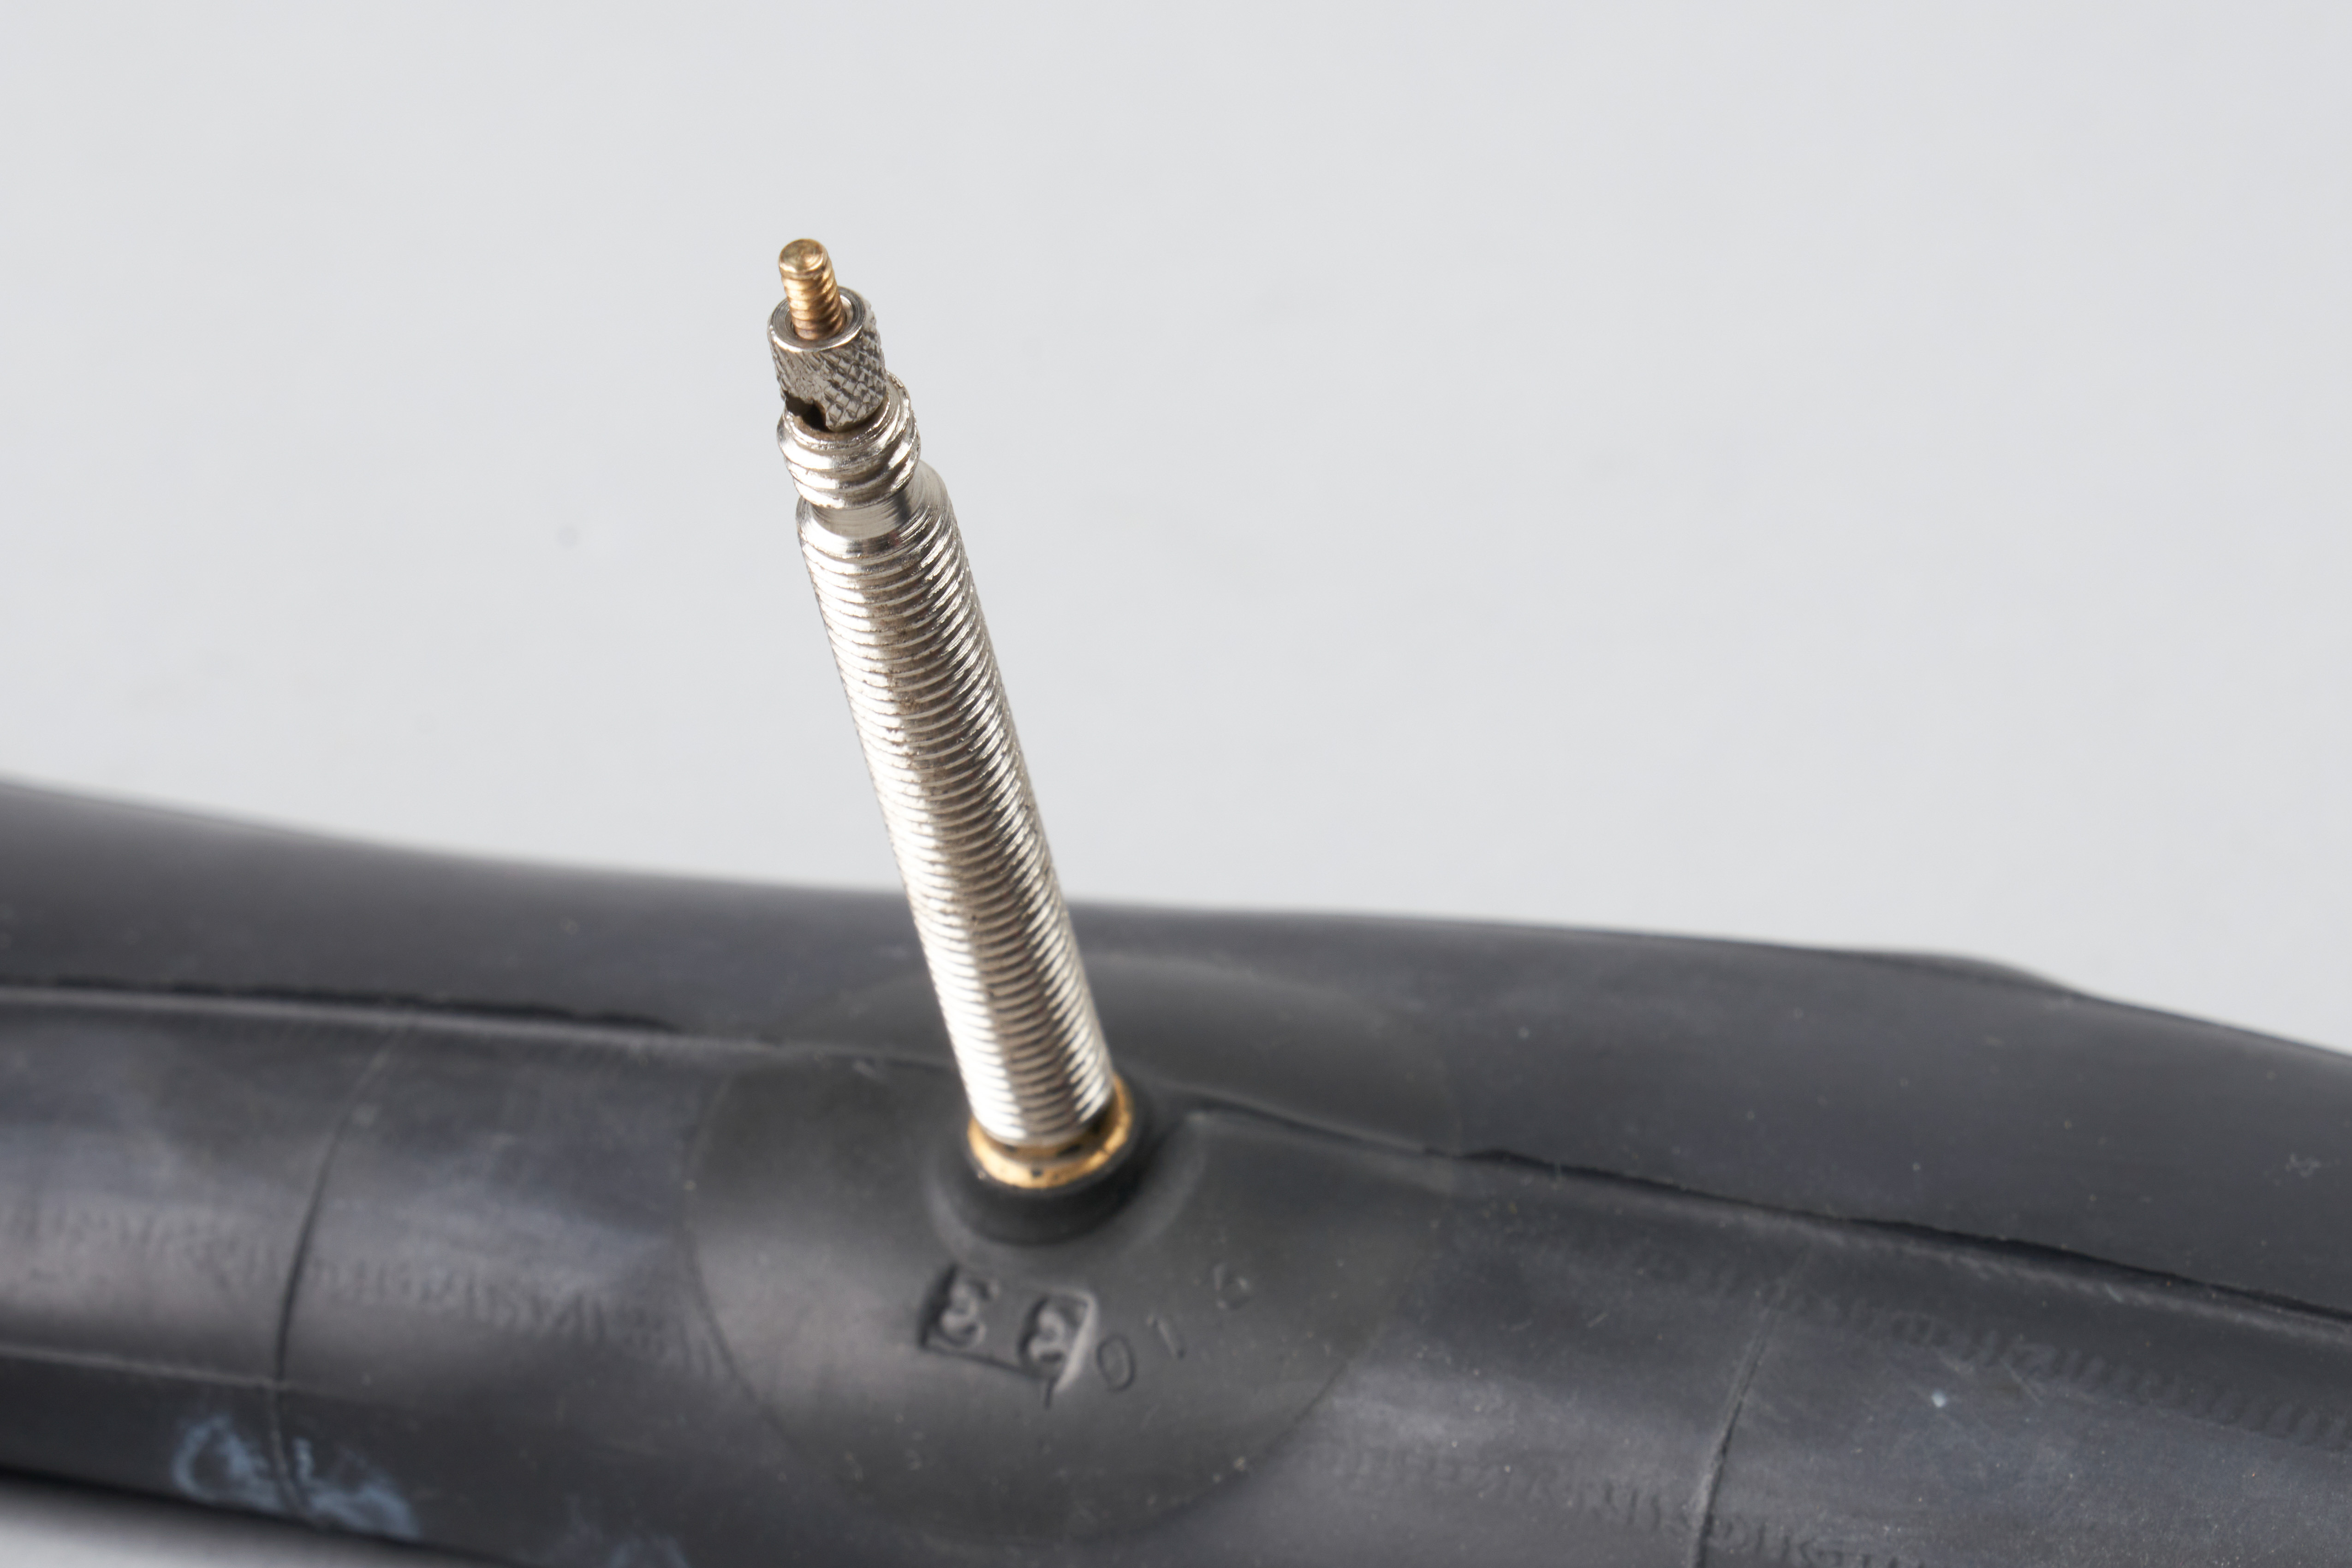 A close-up of a Presta valve on a bicycle inner tube
The Presta valve is commonly found on mid-to-high-range bicycles, particularly road bikes and performance-oriented bikes. It’s easily identifiable by its narrow, slender profile and a small lock nut at the valve tip. To inflate a Presta valve, you must first unscrew this lock nut to allow airflow. Presta valves are designed to hold higher pressures more effectively and are often preferred for narrower, high-pressure tires.
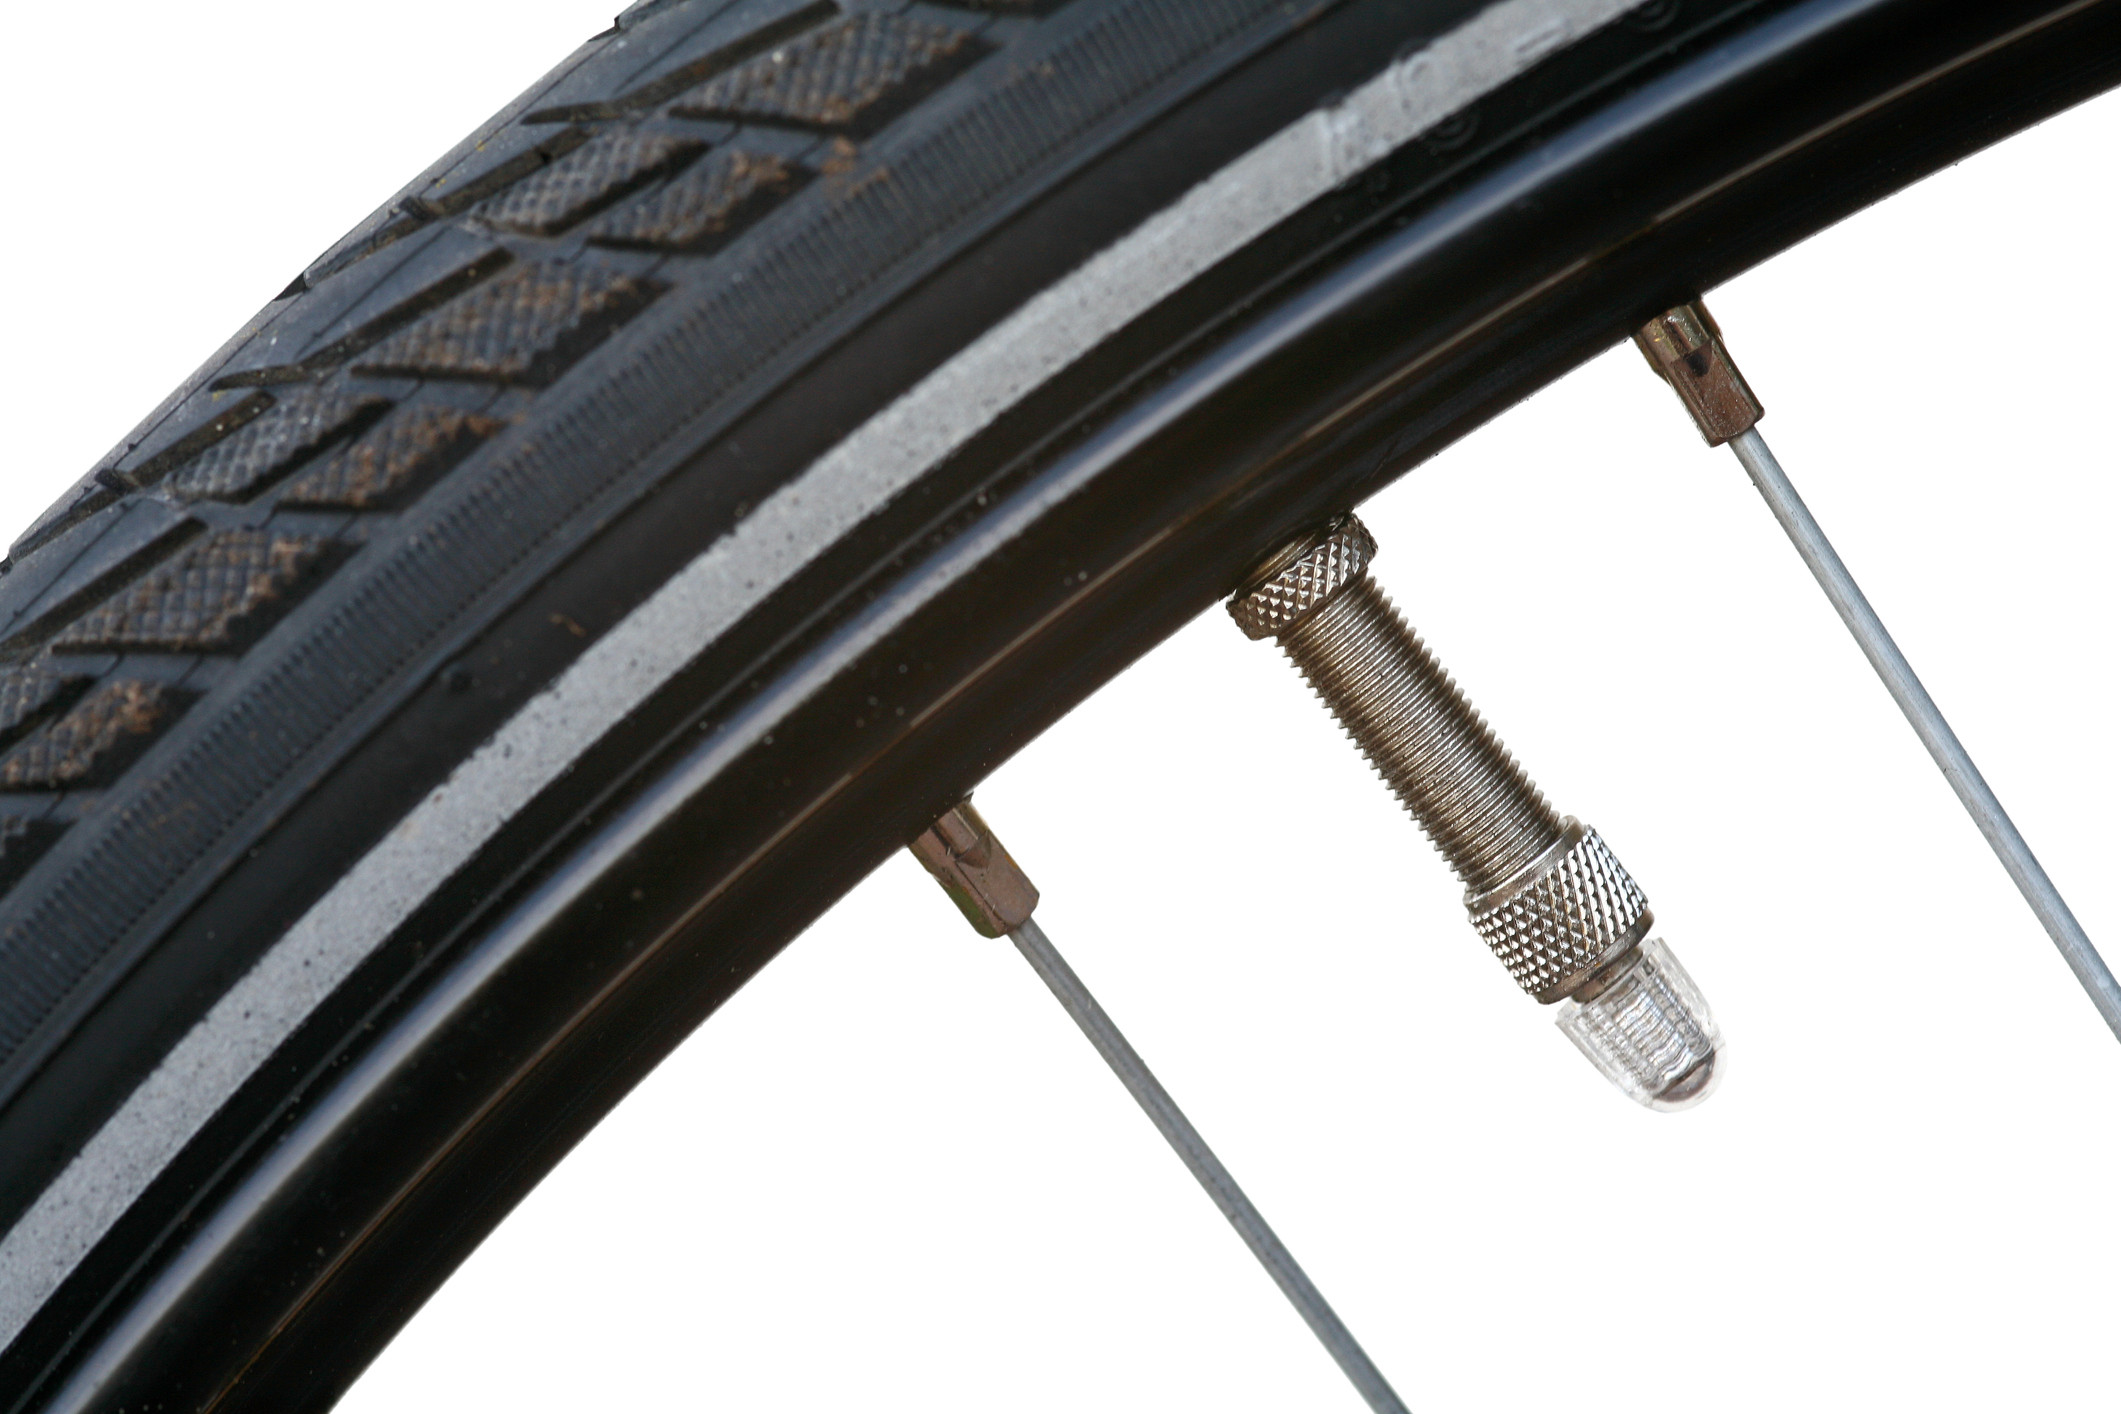
Schrader Valve
 A close-up of a Schrader valve on a bicycle inner tube
Schrader valves are wider and more robust than Presta valves and are commonly found on entry-level bikes, mountain bikes, and hybrid bikes. They are the same type of valve used on car tires, making inflation at gas station air pumps possible (though not always ideal due to pressure limitations). Schrader valves feature a spring-loaded pin in the center; the pump head presses this pin to allow air to flow in and out.
Dunlop/Woods Valve
 A close-up of a Dunlop valve on a bicycle inner tube
Dunlop valves, also known as Woods valves, are less common in North America and are primarily found on older bicycles or bikes from European countries, particularly Dutch-style bikes. They are wider than Presta valves and utilize a similar locking mechanism. While less prevalent, it’s still helpful to recognize them if you own a vintage bicycle.
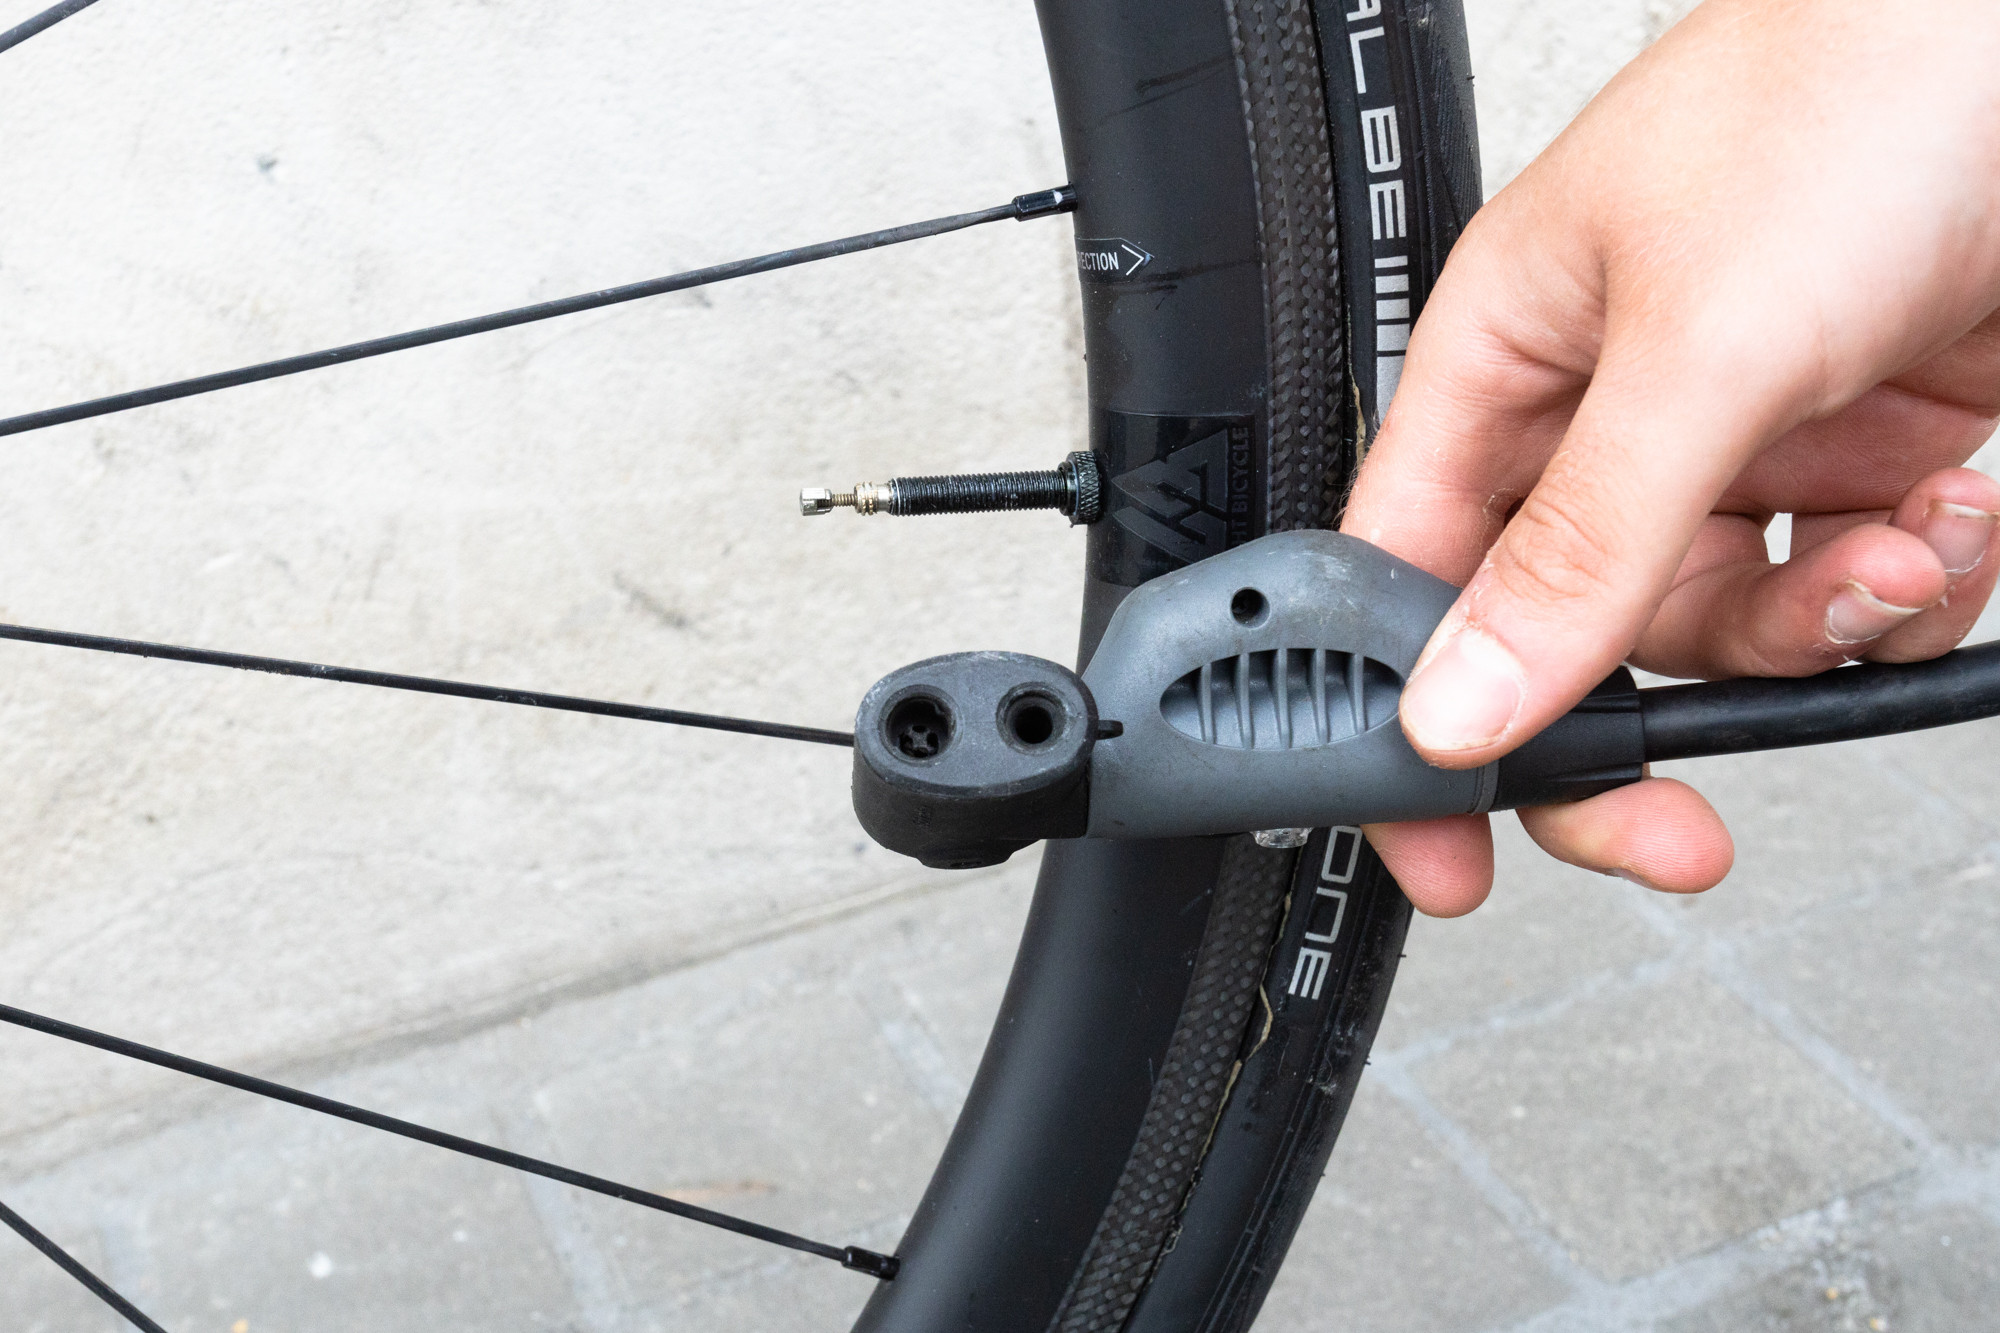
Tubeless Valve
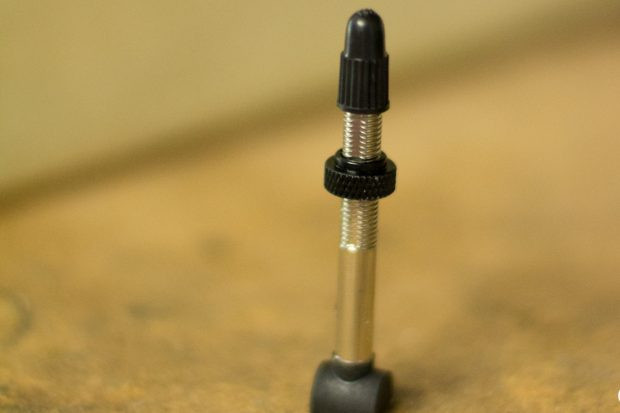 A tubeless valve installed on a bicycle rim
Tubeless valves are specific to tubeless tire setups, where tires are mounted directly to the rim without inner tubes. These valves are typically Presta type and are installed directly into the rim with a lock nut to create an airtight seal. Tubeless systems offer benefits like lower rolling resistance and reduced risk of pinch flats, and their valves are designed to work with tubeless sealants.
3. Step-by-Step Inflation Process
Once you’ve identified your valve type and have a compatible pump, you can proceed with inflating your bike tires. The process is slightly different for Presta and Schrader valves, but both are straightforward.
Inflating a Presta Valve
-
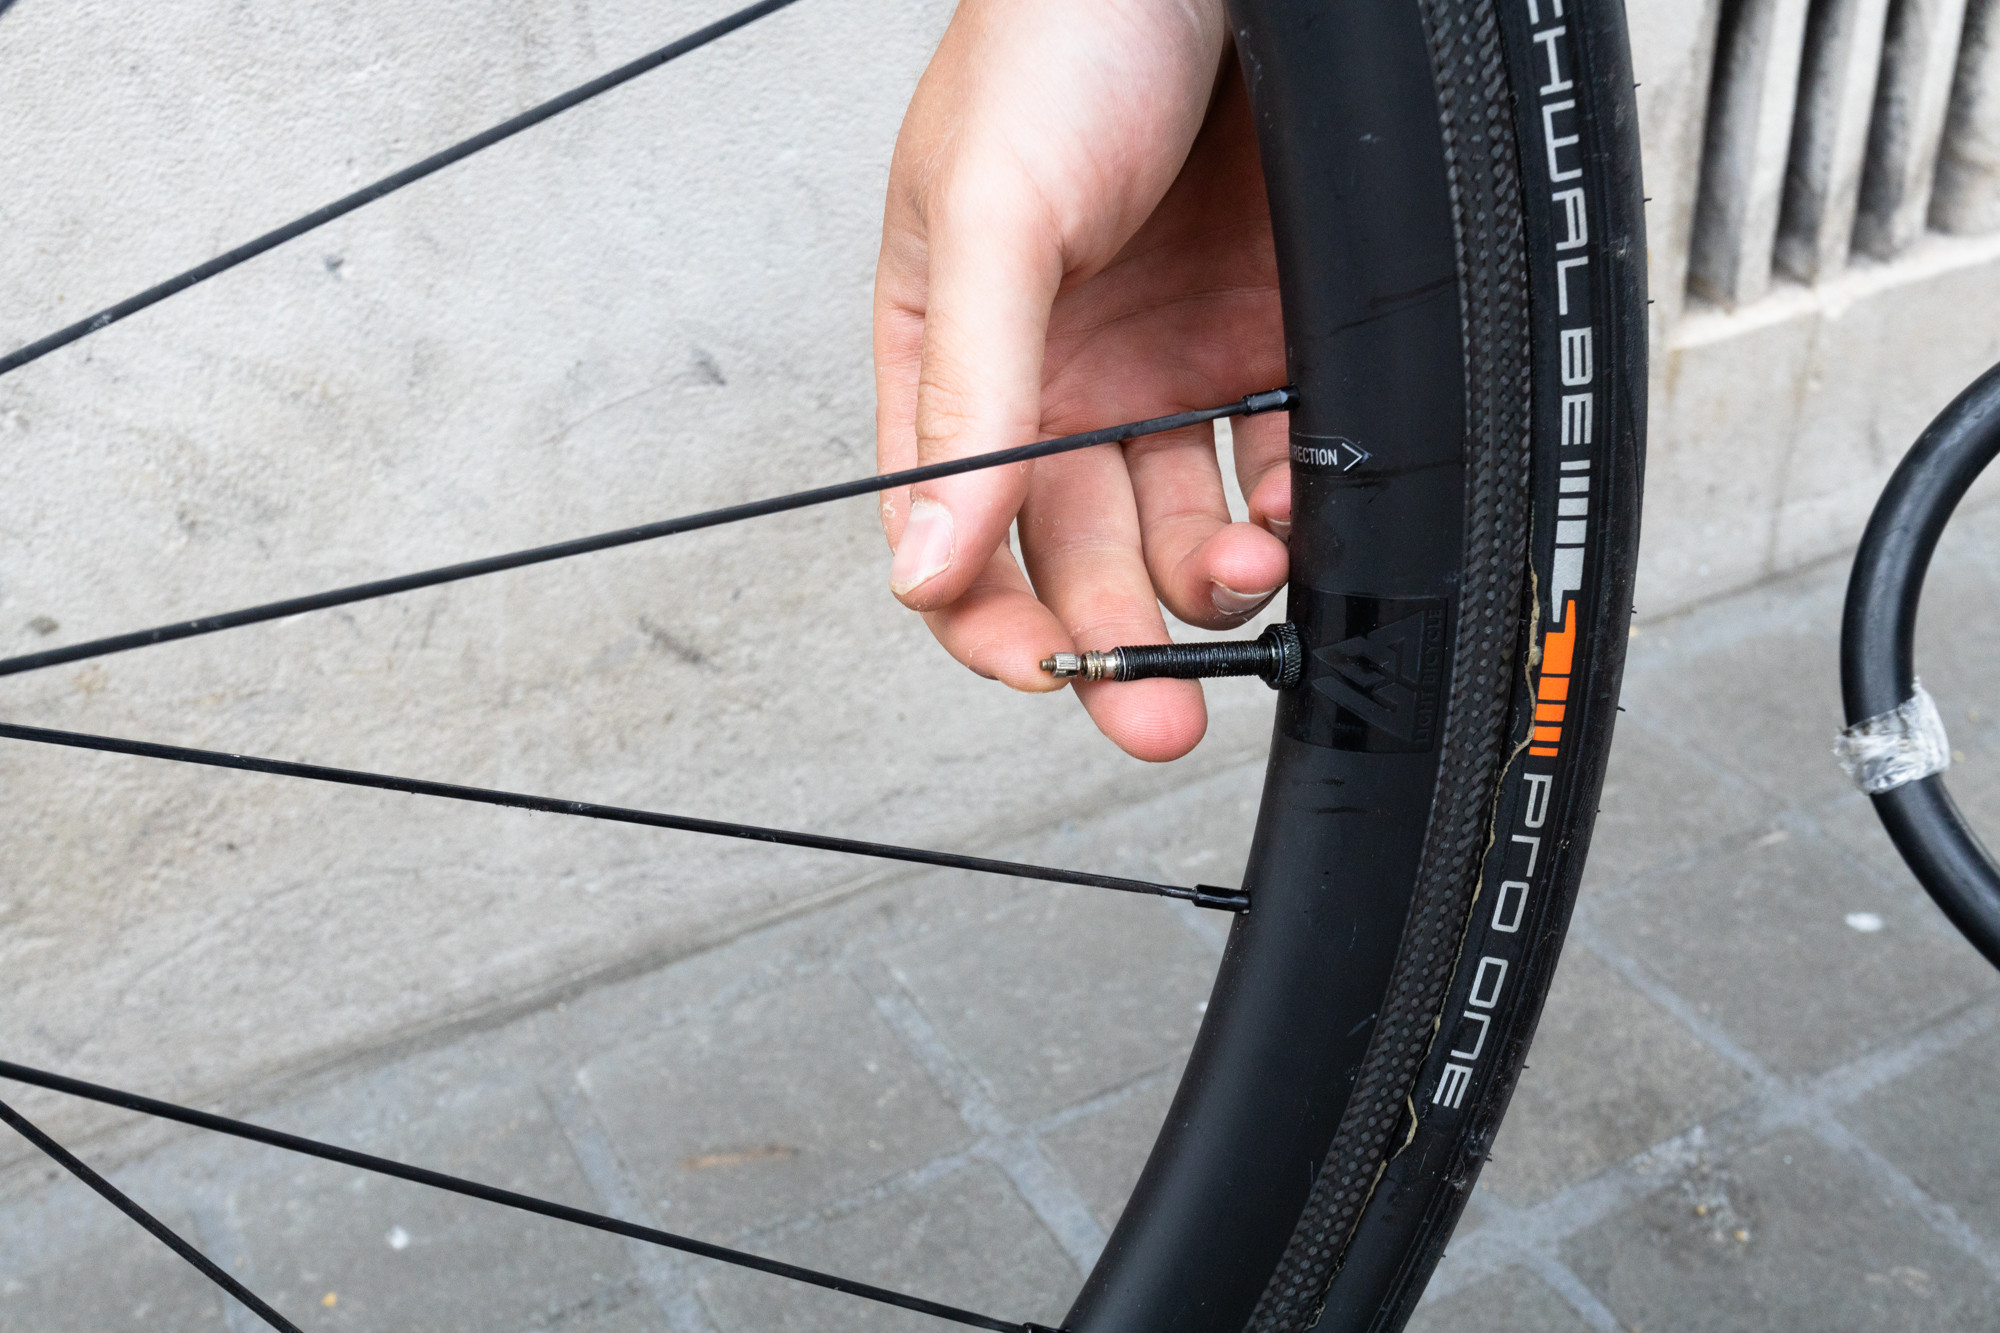
Prepare the Valve: Remove the plastic dust cap, if present, and unscrew the small lock nut at the valve tip counter-clockwise. Gently tap the valve tip to ensure it’s not stuck and to release a small amount of air. This step is important to ensure smooth inflation.
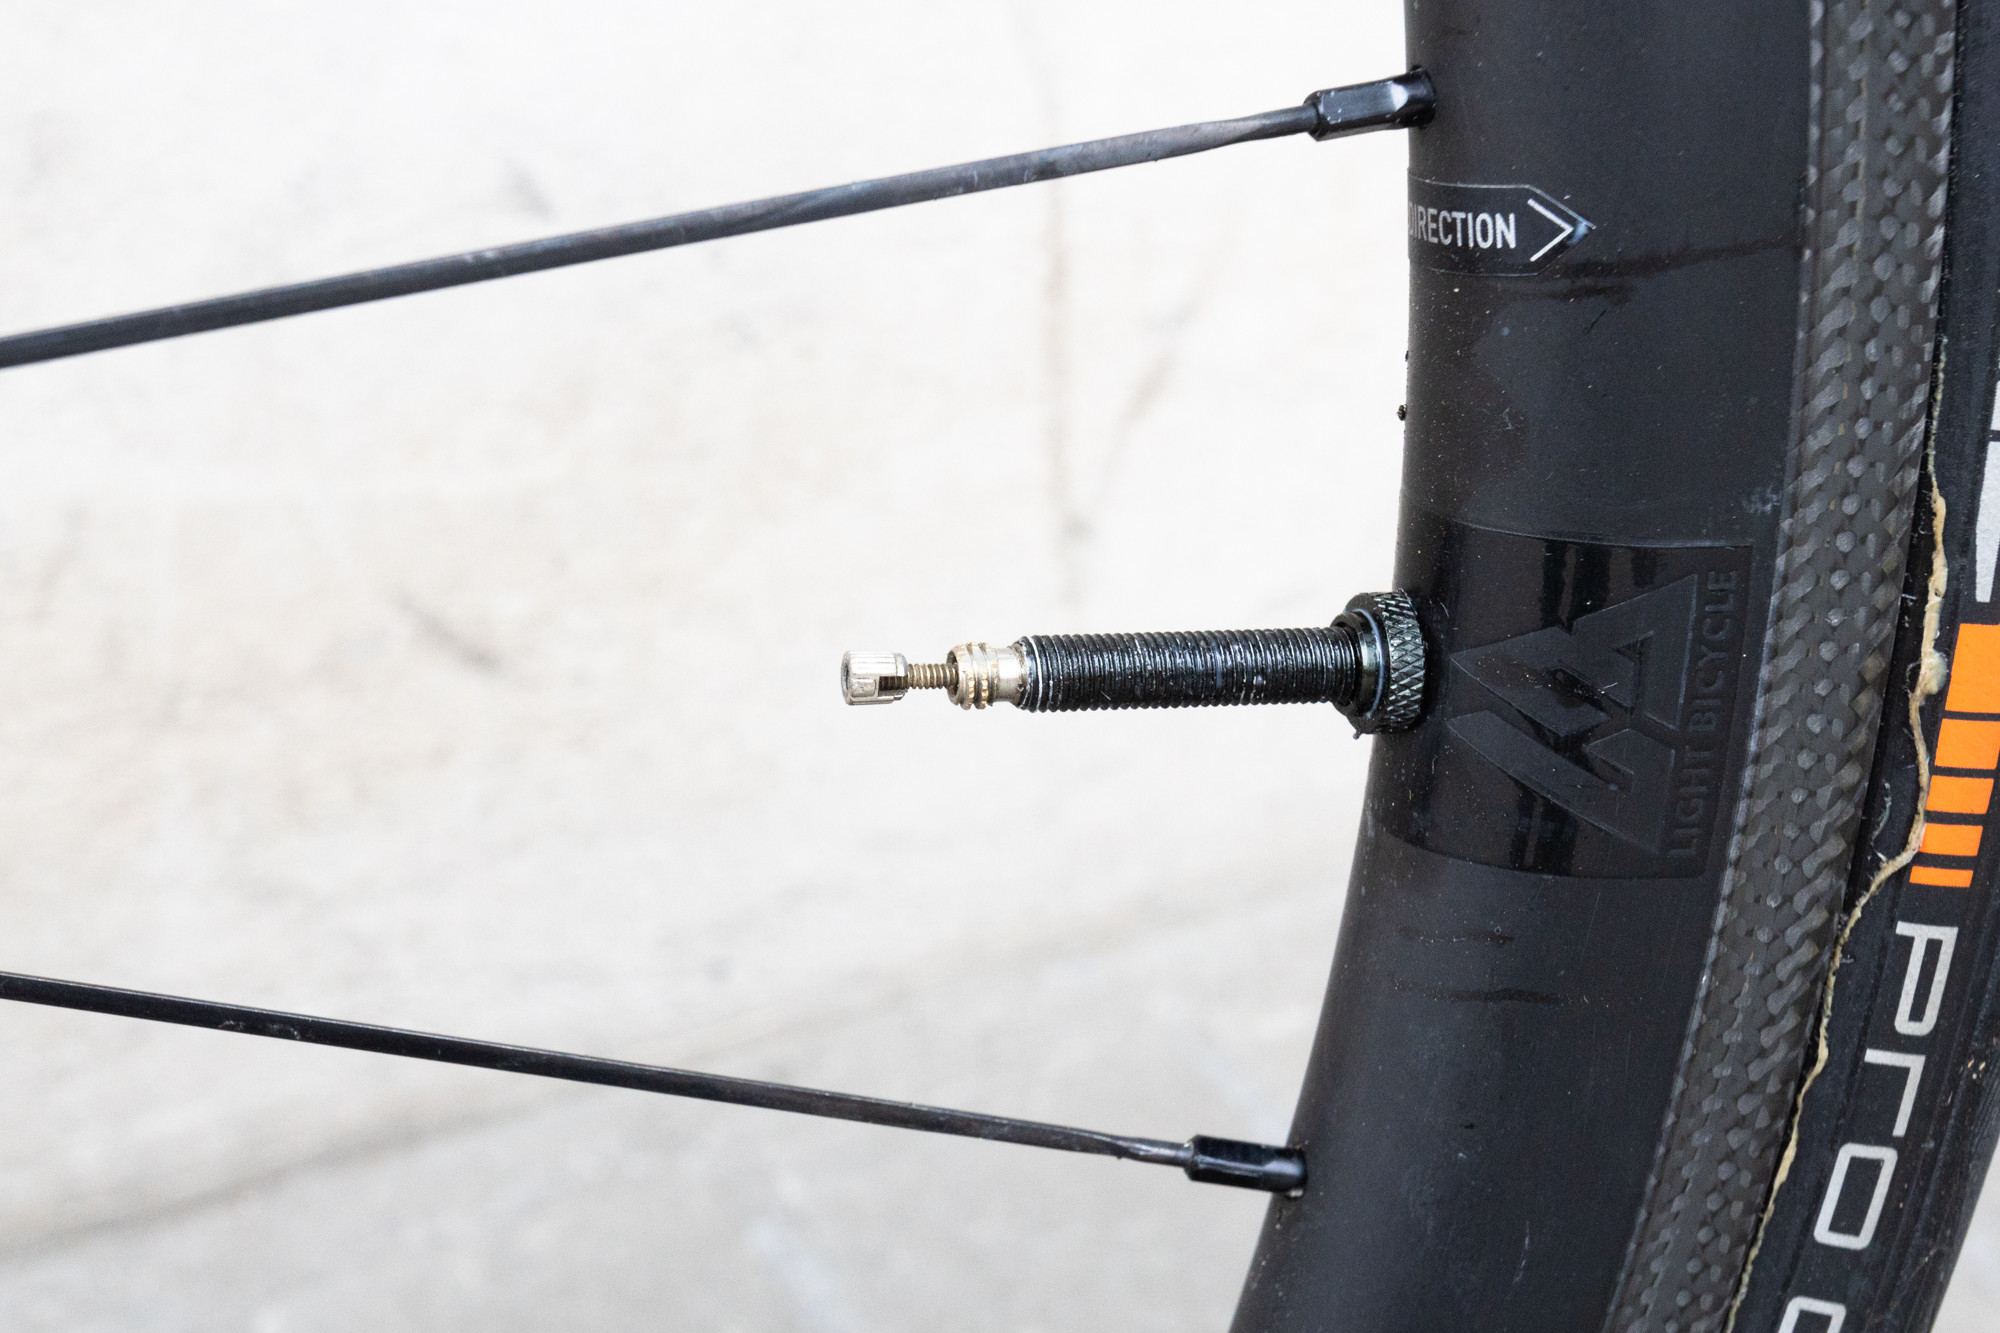 Preparing a Presta valve by unscrewing the lock nut
 -
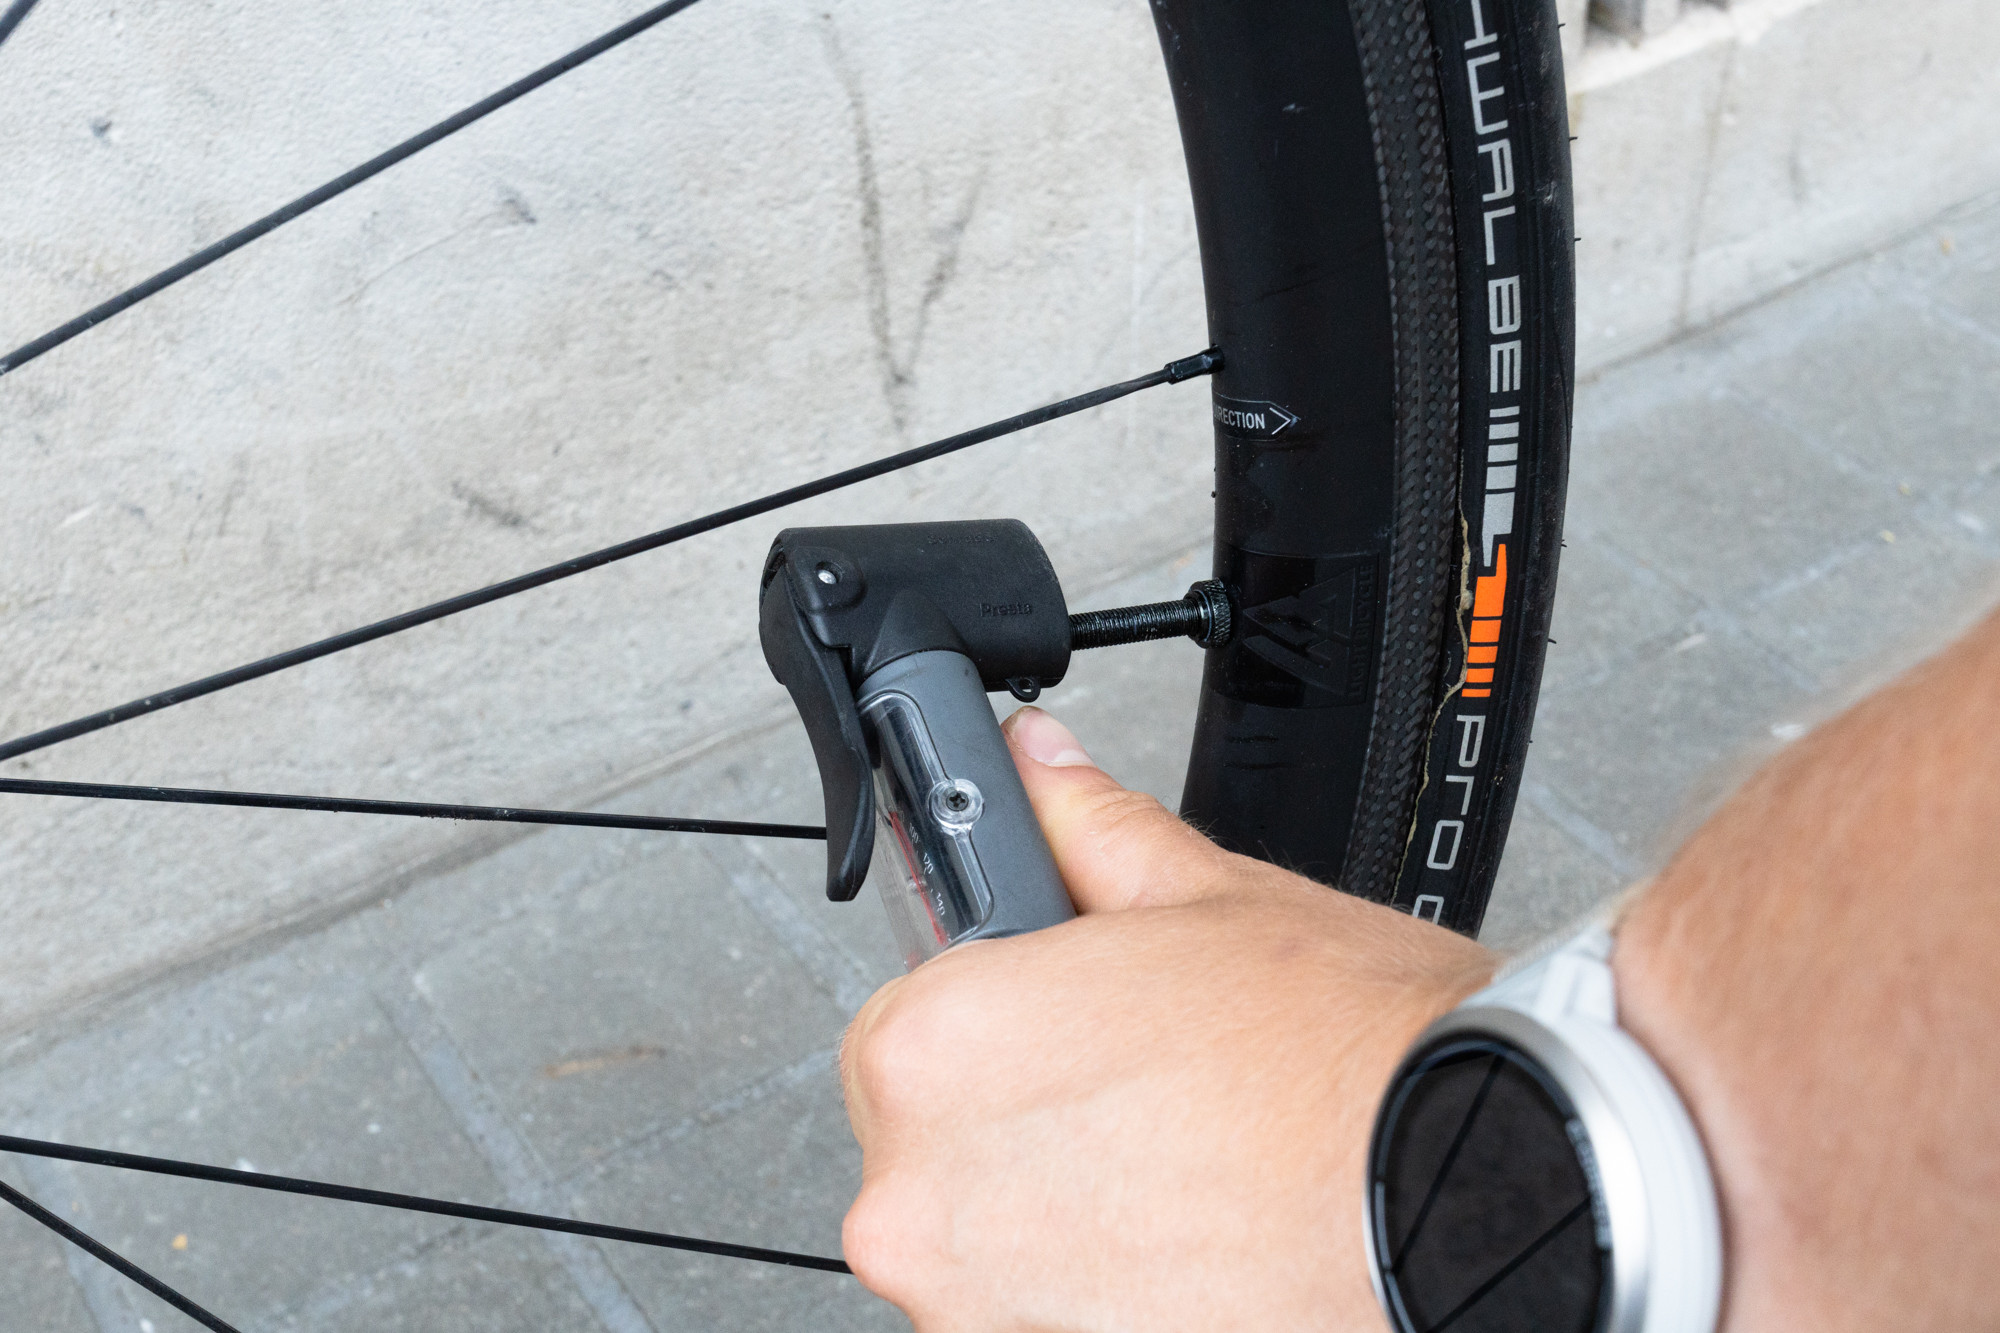
Attach the Pump Head: Securely attach the pump head to the Presta valve. For some pump heads, you’ll need to press it onto the valve and then flip a lever to lock it in place. Others simply push on and create a seal. Ensure the pump head is firmly attached to prevent air leakage. Be gentle when attaching the pump head to avoid bending the delicate Presta valve.
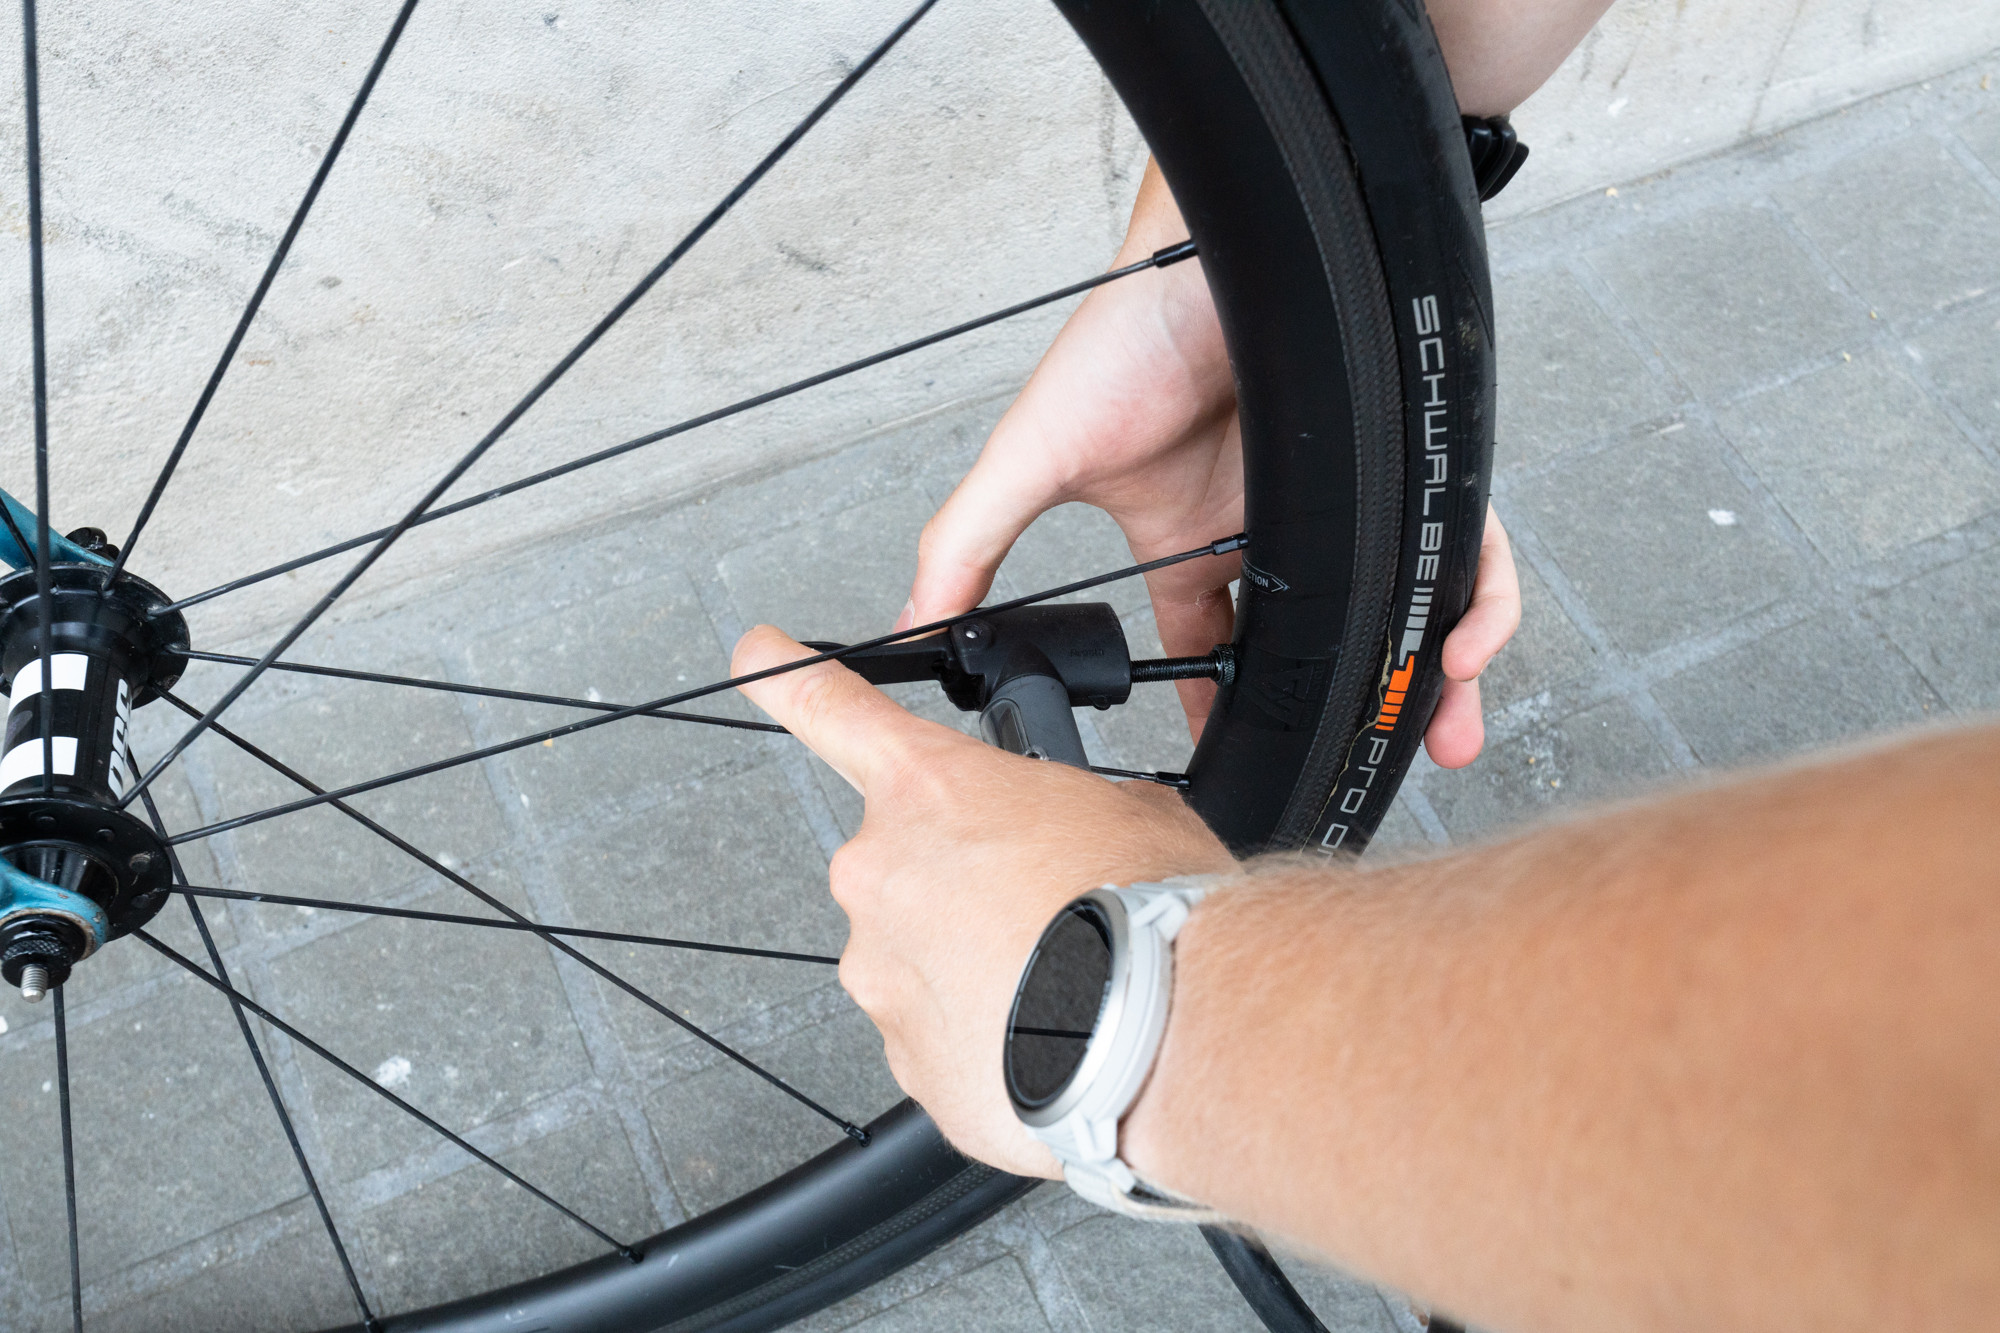 Attaching a pump head to a Presta valve, ensuring proper engagement
 -
Inflate the Tire: Begin pumping in a smooth, consistent motion. If using a track pump, use your body weight to assist on the downstroke for more efficient inflation. Watch the pressure gauge on the pump to reach your desired PSI (pounds per square inch). If you don’t have a gauge, you can estimate by squeezing the tire – it should feel firm but still have some give.
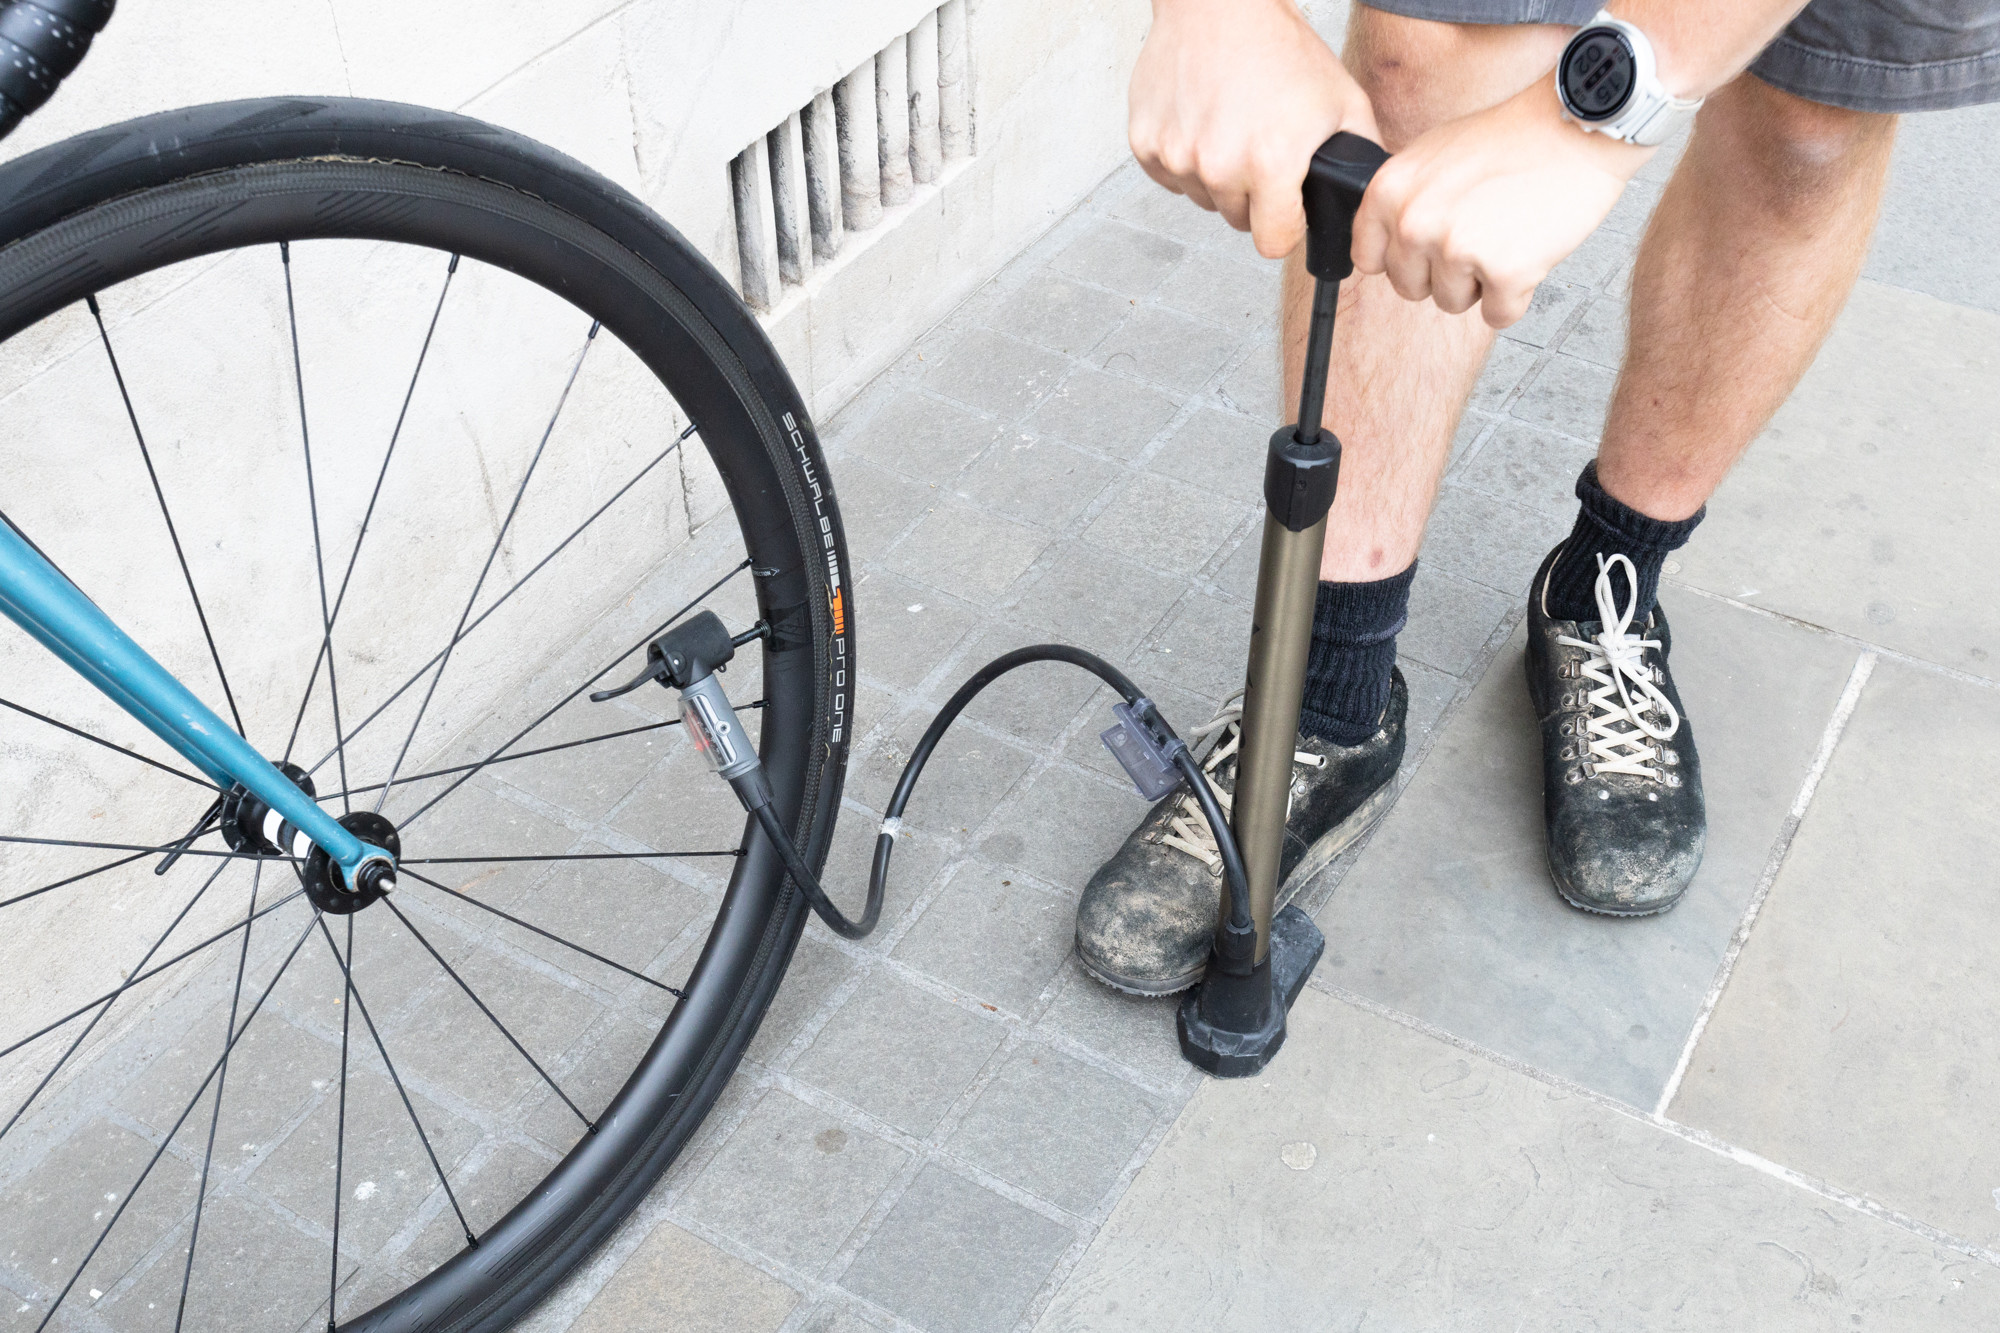 Inflating a bicycle tire using a track pump with a gauge
 -
Disengage the Pump Head: Once you’ve reached the desired pressure, disengage the pump head. If your pump head has a lever, flip it back to the open position before removing the head. A slight hiss of air is normal – this is just air escaping from the pump hose, not your tire.
 Removing the pump head from a Presta valve after inflation
 -
Close the Valve: After removing the pump head, screw the Presta valve’s lock nut clockwise until it’s finger-tight. This helps to ensure the valve is fully closed. Replace the dust cap if your valve has one, although it’s primarily for keeping dirt out and not essential for air retention.
 Closing a Presta valve by tightening the lock nut and replacing the dust cap
Inflating a Schrader Valve
-
Prepare the Valve: Remove the plastic dust cap from the Schrader valve. Schrader valves do not have a lock nut, so no further preparation is needed.
-
Attach the Pump Head: Press the pump head firmly onto the Schrader valve. Ensure it’s seated squarely to create a good seal around the valve opening. Some pump heads may have a lever to lock onto Schrader valves as well.
-
Inflate the Tire: Pump steadily until you reach the desired pressure, monitoring the gauge on your track pump if available. As with Presta valves, if you don’t have a gauge, you can check the firmness by squeezing the tire.
-
Disengage the Pump Head: Pull the pump head straight off the Schrader valve. A slight hiss is again normal as air escapes from the pump head.
-
Close the Valve: Replace the dust cap on the Schrader valve to protect it from dirt and debris.
4. Understanding Bike Tire Pressure
Achieving the correct bike tire pressure is vital for optimal riding performance, comfort, and puncture protection. Tire pressure is measured in PSI (pounds per square inch) or BAR (a metric unit, roughly equivalent to atmospheric pressure). The ideal pressure range for your tires depends on several factors, including tire type, tire width, rider weight, and riding conditions.
Both under-inflated and over-inflated tires have negative impacts:
-
Under-inflated tires: Increase rolling resistance, making pedaling harder and slower. They also make the bike feel sluggish and increase the risk of pinch flats (snakebite punctures) where the inner tube is pinched between the rim and a hard object.
-
Over-inflated tires: Provide a harsh and uncomfortable ride, reducing grip and control, especially on uneven surfaces. While they might feel faster on perfectly smooth surfaces, they transmit more vibrations to the rider and can bounce off bumps rather than conforming to the terrain.
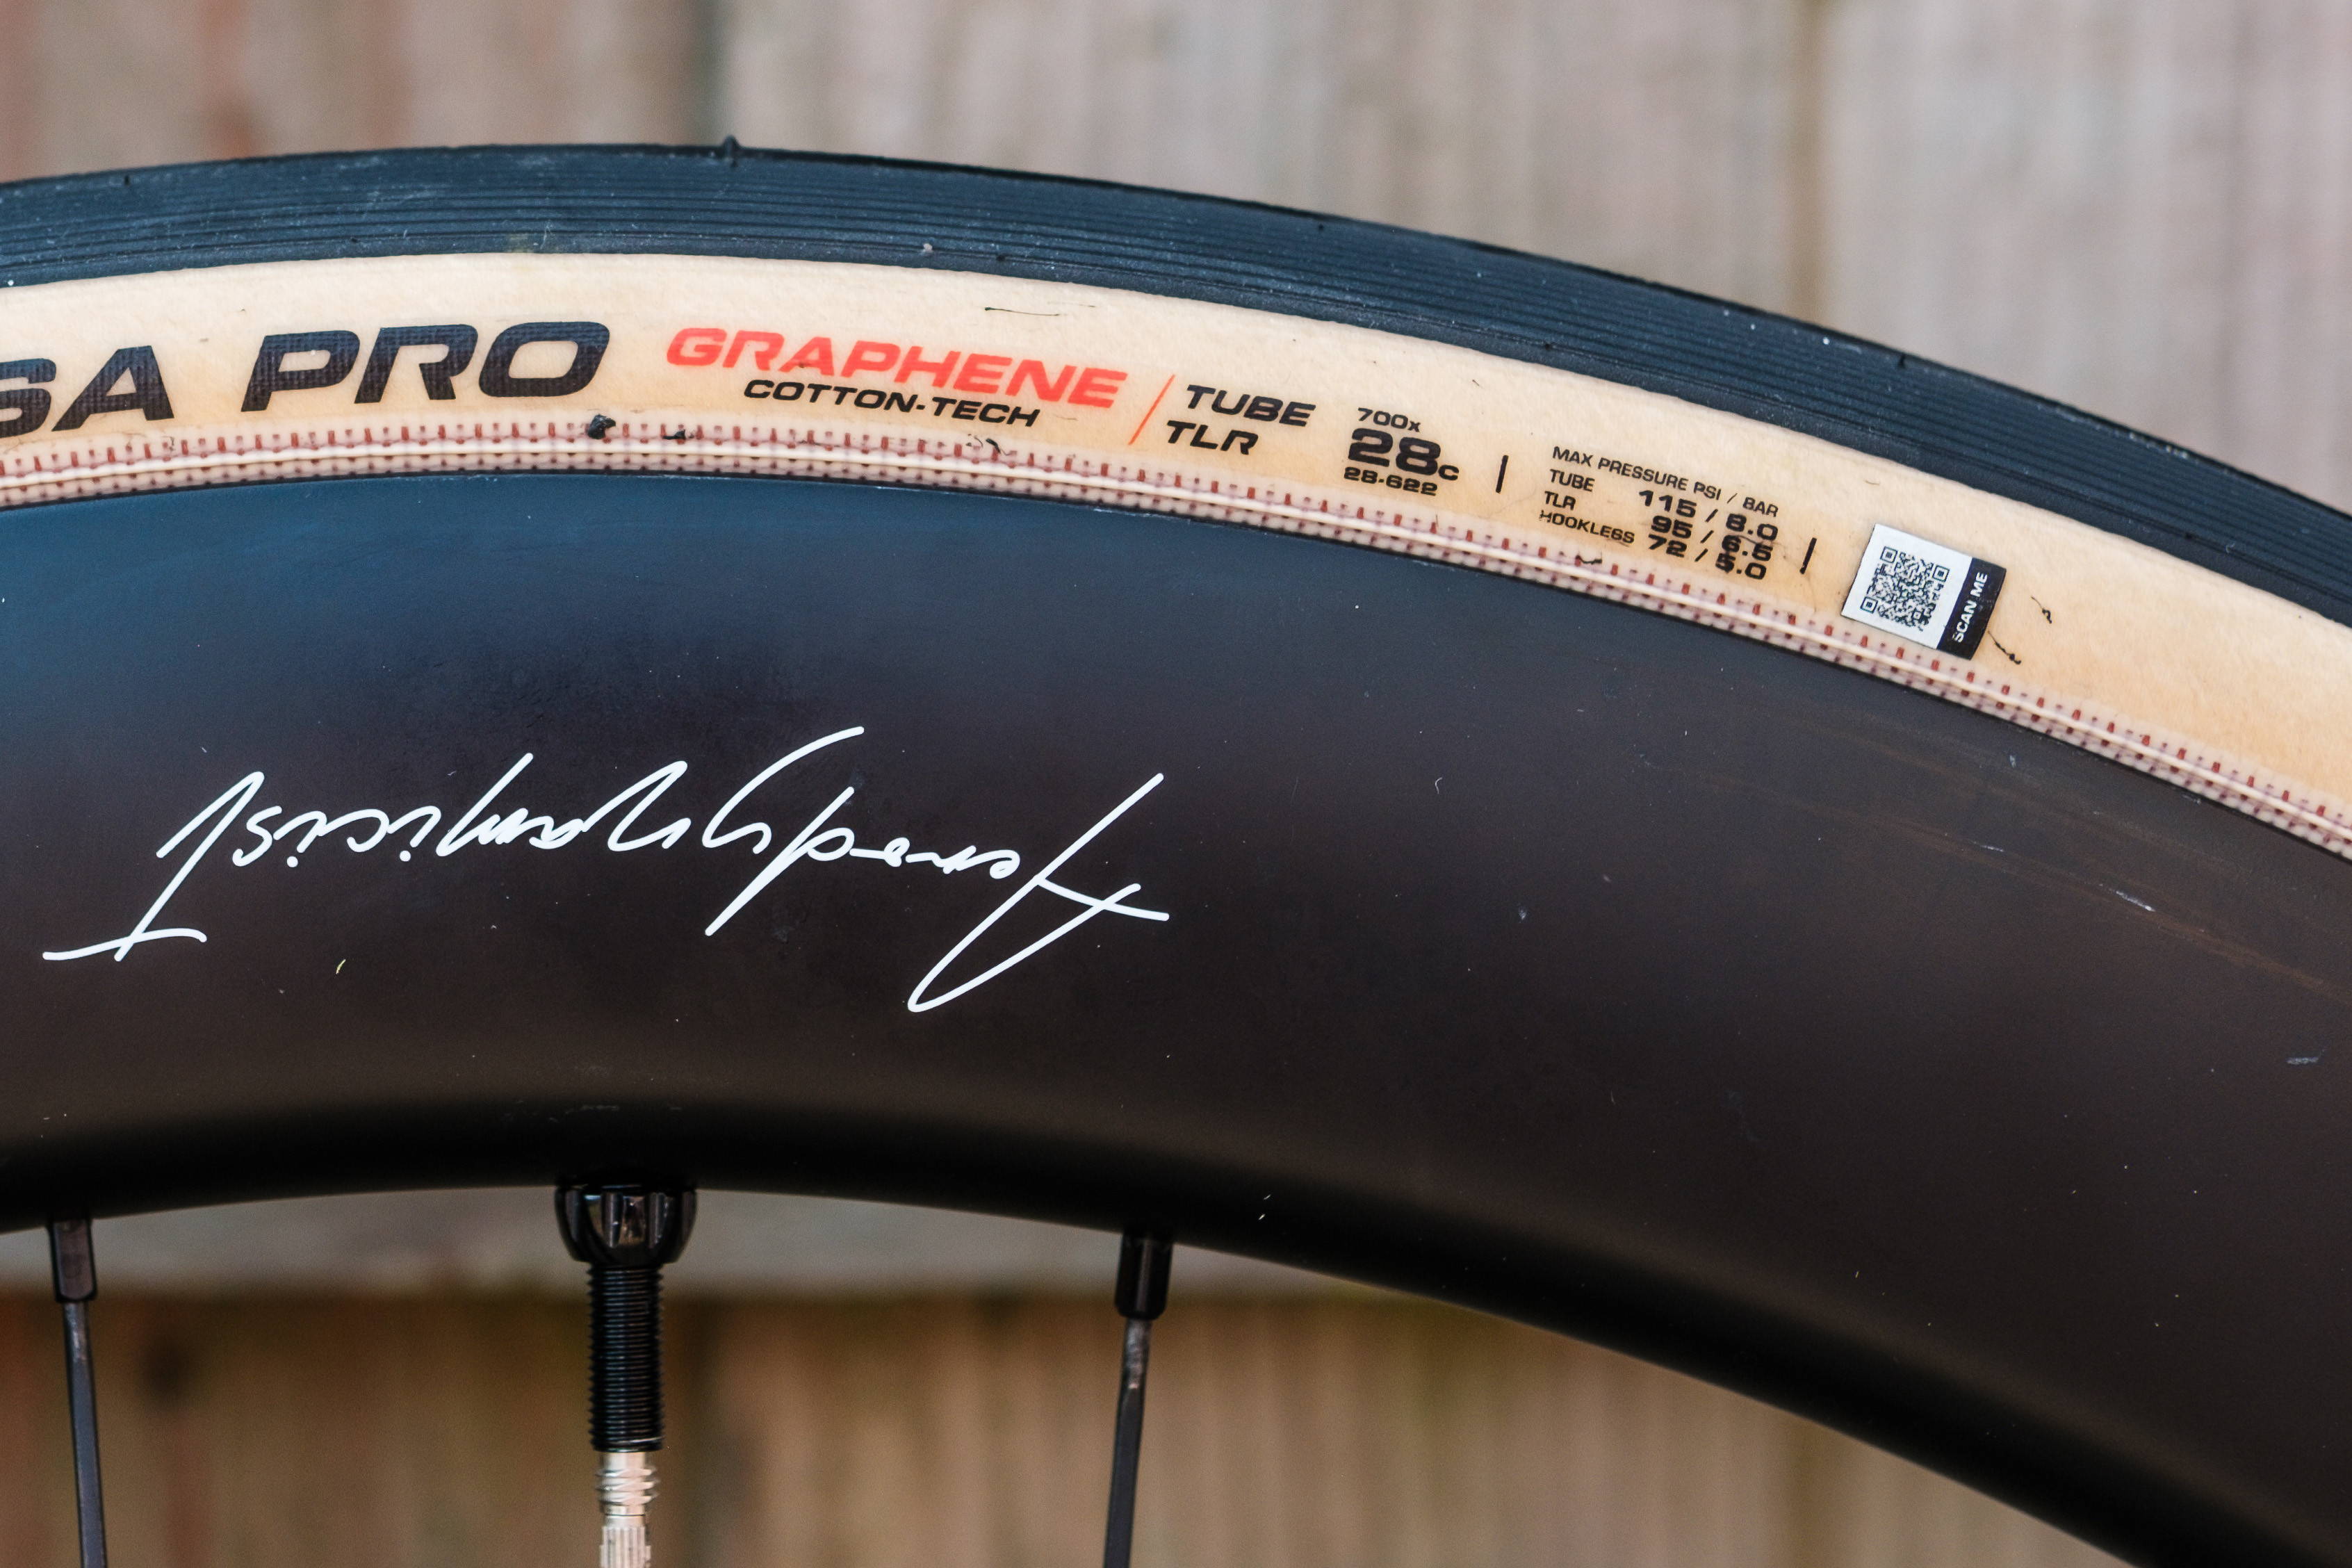 Tire sidewall markings showing recommended pressure range
Finding the Right Pressure:
The recommended pressure range is usually printed on the sidewall of your bike tire. Look for numbers followed by “PSI” or “BAR.” This range is a guideline, and you can fine-tune it based on your preferences and riding conditions.
- Start with the recommended range: Inflate your tires to the middle of the recommended range as a starting point.
- Consider tire type and width: Wider tires, like those on mountain bikes or gravel bikes, generally require lower pressures. Narrower tires, like those on road bikes, typically need higher pressures.
- Adjust for rider weight: Heavier riders may need to inflate tires towards the higher end of the recommended range, while lighter riders can go lower.
- Adapt to riding conditions: For smoother roads, you might prefer slightly higher pressure. For rougher terrain, slightly lower pressure can improve comfort and grip.
Using a track pump with a pressure gauge is the most accurate way to inflate your tires to the desired PSI. If you ride frequently, investing in a separate tire pressure gauge can also be beneficial for precise adjustments.
5. Maintaining Your Bike Tires
Regularly checking and maintaining your bike tire pressure is essential for optimal performance and safety. Ideally, you should check your tire pressure before each ride. Tires naturally lose air over time, even without punctures.
 Checking bicycle tire pressure using a hand-held gauge
How Often to Inflate:
- Before every ride: This is the best practice to ensure consistent performance and reduce the risk of flats.
- At least weekly: If you don’t ride daily, check and inflate your tires at least once a week.
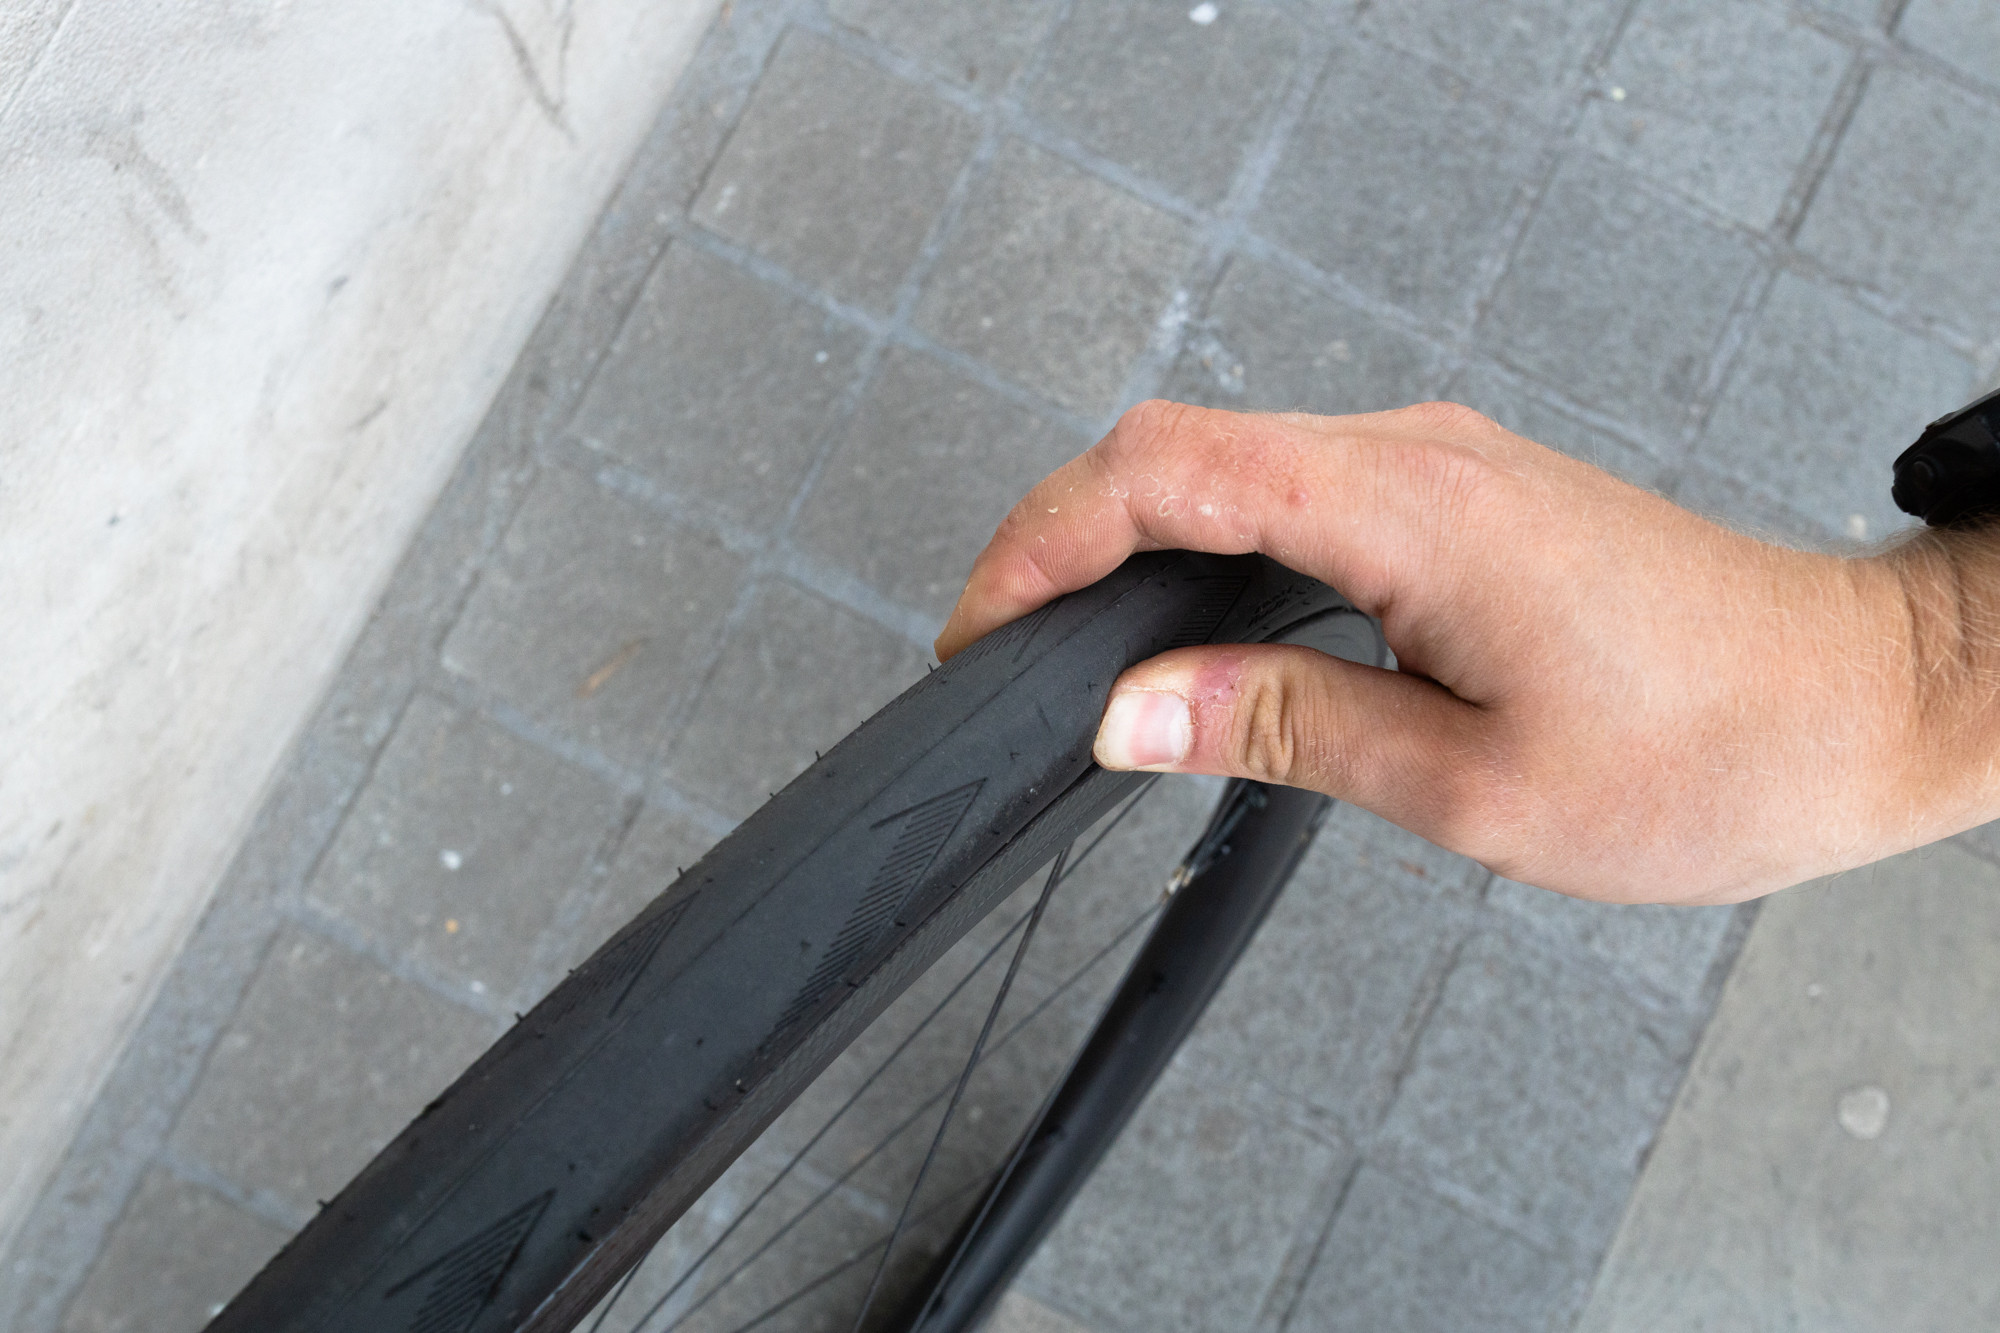
- Squeeze test: As a quick check, you can squeeze your tires. They should feel firm with minimal give. However, this is not as accurate as using a gauge.
Why Regular Inflation Matters:
- Improved performance: Properly inflated tires roll faster and more efficiently, making your rides easier and more enjoyable.
- Enhanced comfort: Correct pressure helps tires absorb bumps and vibrations, improving ride comfort.
- Puncture prevention: Maintaining proper pressure reduces the risk of pinch flats and other types of punctures.
- Tire longevity: Riding on under-inflated tires can cause premature wear and damage to your tires and rims.
By making tire inflation a regular part of your bike maintenance routine, you’ll ensure safer, more comfortable, and more efficient cycling experiences.
Conclusion
Knowing how to fill bike tires is a fundamental skill that empowers you to maintain your bicycle and enjoy optimal riding conditions. By understanding the different valve types, choosing the right pump, following the step-by-step inflation process, and maintaining correct tire pressure, you can significantly enhance your cycling performance, comfort, and safety. Make it a habit to check your tire pressure regularly, and you’ll be well-prepared for countless enjoyable miles on your bike.