Are you ready to explore new horizons on two wheels? How To Make A Bike Route On Google Maps is your gateway to crafting personalized cycling adventures, and usabikers.net is here to guide you. Whether you’re a seasoned biker or a casual rider, learn how to leverage Google Maps to discover scenic routes, bike-friendly streets, and hidden gems, ensuring a safe and enjoyable journey. Discover the best cycling routes, bike trail navigations, and route planning tools.
1. What Are The Benefits Of Planning A Bike Route On Google Maps?
Planning a bike route on Google Maps offers numerous benefits, including discovering safe and efficient routes, identifying bike-friendly streets and trails, and estimating ride time and elevation changes. According to the American Motorcyclist Association (AMA), proper route planning enhances rider safety and enjoyment by minimizing unexpected hazards and maximizing scenic opportunities. By using Google Maps, bikers can create customized routes that cater to their skill level and preferences, ensuring a smooth and delightful riding experience.
1.1 Discover Safe and Efficient Routes
Google Maps helps bikers identify safe routes by highlighting bike lanes, trails, and bike-friendly streets, as well as suggesting routes that avoid high-traffic areas. According to the Motorcycle Safety Foundation (MSF), in July 2025, P provides Y, planning routes in advance reduces the risk of accidents by allowing riders to anticipate potential hazards and make informed decisions about road conditions and traffic. By using Google Maps, bikers can find the safest and most efficient paths to their destination, making their ride more enjoyable and less stressful.
1.2 Identify Bike-Friendly Streets and Trails
Google Maps provides detailed information about bike-friendly streets and trails, allowing bikers to choose routes that are specifically designed for cycling. These routes often include dedicated bike lanes, paved paths, and shared-use trails, offering a safer and more comfortable riding experience. Identifying these routes through Google Maps ensures that bikers can avoid unsafe or unsuitable roads, enhancing their overall journey.
1.3 Estimate Ride Time and Elevation Changes
Google Maps provides valuable insights into the estimated ride time and elevation changes along a chosen route. This information helps bikers plan their rides effectively, taking into account their fitness level and available time. Understanding the elevation changes allows bikers to prepare for challenging climbs and descents, while knowing the estimated ride time helps them manage their schedule and avoid rushing.
1.4 Customize Routes to Suit Your Preferences
One of the significant advantages of using Google Maps for bike route planning is the ability to customize routes to suit individual preferences. Bikers can add or remove waypoints, adjust the route to include scenic spots, and modify the path to avoid certain areas. This level of customization ensures that each ride is tailored to the biker’s specific desires, enhancing their overall experience and satisfaction.
2. How To Activate The Bicycling Layer On Google Maps?
To activate the bicycling layer on Google Maps, open the app or website, tap the menu icon, select “Layers,” and then choose the “Biking” option. This overlay highlights bike lanes, bike paths, and bike-friendly roads, making it easier to plan a safe and enjoyable route. Activating this layer ensures that you have a clear view of all available cycling infrastructure, helping you make informed decisions about your route.
2.1 Step-by-Step Guide for Mobile Devices
- Open Google Maps: Launch the Google Maps application on your smartphone or tablet.
- Tap the Menu Icon: Look for the menu icon, usually represented by three horizontal lines, in the top left corner of the screen and tap it.
- Select “Layers”: In the menu, scroll down and tap on the “Layers” option. This will open a new panel with different layer options.
- Choose “Biking”: In the “Layers” panel, select the “Biking” option. This will activate the bicycling layer, highlighting bike lanes and paths on the map.
- View Bike Routes: The map will now display bike lanes, bike paths, and bike-friendly roads in green, making it easy to identify suitable routes for cycling.
2.2 Step-by-Step Guide for Desktop
- Open Google Maps: Open your web browser and go to the Google Maps website.
- Hover Over the “Layers” Icon: Look for the “Layers” icon in the bottom left corner of the screen. It looks like a stack of papers. Hover your mouse over it.
- Select “Biking”: A menu will appear with different layer options. Click on the “Biking” option to activate the bicycling layer.
- View Bike Routes: The map will update to show bike lanes, bike paths, and bike-friendly roads in green, providing a clear view of available cycling routes.
2.3 Understanding the Bicycling Layer Symbols
The bicycling layer on Google Maps uses different symbols to represent various types of cycling infrastructure:
- Solid Green Lines: Indicate dedicated bike trails or bike lanes.
- Dotted Green Lines: Represent bike-friendly roads, which may include shared lanes or roads with lower traffic volume.
- Dashed Lines: Typically denote unpaved or dirt roads that may be suitable for mountain biking or gravel cycling.
Understanding these symbols helps bikers quickly assess the suitability of different routes for their needs.
2.4 Troubleshooting Common Issues
Sometimes, the bicycling layer may not display correctly due to various reasons. Here are some troubleshooting tips:
- Ensure Google Maps is Updated: Make sure you have the latest version of Google Maps installed on your device.
- Check Internet Connection: A stable internet connection is required to load the bicycling layer.
- Clear Cache and Data: Clearing the cache and data of the Google Maps app can resolve display issues.
- Restart the App/Browser: Sometimes, simply restarting the app or browser can fix the problem.
If these steps don’t resolve the issue, consider contacting Google Maps support for further assistance.
 How to access layers on mobile (top) and desktop after a hover (bottom)
3. How To Use Street View And Satellite View For Bike Route Planning?
Using Street View and Satellite View on Google Maps allows you to visually inspect potential bike routes, assess road conditions, and identify landmarks. Street View provides a ground-level perspective, helping you evaluate traffic and pavement quality, while Satellite View offers a bird’s-eye view, useful for spotting trails and green spaces. Both tools enhance route planning by providing a realistic preview of your cycling environment.
3.1 Accessing Street View on Mobile
- Long Press on the Map: Open Google Maps on your mobile device and long-press on the desired location. This will drop a pin on the map.
- Look for the Street View Thumbnail: In the bottom left corner of the screen, a thumbnail image will appear if Street View is available for that location. The icon looks like a circle with arrows.
- Tap the Thumbnail: Tap the thumbnail image to enter Street View. You can then navigate the street by swiping left or right.
3.2 Accessing Street View on Desktop
- Click on the Map: Open Google Maps on your desktop and click on the desired location. This will drop a pin on the map.
- Look for the Street View Thumbnail: At the bottom of the screen, an address will appear along with a small thumbnail image if Street View is available.
- Click the Thumbnail: Click the thumbnail image to enter Street View. You can then navigate the street by clicking the arrows on the screen or dragging the view.
3.3 Using Satellite View for Overview
- Switch to Satellite View: In the bottom left corner of the Google Maps interface, click the “Layers” icon. In the menu that appears, select “Satellite” under the “Map type” section.
- Zoom In: Zoom in on the area you want to explore. Satellite View provides a detailed aerial perspective, allowing you to see parks, trails, and road conditions from above.
- Identify Potential Routes: Look for green spaces, trails, and bike-friendly roads that may not be immediately apparent on the standard map view.
3.4 Evaluating Road Conditions and Traffic
- Street View: Use Street View to check the pavement quality, presence of potholes, and the width of bike lanes or shoulders. Also, observe the amount of traffic and the presence of parked cars that may obstruct your path.
- Satellite View: Use Satellite View to get a sense of the overall layout of the area. Look for alternative routes or paths that may offer a safer or more scenic ride.
By combining these tools, you can gain a comprehensive understanding of your potential bike route before you even start pedaling.
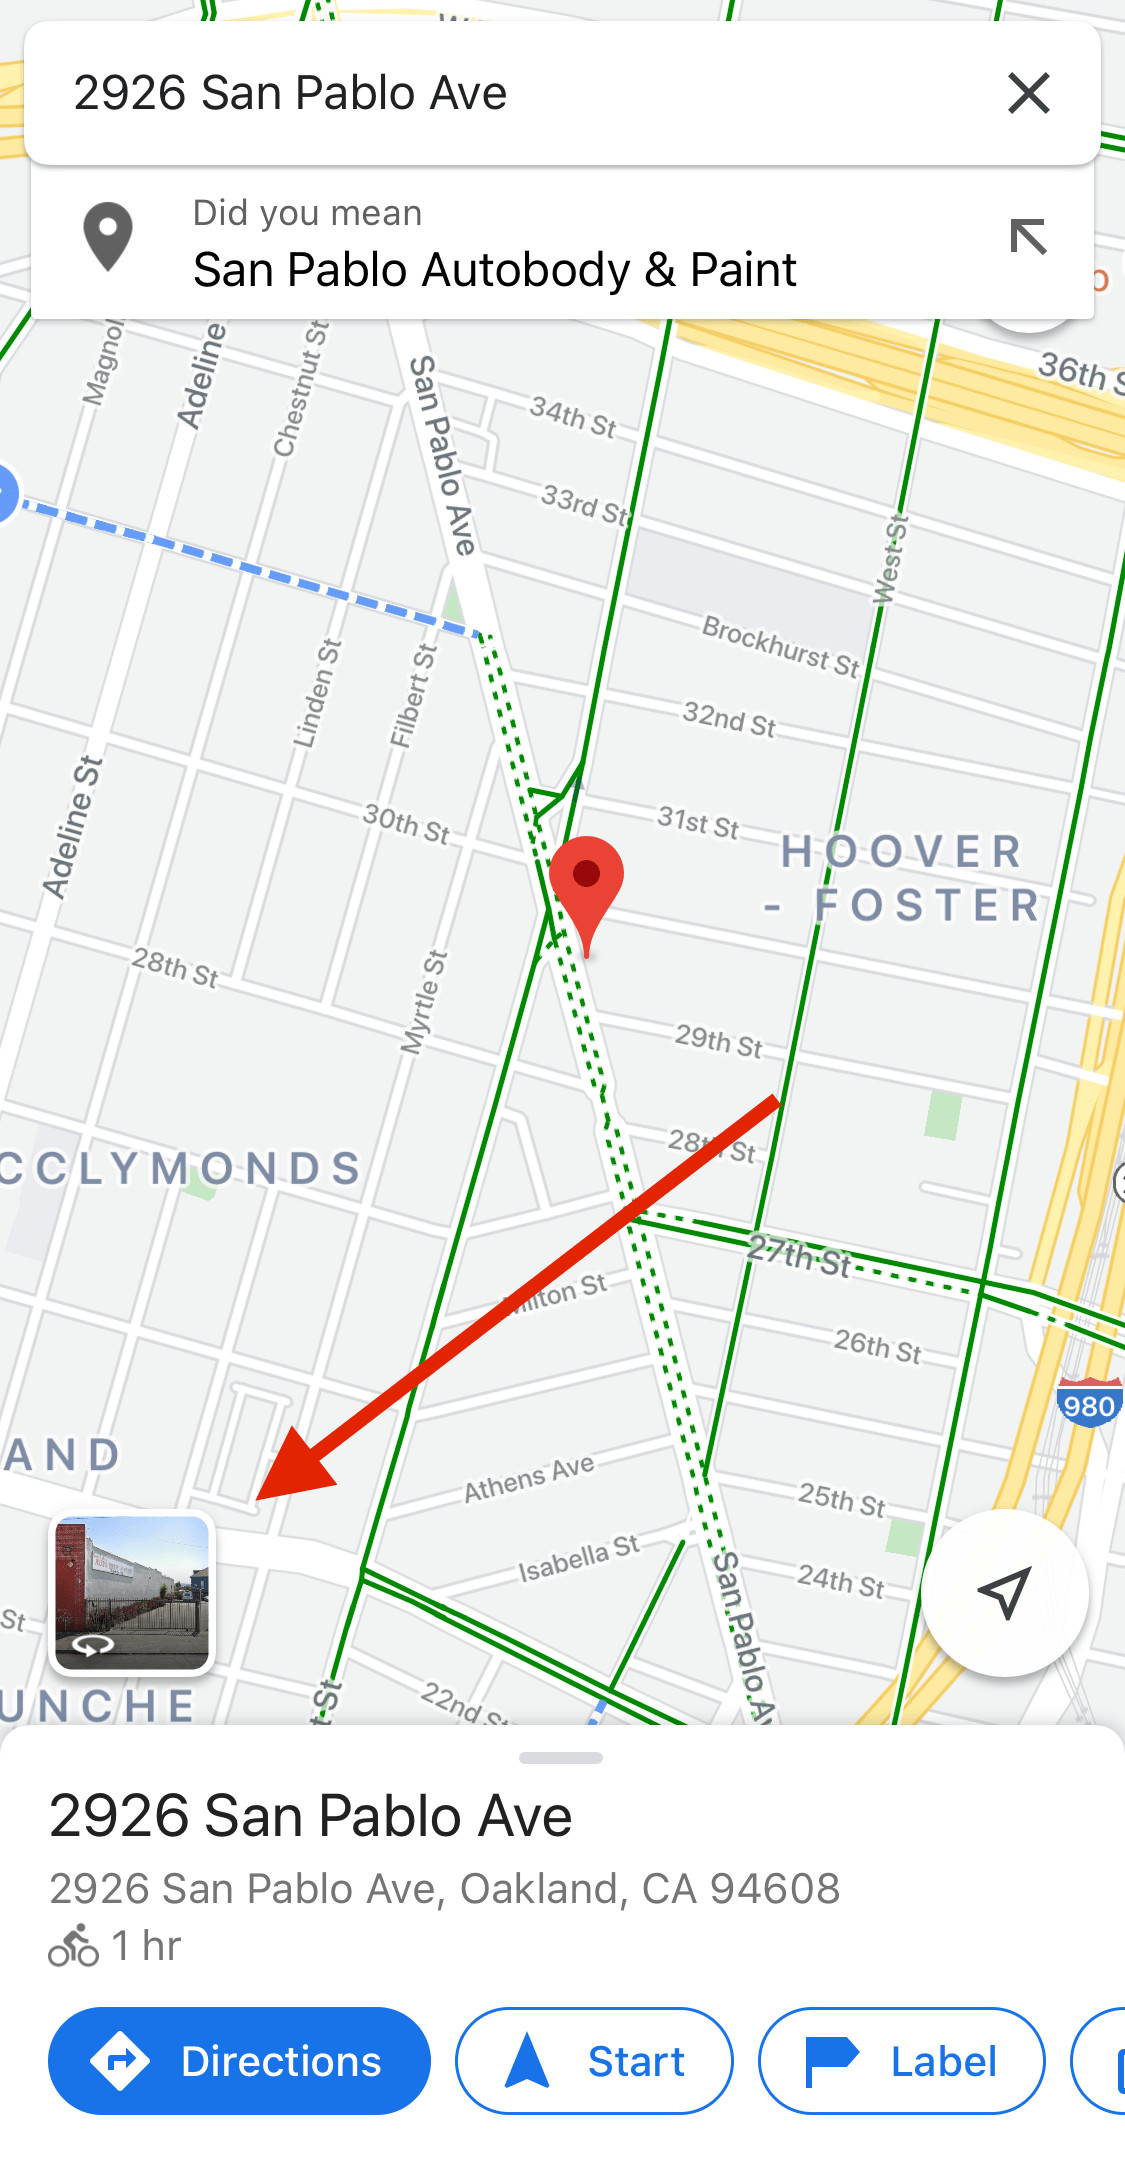 How to find the street view button on google maps mobile
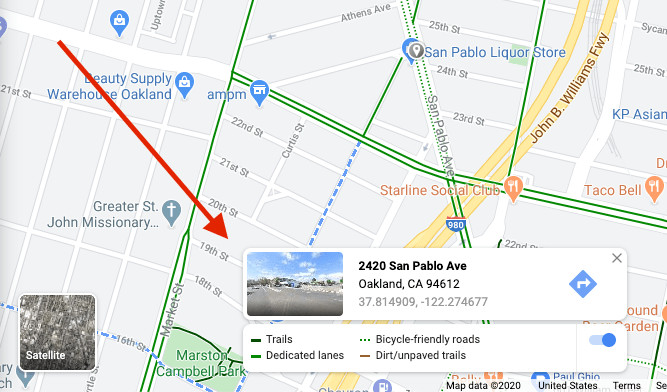 How to find the street view button on google maps desktop
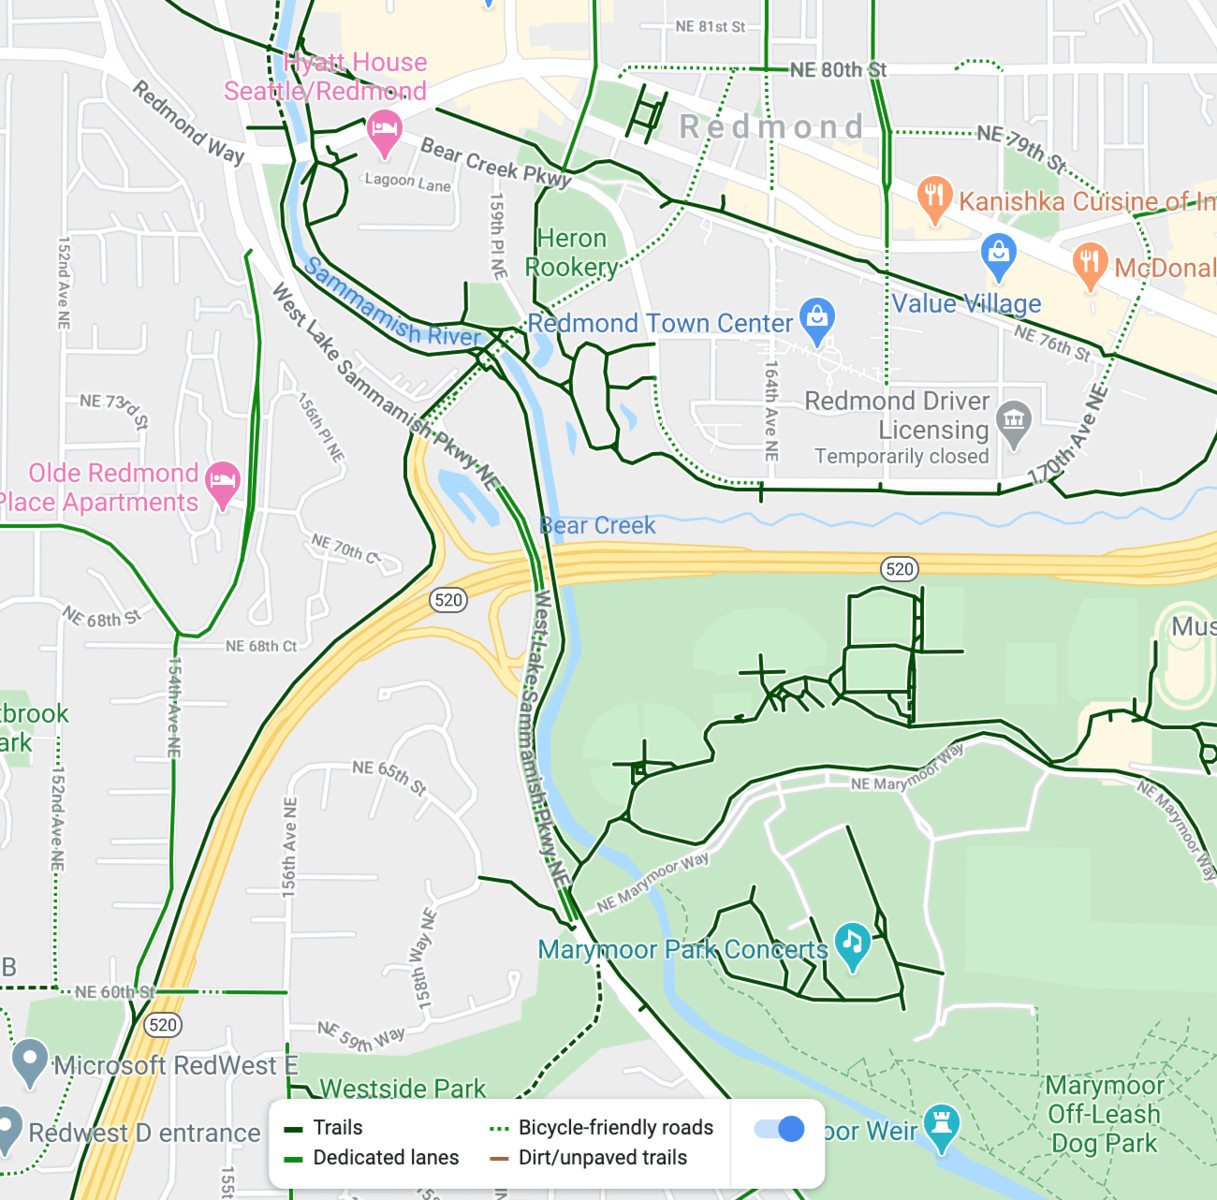
4. What To Look For Long Green Lines, Parks, And Green Spaces?
When planning a bike route on Google Maps, prioritize long green lines, parks, and green spaces to find dedicated bike trails, scenic routes, and peaceful riding environments. These areas often provide safer, more enjoyable alternatives to busy roads, enhancing your overall cycling experience. Spotting these features helps create a refreshing and nature-filled bike ride.
4.1 Identifying Dedicated Bike Trails
Long green lines on Google Maps typically indicate dedicated bike trails, which are paths specifically designed for cyclists and pedestrians. These trails often run through parks, along rivers, or through other scenic areas, offering a safe and enjoyable riding experience away from vehicle traffic. According to the National Association of City Transportation Officials (NACTO), dedicated bike trails significantly improve cyclist safety and encourage more people to bike.
4.2 Incorporating Parks and Green Spaces
Parks and green spaces provide excellent opportunities for rest stops, picnics, and enjoying nature during your bike ride. These areas often have paved paths suitable for cycling, as well as amenities such as benches, restrooms, and water fountains. Incorporating parks and green spaces into your route can add variety and relaxation to your ride.
4.3 Planning Routes Along Rivers and Lakes
Many cities have developed bike trails along rivers and lakes, offering scenic views and flat terrain. These routes are often ideal for leisurely rides and family outings. Rivers and lakes provide a natural backdrop, making your cycling experience more enjoyable and visually appealing.
4.4 Using Linear Parks for Extended Rides
Linear parks are long, narrow parks that often follow rivers, old railroad tracks, or other linear features. These parks typically have shared-use trails suitable for cycling, providing a continuous path for extended rides. Linear parks can be a great way to explore different parts of a city or region while enjoying a car-free environment.
 Lots of bike paths along rivers, roads, highways, and parks on this google maps screenshot
5. How To Watch Out For Google’s “Bike-Friendly Streets”?
When using Google Maps, be cautious of “bike-friendly streets,” indicated by dotted lines, as they can vary widely in safety and suitability. Always use Street View to assess traffic, road conditions, and the presence of bike lanes before including these streets in your route. This ensures you avoid potentially hazardous areas and choose safer alternatives.
5.1 Understanding the Different Types of Bike-Friendly Streets
Google Maps designates certain streets as “bike-friendly,” but this can encompass a range of conditions. These streets typically fall into two categories:
- Quiet Residential Streets: These are often located in residential neighborhoods with low traffic volume, making them relatively safe for cyclists.
- Busy Car-Centric Streets: These streets may be designated as bike-friendly due to local regulations, but they can be busy and lack dedicated bike lanes.
It’s important to differentiate between these types of streets to ensure your safety.
5.2 Using Street View to Assess Safety
Before including a bike-friendly street in your route, use Street View to assess its safety. Look for the following:
- Traffic Volume: Check the amount of traffic on the street during different times of day.
- Bike Lanes or Shoulders: Determine if the street has dedicated bike lanes or wide shoulders for cyclists.
- Road Conditions: Look for potholes, cracks, and other hazards that could make cycling difficult or dangerous.
- Parked Cars: Note the presence of parked cars, which can create obstacles and reduce visibility.
5.3 Alternative Routes to Consider
If a bike-friendly street appears to be unsafe or unsuitable, consider alternative routes. Look for parallel streets with lower traffic volume, dedicated bike lanes, or nearby bike trails. Sometimes, detouring a few blocks can make a significant difference in your safety and enjoyment.
5.4 Reporting Inaccurate Designations
If you encounter a street that is incorrectly designated as bike-friendly, consider reporting it to Google Maps. This helps improve the accuracy of the map and ensures that other cyclists are not misled. You can report issues directly through the Google Maps app or website.
6. How To Find The Secret Bike Friendly Streets?
Discovering “secret” bike-friendly streets involves exploring unlisted neighborhood roads on Google Maps, using Street View to assess their suitability, and experimenting with different routes. These hidden gems often offer safer and more pleasant cycling experiences than officially designated routes. Finding these streets can transform your urban cycling adventures.
6.1 Exploring Unlisted Neighborhood Roads
Many quiet neighborhood roads are not officially designated as bike-friendly on Google Maps but can offer excellent cycling conditions. These roads typically have low traffic volume and well-maintained surfaces, making them ideal for cyclists. Explore these unlisted roads to discover hidden gems in your area.
6.2 Using Street View to Assess Suitability
Before cycling on an unlisted road, use Street View to assess its suitability. Look for the following:
- Traffic Volume: Check the amount of traffic on the street during different times of day.
- Road Conditions: Look for potholes, cracks, and other hazards that could make cycling difficult or dangerous.
- Width of the Road: Ensure the road is wide enough to accommodate cyclists and vehicles safely.
- Presence of Sidewalks: Note the presence of sidewalks, which can be used as an alternative if the road is too busy or unsafe.
6.3 Experimenting with Different Routes
Don’t be afraid to experiment with different routes to find the best bike-friendly streets. Try cycling on different unlisted roads to see which ones offer the most pleasant and safe conditions. Keep a record of your favorite routes for future reference.
6.4 Connecting Secret Streets to Form a Route
Once you’ve identified a few secret bike-friendly streets, try connecting them to form a longer route. Use Google Maps to plan your route, but don’t rely solely on the designated bike-friendly streets. Incorporate the unlisted roads you’ve discovered to create a more enjoyable and safer cycling experience.
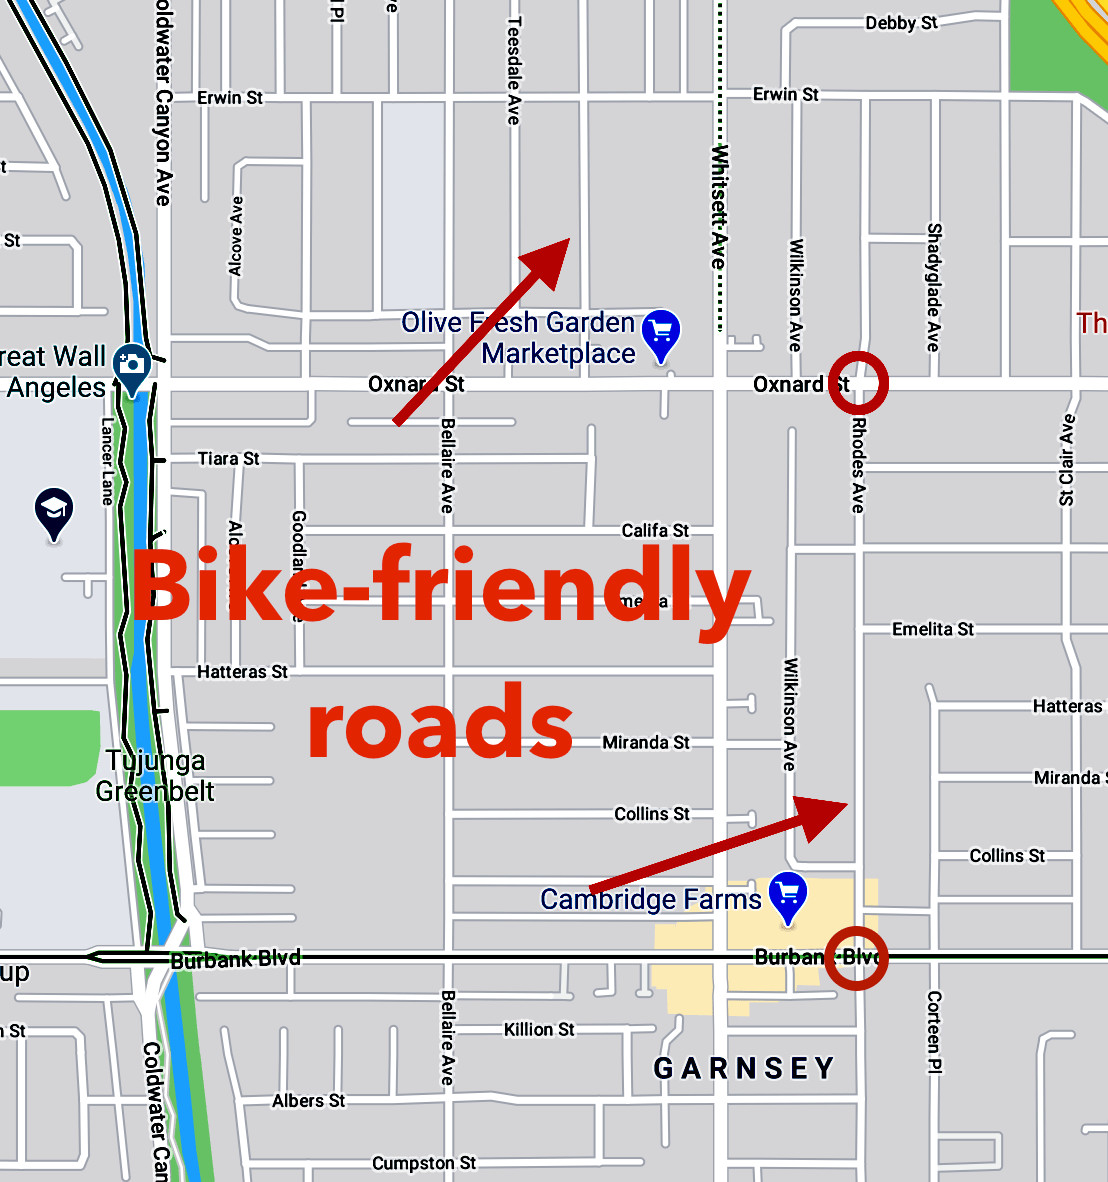 Bike friendly roads on google maps that aren
7. How To Load Up Biking Directions To See The Hills?
To assess elevation on Google Maps, input your start and end points for biking directions, then examine the elevation graph displayed below the route options. This graph shows the hills along your route, helping you prepare for challenging climbs or find flatter alternatives. Evaluating elevation changes ensures a more comfortable and manageable ride.
7.1 Inputting Start and End Points
- Open Google Maps: Launch the Google Maps app or website.
- Enter Start and End Points: In the search bar, enter your starting location and destination.
- Select Biking Directions: Click on the bicycle icon to get biking directions.
7.2 Examining the Elevation Graph
Once you’ve selected biking directions, Google Maps will display an elevation graph below the route options. This graph shows the elevation changes along your route, with peaks indicating hills and valleys indicating flat or downhill sections.
7.3 Identifying Steep Hills
Look for steep peaks on the elevation graph, which indicate challenging hills. The steeper the peak, the more difficult the climb will be. Use this information to assess whether the route is suitable for your fitness level.
7.4 Finding Flatter Alternatives
If you want to avoid hills, look for flatter sections on the elevation graph. Try adjusting your route to minimize elevation changes. You can do this by dragging the route on the map or adding waypoints to force the route to follow flatter roads.
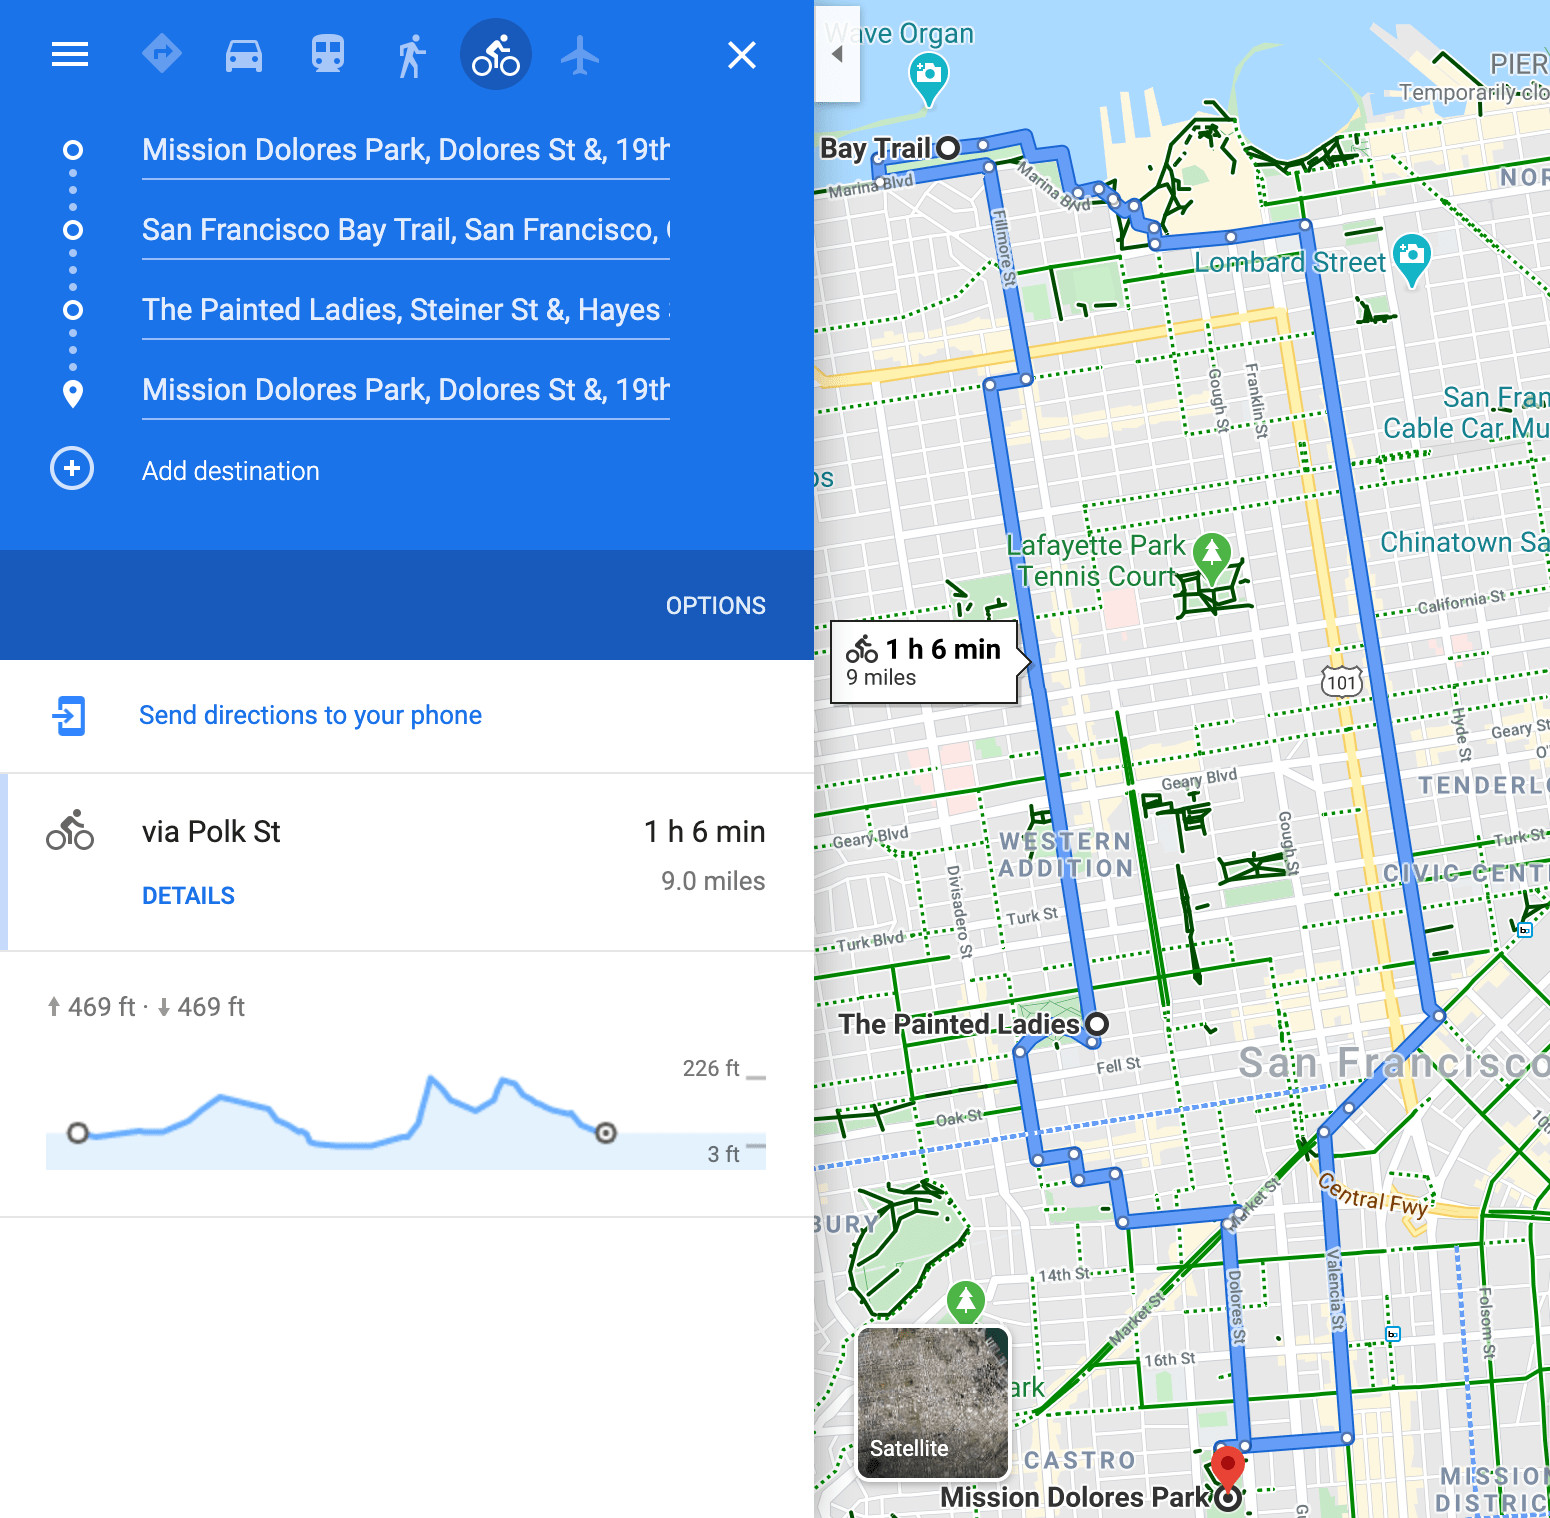 A loop of a nice hilly bike ride around San Francisco, going to the Marina, the Painted Ladies, and Dolores park.
 Showing the slight, but existing hill on Valencia Street in San Francisco on Google Maps.
8. How To Use Locally Made Maps (Physical Or Online)?
Supplementing Google Maps with locally made maps, whether physical or online, offers valuable insights into bike-friendly routes, hidden trails, and local knowledge. These maps often provide more detailed information than standard navigation apps, enhancing your cycling experience. Integrating local resources ensures a more informed and enjoyable ride.
8.1 Checking with Local Bike Shops and Coalitions
Local bike shops and cycling coalitions are excellent resources for finding locally made maps. These organizations often create and distribute maps that highlight bike-friendly routes, trails, and other useful information for cyclists. Check with your local bike shop or cycling coalition to see if they have any maps available.
8.2 Searching Online for Bike-Specific Maps
A quick online search can reveal a variety of bike-specific maps for your area. Try searching for “bike map” followed by the name of your city or region. This may lead you to PDF maps, interactive online maps, or other resources created by local cycling groups or government agencies.
8.3 Comparing Local Maps to Google Maps
Once you’ve found a local map, compare it to Google Maps to identify any discrepancies or additional information. Local maps may include details that are not available on Google Maps, such as the location of bike repair stations, water fountains, or scenic viewpoints. Use this information to refine your route and enhance your cycling experience.
8.4 Integrating Local Knowledge into Your Route
Local maps often incorporate the knowledge and experience of local cyclists. This can include tips on the best times to ride certain routes, warnings about potential hazards, or recommendations for places to stop and rest. Use this local knowledge to plan a more enjoyable and safer ride.
9. How To Use Global Heatmaps And Custom Route Drawing?
Leverage global heatmaps, like those on Strava and Ride with GPS, to identify popular cycling routes and safe paths used by other riders. Additionally, utilize custom route drawing tools to create personalized routes that combine heatmap data with your preferences, ensuring a well-informed and enjoyable ride. Using these tools enhances your ability to discover and navigate the best cycling routes available.
9.1 Utilizing Strava Heatmaps
Strava’s heatmap is a powerful tool for identifying popular cycling routes. The heatmap shows where other cyclists have ridden, with brighter areas indicating more frequently used routes. Use this information to find safe and enjoyable routes in your area.
- Accessing Strava Heatmap: Subscribe to Strava and access the heatmap through their website or app.
- Interpreting the Data: Brighter areas on the heatmap indicate more popular routes, while darker areas indicate less frequently used routes.
- Planning Your Route: Use the heatmap to identify popular routes in your area. These routes are likely to be well-maintained and safe for cycling.
9.2 Utilizing Ride with GPS Heatmaps
Ride with GPS also offers a heatmap feature that shows popular cycling routes. This feature is particularly useful for planning routes in unfamiliar areas.
- Accessing Ride with GPS Heatmap: Subscribe to Ride with GPS and access the heatmap through their website or app.
- Interpreting the Data: Similar to Strava, brighter areas on the heatmap indicate more popular routes.
- Planning Your Route: Use the heatmap to identify popular routes in your area. Ride with GPS also allows you to search for specific destinations and create routes based on the heatmap data.
9.3 Custom Route Drawing Tools
Both Strava and Ride with GPS offer custom route drawing tools that allow you to create personalized routes. These tools are particularly useful for combining heatmap data with your own preferences.
- Drawing Your Route: Use the route drawing tools to create a custom route that incorporates popular routes from the heatmap.
- Adding Waypoints: Add waypoints to your route to include specific destinations or scenic viewpoints.
- Analyzing Elevation: Use the elevation analysis tools to assess the difficulty of your route and identify any challenging hills.
9.4 Combining Heatmaps and Custom Routes
The most effective way to plan a bike route is to combine heatmap data with custom route drawing tools. Use the heatmap to identify popular routes, then use the route drawing tools to create a personalized route that incorporates these popular routes. This ensures that your route is safe, enjoyable, and tailored to your specific preferences.
10. How Can Usabikers.Net Enhance Your Bike Route Planning Experience?
Usabikers.net enhances your bike route planning experience by providing a comprehensive platform for discovering and sharing motorcycle routes, accessing expert reviews and tips, and connecting with a passionate community of bikers. By leveraging these resources, you can create memorable and safe riding adventures tailored to your preferences. Join usabikers.net to elevate your biking journey. Address: 801 Sturgis Main St, Sturgis, SD 57785, United States. Phone: +1 (605) 347-2000. Website: usabikers.net.
10.1 Discovering and Sharing Motorcycle Routes
Usabikers.net offers a rich database of motorcycle routes shared by fellow bikers. You can explore routes in your area or discover new destinations, complete with detailed descriptions, photos, and reviews. Sharing your own routes helps build the community and provides valuable insights to other riders.
10.2 Accessing Expert Reviews and Tips
The website features expert reviews on various motorcycle models, accessories, and gear. These reviews provide valuable insights to help you make informed decisions and prepare for your rides. Additionally, usabikers.net offers tips on motorcycle maintenance, safety, and riding techniques to enhance your skills and confidence.
10.3 Connecting with a Passionate Community of Bikers
Usabikers.net fosters a vibrant community of motorcycle enthusiasts. You can connect with other bikers, share your experiences, ask questions, and participate in discussions. This sense of community enhances your biking experience by providing support, inspiration, and camaraderie.
10.4 Leveraging Community Insights for Route Planning
By tapping into the collective knowledge of the usabikers.net community, you can gain valuable insights into the best routes, road conditions, and hidden gems in various regions. Community members often share their personal experiences and recommendations, helping you plan your routes more effectively and avoid potential pitfalls.
10.5 Staying Updated with the Latest Trends and Events
Usabikers.net keeps you informed about the latest trends, events, and gatherings in the biking world. From motorcycle rallies and races to local meetups and charity rides, you can stay connected to the biking community and participate in exciting events that enhance your passion for riding.
FAQ: How To Make A Bike Route On Google Maps
1. How do I activate the biking layer on Google Maps?
To activate the biking layer on Google Maps, open the app, tap the menu icon, select “Layers,” and then choose the “Biking” option.
2. What do the different colored lines on the biking layer mean?
Solid green lines indicate dedicated bike trails or lanes, dotted green lines represent bike-friendly roads, and dashed lines typically denote unpaved or dirt roads.
3. How can I use Street View to plan my bike route?
Use Street View by long-pressing on the map (mobile) or clicking (desktop), then tapping the Street View thumbnail to visually inspect road conditions and traffic.
4. What should I look for when using Satellite View?
In Satellite View, look for green spaces, parks, and trails that may not be obvious on the standard map, helping you find scenic and safe routes.
5. How do I assess elevation changes on Google Maps?
After inputting your start and end points, examine the elevation graph below the route options to identify hills and plan accordingly.
6. What are “bike-friendly streets” on Google Maps?
These are streets designated as suitable for cycling, but they can vary widely in safety. Always use Street View to assess conditions before including them in your route.
7. How can I find “secret” bike-friendly streets?
Explore unlisted neighborhood roads and use Street View to assess their suitability, often finding quieter and safer alternatives to main routes.
8. Should I rely solely on Google Maps for my bike route?
Supplement Google Maps with locally made maps and heatmap apps like Strava and Ride with GPS for more detailed and reliable information.
9. How can heatmaps help me plan my bike route?
Heatmaps show popular cycling routes used by other riders, indicating safe and enjoyable paths based on collective experience.
10. How does usabikers.net enhance my bike route planning?
Usabikers.net provides a community platform for discovering routes, accessing expert tips, and connecting with fellow bikers, enhancing your overall planning experience.
Ready to elevate your biking adventures? Visit usabikers.net today to explore a wealth of information, connect with a passionate community, and plan your next unforgettable ride. Whether you’re seeking thrilling motorcycle routes or practical tips for safe biking, usabikers.net has everything you need to fuel your passion. Join us now and experience the ultimate biking community!