
Pumping road bike tires correctly is essential for a smooth, safe, and enjoyable riding experience. At usabikers.net, we provide you with a detailed guide on how to inflate your tires, covering everything from valve types to achieving optimal tire pressure, ensuring you get the most out of your road bike adventures. With the right tire inflation techniques, you’ll enhance your bicycle performance, improve your cycling efficiency, and ensure road safety.
Table of Contents
- Why is Pumping Road Bike Tires Important?
- Understanding Different Types of Bike Tire Valves
- Tools You’ll Need to Inflate Road Bike Tires
- Step-by-Step Guide: How To Pump Road Bike Tires
- Achieving the Right Tire Pressure for Your Road Bike
- Types of Bike Pumps: Choosing the Right One
- Maintaining Your Bike Pump for Longevity
- Troubleshooting Common Tire Inflation Problems
- The Impact of Tire Pressure on Road Bike Performance
- Frequently Asked Questions (FAQs) About Pumping Road Bike Tires
1. Why is Pumping Road Bike Tires Important?
Maintaining proper tire pressure on your road bike is paramount for several key reasons:
- Enhanced Performance: Properly inflated tires roll more efficiently, reducing rolling resistance and allowing you to ride faster with less effort. According to a study by the American Motorcyclist Association (AMA), optimal tire pressure can improve speed and reduce rider fatigue significantly.
- Improved Handling: Correct tire pressure provides better grip and control, particularly when cornering and descending. Tires that are too soft can feel squirmy, while overinflated tires can reduce contact with the road.
- Reduced Risk of Punctures: Underinflated tires are more susceptible to pinch flats, which occur when the tire is compressed against the rim, pinching the inner tube. Proper inflation helps prevent this.
- Increased Comfort: The right tire pressure absorbs road vibrations, providing a smoother and more comfortable ride. Overinflated tires transmit more road imperfections, leading to a harsher experience.
- Tire Longevity: Riding with the correct pressure can extend the life of your tires by preventing premature wear and tear. Over or under inflation can cause uneven wear patterns, shortening the lifespan of the tire.
2. Understanding Different Types of Bike Tire Valves
Before you start pumping your tires, it’s crucial to identify the type of valve your bike uses. The two most common types are Presta and Schrader.
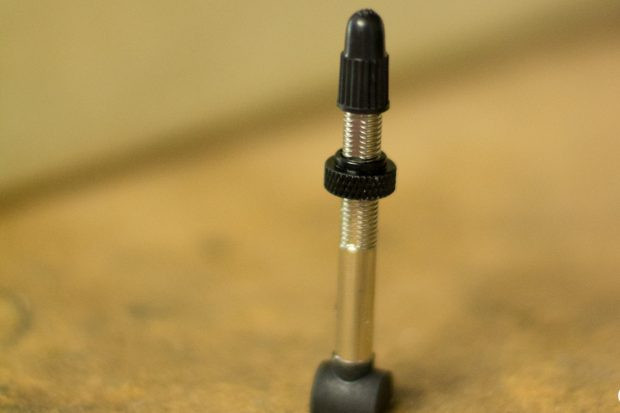
2.1. Presta Valve
- Description: Presta valves are typically found on higher-end road bikes. They are narrower and have a locking nut at the tip that needs to be unscrewed before inflation.
- Advantages:
- Better for high-pressure inflation.
- Lighter than Schrader valves.
- The valve core can be replaced in some models.
- Disadvantages:
- More delicate than Schrader valves.
- Require a specific pump head or adapter.
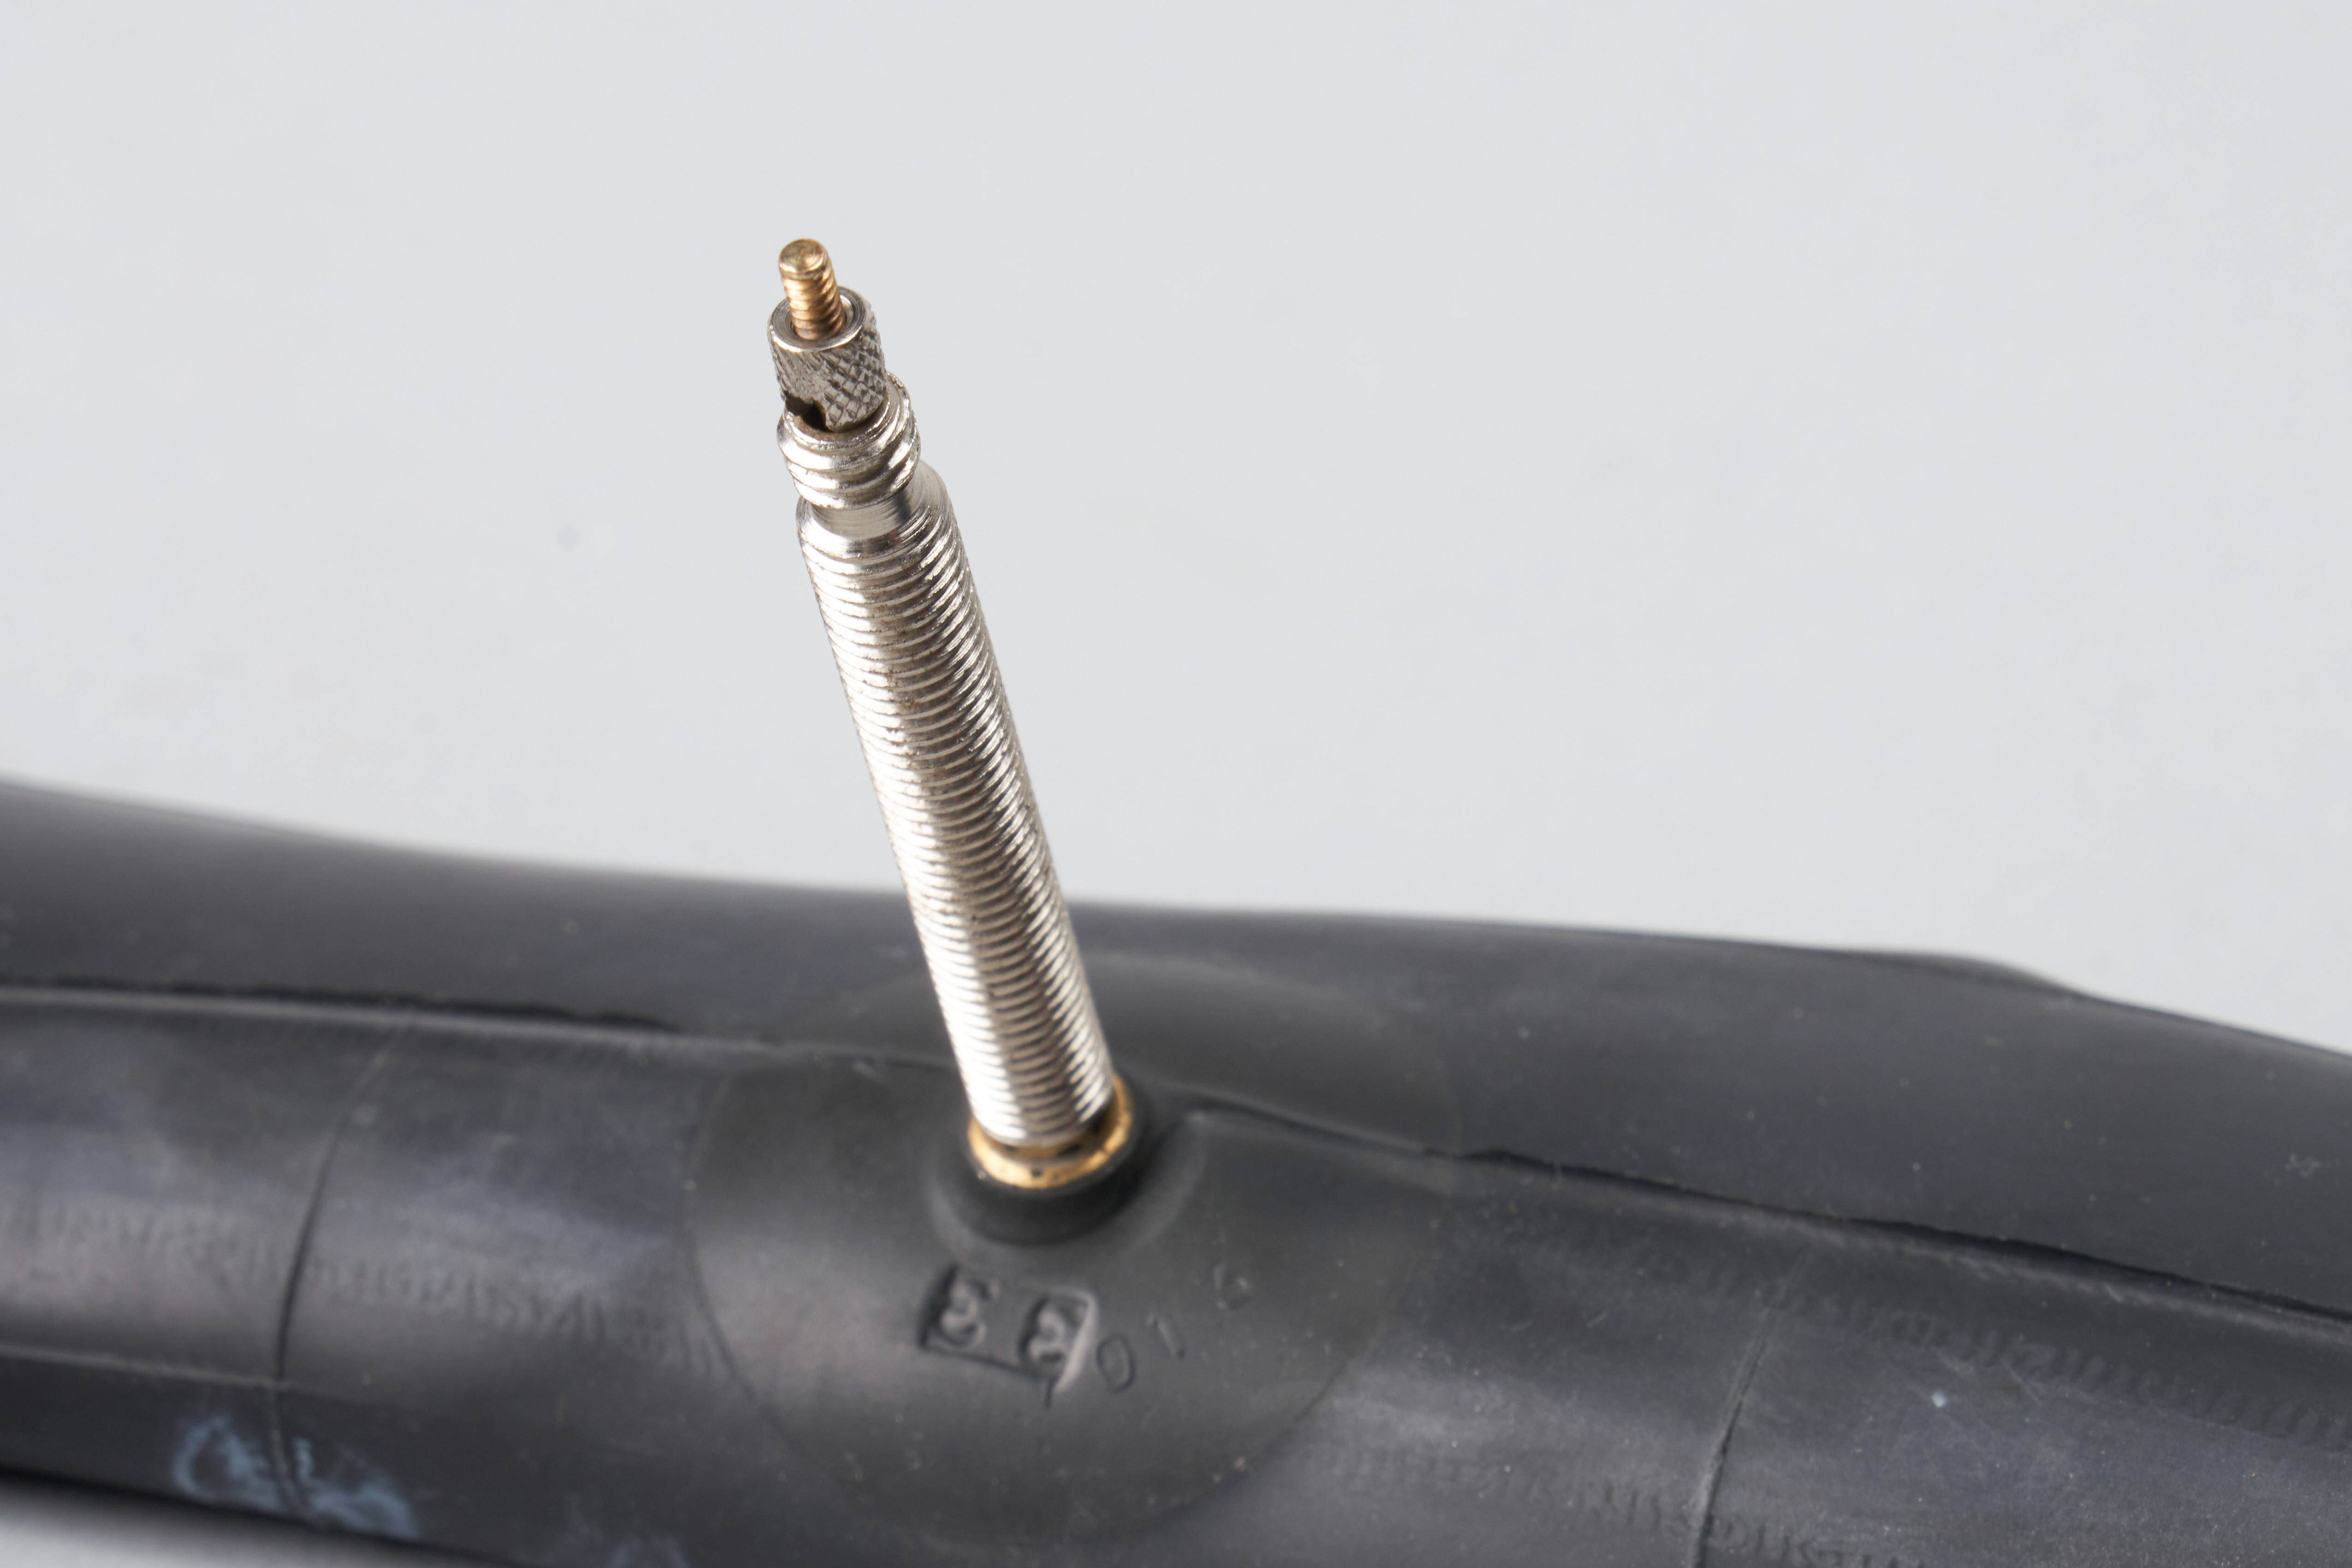 Presta valve, known for its use on road bikes, offering efficient high-pressure inflation
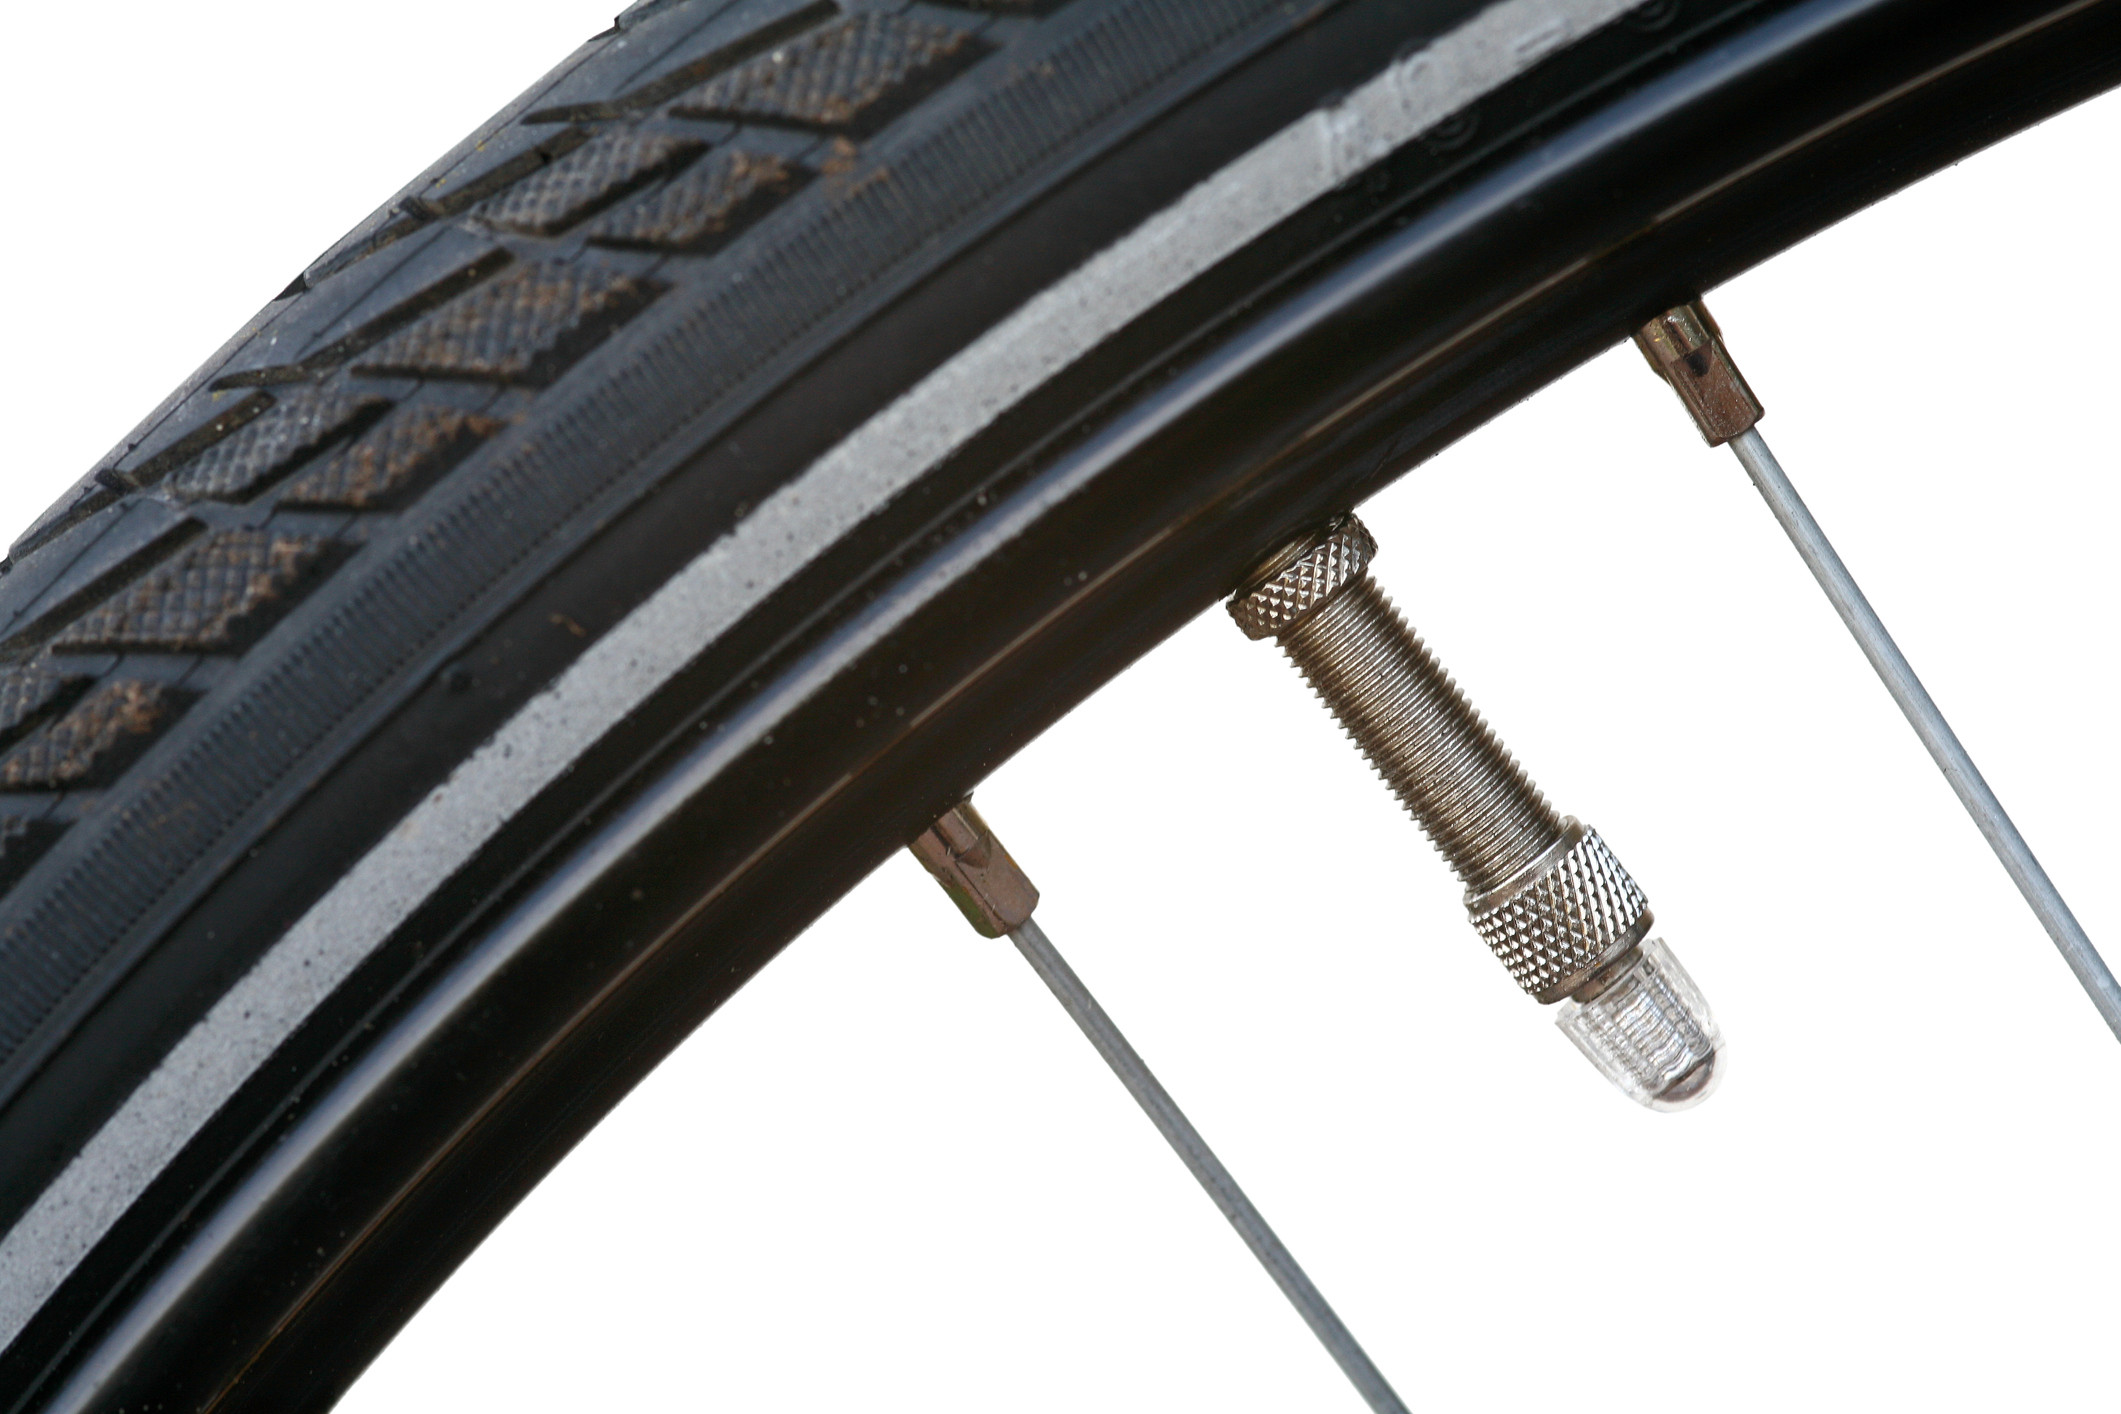
2.2. Schrader Valve
- Description: Schrader valves are similar to those found on car tires. They are wider and have a spring-loaded pin in the center.
- Advantages:
- More durable than Presta valves.
- Compatible with most gas station air compressors.
- Easier to inflate for some users.
- Disadvantages:
- Not as suitable for very high-pressure inflation.
- Heavier than Presta valves.
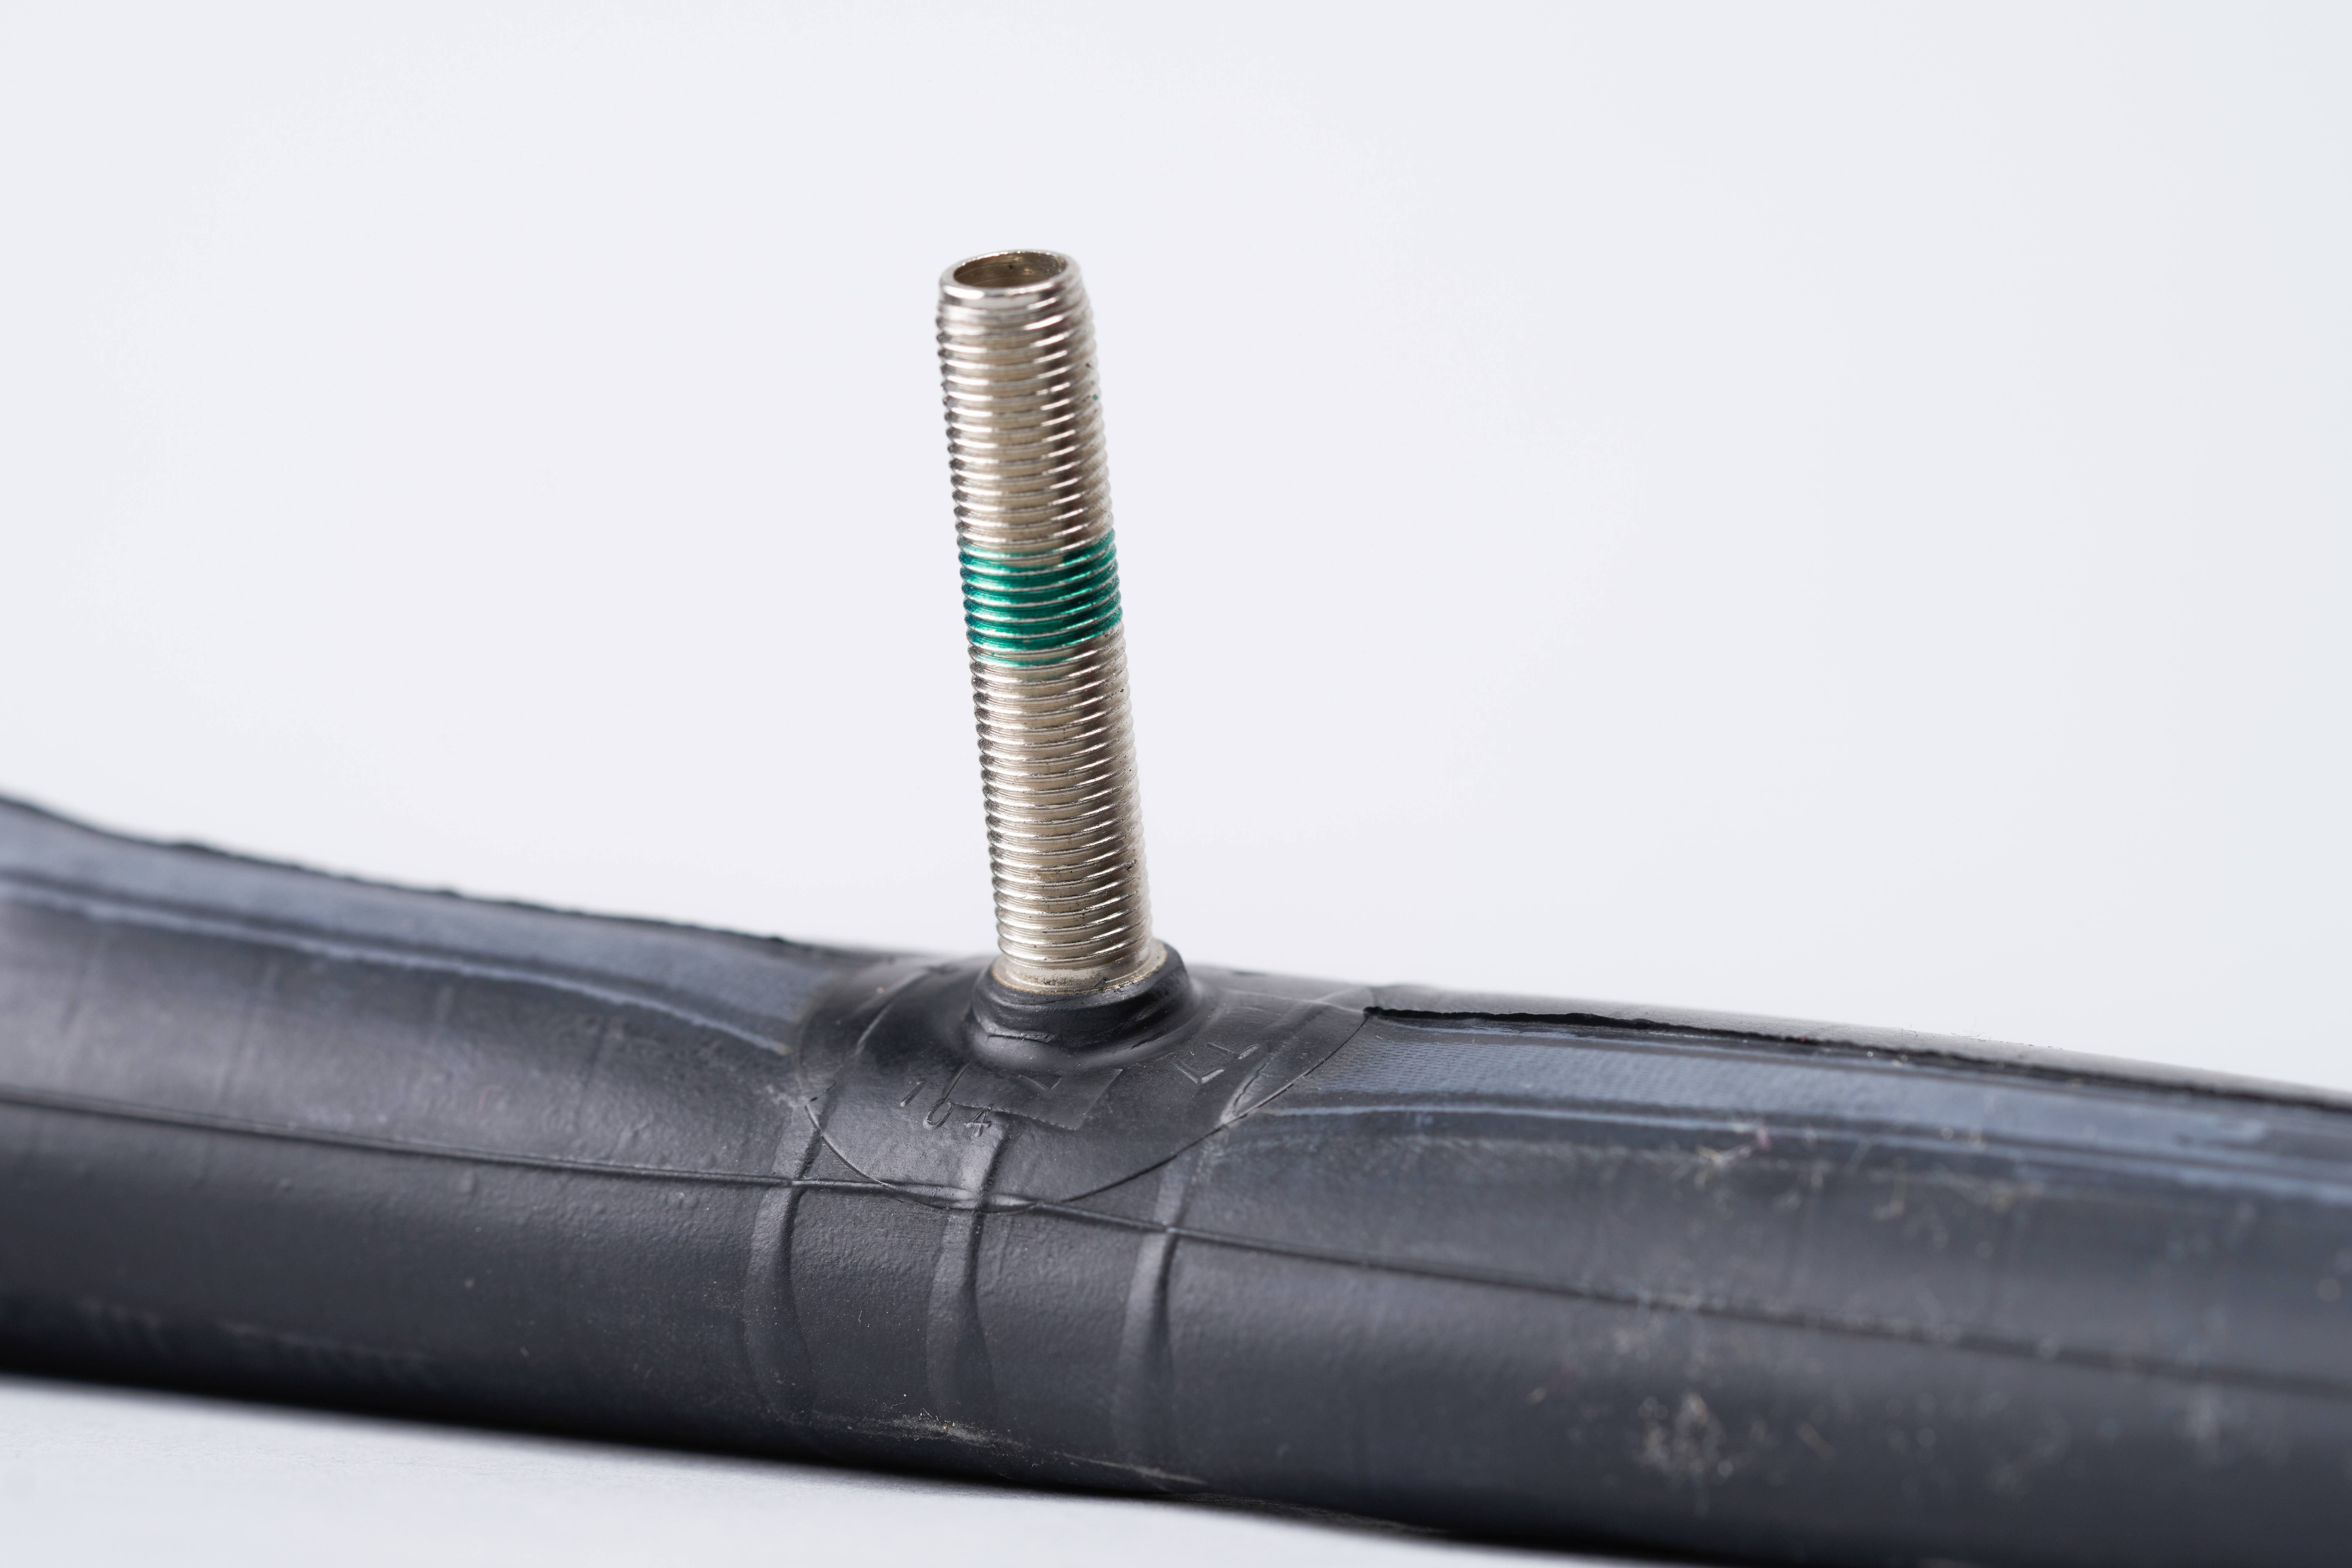 Schrader valve, common on various bikes and cars, offering simple inflation with a robust design
2.3. Dunlop Valve
- Description: Also known as Woods valve, these are common on older or European bikes.
- Advantages:
- Simple design.
- Disadvantages:
- Less common.
- Not as precise for pressure control.
 Dunlop valve, an older design, still found on classic bicycles, known for its basic functionality
2.4. Tubeless Valve
- Description: Used with tubeless tire setups, these valves seal directly to the rim. Almost always Presta.
- Advantages:
- Essential for tubeless systems.
- Disadvantages:
- Specific to tubeless setups.
 Tubeless valves for bicycle tires, engineered to seal directly with the rim for a secure, airtight tubeless setup
3. Tools You’ll Need to Inflate Road Bike Tires
Having the right tools makes the job of inflating your tires much easier. Here’s what you’ll need:
3.1. Bike Pump
A reliable bike pump is essential. There are two main types:
- Floor Pump (Track Pump): Ideal for home use, floor pumps provide more leverage and often include a pressure gauge for accurate inflation.
 Floor pump, essential for home bike maintenance, offering stability and precise pressure control
- Mini Pump: Compact and portable, mini pumps are great for carrying on rides in case of a flat tire.
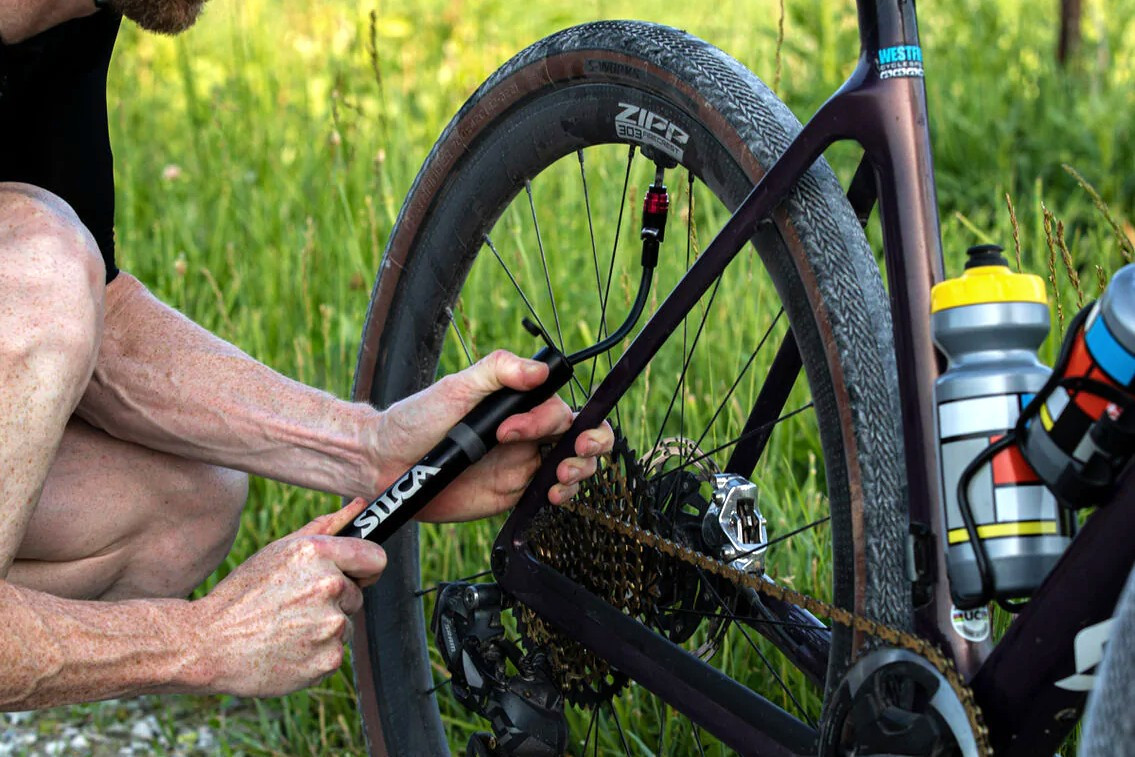 Mini pump for inflating bike tires, designed for portability and quick fixes on the road
3.2. Pressure Gauge (Optional but Recommended)
While many floor pumps have built-in pressure gauges, a separate gauge can provide more accurate readings.
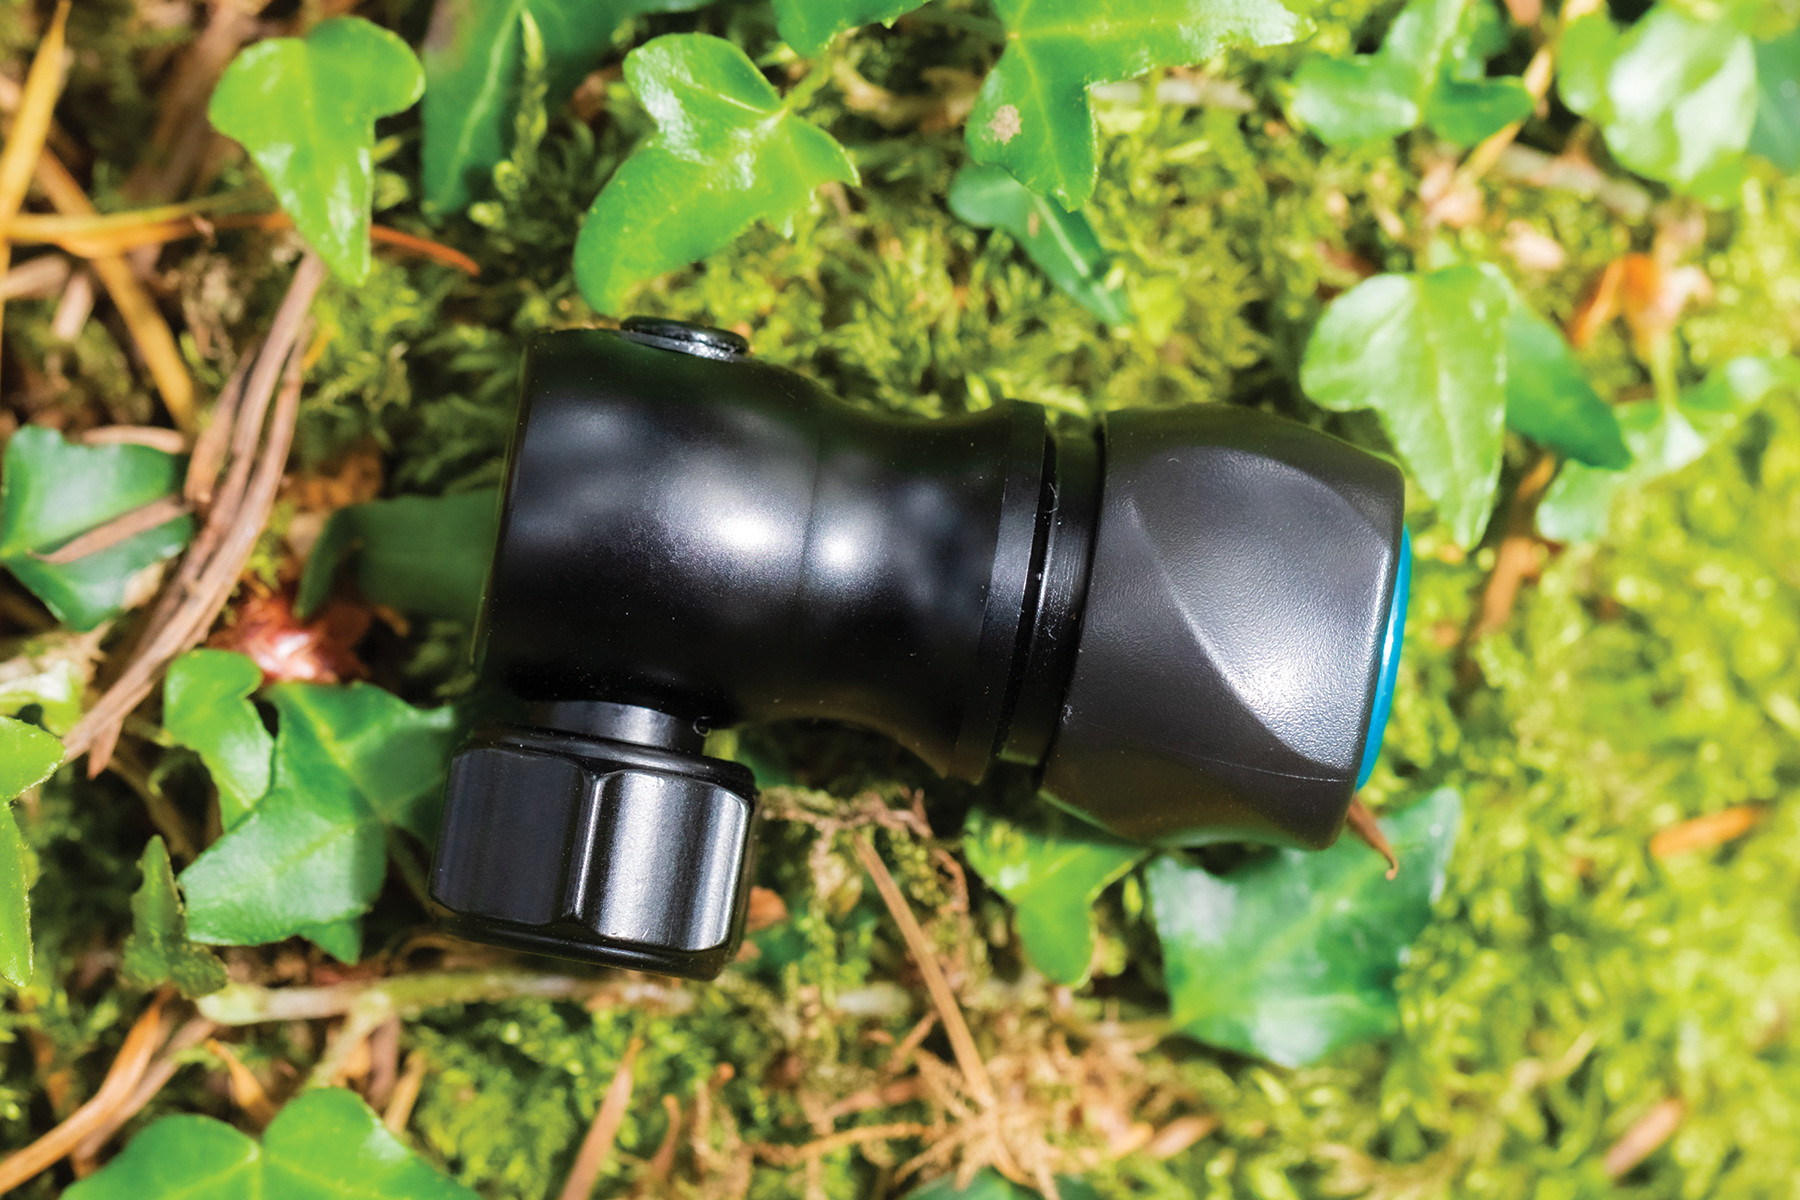
3.3. Valve Adapter (If Necessary)
If your pump head doesn’t match your valve type, you may need an adapter.
3.4. CO2 Inflator (Optional)
For quick inflation on the road, a CO2 inflator can be a convenient option.
 CO2 inflators, designed for rapid tire inflation, are compact and ideal for on-the-go repairs
3.5. Tire Levers (For Flat Repairs)
While not directly used for inflation, tire levers are necessary for removing the tire to fix a flat.
4. Step-by-Step Guide: How to Pump Road Bike Tires
Here’s a detailed guide on how to inflate your road bike tires using a floor pump:
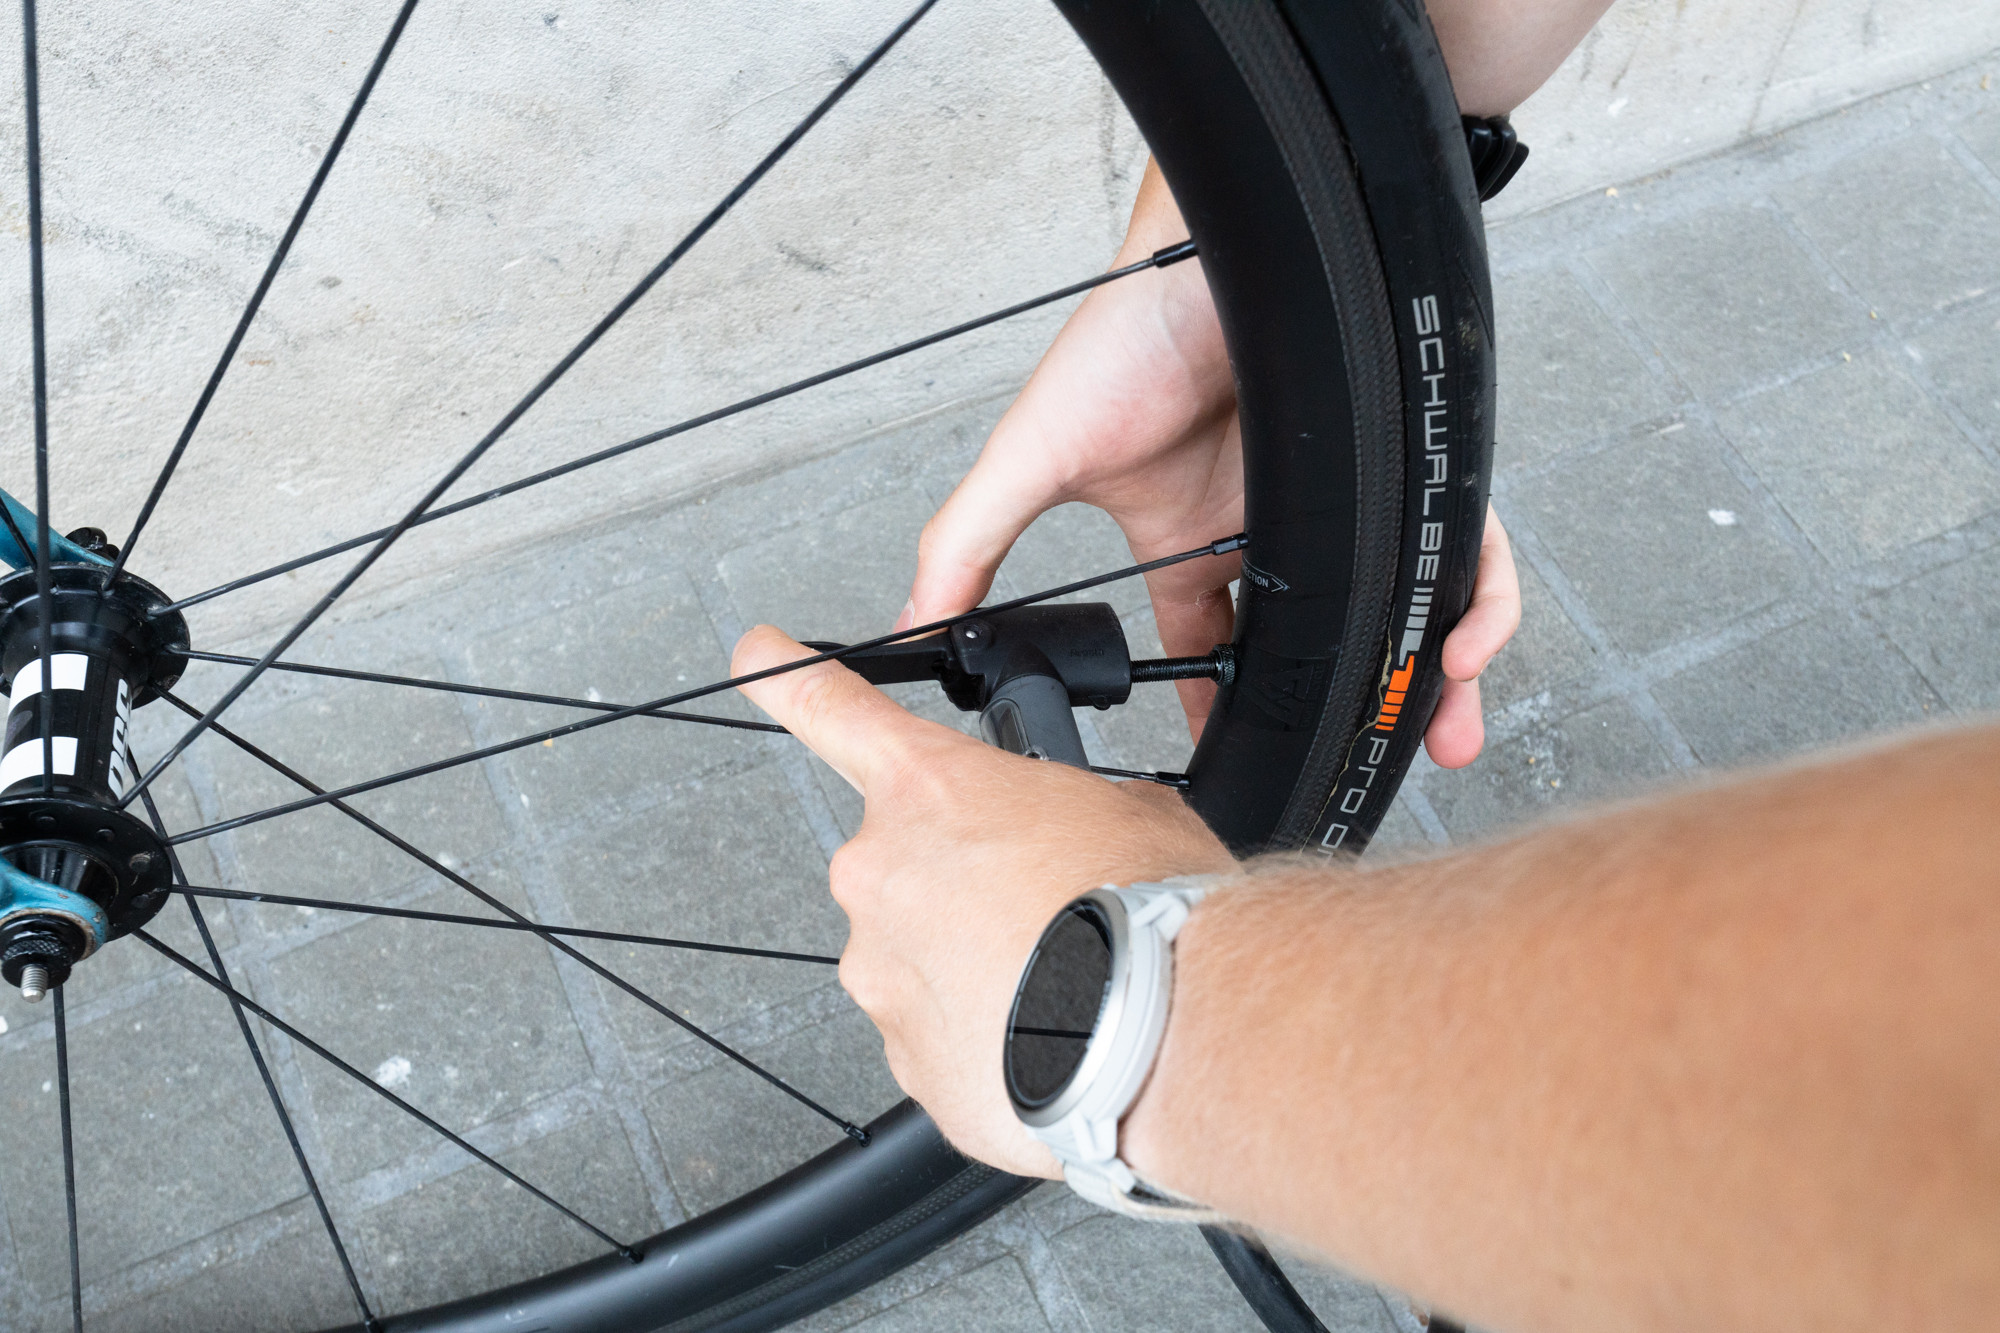
4.1. Prepare the Valve
- Presta Valve: Remove the valve cap and unscrew the locking nut. Gently push the valve stem to ensure it’s not stuck.
 Presta valve preparation, ensuring it is ready for inflation by loosening the valve stem
- Schrader Valve: Remove the valve cap.
4.2. Attach the Pump Head
- Place the pump head squarely on the valve.
- Ensure a secure fit to prevent air leakage.
- If your pump has a lever, flip it to lock the pump head in place.
 Pump head attachment to a Presta valve, securing it with a lever for an airtight seal
4.3. Inflate the Tire
- Using a smooth, steady motion, pump the tire to the desired pressure.
- Refer to the pressure gauge on the pump to monitor inflation.
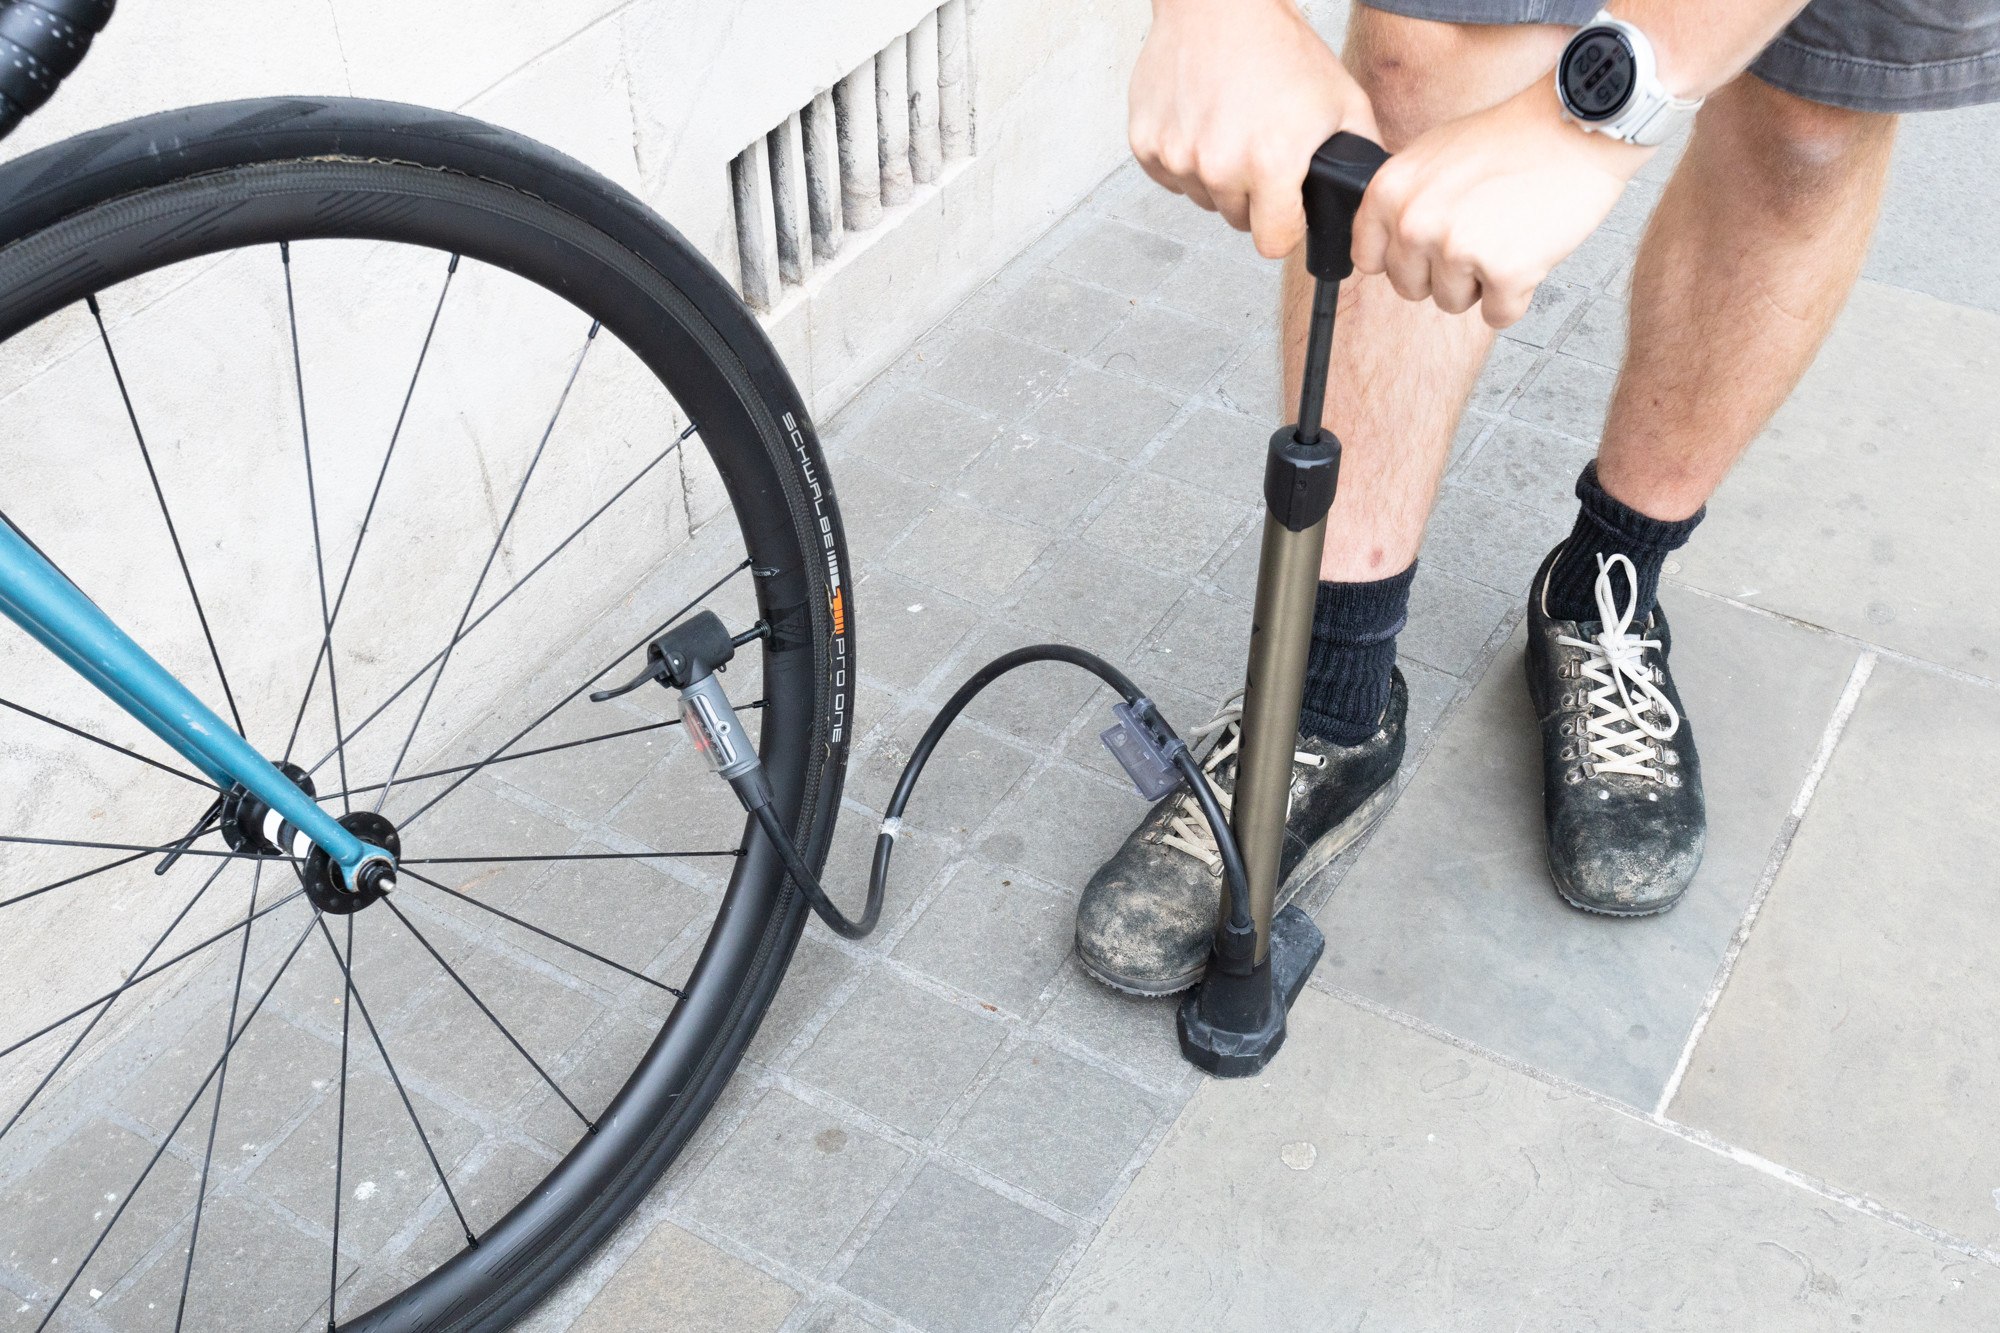 Inflating a bicycle tire, ensuring the pressure is correct for optimal performance and safety
4.4. Remove the Pump Head
- Flip the lever (if applicable) to release the pump head.
- Remove the pump head carefully to avoid bending the valve.
 Removing the pump head after inflation, taking care to avoid any damage to the valve
4.5. Close the Valve
- Presta Valve: Screw the locking nut clockwise until snug. Replace the valve cap.
- Schrader Valve: Replace the valve cap.
 Closing a Presta valve after inflation, securing the valve stem and replacing the dust cap
5. Achieving the Right Tire Pressure for Your Road Bike
5.1. Understanding Tire Pressure Recommendations
- Locate the PSI Range: Most tires have a recommended pressure range printed on the sidewall (e.g., 100-120 PSI).
- Consider Rider Weight: Heavier riders typically need higher tire pressures.
- Account for Road Conditions: Smoother roads may allow for higher pressures, while rougher roads may benefit from slightly lower pressures.
- Experiment: Fine-tuning your tire pressure is a trial-and-error process. Start within the recommended range and adjust based on your riding experience.
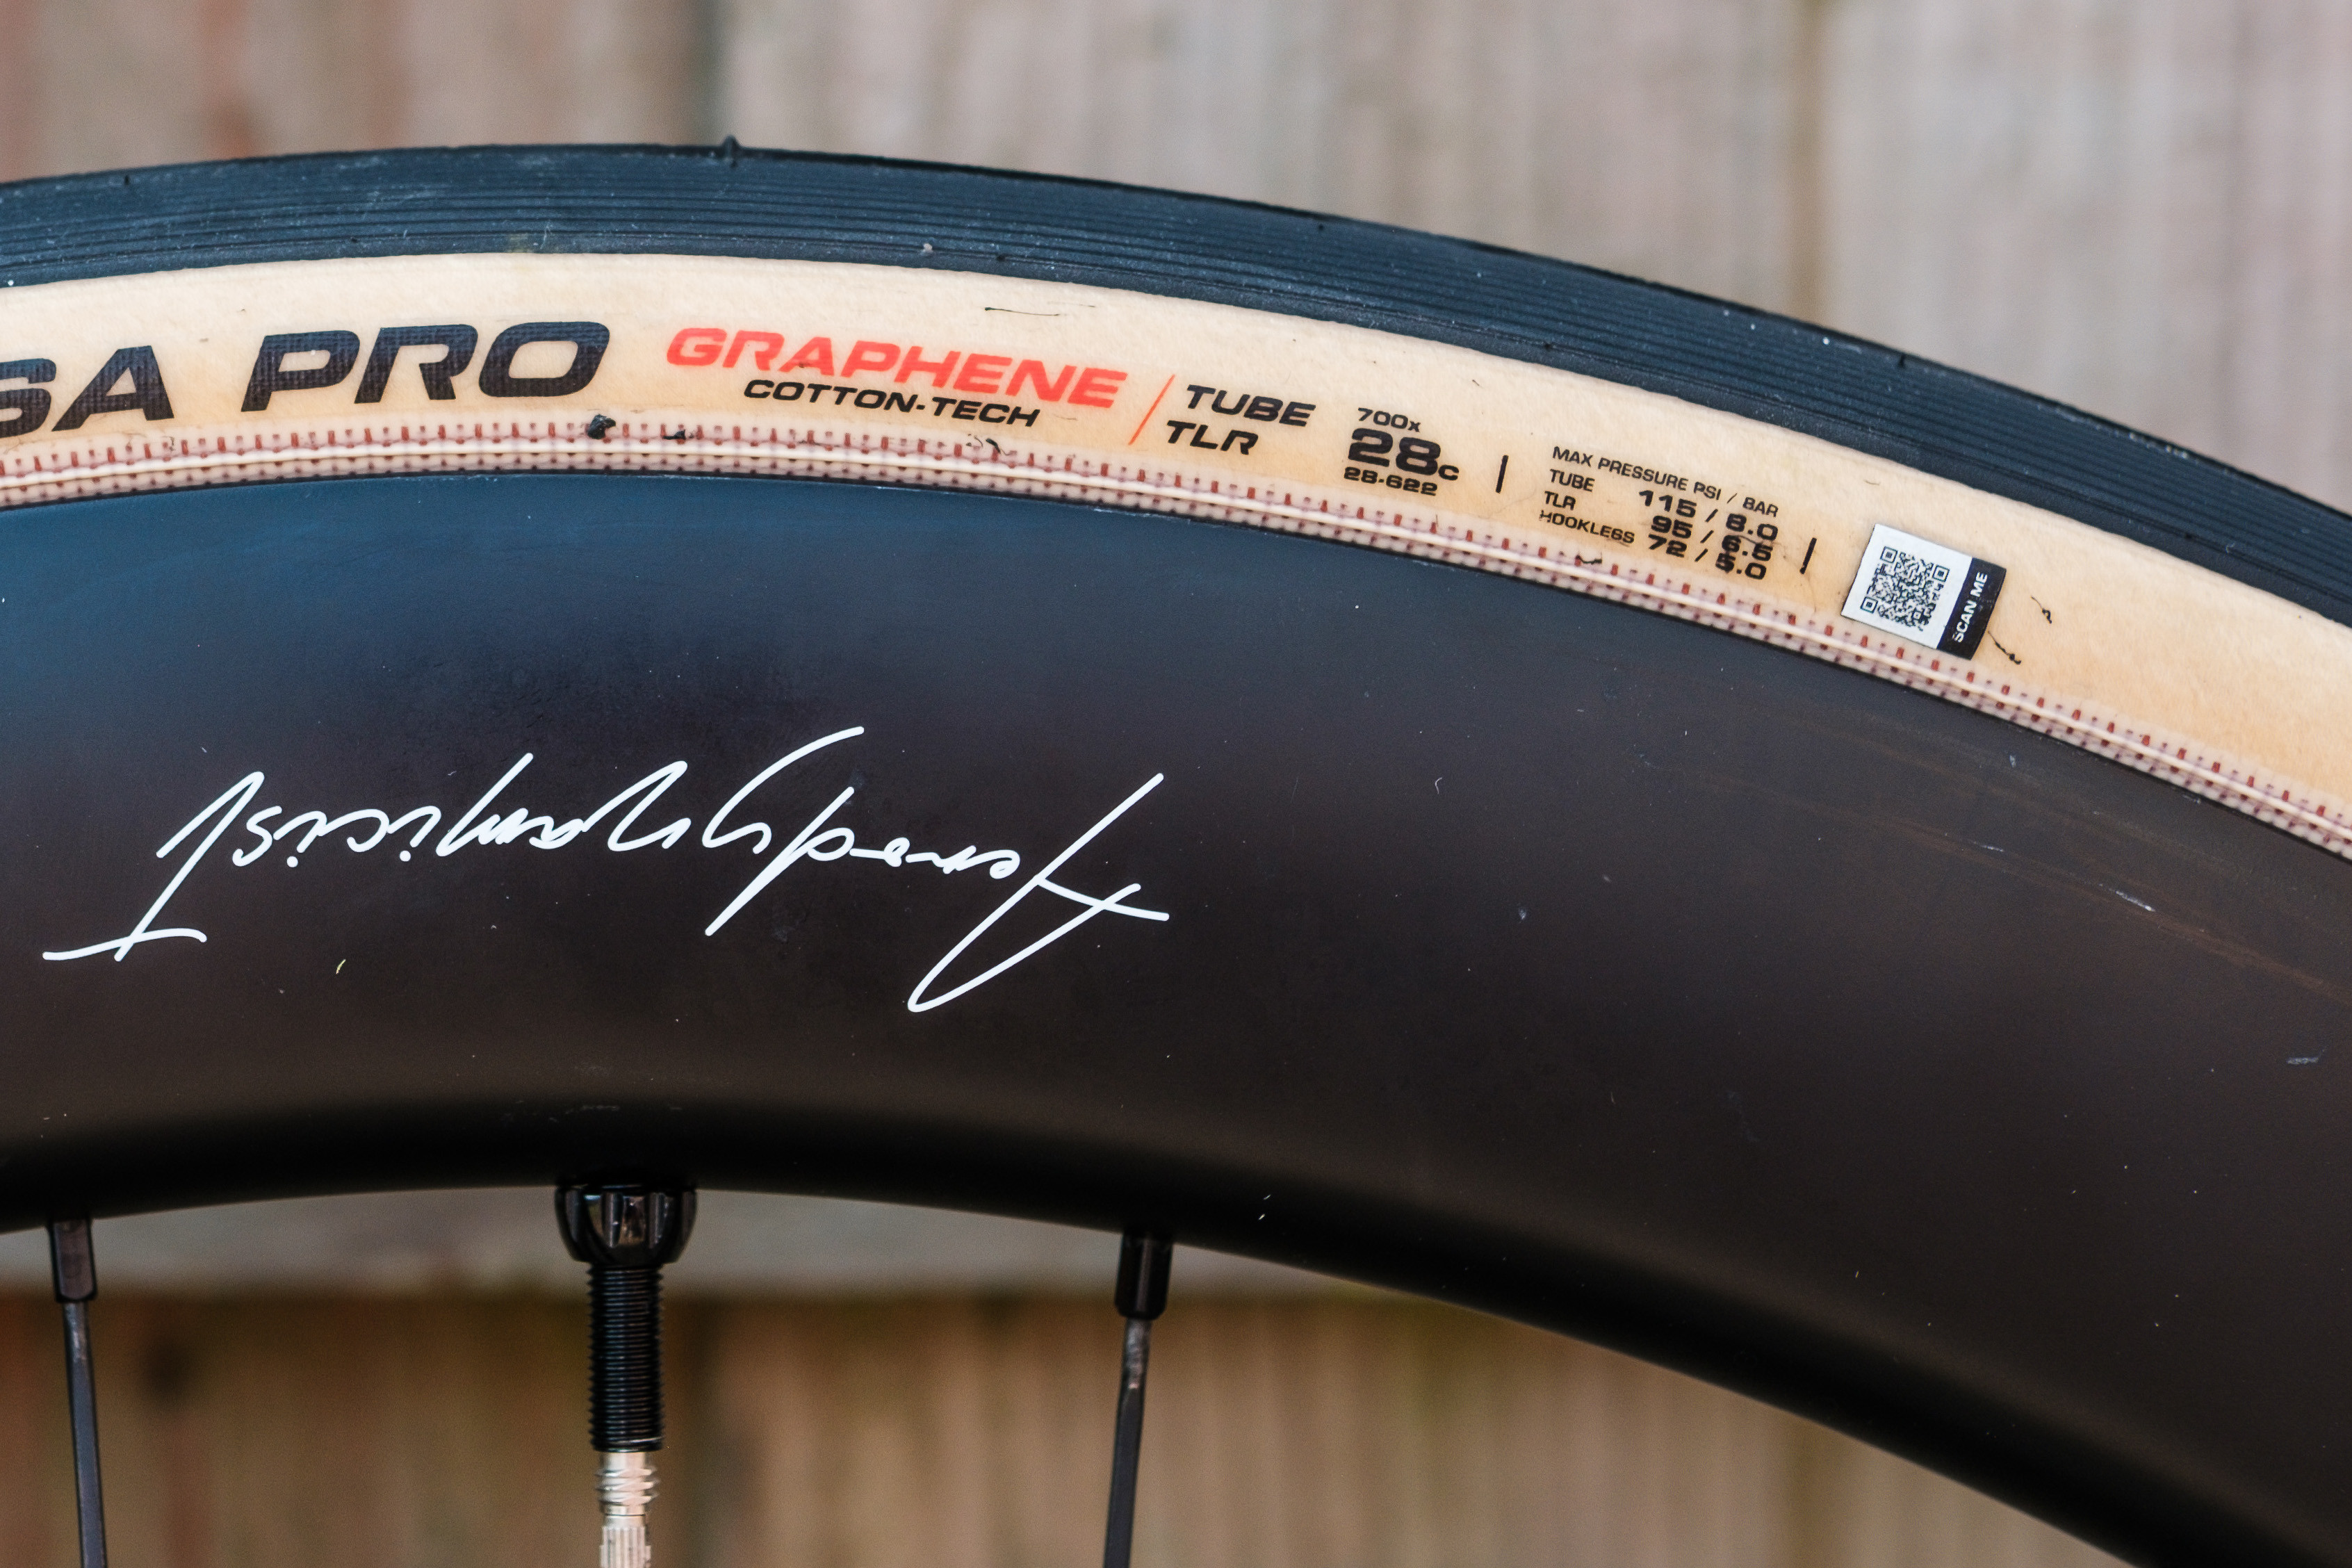 Sidewall markings on a Vittoria Corsa Pro tire, clearly displaying the minimum and maximum pressure ratings for optimal performance
5.2. Recommended Tire Pressure Guidelines
| Rider Weight (lbs) | Tire Width (mm) | Recommended Pressure (PSI) |
|---|---|---|
| 120-140 | 23 | 100-110 |
| 140-160 | 23 | 110-120 |
| 160-180 | 25 | 90-100 |
| 180-200 | 25 | 100-110 |
| 200-220 | 28 | 80-90 |
| 220+ | 28 | 90-100 |
5.3. Common Mistakes to Avoid
- Overinflating Tires: Exceeding the maximum recommended pressure can lead to a harsh ride and increase the risk of tire blowout.
- Underinflating Tires: Riding with too little pressure can cause pinch flats, reduce efficiency, and damage your rims.
- Ignoring Tire Pressure: Neglecting to check and adjust your tire pressure regularly can negatively impact performance and safety.
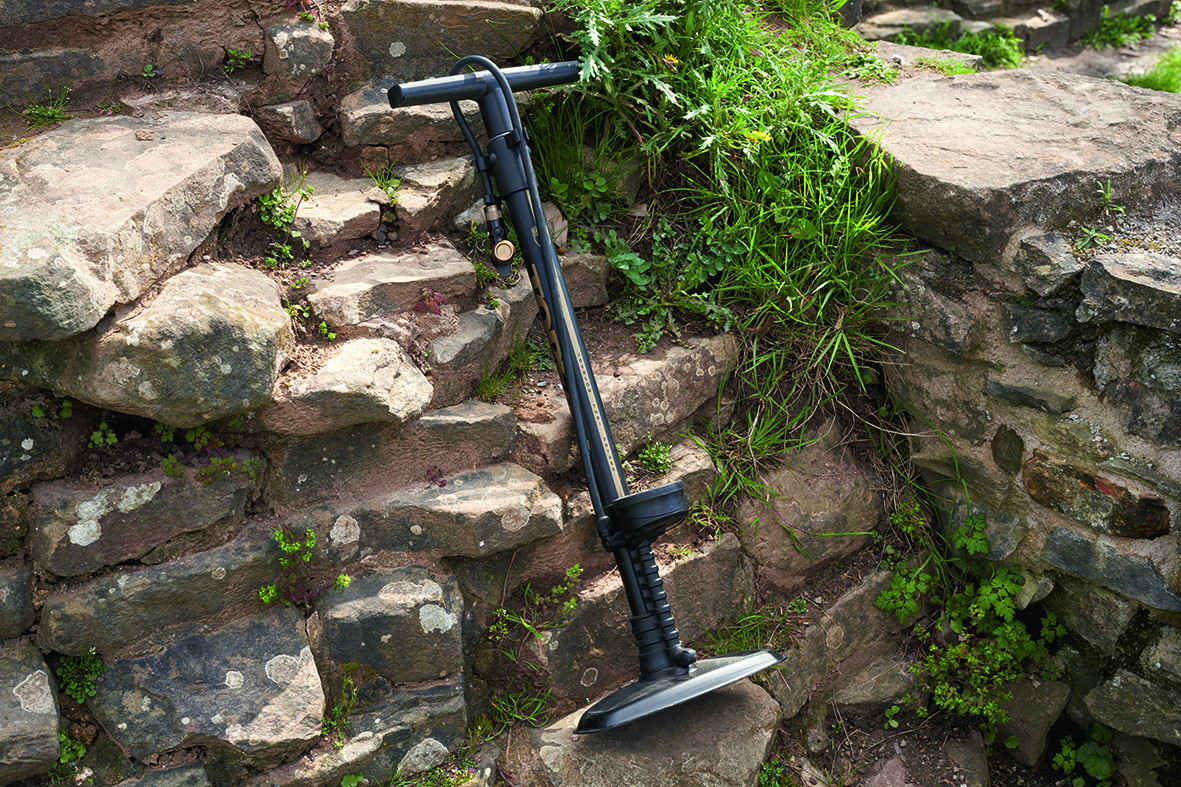
6. Types of Bike Pumps: Choosing the Right One
6.1. Floor Pumps (Track Pumps)
- Ideal For: Home use and achieving precise pressure.
- Features:
- Sturdy base for stability.
- Long hose for easy access to valves.
- Built-in pressure gauge.
- Dual-head for Presta and Schrader valves.
- Benefits:
- Efficient inflation.
- Accurate pressure readings.
- Durable construction.
 Track pump, providing cyclists with efficient and accurate tire inflation at home
6.2. Mini Pumps
- Ideal For: On-the-road repairs and emergencies.
- Features:
- Compact and lightweight.
- Mounting bracket for frame attachment.
- Some models include a hose.
- Benefits:
- Portable and convenient.
- Essential for flat tire repairs.
6.3. CO2 Inflators
- Ideal For: Quick inflation during races or time-sensitive situations.
- Features:
- Uses compressed CO2 cartridges.
- Inflates tires rapidly.
- Compact and lightweight.
- Benefits:
- Extremely fast inflation.
- Easy to carry.
- Considerations:
- CO2 can permeate the tire, causing pressure loss over time.
- Requires purchasing CO2 cartridges.
7. Maintaining Your Bike Pump for Longevity
7.1. Regular Cleaning
- Wipe down the pump exterior with a damp cloth to remove dirt and grime.
- Clean the pump head with a brush to remove debris.
7.2. Lubrication
- Apply a small amount of silicone-based lubricant to the piston and seals to keep them working smoothly.
7.3. Hose Inspection
- Check the hose for cracks or damage and replace if necessary.
7.4. Valve Head Maintenance
- Inspect the valve head for wear and replace worn parts as needed.
- Ensure the locking lever (if present) is functioning properly.
8. Troubleshooting Common Tire Inflation Problems
8.1. Air Leaking from the Valve
- Cause: Incorrect pump head attachment or damaged valve.
- Solution: Reattach the pump head, ensuring a secure fit. Replace the valve if damaged.
8.2. Difficulty Attaching the Pump Head
- Cause: Valve stem is stuck or pump head is incompatible.
- Solution: Gently push the valve stem to loosen it. Use a compatible pump head or adapter.
8.3. Tire Not Inflating
- Cause: Puncture or faulty pump.
- Solution: Check for punctures and repair or replace the inner tube. Test the pump on another tire to ensure it’s working.
8.4. Inaccurate Pressure Readings
- Cause: Faulty pressure gauge.
- Solution: Use a separate pressure gauge to verify the reading. Replace the pump if the gauge is inaccurate.
9. The Impact of Tire Pressure on Road Bike Performance
9.1. Rolling Resistance
- High Pressure: Lower rolling resistance on smooth surfaces, resulting in faster speeds.
- Low Pressure: Higher rolling resistance, but better absorption of road imperfections.
9.2. Handling
- High Pressure: More responsive handling on smooth roads.
- Low Pressure: Better grip and control on rough or uneven surfaces.
9.3. Comfort
- High Pressure: Harsher ride, transmitting more road vibrations.
- Low Pressure: Smoother, more comfortable ride, absorbing road imperfections.
9.4. Puncture Resistance
- High Pressure: Reduced risk of pinch flats on smooth roads.
- Low Pressure: Increased risk of pinch flats, especially on rough surfaces.
10. Frequently Asked Questions (FAQs) About Pumping Road Bike Tires
10.1. How Often Should I Check My Tire Pressure?
It’s best to check your tire pressure before every ride to ensure optimal performance and safety.
10.2. Can I Use a Car Tire Pump to Inflate My Bike Tires?
Yes, if your bike has Schrader valves. However, car tire pumps can be difficult to use and may overinflate your tires quickly. Use a pressure gauge to ensure accurate inflation.
10.3. What is the Ideal Tire Pressure for My Road Bike?
The ideal tire pressure depends on your weight, tire width, and road conditions. Refer to the tire sidewall for the recommended pressure range and adjust accordingly.
10.4. How Do I Know If My Tire is Properly Inflated Without a Gauge?
Squeeze the tire. It should feel firm but have some give. If it feels too soft or rock hard, it needs adjustment.
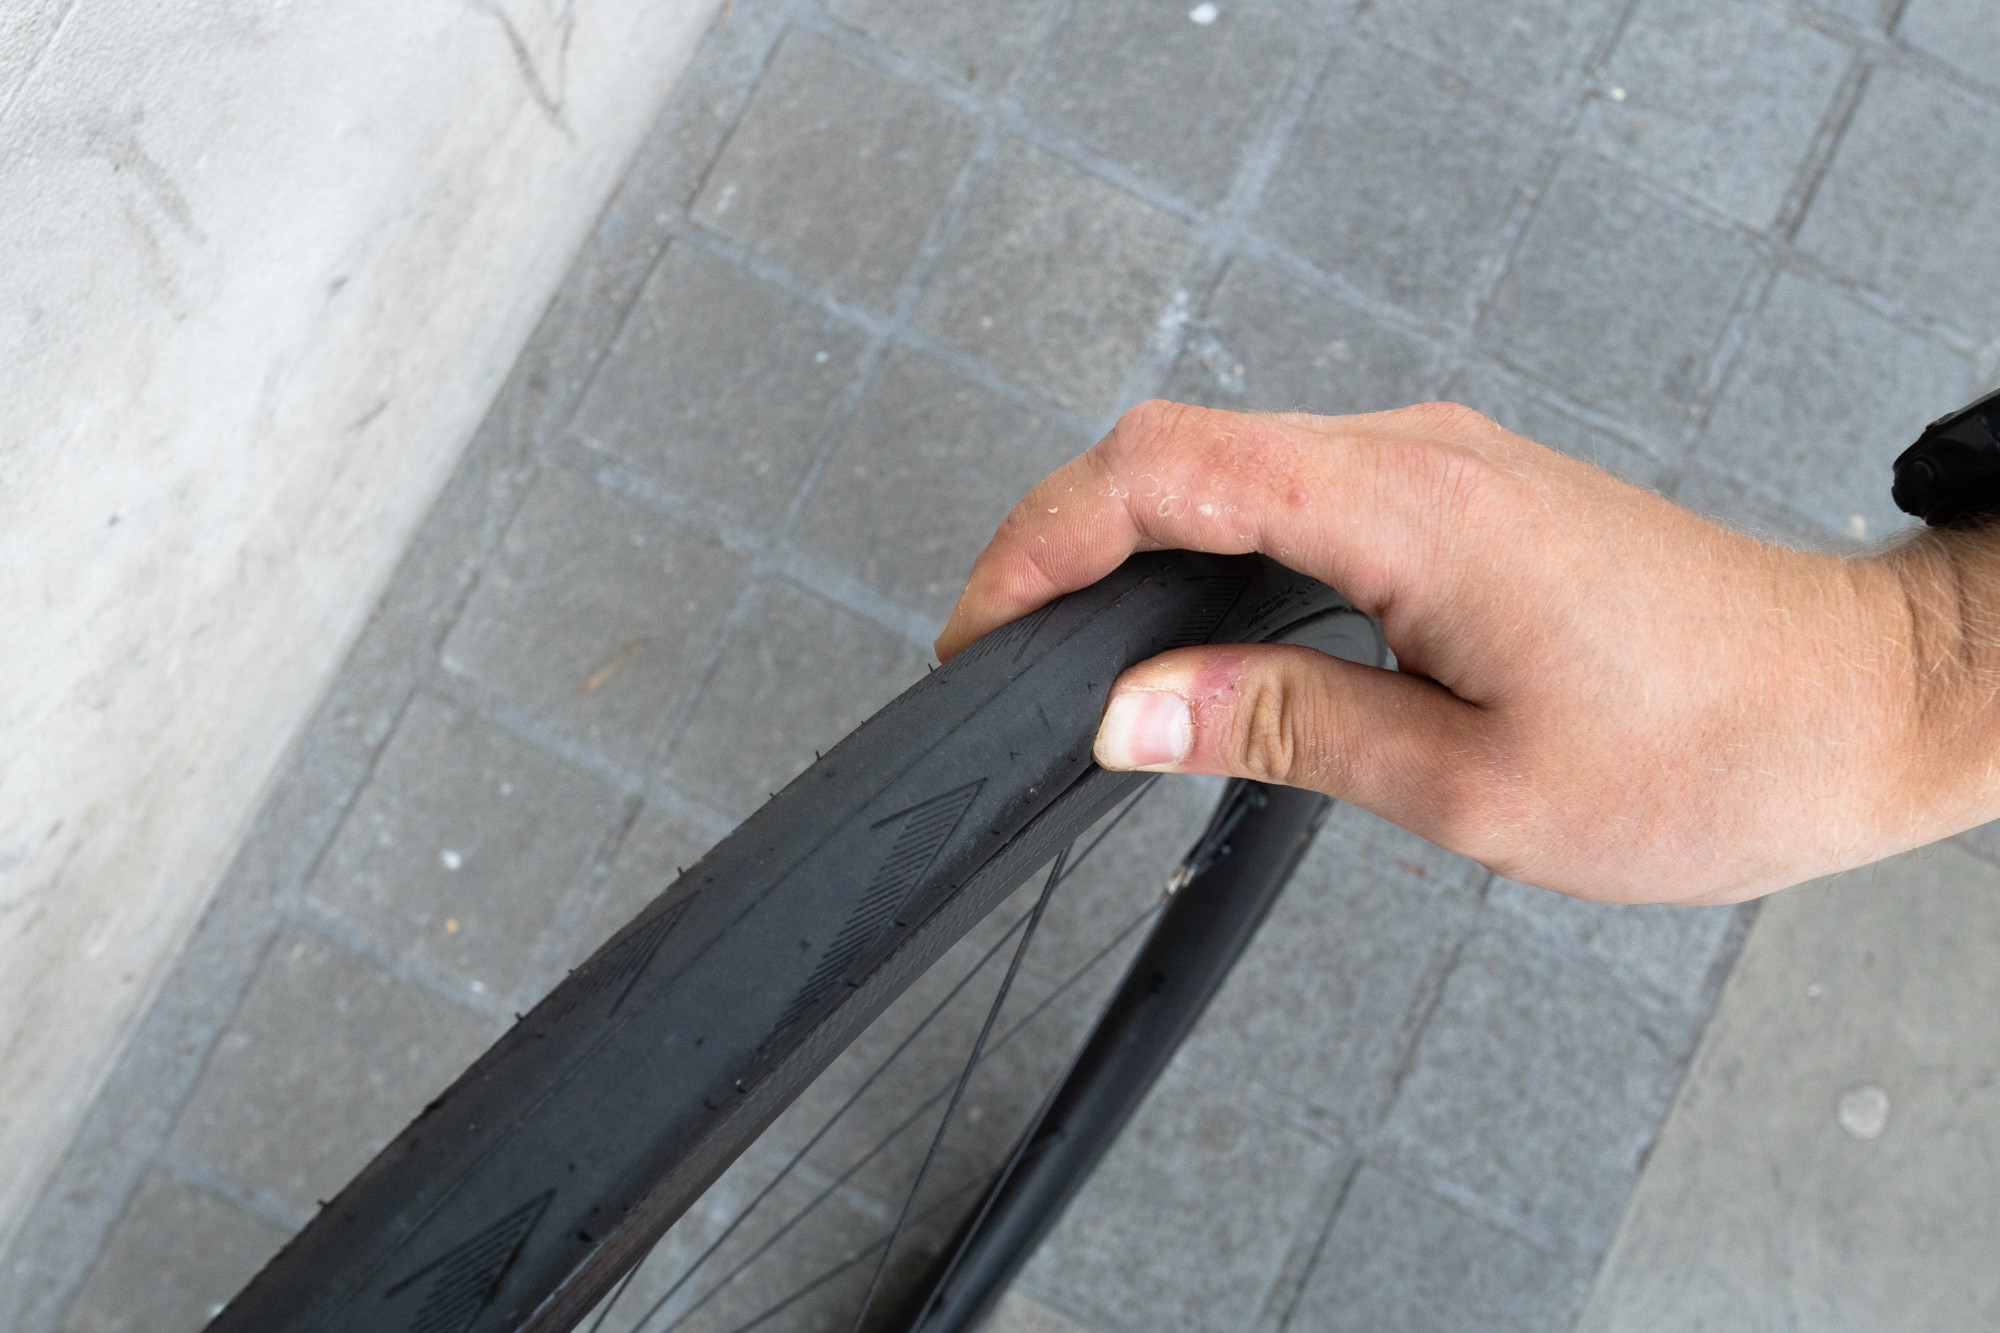 Checking tire pressure by hand, providing a quick assessment of inflation levels without a gauge
10.5. What is a Pinch Flat?
A pinch flat occurs when the tire is compressed against the rim, pinching the inner tube and causing a puncture. This is often caused by underinflated tires.
10.6. Can I Overinflate My Tires?
Yes, exceeding the maximum recommended pressure can lead to a tire blowout, which can be dangerous.
10.7. What is the Difference Between a Presta and Schrader Valve?
Presta valves are narrower and have a locking nut, while Schrader valves are wider and have a spring-loaded pin. Presta valves are typically found on higher-end road bikes, while Schrader valves are common on older and cheaper bikes.
10.8. How Do I Convert PSI to Bar?
To convert PSI to Bar, divide the PSI value by 14.5. For example, 100 PSI is approximately 6.9 Bar.
10.9. Is It Okay to Mix Different Tire Pressures Between Front and Rear Tires?
Yes, many riders prefer slightly lower pressure in the front tire for improved comfort and handling.
10.10. Where Can I Find More Information About Bike Maintenance and Safety?
Visit usabikers.net for a wealth of articles, guides, and community forums dedicated to all things biking. Our website provides the latest information on bike maintenance, safety tips, and biker culture in the USA.
By following this comprehensive guide, you’ll be well-equipped to pump your road bike tires correctly, ensuring a safe, efficient, and enjoyable riding experience. Remember to check usabikers.net for more tips, tricks, and community discussions on all things related to biking in the USA! Join our community today to connect with fellow bikers and stay updated on the latest trends and events.
For any further questions or assistance, feel free to contact us at:
Address: 801 Sturgis Main St, Sturgis, SD 57785, United States
Phone: +1 (605) 347-2000
Website: usabikers.net
We hope to see you on the road!