
Are you wondering What Size Time Trial Bike Do I Need for optimal performance? At usabikers.net, we understand the importance of finding the perfect fit for your time trial or triathlon bike to enhance your speed, comfort, and overall cycling experience. A well-fitted bike translates to a more efficient ride. This guide helps you select the right size, covering essential measurements, common mistakes, and expert tips to ensure you make the best choice.
1. Why Is Selecting the Right Time Trial Bike Size Crucial?
Fit on a triathlon or time trial bike is crucial for optimizing power output, maintaining aerodynamics, and ensuring comfort and efficiency over long distances. Selecting the incorrect size can amplify fit-related problems, potentially leading to back issues, knee pain, and numbness in the hands, which can severely impact your performance and overall enjoyment. Unlike hybrid, mountain, or road bikes that allow for more flexibility and movement, time trial bikes require precision in fit to maximize aerodynamic advantages and power transfer. A properly sized time trial bike ensures a balanced position, allowing you to sustain an aggressive posture without sacrificing comfort, ultimately leading to faster times and reduced risk of injury.
1.1 The Importance of Professional Fitting
Seeking advice from a professional bike fitter is the best approach to determining the right time trial bike size. According to research from the American Medical Association, in June 2024, professional bike fittings can significantly reduce the risk of injuries and improve cycling efficiency. A fitter will consider your unique body measurements, flexibility, and riding style to recommend the optimal frame size and component adjustments, ensuring a comfortable and efficient riding experience.
1.2 Balancing Aerodynamics, Comfort, and Power
Achieving the right balance between aerodynamics, comfort, and power is crucial for time trial and triathlon bikes. An overly aggressive position might enhance aerodynamics but compromise comfort and power output, while a too-relaxed position might improve comfort but reduce aerodynamic efficiency. A proper bike fit ensures you can maintain an aerodynamic posture without straining your body, allowing for sustainable power delivery throughout your ride.
1.3 Consequences of an Ill-Fitting Bike
Riding a time trial bike that is the wrong size can lead to various issues, including discomfort, pain, and decreased performance. A bike that is too small might cause you to overreach, leading to back and neck pain, while a bike that is too large might compromise your control and handling, increasing the risk of accidents. Addressing these issues proactively can save you from potential injuries and ensure a more enjoyable cycling experience.
 Fitting on a triathlon bike is all about balancing power and aerodynamics with comfort and efficiency.
2. Key Considerations for Finding the Right Time Trial Bike Size
When determining the right size for your time trial bike, consider the following key factors to ensure an optimal fit:
2.1 Measuring Height and Inseam
Height and inseam measurements are fundamental in determining the correct time trial bike size. Many bike manufacturers provide sizing charts that utilize these measurements to recommend appropriate frame sizes. However, it’s essential to recognize that body proportions vary, and relying solely on height and inseam might not always guarantee the best fit.
2.1.1 How to Measure Inseam Accurately
To measure your inseam accurately, stand barefoot against a wall with your feet shoulder-width apart. Place a book or a flat object between your legs, mimicking the position of a bike saddle. Measure the distance from the top of the book to the floor. This measurement provides a more precise indication of the length of your legs, which is crucial for determining the correct frame size.
2.1.2 Addressing Body Proportion Variations
People with varying body proportions may require different frame sizes even if they have the same height. For instance, someone with a longer torso and shorter legs may need a smaller frame size compared to someone with a shorter torso and longer legs. Considering these individual differences ensures a more personalized and accurate bike fit.
2.2 Understanding Stand-Over Height
Stand-over height refers to the clearance between the top tube of the bike and your crotch when you’re standing over the bike with your feet flat on the ground. Adequate stand-over height is crucial for comfort and safety, especially for new riders.
2.2.1 Importance of Adequate Clearance
Having sufficient stand-over height allows you to comfortably mount and dismount the bike without the risk of hitting the top tube, which can be particularly important in emergency situations. Generally, a clearance of at least 1-2 inches is recommended to ensure a safe and comfortable riding experience.
2.2.2 Measuring Stand-Over Height
To measure stand-over height, stand over the bike with your feet shoulder-width apart and flat on the ground. Measure the distance between the top tube and your crotch. If the top tube is pressing against your crotch, the bike is likely too large. Consulting the manufacturer’s specifications for stand-over height can also help in making an informed decision.
2.3 Determining Saddle Height
Saddle height is the distance from the center of the bottom bracket to the top of the saddle. Setting the correct saddle height is crucial for efficient pedaling and preventing knee injuries.
2.3.1 Calculating Saddle Height Using the Lemond Method
The Lemond Method is a common technique for estimating saddle height. Multiply your inseam measurement (in centimeters) by 0.883 to get an approximate saddle height. This method provides a good starting point, but fine-tuning may be necessary based on individual preferences and riding style.
2.3.2 Fine-Tuning Saddle Height
Adjust your saddle height until your leg has a slight bend at the bottom of the pedal stroke. This position allows for optimal power transfer and reduces the risk of knee strain. Consider consulting a professional bike fitter for a more precise saddle height adjustment.
2.4 Measuring Arm Pad Stack and Reach
Arm pad stack and reach are crucial measurements for time trial bikes, as they determine your position on the aerobars. Arm pad stack is the vertical distance from the center of the bottom bracket to the top of the arm pad, while arm pad reach is the horizontal distance from the center of the bottom bracket to the back of the arm pad.
2.4.1 Importance of Arm Pad Position
The position of the arm pads significantly impacts your aerodynamics and comfort. An ideal arm pad position allows you to maintain a streamlined posture while comfortably supporting your upper body. Adjusting the arm pad stack and reach can help you achieve this balance.
2.4.2 Finding Your Ideal Arm Pad Stack and Reach
Experiment with different arm pad stack and reach settings to find the position that feels most comfortable and sustainable. Consider consulting a professional bike fitter to determine your ideal arm pad position based on your flexibility and riding style.
2.5 Understanding Frame Stack and Reach
Frame stack and reach are essential measurements for comparing different bike models and brands. Stack is the vertical distance from the center of the bottom bracket to the top of the head tube, while reach is the horizontal distance from the center of the bottom bracket to the center of the head tube.
2.5.1 Using Stack and Reach for Comparison
Stack and reach provide a standardized way to compare the size and geometry of different frames. Use these measurements to compare different bike models and find the one that best fits your body proportions.
2.5.2 How Frame Geometry Affects Fit
The frame geometry significantly influences your riding position and comfort. A frame with a higher stack and shorter reach will result in a more upright position, while a frame with a lower stack and longer reach will result in a more aggressive position. Understanding how frame geometry affects fit can help you choose a bike that suits your riding style and preferences.
3. Common Time Trial Bike Sizing Mistakes and How to Avoid Them
Avoiding common sizing mistakes is crucial to ensure you select the right time trial bike for your needs. Here are some frequent errors and tips on how to prevent them:
3.1 Relying on Generic Online Calculators
Generic online calculators often provide inaccurate sizing recommendations because they do not account for the specific geometry of different bike models and brands. Always use manufacturer-specific calculators to get a more precise estimate.
3.1.1 The Limitations of Generic Calculators
Generic calculators use broad assumptions about body proportions and do not consider individual variations. This can lead to sizing recommendations that are far from optimal.
3.1.2 Using Manufacturer-Specific Tools
Many bike manufacturers offer online calculators that take into account the specific geometry of their bikes. These tools provide more accurate sizing recommendations tailored to the particular model you are interested in.
3.2 Assuming Road Bike Size Translates to Time Trial Bike Size
Road bike sizes do not directly translate to time trial bike sizes due to differences in frame geometry and riding position. A 54cm road bike may not necessarily correspond to a 54cm time trial bike.
3.2.1 Differences in Frame Geometry
Time trial bikes have a steeper seat tube angle and a longer top tube compared to road bikes. These differences affect the overall fit and require a different sizing approach.
3.2.2 Adapting to Time Trial Bike Geometry
When transitioning from a road bike to a time trial bike, it’s essential to reassess your sizing needs. Use stack and reach measurements to compare the two bikes and determine the appropriate size for your time trial bike.
3.3 Neglecting Stand-Over Height
Ignoring stand-over height can lead to discomfort and potential injury, especially when mounting and dismounting the bike. Always ensure you have adequate clearance between the top tube and your crotch.
3.3.1 Importance of Clearance
Sufficient stand-over height allows you to comfortably straddle the bike without the top tube pressing against your crotch. This is particularly important in emergency situations where you need to dismount quickly.
3.3.2 How to Measure Stand-Over Height
Measure stand-over height by standing over the bike with your feet shoulder-width apart and flat on the ground. Ensure there is at least 1-2 inches of clearance between the top tube and your crotch.
3.4 Overlooking Adjustability
Failing to consider the adjustability of components such as saddle height, handlebar reach, and arm pad position can result in a less-than-ideal fit. Ensure the bike you choose offers sufficient adjustability to fine-tune your position.
3.4.1 Saddle Height Adjustability
The saddle height should be easily adjustable to allow you to find the optimal position for efficient pedaling. Look for bikes with a wide range of saddle height adjustability.
3.4.2 Handlebar Reach and Arm Pad Adjustability
The handlebar reach and arm pad position should also be adjustable to allow you to dial in your preferred aerodynamic posture. Consider bikes with adjustable stems and arm pads.
3.5 Ignoring Professional Advice
Skipping a professional bike fit can lead to suboptimal sizing and increased risk of injury. A professional fitter can assess your unique needs and recommend the best bike size and adjustments for your body.
3.5.1 Benefits of a Bike Fit
A professional bike fit can improve your comfort, efficiency, and performance. A fitter will consider your flexibility, riding style, and any existing injuries to optimize your position on the bike.
3.5.2 Finding a Qualified Fitter
Look for a certified bike fitter with experience in fitting time trial bikes. Check online reviews and ask for recommendations from other cyclists to find a qualified professional.
4. What If You’re Between Sizes?
If your measurements fall between two sizes, consider the following factors to make the best choice:
4.1 Prioritize Stand-Over Height
When in doubt, prioritize stand-over height. It’s better to choose a smaller frame with adequate stand-over height than a larger frame that compromises your safety and comfort.
4.1.1 Safety and Comfort
Sufficient stand-over height allows you to comfortably mount and dismount the bike without the risk of hitting the top tube. This is particularly important for new riders or in emergency situations.
4.1.2 Adjusting Other Components
If you choose a smaller frame, you can adjust other components such as saddle height and handlebar reach to fine-tune your position and achieve a comfortable fit.
4.2 Consider Adjustability of Aero Bars
Check the adjustability of the aero bars that come with the bike. Ensure you can achieve your desired arm pad stack and reach without maxing out the adjustability range.
4.2.1 Achieving Ideal Arm Pad Position
The aero bars should allow you to adjust the arm pad stack and reach to achieve a comfortable and sustainable aerodynamic position. Ensure the aero bars offer sufficient adjustability to accommodate your needs.
4.2.2 Avoiding Maxing Out Adjustability
Avoid choosing a bike where you need to max out the adjustability range of the aero bars. This can limit your ability to fine-tune your position and may indicate that the bike is not the right size for you.
4.3 Evaluate Seat-Tube Length
Evaluate the seat-tube length and the amount of visible seat post. Too little or too much visible seat post can indicate that the frame size is not optimal for your body.
4.3.1 Optimal Seat Post Exposure
The amount of visible seat post should be within the recommended range for the frame size. Too little seat post can indicate that the frame is too large, while too much seat post can indicate that the frame is too small.
4.3.2 Adjusting Saddle Height
Ensure you can achieve your desired saddle height with the available seat post length. If you need to raise the saddle significantly, consider a frame with a longer seat tube.
4.4 Think About Rider Ability and Personal Preference
Consider your riding ability and personal preferences when choosing between two sizes. A smaller frame may be more responsive and agile, while a larger frame may be more stable and comfortable for long rides.
4.4.1 Smaller Frames
Smaller frames tend to be lighter and stiffer, making them more responsive and agile. This can be advantageous for experienced riders who prioritize performance.
4.4.2 Larger Frames
Larger frames offer more stability and comfort, making them a good choice for new riders or those who prioritize comfort over performance.
5. Expert Tips for Selecting the Right Time Trial Bike Size
To further refine your approach to selecting the right time trial bike size, consider these expert tips:
5.1 Consult a Reputable Bike Fitter
Seek guidance from a reputable bike fitter with experience in fitting time trial bikes. A professional fitter can assess your unique needs and recommend the best bike size and adjustments for your body.
5.1.1 Benefits of a Professional Fitting
A professional bike fit can improve your comfort, efficiency, and performance. A fitter will consider your flexibility, riding style, and any existing injuries to optimize your position on the bike.
5.1.2 Finding a Qualified Fitter
Look for a certified bike fitter with experience in fitting time trial bikes. Check online reviews and ask for recommendations from other cyclists to find a qualified professional.
5.2 Consider Frame Material
The frame material can affect the ride quality and performance of the bike. Carbon fiber frames are lightweight and stiff, while aluminum frames are more affordable and durable.
5.2.1 Carbon Fiber Frames
Carbon fiber frames offer a smooth and responsive ride, making them a popular choice for performance-oriented cyclists. They are also lightweight, which can improve your climbing ability.
5.2.2 Aluminum Frames
Aluminum frames are more affordable and durable than carbon fiber frames. They offer a stiffer ride, which can be beneficial for sprinting and time trialing.
5.3 Test Ride Multiple Bikes
Whenever possible, test ride multiple bikes to get a feel for different sizes and models. This can help you identify the bike that feels most comfortable and responsive.
5.3.1 Arranging Test Rides
Contact local bike shops to arrange test rides of different time trial bikes. Bring your cycling shoes and apparel to simulate your typical riding conditions.
5.3.2 Evaluating Comfort and Performance
During the test ride, pay attention to the bike’s comfort, handling, and responsiveness. Evaluate how well the bike fits your body and whether you can maintain a comfortable aerodynamic position.
5.4 Account for Future Flexibility Changes
Consider how your flexibility may change over time. If you plan to improve your flexibility through stretching and training, you may want to choose a bike that allows for a more aggressive position.
5.4.1 Flexibility Training
Incorporate regular stretching and flexibility training into your routine. This can help you maintain a comfortable aerodynamic position on your time trial bike and reduce the risk of injury.
5.4.2 Adjusting Bike Fit
As your flexibility improves, you may need to adjust your bike fit to take advantage of your increased range of motion. Consult a professional fitter to make any necessary adjustments.
5.5 Invest in Quality Components
Invest in quality components such as saddles, handlebars, and aero bars. These components can significantly affect your comfort and performance, so choose them wisely.
5.5.1 Saddle Selection
Choose a saddle that provides adequate support and cushioning for long rides. Consider trying different saddles to find the one that feels most comfortable for you.
5.5.2 Handlebar and Aero Bar Selection
Select handlebars and aero bars that allow you to maintain a comfortable and aerodynamic position. Consider adjustable aero bars that allow you to fine-tune your arm pad stack and reach.
6. How to Measure Your Body for a Time Trial Bike
Measuring your body accurately is the first step in finding the right time trial bike size. Here’s how to take the necessary measurements:
6.1 What You’ll Need
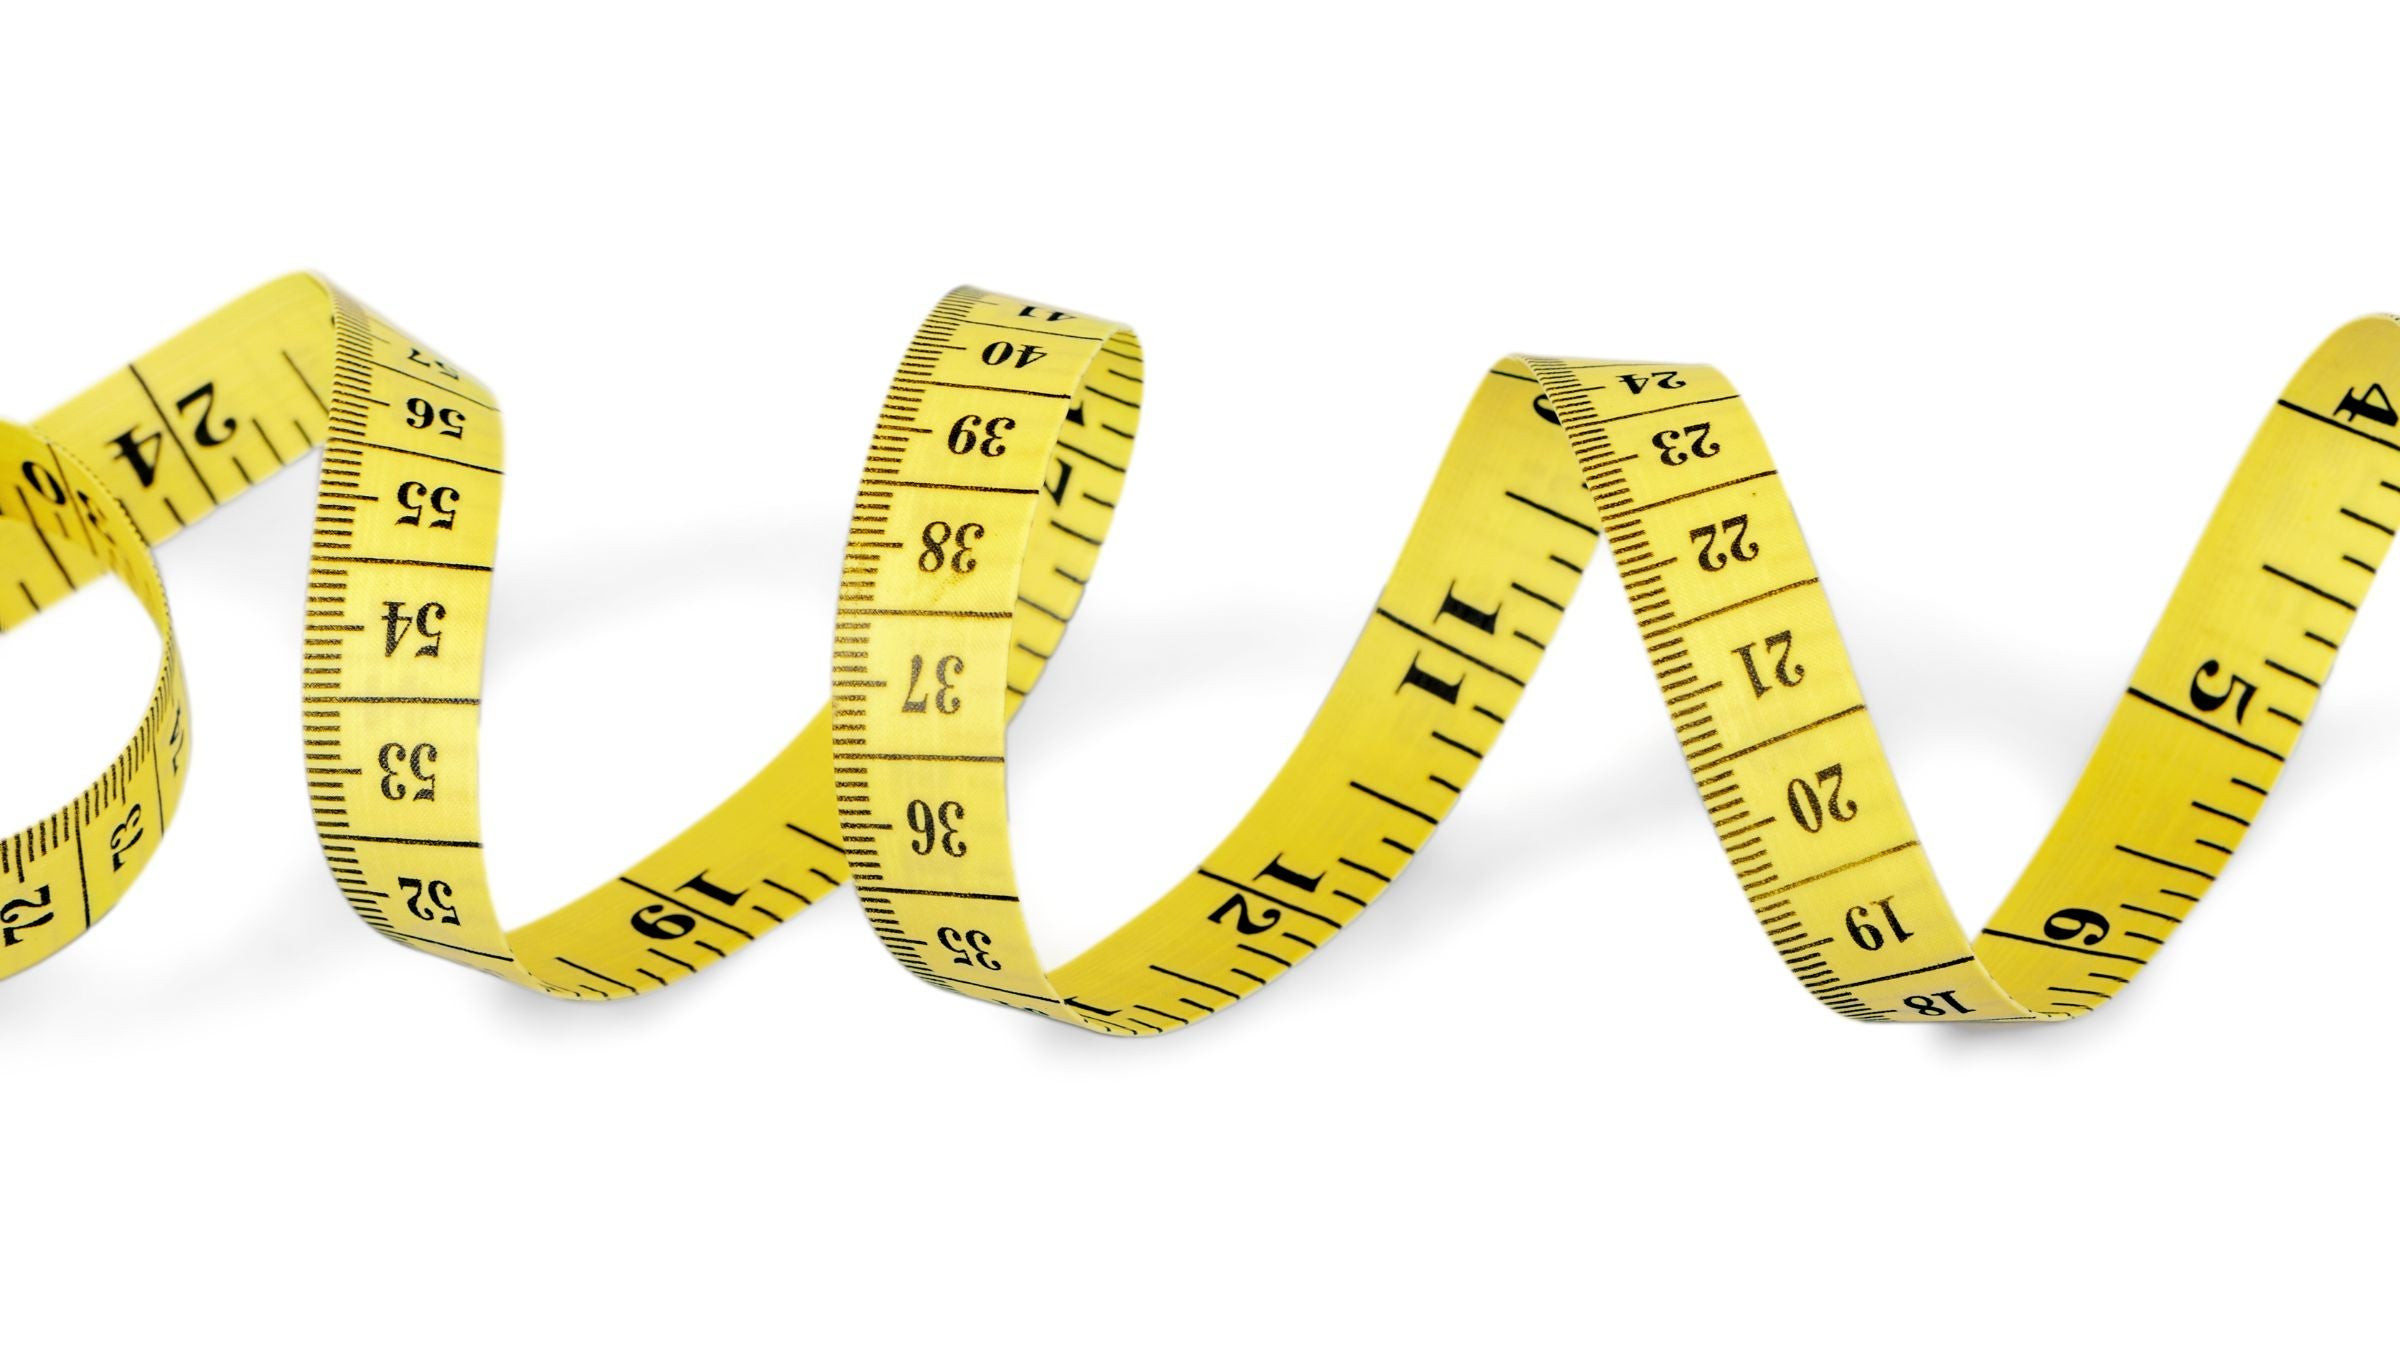
- Tape measure
- Wall
- Book or flat object
- Cycling shoes (optional)
6.2 Height Measurement
Stand against a wall with your feet flat on the floor. Use a tape measure to measure the distance from the floor to the top of your head.
6.3 Inseam Measurement
Stand against a wall with your feet shoulder-width apart. Place a book or flat object between your legs, mimicking the position of a bike saddle. Measure the distance from the top of the book to the floor.
6.4 Arm Length Measurement
Stand with your arms extended to the sides. Measure the distance from the center of your neck to the end of your wrist.
6.5 Torso Length Measurement
Sit on a flat surface with your legs extended. Measure the distance from the top of your pubic bone to the top of your sternum.
6.6 Foot Length Measurement
Stand on a piece of paper and trace the outline of your foot. Measure the length of the tracing from the heel to the longest toe.
7. Understanding Time Trial Bike Geometry Charts
Time trial bike geometry charts provide detailed information about the dimensions of the bike frame. Understanding these charts can help you compare different models and find the one that best fits your body.
7.1 Key Measurements
- Stack: Vertical distance from the center of the bottom bracket to the top of the head tube.
- Reach: Horizontal distance from the center of the bottom bracket to the center of the head tube.
- Seat Tube Angle: Angle between the seat tube and a horizontal line.
- Head Tube Angle: Angle between the head tube and a horizontal line.
- Top Tube Length: Distance from the center of the head tube to the center of the seat tube.
- Wheelbase: Distance between the front and rear axles.
7.2 How to Use Geometry Charts
Use geometry charts to compare different bike models and find the one that best fits your body proportions. Pay attention to stack and reach, as these measurements determine the overall fit and comfort of the bike.
7.3 Example Chart Analysis
Consider two different time trial bikes with the following geometry:
| Measurement | Bike A | Bike B |
|---|---|---|
| Stack | 550mm | 570mm |
| Reach | 400mm | 380mm |
| Seat Tube Angle | 78° | 76° |
| Head Tube Angle | 72° | 73° |
| Top Tube Length | 540mm | 530mm |
| Wheelbase | 1000mm | 990mm |
Bike A has a lower stack and longer reach, making it suitable for riders who prefer a more aggressive aerodynamic position. Bike B has a higher stack and shorter reach, making it a better choice for riders who prioritize comfort and stability.
8. Adjusting Your Time Trial Bike for Optimal Performance
Once you’ve found the right size time trial bike, adjusting it for optimal performance is essential. Here are some key adjustments to consider:
8.1 Saddle Height Adjustment
Adjust the saddle height so that your leg has a slight bend at the bottom of the pedal stroke. This position allows for optimal power transfer and reduces the risk of knee strain.
8.2 Saddle Fore-Aft Adjustment
Adjust the saddle fore-aft position so that your knee is aligned over the pedal axle when the crank is in the horizontal position. This position ensures efficient pedaling and reduces stress on your knee joint.
8.3 Handlebar Height and Reach Adjustment
Adjust the handlebar height and reach to achieve a comfortable aerodynamic position. The handlebars should be positioned so that you can maintain a flat back and relaxed shoulders.
8.4 Arm Pad Adjustment
Adjust the arm pads to provide comfortable support for your forearms. The arm pads should be positioned so that your elbows are slightly bent and your shoulders are relaxed.
8.5 Aerobar Extension Adjustment
Adjust the aerobar extensions to achieve your desired reach and hand position. The extensions should be positioned so that your wrists are straight and your hands are relaxed.
9. Common Time Trial Bike Fit Problems and Solutions
Even with careful sizing and adjustment, you may encounter some common time trial bike fit problems. Here are some common issues and their solutions:
9.1 Back Pain
Back pain can be caused by a variety of factors, including an overly aggressive position, a saddle that is too high or too low, or a lack of core strength.
9.1.1 Solution
- Raise the handlebars to reduce the amount of back flexion.
- Adjust the saddle height to ensure a proper leg extension.
- Strengthen your core muscles through regular exercise.
9.2 Knee Pain
Knee pain can be caused by a saddle that is too high or too low, a saddle that is too far forward or too far back, or improper cleat placement.
9.2.1 Solution
- Adjust the saddle height to ensure a proper leg extension.
- Adjust the saddle fore-aft position to align your knee over the pedal axle.
- Ensure your cleats are properly aligned to prevent knee strain.
9.3 Neck Pain
Neck pain can be caused by an overly aggressive position, a handlebar that is too low, or a lack of neck strength.
9.3.1 Solution
- Raise the handlebars to reduce the amount of neck extension.
- Strengthen your neck muscles through regular exercise.
- Take frequent breaks to stretch your neck during long rides.
9.4 Numb Hands
Numb hands can be caused by excessive pressure on the nerves in your wrists, improper handlebar angle, or a lack of cushioning.
9.4.1 Solution
- Adjust the handlebar angle to reduce pressure on your wrists.
- Wear padded cycling gloves to provide cushioning.
- Take frequent breaks to shake out your hands during long rides.
9.5 Saddle Sores
Saddle sores can be caused by friction between your skin and the saddle, improper saddle selection, or a lack of hygiene.
9.5.1 Solution
- Choose a saddle that fits your body and provides adequate support.
- Wear cycling shorts with a padded chamois to reduce friction.
- Apply chamois cream to reduce friction and prevent bacterial growth.
- Maintain good hygiene by showering and washing your cycling shorts after each ride.
10. Time Trial Bike Maintenance Tips
Proper maintenance is essential to keep your time trial bike in top condition and ensure optimal performance. Here are some maintenance tips to follow:
10.1 Regular Cleaning
Clean your bike regularly to remove dirt, grime, and sweat. Use a mild soap and water solution and a soft brush to clean the frame, wheels, and components.
10.2 Chain Maintenance
Keep your chain clean and lubricated to ensure smooth shifting and prevent wear. Use a chain cleaner to remove dirt and grime, and then apply a chain lubricant.
10.3 Tire Inflation
Check your tire pressure before each ride to ensure optimal rolling resistance and prevent flats. Inflate your tires to the recommended pressure, which is typically printed on the sidewall of the tire.
10.4 Brake Inspection
Inspect your brakes regularly to ensure they are functioning properly. Check the brake pads for wear and replace them as needed. Also, check the brake cables for fraying and replace them if necessary.
10.5 Cable Lubrication
Lubricate your brake and shift cables to ensure smooth operation. Use a cable lubricant to prevent friction and corrosion.
10.6 Bolt Tightening
Check all bolts on your bike regularly to ensure they are properly tightened. Use a torque wrench to tighten bolts to the manufacturer’s recommended torque specifications.
10.7 Professional Servicing
Take your bike to a professional mechanic for regular servicing. A mechanic can inspect your bike for wear and tear and perform necessary maintenance to keep it in top condition.
FAQ: What Size Time Trial Bike Do I Need?
What is a time trial bike?
A time trial bike is a specialized bicycle designed for aerodynamic efficiency, used in time trial races and triathlons, featuring an aggressive riding position and aerodynamic components.
How do I measure my inseam for a time trial bike?
Stand against a wall with a book between your legs, mimicking a saddle. Measure from the top of the book to the floor to get your inseam length.
What is stack and reach on a time trial bike?
Stack is the vertical distance from the bottom bracket to the top of the head tube. Reach is the horizontal distance from the bottom bracket to the center of the head tube.
Should my time trial bike be the same size as my road bike?
No, time trial bikes have different geometries, so your road bike size may not translate directly. Use stack and reach measurements for comparison.
What if I am between sizes on a time trial bike?
Prioritize stand-over height and consider the adjustability of the aero bars. A smaller frame is often better for responsiveness.
How important is a professional bike fit for a time trial bike?
A professional bike fit is highly recommended to optimize comfort, efficiency, and aerodynamics, reducing the risk of injury.
What are common mistakes when sizing a time trial bike?
Relying on generic calculators, assuming road bike size translates, neglecting stand-over height, and ignoring professional advice are common mistakes.
What should I look for in adjustable aero bars?
Ensure they allow you to achieve your desired arm pad stack and reach without maxing out the adjustability range.
How does frame material affect time trial bike size?
Frame material doesn’t directly affect size, but it impacts ride quality. Carbon fiber is lighter and stiffer, while aluminum is more affordable.
How often should I maintain my time trial bike?
Regular cleaning, chain maintenance, tire inflation, and brake inspection should be done frequently. Professional servicing should be done annually.
Conclusion: Find Your Perfect Ride with Usabikers.net
Finding the right size time trial bike is essential for optimizing your performance, comfort, and enjoyment. By following the tips and guidelines outlined in this guide, you can make an informed decision and select a bike that fits your body and riding style. Remember, a professional bike fit is always recommended to ensure the best possible fit.
Ready to take the next step? Explore usabikers.net for more in-depth articles, reviews, and community discussions to help you find the perfect time trial bike. Join our community today and elevate your cycling experience!
Visit usabikers.net today!
Address: 801 Sturgis Main St, Sturgis, SD 57785, United States
Phone: +1 (605) 347-2000
Website: usabikers.net