Spring unlocks a unique blend of activities, and for adventurers, combining biking and skiing hits the sweet spot. As the snow lingers on the peaks and the roads clear up, it’s prime time to explore the backcountry with your bike and skis. This guide will show you how to efficiently carry your skis on your bike, turning your two-wheeled ride into a backcountry access vehicle. Whether you’re aiming for a low-impact adventure or simply love the thrill of earning your turns, mastering the art of carrying Skis On Bike opens up a world of possibilities.
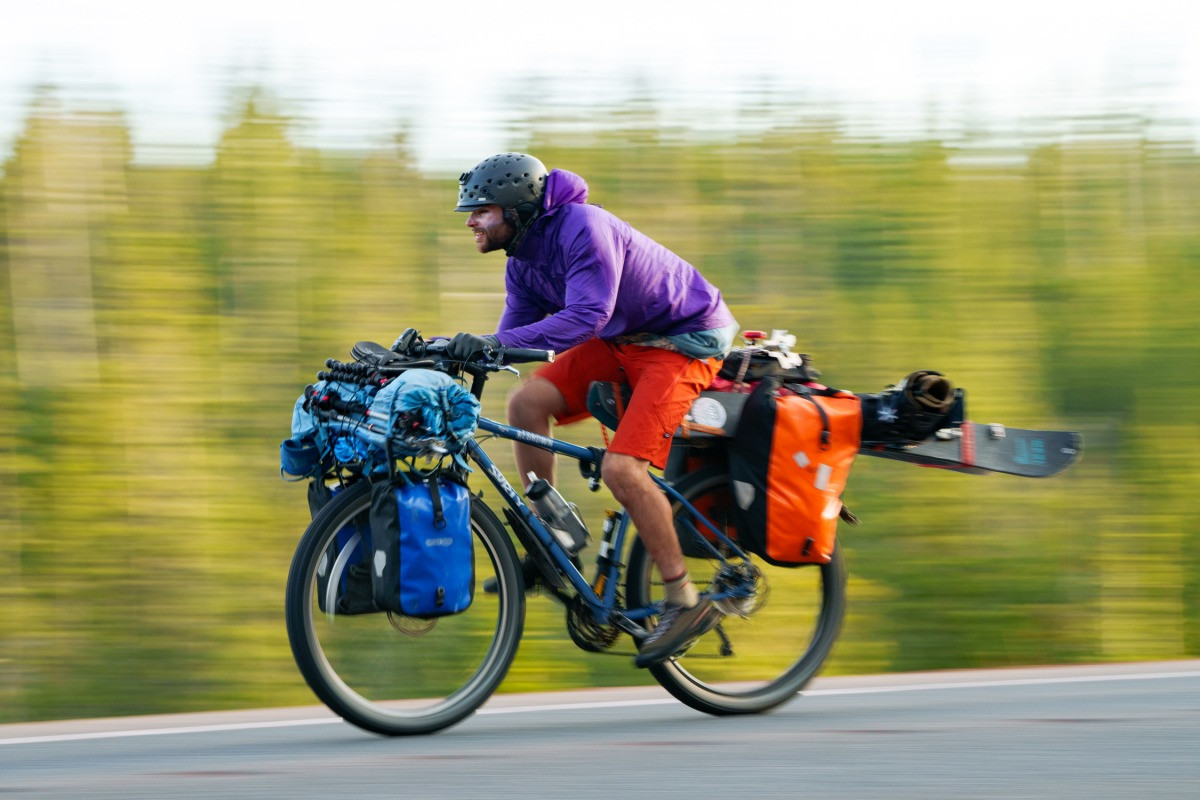 Stratton Matteson zipping along for another multi-day or multi-week bike to ride epic. Photo: Colton Andrew Jacobs
Why Bike to Ski? Embrace the Spring Backcountry
The allure of biking to ski is multifaceted. Spring conditions offer longer days, warmer temperatures, and drier trails, making the journey more pleasant. Avalanches risks are generally reduced, adding a layer of safety to your backcountry excursions. Beyond the seasonal perks, biking to the trailhead minimizes your environmental footprint, aligning with sustainable adventure practices. Plus, there’s an unparalleled sense of accomplishment that comes from powering your own way to the mountains.
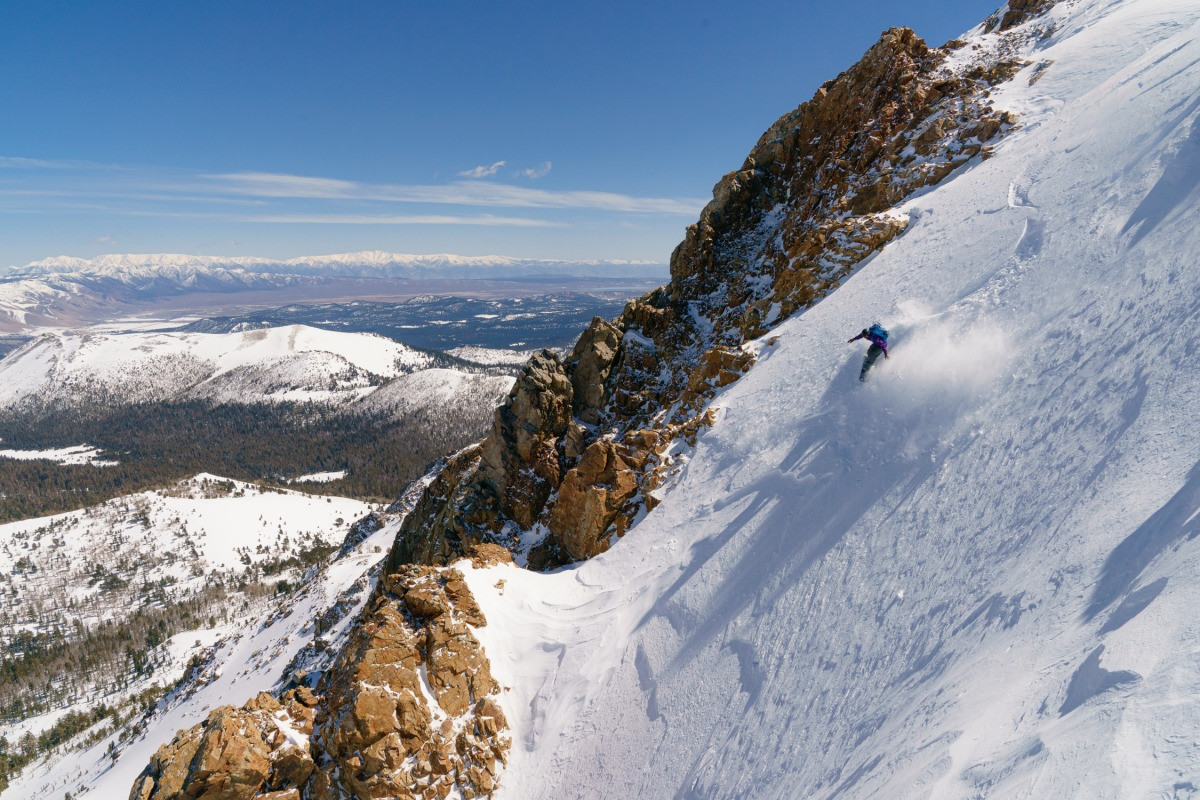 The bike helps free the mind and the turns: Stratton Matteson finding solace. Photo: Colton Andrew Jacobs
Essential Gear for Mounting Skis to Your Bike: Straps are Key
Before you set off on your bike and ski adventure, you’ll need a simple yet effective system to secure your skis. The key to a stable and comfortable ride lies in using straps to attach your skis directly to your bike frame. This method keeps the weight balanced and off your back, crucial for longer rides.
Strap Breakdown: Voile Straps for Skis and Splitboards
For both skiers and splitboarders, Voile straps are the go-to solution. These durable and versatile straps are essential for securing your equipment. Here’s the recommended strap setup:
-
For Skis: You will need a total of four straps:
- Two 15-inch straps
- One 20-inch strap
- One 25-inch strap
-
For Splitboards: Splitboarders will require six straps in total:
- Four 15-inch straps (two of these are specifically for securing bindings)
- One 20-inch strap
- One 25-inch strap
These strap sizes provide the flexibility needed to securely mount skis or a splitboard to your bike frame, ensuring a wobble-free ride to the trailhead.
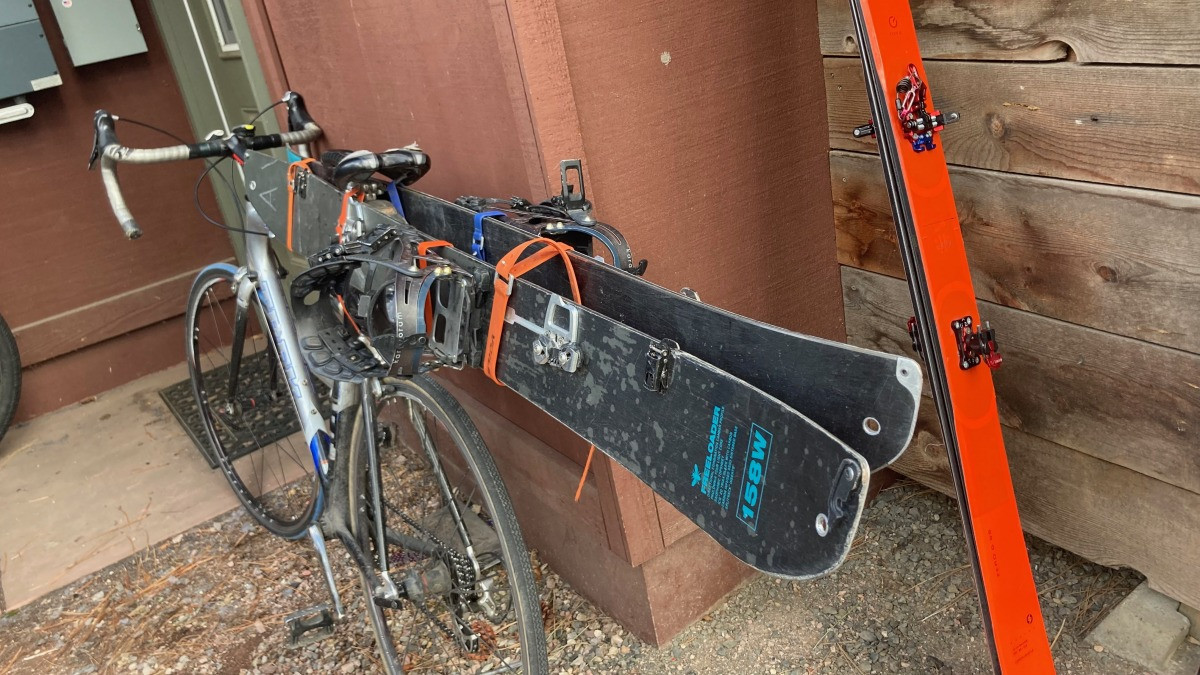
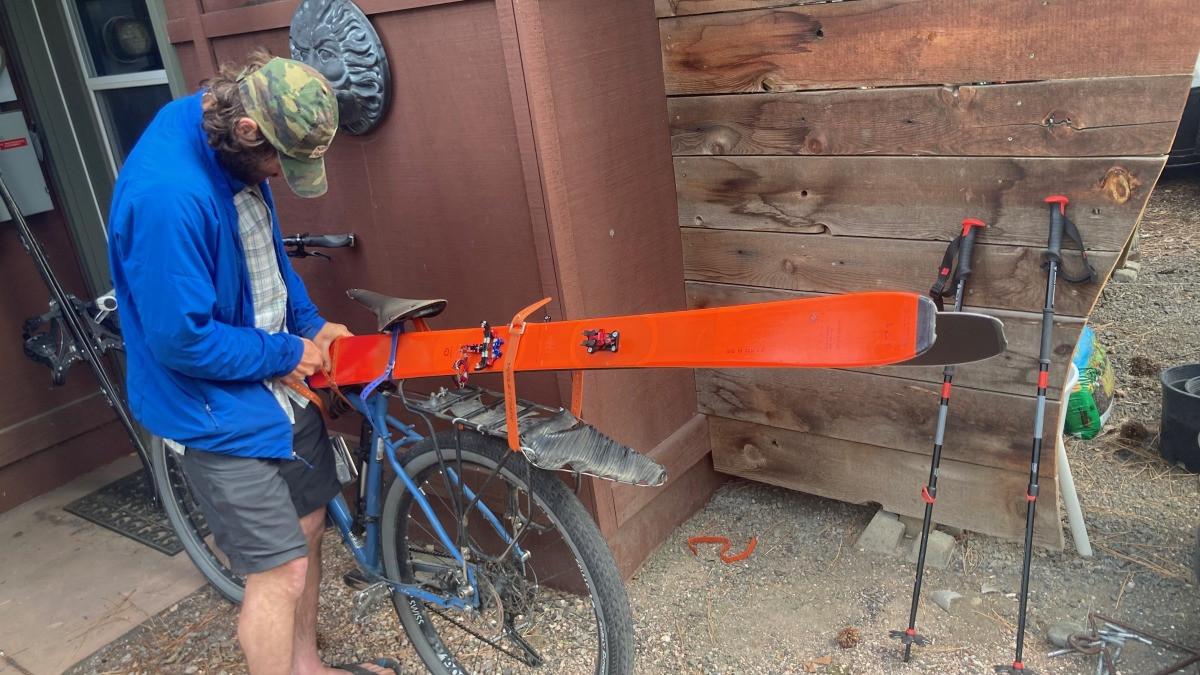
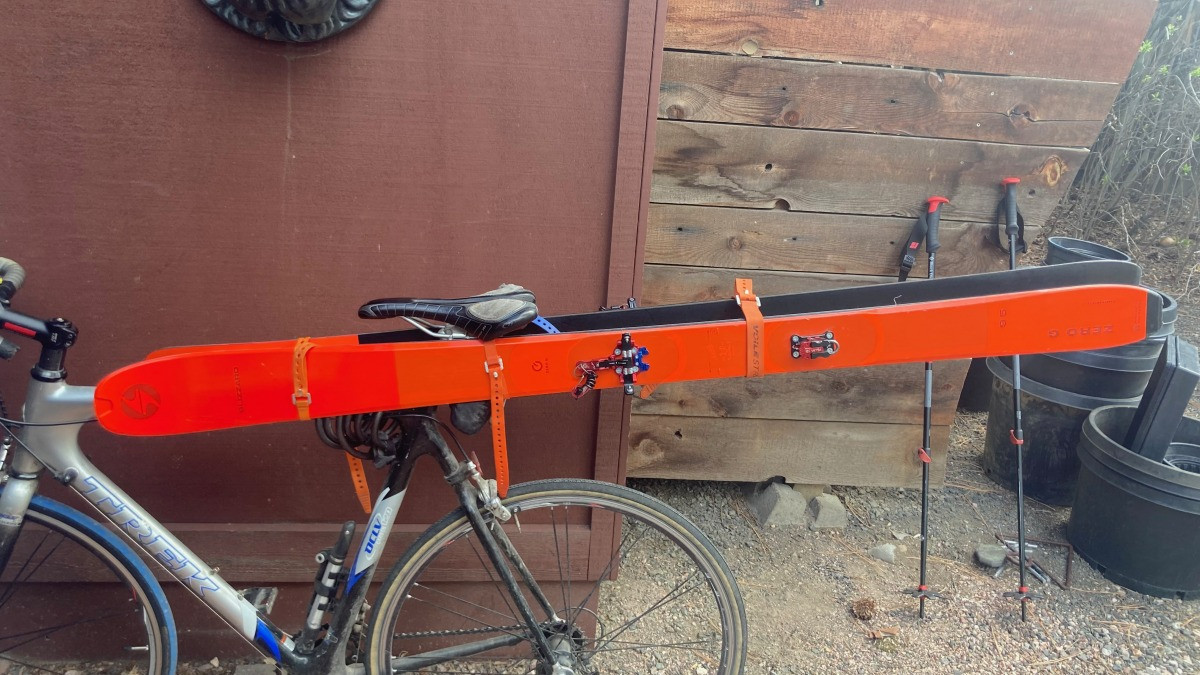 Skis, a few straps, maybe some protection for the frame and seatpost and call it good.
Step-by-Step Guide: Attaching Skis to Your Bike Frame
Mounting your skis to your bike frame using straps is straightforward. Follow these steps to ensure your skis are securely fastened for your bike to ski journey.
Step 1: Protect Your Frame and Attach Straps to the Seatpost
To prevent scratches from ski edges, wrap a small towel, sock, or piece of old bike tube around your seatpost and secure it with a zip tie. Do the same for the top tube where the ski tips will rest. Then, take two 15-inch straps and loop each around the seatpost rails on either side.
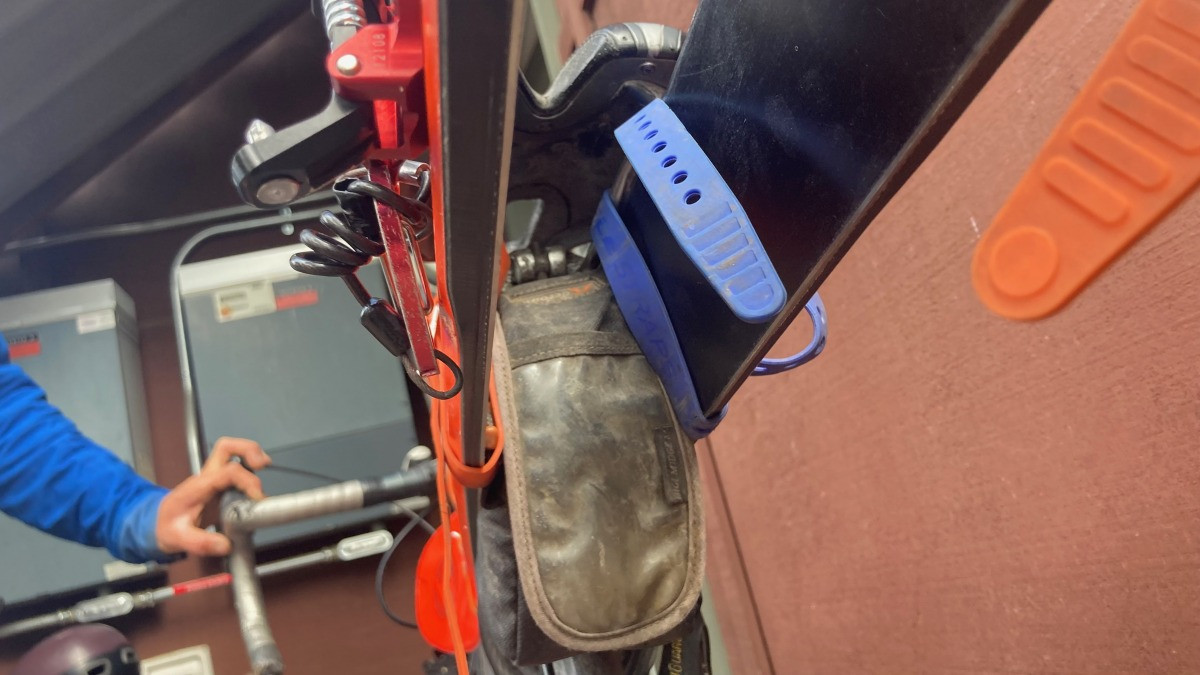 A closeup of the two straps used to loop around the seat rails and each ski.
Step 2: Secure the Midsection of Your Skis
Position your skis or splitboard on the side of your bike and use the two 15-inch straps already looped around the seatpost to secure the midsection of your skis against the seatpost. Tighten the straps firmly to hold the skis in place.
 A similar angle to illustrate how it looks for a splitboard.
Step 3: Attach Ski Tips to the Top Tube
Align the tips of your skis or board approximately 8 to 12 inches in front of your seat, towards the handlebars. This positioning is crucial to avoid your knees hitting the skis while pedaling. Use the 20-inch strap to cinch down the ski tips to the top tube of your bike frame, ensuring they are stable and pointing forward.
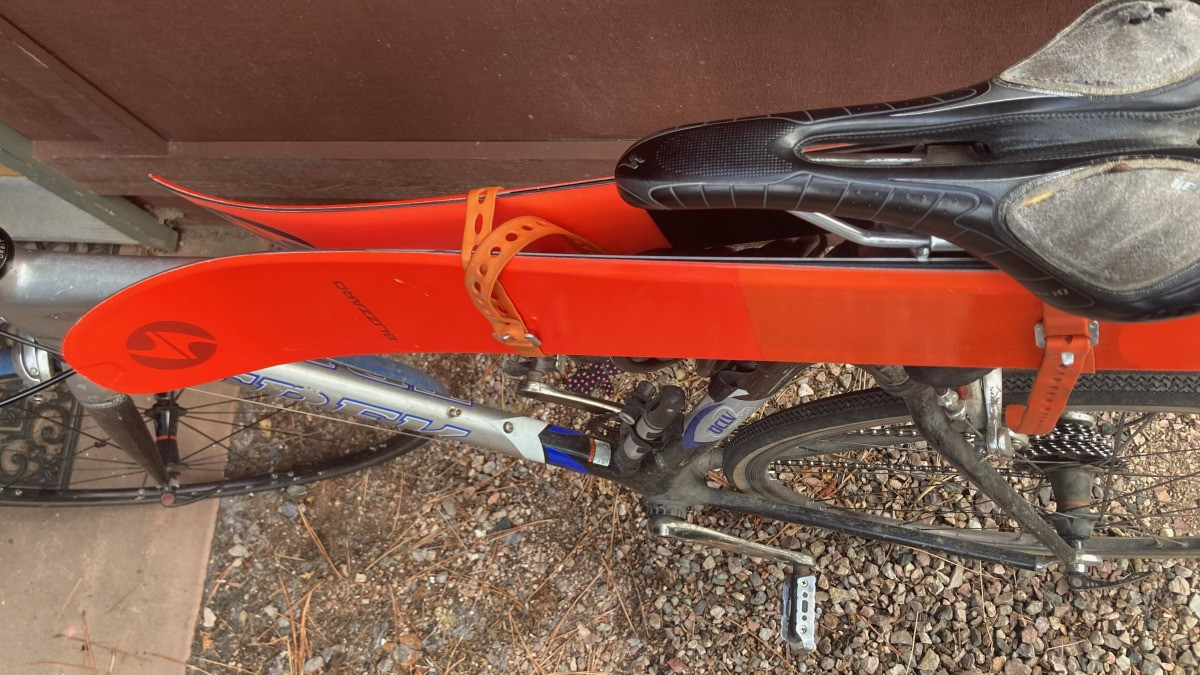
 The tips secured ~12″ in front of the seatpost. If you are concerned about your frame, feel free to protect the top tube with an old sock or other lightweight but protective item.
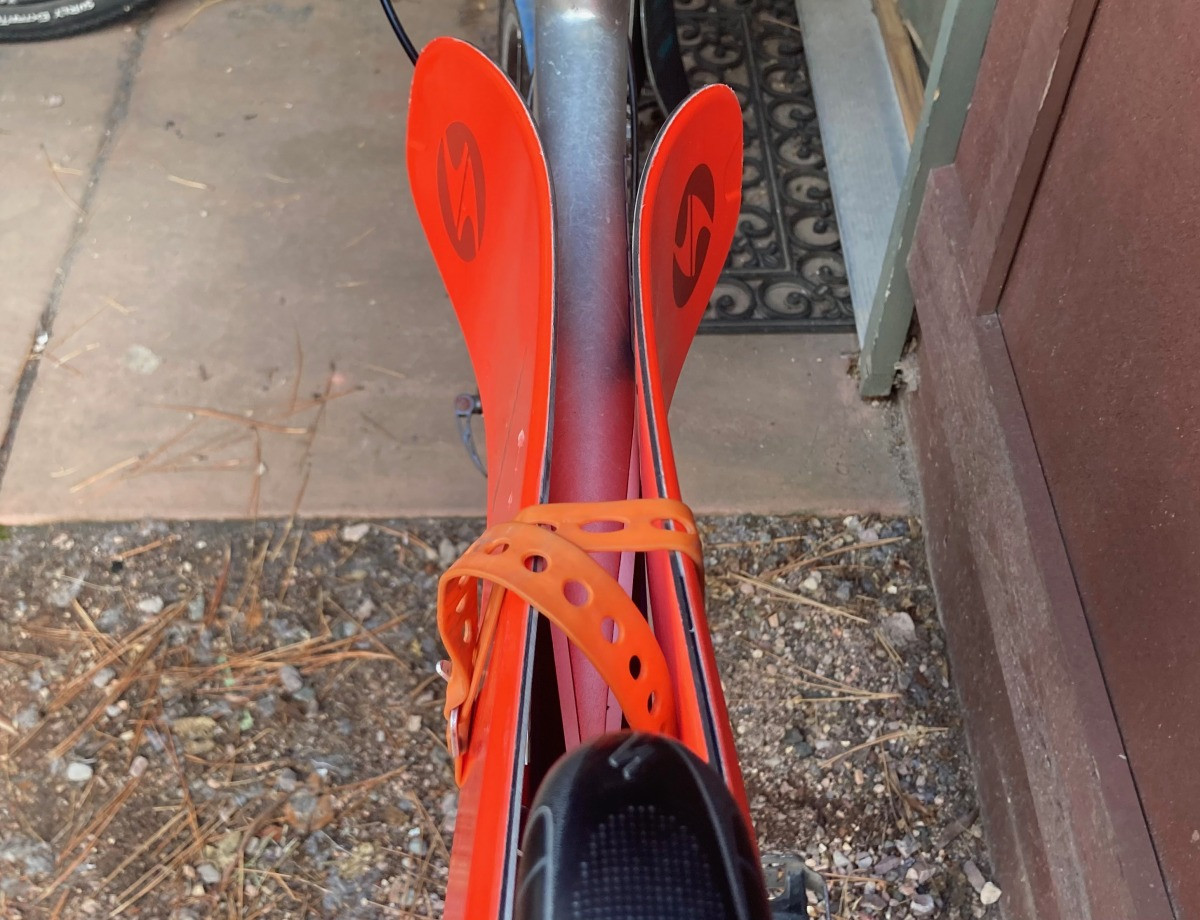
 A top view of the tips secured to the bike frame.
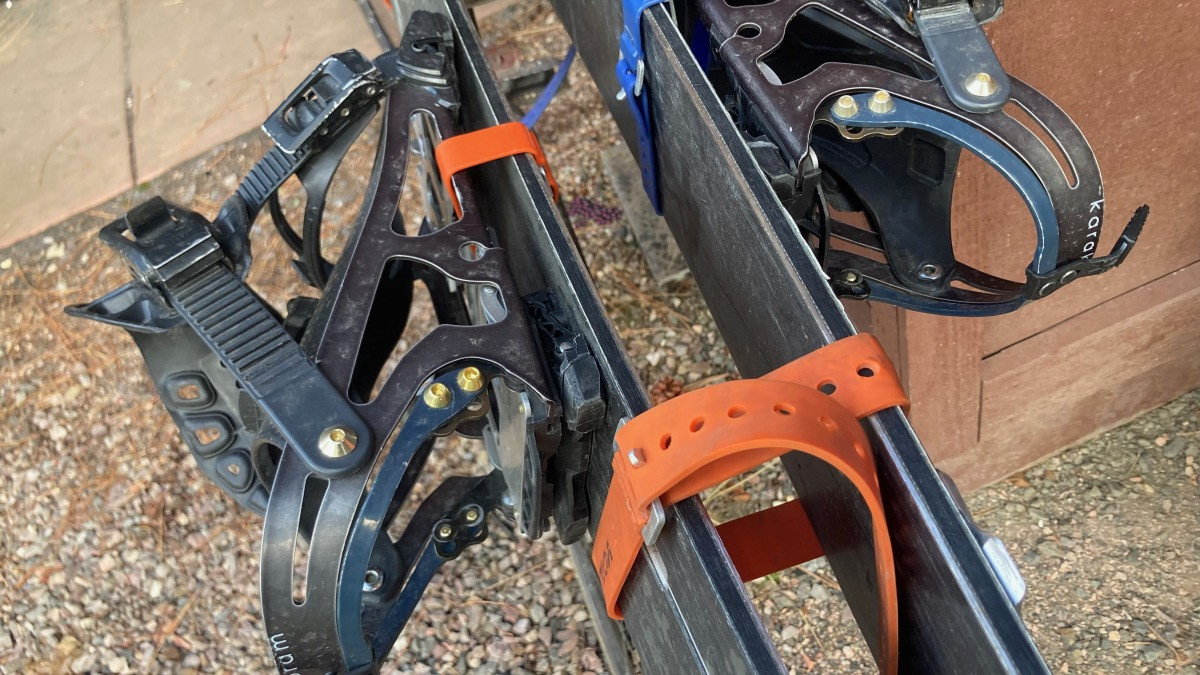
Step 4: Secure Ski Tails
Finally, use the 25-inch strap to secure the tails of your skis or splitboard. For skis, position the strap between the toe and heel pieces of your bindings. For splitboards, wrap the strap a few inches behind your bindings. Do not overtighten this strap to prevent bending or flexing your skis excessively.
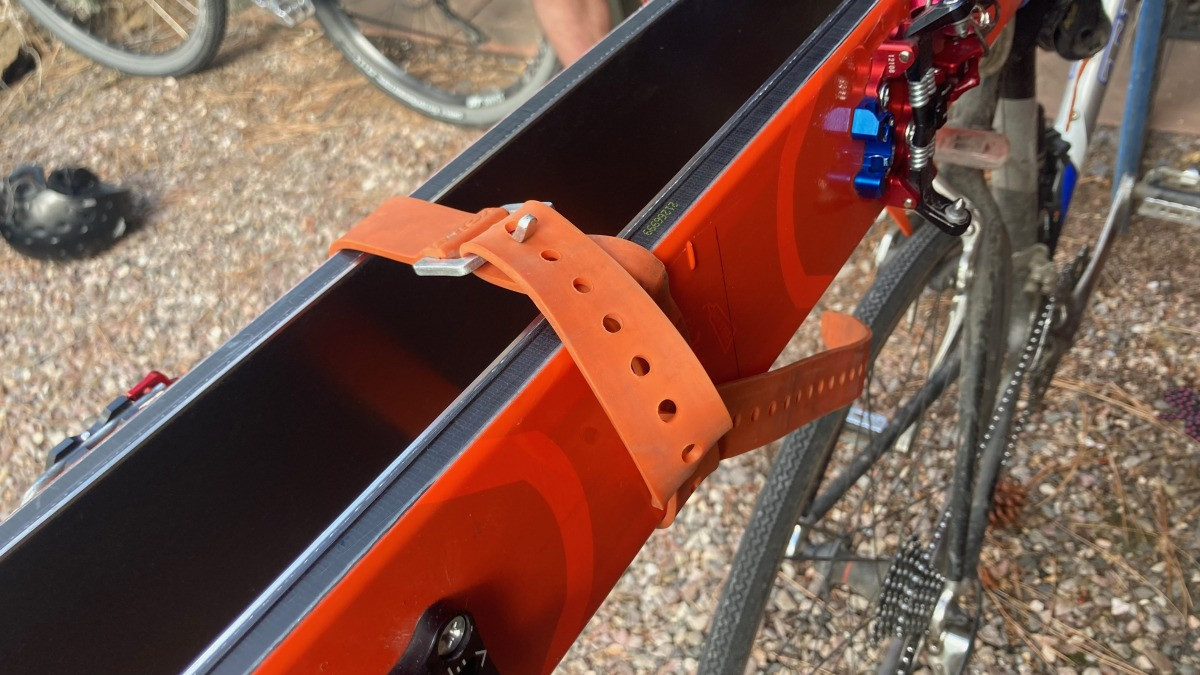 And one last strap (for skis) positioned in between the toe piece and heel piece of the binding to secure the tails (which extend out behind the frame over the rear wheel).
 It’s a similar scene for the splitboard; one last straps to secure the tails in place.
Extra Step for Splitboarders: Binding Security
If you are riding a splitboard, use the two extra 15-inch Voile straps to wrap around each binding. This will prevent them from bouncing open on bumpy rides, adding an extra layer of security.
 A closeup showing how a strap is threaded around the binding/board to keep the split binding from flopping about.
Weatherproofing Your Boots: A Pro Tip
Consider weatherproofing your ski or snowboard boots, especially in wet spring conditions. Wrapping your boots in garbage bags can prevent mud and debris from damaging your liners and buckles during the bike ride.
Bike Racks: Use with Caution for Carrying Skis
While bike racks might seem like a convenient option for carrying skis, be cautious. Over-tightening straps when attaching skis to a bike rack can stress and potentially damage the braze-ons on your bike frame. Attaching skis directly to the seatpost, as described above, often proves to be a more frame-friendly and reliable method for carrying skis on your bike.
 Many bike to ski/ride die hards use a bike rack attached to the frame’s brazeons. Be careful and mindful of this setup as over-tensioning the straps near the tails can stress the brazeons.
Final Thoughts: Start Small and Enjoy the Ride
Embarking on bike to ski adventures is an incredible way to explore the backcountry and combine your passions. Remember to start with shorter trips to get comfortable with the setup and handling of your bike with skis attached. Always ensure your skis are securely mounted and positioned so they don’t interfere with your pedaling. With a bit of practice, you’ll be efficiently transitioning from road to snow, maximizing your spring adventures and enjoying the unique experience of biking and skiing.