
Bicycles stand out as incredible tools for self-sufficiency. They offer a fantastic way to travel distances without relying on gasoline or electricity. However, to truly leverage a bike for self-reliance, understanding basic maintenance is essential. While simpler than cars, bikes are still machines prone to breakdowns requiring repair know-how. Knowing how to handle a flat tire is a fundamental skill every cyclist should possess.
Like many, I realized my bike maintenance knowledge was lacking when my family and I got bikes for local Tulsa bike paths. The thought of a flat tire left me feeling helpless. This spurred me to learn basic bike maintenance and repair, starting with the essential skill of patching an inner tube. While I remember my dad patching tires as a kid and it seeming complicated, I discovered it’s actually quite straightforward. This guide will walk you through the process of Bike Tire Patching, ensuring you can confidently fix a flat and get back to enjoying your ride.
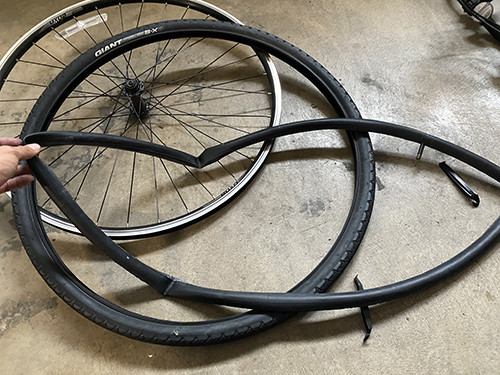
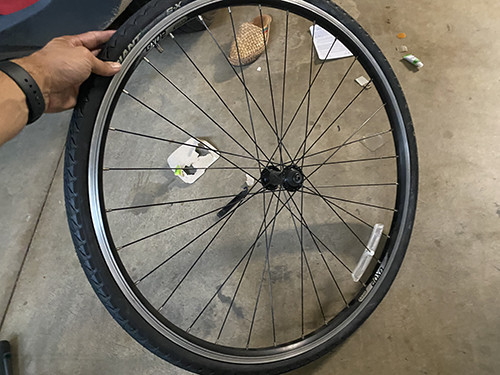
Step 1: Wheel Removal – Getting Started
To begin the patching process, we need to remove the wheel with the flat tire from the bike.
Flipping your bicycle upside down is often the easiest way to access the wheel and work comfortably. While professional bike stands are available, they aren’t necessary for this basic repair.
Thanks to modern quick-release systems, wheel removal is generally simple across most bikes. The main variation you’ll encounter is in brake disconnection, which depends on your bike’s brake type. My bike utilizes v-brakes, and here’s how I detach the wheel:
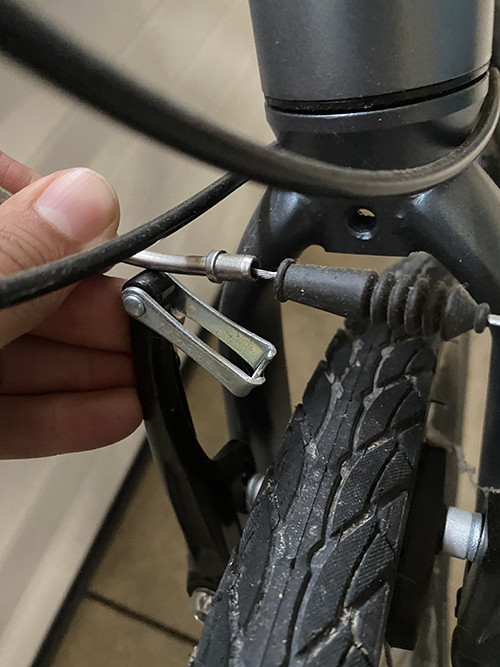 Disconnecting V-brakes for wheel removal
Disconnecting v-brakes is a breeze. Simply squeeze the two brake arms together. This action will create slack in the brake cable, allowing you to easily unhook the cradle from the noodle – the small metal piece with a rubber tip where the brake cable housing terminates.
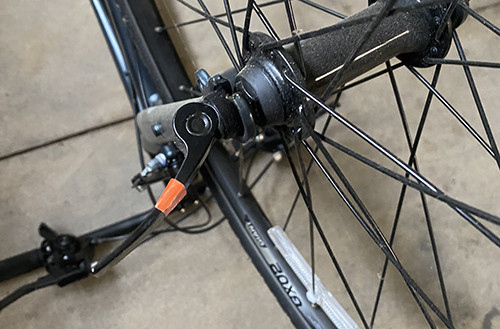 Opening the quick-release lever on a bike wheel
Next, locate the quick-release lever on the wheel hub. Flip this lever open. Then, unscrew the nut on the opposite side of the lever. Continue unscrewing until there’s enough space for the wheel to drop out of the frame or fork.
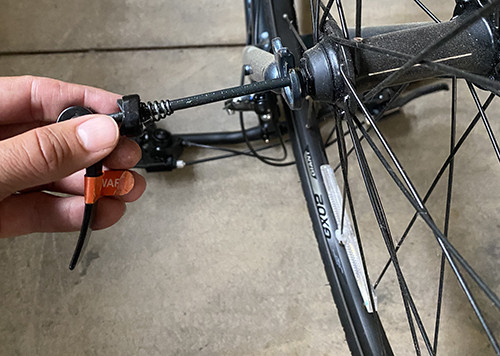 Unscrewing the quick-release mechanism on a bicycle
You can choose to completely remove the quick-release rod from the hub, or simply leave it in place. I personally find it easier to maneuver the tire and wheel without the rod, so I prefer to take it out.
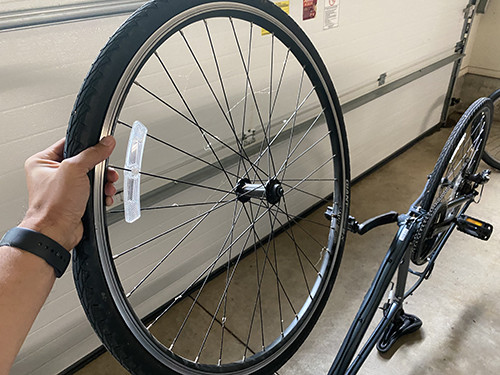 Bike wheel successfully removed from the bicycle frame
With the quick-release undone and brakes disconnected, the wheel should now be easily removable from the bike frame!
Step 2: Tire Removal from the Wheel Rim
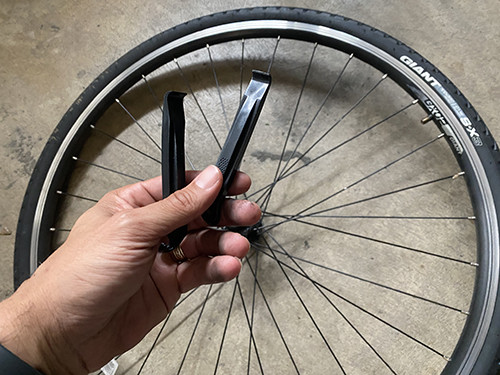 Essential tire levers for bicycle tire removal
Now that the wheel is off, the next step is to remove the tire from the wheel rim to access the inner tube. Tire levers are invaluable tools for this task, making tire removal significantly easier. These inexpensive tools are readily available online, for example, bike tire levers on Amazon.
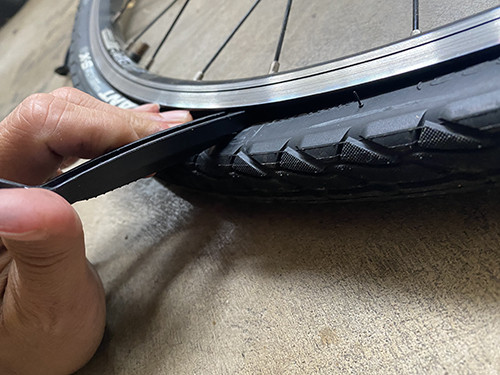 Inserting a tire lever between the tire and wheel rim
Begin by inserting the rounded end of your first tire lever between the tire and the wheel rim. The goal is to get the lever underneath the tire bead – the edge of the tire that hooks onto the rim. Pry outwards to lift the tire bead over the rim edge.
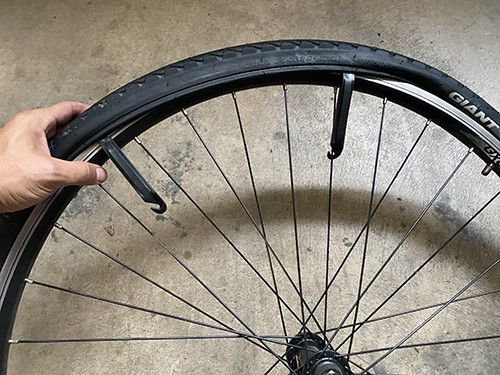
 Hooking a tire lever onto a bicycle spoke to hold the tire bead out
To prevent the already levered tire bead from slipping back into the rim, hook the hooked end of the tire lever onto a nearby spoke. This secures the separated section and makes working on the rest of the tire much easier.
 Using a second tire lever to further separate the tire from the rim
Take your second tire lever and insert it next to the first one, again getting it under the tire bead.
 Sliding a tire lever around the wheel rim to remove the tire
With the second lever in place, slide it around the wheel rim, keeping the bead ahead of the lever. This action progressively separates the tire from the rim. You’ll notice it becomes easier as you go, with more of the tire bead moving over the rim edge.
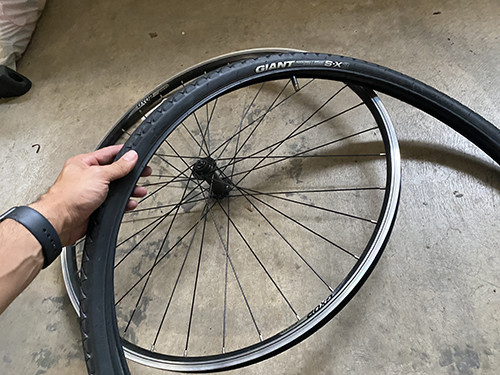 Bicycle tire completely removed from the wheel, ready for inner tube access
Continue sliding the lever until one side of the tire is completely removed from the wheel. Now you can easily pull the rest of the tire off the rim by hand and access the inner tube.
Step 3: Inner Tube Extraction
 Removing the inner tube from inside the bicycle tire
With one side of the tire completely off the rim, the inner tube will be visible and accessible inside the tire casing. Simply reach in and gently pull the inner tube out from within the tire. It should come out easily.
Step 4: Locating the Puncture
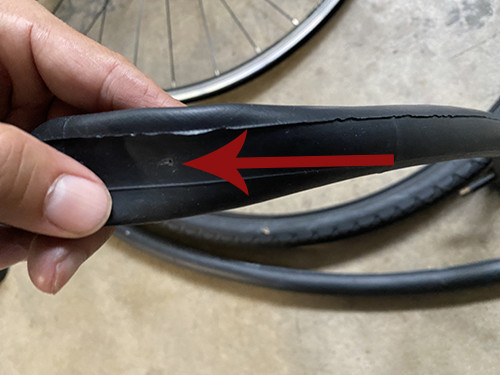 Pointing to the hole in a bike inner tube, the source of the flat tire
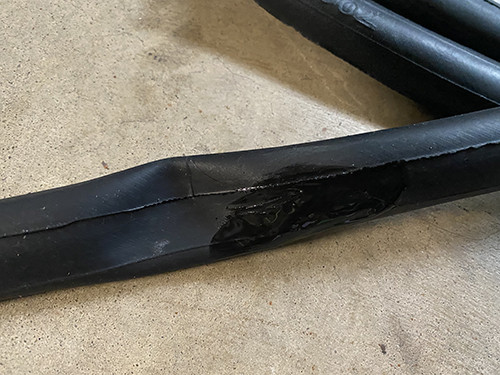
Now that the inner tube is removed, the next crucial step is to find the hole causing the flat. If the puncture isn’t immediately obvious, you can inflate the tube slightly and listen for hissing sounds or feel for air escaping. Submerging sections of the inflated tube in water can also help pinpoint the leak by revealing bubbles at the puncture site.
Step 5: Preparing the Inner Tube for Patching
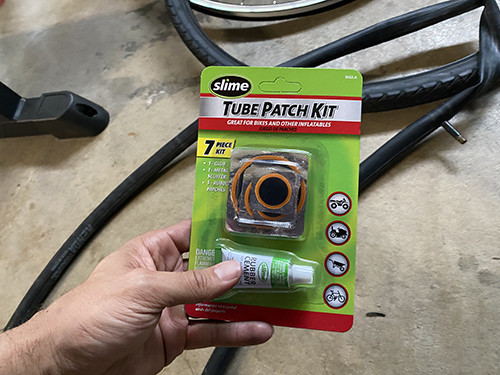 A standard bicycle tire patch kit for repairing punctures
Before applying a patch, proper preparation of the inner tube surface around the hole is essential for a secure and lasting repair. Grab your bike tire patch kit. These kits are compact and contain everything you need for a quick roadside repair.
Most patch kits include a small metal scuffer, often resembling a tiny cheese grater, or sandpaper. Use this tool to gently roughen the surface of the inner tube around the puncture. Scuff an area slightly larger than the patch itself. This abrasion creates a better surface for the rubber cement to adhere to, ensuring a strong patch bond.
Step 6: Applying Rubber Cement to the Puncture Area
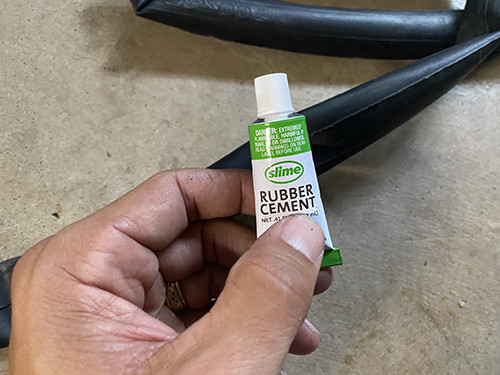 Applying rubber cement from a patch kit to the inner tube
 Spreading rubber cement evenly around the hole in the inner tube
Open the rubber cement tube from your patch kit and apply a moderate, even layer of cement to the scuffed area around the hole. Ensure the cemented area extends about half an inch (1/2″) beyond the hole in all directions. Allow the rubber cement to become tacky but not completely dry before proceeding to the next step. This usually takes a few minutes, depending on the cement and ambient conditions.
Step 7: Applying the Tire Patch
 Selecting a patch from the kit and removing the foil backing
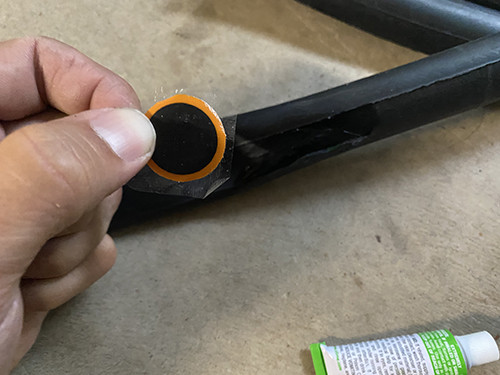
Select an appropriately sized patch from your kit, ensuring it adequately covers the hole with some overlap. Peel off the foil backing from the patch, exposing the adhesive side.
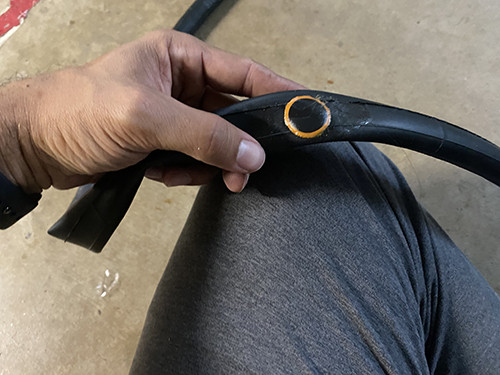 Bike inner tube successfully patched and ready for reinstallation
Firmly and evenly apply the sticky side of the patch directly over the rubber cement-coated hole. Press down firmly, especially around the edges of the patch, to ensure a good seal. Once firmly in place, peel away the clear plastic film on top of the patch. Your inner tube is now patched!
Step 8: Reassembling the Tire and Wheel
 Putting the patched inner tube back inside the bicycle tire
Carefully place the patched inner tube back inside the tire casing. Ensure the valve stem is correctly positioned to align with the valve hole in the wheel rim.
 Mounting the tire back onto the bicycle wheel rim
Now, remount the tire back onto the wheel rim. This can sometimes be the trickiest part of the process. Start by seating one side of the tire bead back onto the rim by hand. For the final, tighter sections, you may need to carefully use your tire levers again to gently pry the tire bead over the rim edge. Exercise caution when using tire levers for tire installation to avoid pinching the inner tube between the tire and rim, as this can cause a new puncture. Work your way around the tire until the entire tire bead is seated back in the rim.
Once the tire is back on the wheel, inflate the inner tube to the recommended pressure (check the sidewall of your tire for the correct PSI). Finally, reinstall the wheel back onto your bike, reversing the removal process from Step 1. Reconnect your brakes and tighten the quick-release mechanism securely.
A patched inner tube can be a reliable fix for a flat, and you can often patch a tube multiple times. However, if you find yourself patching the same tube frequently, or if it already has several patches (more than three is a good guideline), it’s best to replace it with a new inner tube for optimal reliability and to avoid recurring flats. Keeping a spare inner tube and patch kit with you on rides is always a smart practice for quick flat fixes on the go.
