Finding the right road bike seat height is crucial for comfort, efficiency, and preventing injuries, and usabikers.net is here to guide you. Achieving the ideal saddle height ensures a smooth pedal stroke, maximizes power output, and minimizes strain on your knees and back. With our expert tips and techniques, you’ll discover how to set your saddle height for peak performance and long-lasting comfort. Let’s explore the perfect road bike seat adjustment, cycling ergonomics and biker comfort for the ultimate riding experience.
1. Understanding the Importance of Road Bike Seat Height
Why is achieving the correct road bike seat height so important? Fine-tuning your bike fit is paramount for an enjoyable and efficient ride. A properly adjusted saddle height is a cornerstone of this fit, impacting everything from power output to injury prevention.
- Enhancing Power Output: When your seat is at the optimal height, you’ll be able to generate more power with each pedal stroke. This increased efficiency translates to faster speeds, easier climbs, and less fatigue on long rides. It’s like unlocking hidden potential in your legs!
- Preventing Injuries: An incorrect seat height can lead to a host of problems, including knee pain, lower back pain, and even hip discomfort. By setting your seat at the right level, you’ll reduce the risk of these issues and enjoy a pain-free riding experience.
- Improving Comfort: A comfortable ride is a ride you’ll want to repeat. The right seat height allows for a more natural and relaxed riding position, reducing strain on your body and making those long miles much more enjoyable.
- Optimizing Pedal Stroke: The correct seat height promotes a smooth and efficient pedal stroke, minimizing wasted energy and maximizing your overall performance. You’ll feel more connected to your bike and in control of your ride.
- Boosting Endurance: By minimizing strain and maximizing efficiency, the right seat height can help you ride longer and stronger. You’ll be able to tackle those challenging routes with confidence and enjoy the scenery along the way.
For further insights into bike fit and injury prevention, the American Motorcyclist Association (AMA) offers a wealth of resources on motorcycle ergonomics and safety.
2. Key Factors Influencing Road Bike Seat Height
Several factors play a crucial role in determining the ideal road bike seat height. Understanding these elements is essential for achieving a personalized fit that works for your body and riding style.
- Inseam Length: Your inseam, the distance from your groin to the floor, is the primary measurement used to calculate your initial seat height. A longer inseam typically requires a higher seat position, while a shorter inseam calls for a lower one.
- Crank Length: The length of your crank arms also influences seat height. Longer cranks effectively increase the distance your legs need to travel, so you may need to lower your seat slightly to compensate.
- Footwear: The shoes you wear while cycling can affect your seat height. Thicker soles or cleat systems can add height, so it’s essential to consider your footwear when making adjustments.
- Riding Style: Your preferred riding style can also impact your ideal seat height. Riders who prefer a more aggressive, aerodynamic position may opt for a slightly higher seat, while those who prioritize comfort and stability may prefer a lower one.
- Flexibility: Your flexibility can influence the optimal seat height. Less flexible riders may need to lower their seat to avoid overstretching, while more flexible riders may be able to comfortably ride with a higher seat.
3. Essential Tools for Measuring Road Bike Seat Height
Before you start adjusting your road bike seat height, gather these essential tools to ensure accurate measurements and adjustments.
- Tape Measure: A standard tape measure is crucial for measuring your inseam and the distance from the bottom bracket to the saddle.
- Allen Wrench Set: A set of Allen wrenches is necessary for loosening and tightening the seat post clamp bolt and making adjustments to the saddle height.
- Level: A level can help you ensure that your bike is level when measuring the seat height and saddle tilt.
- Plumb Bob or Laser Level: A plumb bob or laser level can help you ensure that your saddle is properly aligned with the bottom bracket.
- Smartphone with Inclinometer App: A smartphone with an inclinometer app can be used to measure the saddle tilt angle.
4. Step-by-Step Guide to Measuring Your Road Bike Seat Height
Follow these steps to accurately measure your road bike seat height and establish a baseline for adjustments.
- Measure Your Inseam: Stand with your back against a wall, wearing your cycling shoes. Place a book or flat object between your legs, mimicking the pressure of a saddle. Have someone measure from the top of the book to the floor. This is your inseam length.
- Locate the Bottom Bracket: The bottom bracket is the point where the crank arms attach to the frame. It’s usually located at the base of the seat tube.
- Measure from Bottom Bracket to Saddle: Using your tape measure, measure from the center of the bottom bracket to the top of your saddle, along the seat tube. Record this measurement to the nearest millimeter.
- Record Your Measurements: Keep a record of your inseam, bottom bracket to saddle distance, and any other relevant measurements. This will serve as a reference point for future adjustments.
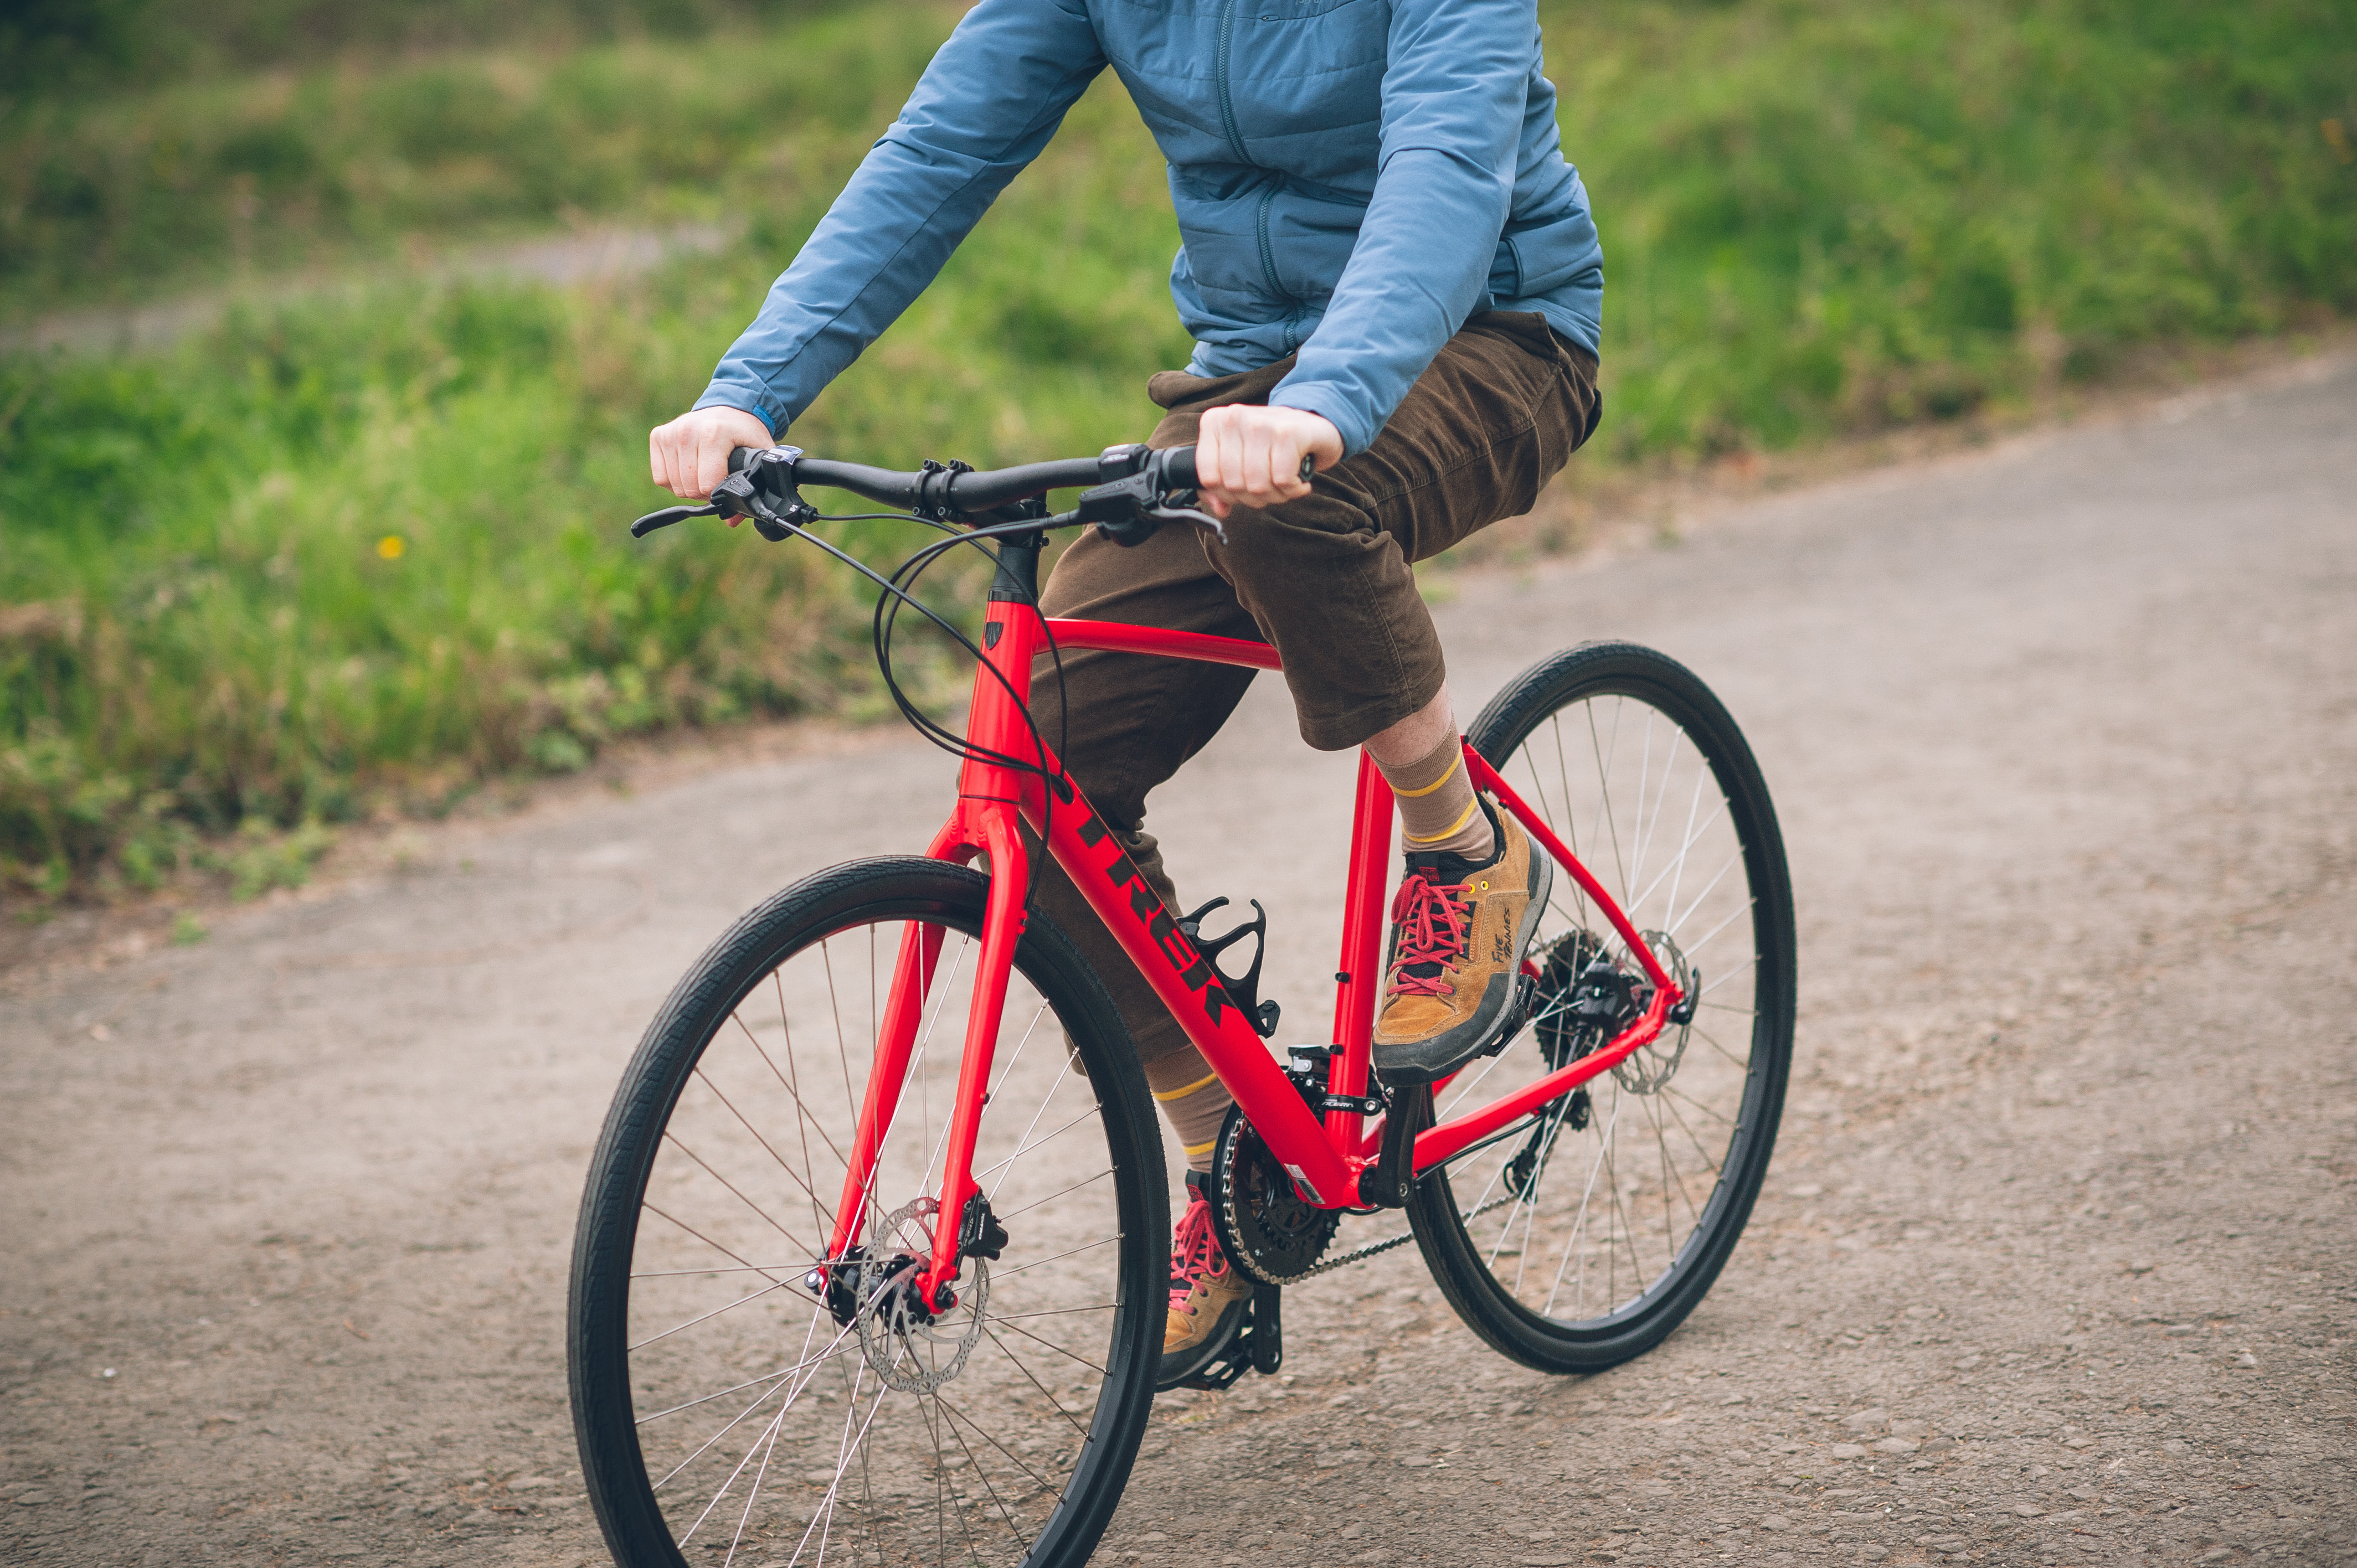
Measuring saddle height from bottom bracket
5. Simple Methods to Determine Initial Road Bike Seat Height
Several methods can help you determine your initial road bike seat height. These techniques provide a starting point for fine-tuning your fit.
5.1. The Heel Method
The heel method is a quick and easy way to establish a baseline seat height.
- Mount Your Bike: Place your bike on a trainer or lean it against a wall for stability.
- Position Your Heel: Sit on the saddle and place your heel on the pedal at the bottom of the pedal stroke (6 o’clock position).
- Adjust Seat Height: Adjust the seat height until your leg is fully extended with your heel on the pedal.
- Check for Knee Bend: When you clip in or place your foot on the pedal normally, you should have a slight bend in your knee at the bottom of the pedal stroke.
A flat heel on the pedal suggests your saddle height is roughly right
5.2. The 109% Method
- Measure Your Inseam: Stand with your back against a wall, wearing your cycling shoes. Place a book or flat object between your legs, mimicking the pressure of a saddle. Have someone measure from the top of the book to the floor. This is your inseam length.
- Calculate Saddle Height: Calculate your initial saddle height by multiplying your inseam measurement (in millimeters) by 1.09. The result is the distance between the top of your saddle and the pedal axle in the six o’clock position.
5.3. The LeMond Method
- Measure Your Inseam: Stand with your back against a wall, wearing your cycling shoes. Place a book or flat object between your legs, mimicking the pressure of a saddle. Have someone measure from the top of the book to the floor. This is your inseam length.
- Calculate Saddle Height: Calculate your initial saddle height by multiplying your inseam measurement (in millimeters) by 0.883. The result is the distance between the top of your saddle and your bike’s bottom bracket.
5.4. Smartphone Camera Method
- Set Up Your Bike: Place your bike on a trainer or lean it against a wall for stability.
- Record Your Pedal Stroke: Ask someone to film you pedaling from the side, focusing on your knee angle at the bottom of the pedal stroke.
- Analyze the Footage: Review the footage and look for a knee angle of around 25 to 30 degrees at the bottom of the pedal stroke.
- Adjust Accordingly: If your knee is too straight (less than 25 degrees), lower your seat. If your knee is too bent (more than 30 degrees), raise your seat.
 Charlie Allenby riding on a turbo trainer
6. Fine-Tuning Your Road Bike Seat Height for Optimal Comfort
Once you’ve established an initial seat height, it’s time to fine-tune it for optimal comfort and performance. Small adjustments can make a big difference in your overall riding experience.
- Listen to Your Body: Pay attention to how your body feels while riding. Are you experiencing any knee pain, lower back pain, or discomfort in your hips? These symptoms could indicate that your seat height needs adjustment.
- Adjust in Small Increments: Make small adjustments to your seat height, no more than a few millimeters at a time. After each adjustment, take your bike for a short ride to assess the changes.
- Consider Saddle Tilt: Saddle tilt can also affect your comfort and performance. A slightly tilted-down saddle can relieve pressure on your perineum, while a slightly tilted-up saddle can provide more support for your sit bones.
- Evaluate Your Pedal Stroke: Observe your pedal stroke while riding. Are you able to maintain a smooth and efficient cadence? A choppy or uneven pedal stroke could indicate that your seat height needs adjustment.
- Seek Professional Advice: If you’re struggling to find the perfect seat height on your own, consider consulting a professional bike fitter. A bike fit expert can assess your individual needs and make personalized recommendations.
7. Common Road Bike Seat Height Mistakes to Avoid
Avoid these common mistakes to ensure you’re setting your road bike seat height correctly.
- Setting the Seat Too High: A seat that’s too high can cause you to rock your hips from side to side, leading to lower back pain and potential injuries.
- Setting the Seat Too Low: A seat that’s too low can put excessive strain on your knees and quadriceps, leading to fatigue and discomfort.
- Ignoring Saddle Tilt: Saddle tilt is an important factor in comfort and performance. Ignoring it can lead to pressure points and discomfort.
- Making Drastic Adjustments: Making large adjustments to your seat height can throw off your entire bike fit. Adjust in small increments and assess the changes carefully.
- Relying on Formulas Alone: Formulas can provide a good starting point, but they shouldn’t be the only factor in determining your seat height. Listen to your body and make adjustments based on your individual needs.
 Beginner
8. Optimizing Saddle Fore/Aft Position
Saddle fore/aft position, also known as saddle setback, refers to the horizontal position of your saddle in relation to the bottom bracket. Optimizing this position is crucial for proper weight distribution and efficient pedaling.
- Establish a Baseline: Start by positioning your saddle so that the widest part is roughly in line with the midpoint of the seatpost.
- Knee Over Pedal Spindle (KOPS): The KOPS method is a common technique for determining saddle fore/aft position. Sit on your bike with your feet in the riding position. Have someone hold a plumb bob or drop a line from the front of your kneecap. The line should intersect the pedal spindle.
- Adjust Accordingly: If the line falls in front of the pedal spindle, move your saddle backward. If the line falls behind the pedal spindle, move your saddle forward.
- Consider Riding Style: Riders who prefer a more aggressive, aerodynamic position may benefit from a slightly forward saddle position, while those who prioritize comfort and stability may prefer a more rearward position.
Measure the horizontal distance from the back of the rear wheel to the bottom bracket
9. Mastering Saddle Tilt Adjustment
Saddle tilt refers to the angle of your saddle in relation to the ground. Adjusting saddle tilt can alleviate pressure points and improve comfort, particularly in the perineal area.
- Start with Level: Begin by setting your saddle to a level position, using a level or smartphone inclinometer app.
- Assess Comfort: Take your bike for a short ride and pay attention to any pressure points or discomfort.
- Adjust Tilt: If you experience pressure in the perineal area, try tilting the saddle down slightly (1-2 degrees). If you feel like you’re sliding forward, try tilting the saddle up slightly (1-2 degrees).
- Make Small Adjustments: As with seat height, make small adjustments to saddle tilt and assess the changes carefully.
- Consider Saddle Shape: The shape of your saddle can also influence the ideal tilt angle. Saddles with a cutout or channel may require less tilt than those without.
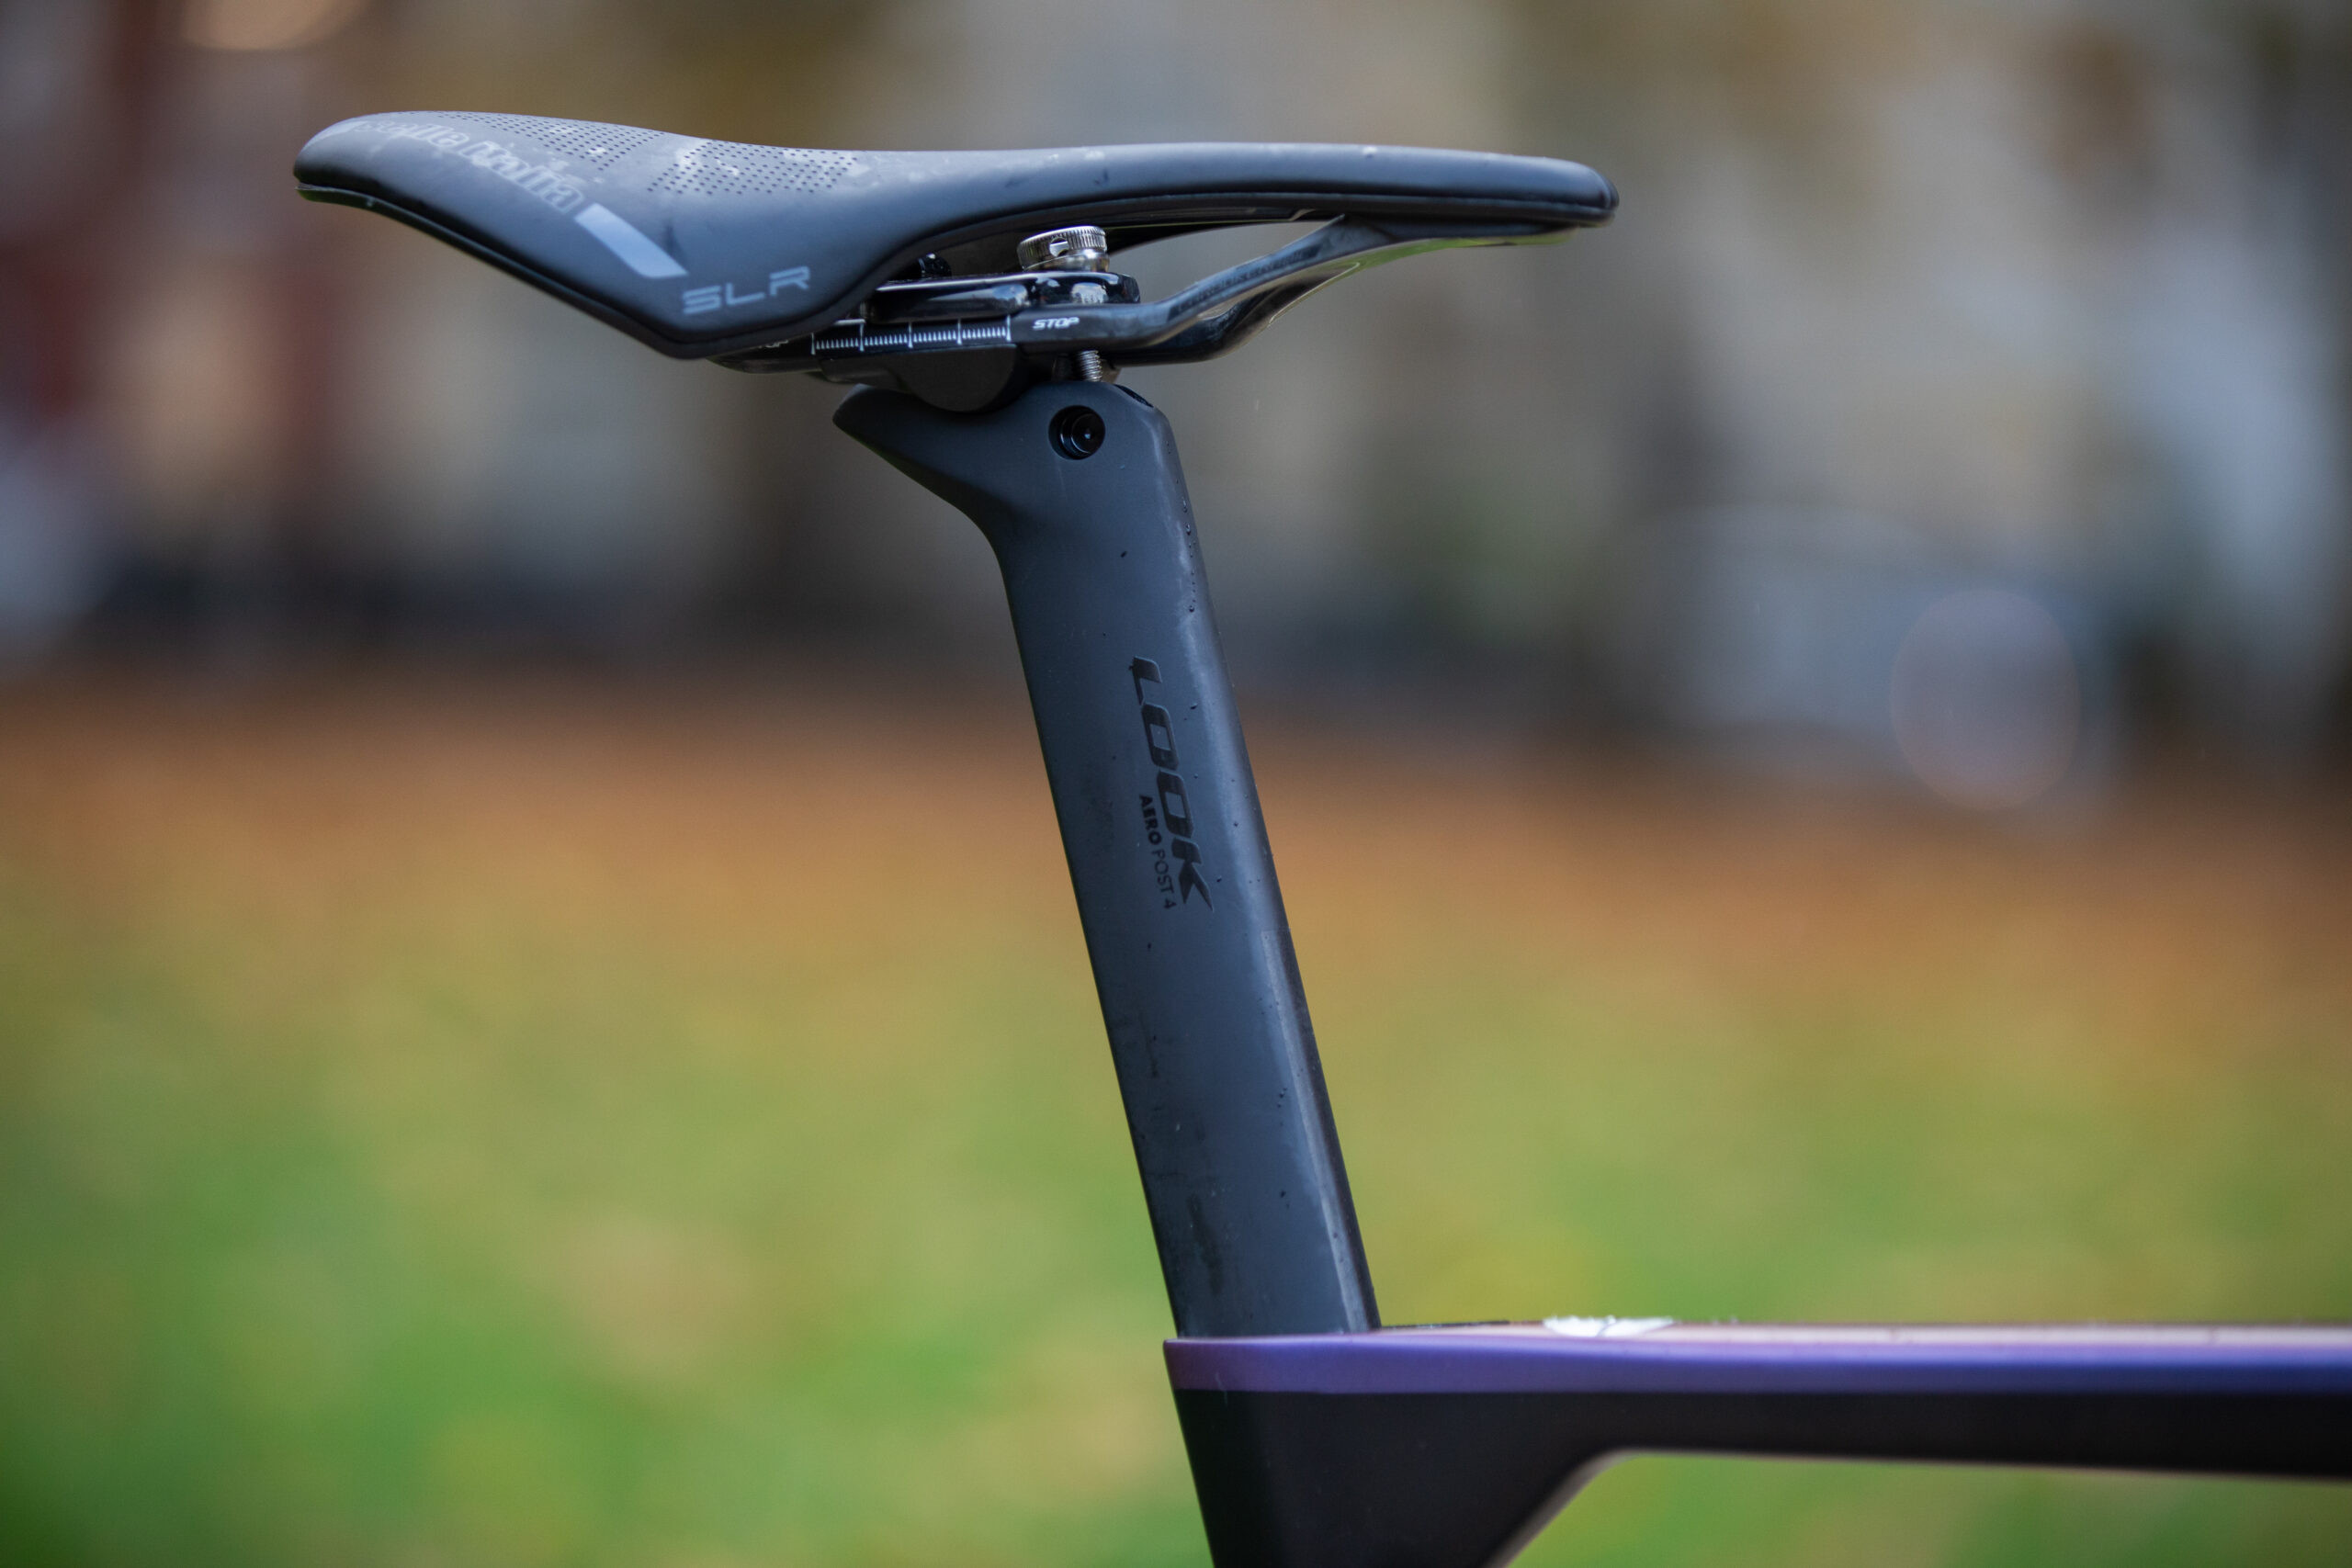 Look 795 Blade RS seatpost and Selle Italia saddle
10. Road Bike Seat Height Adjustments for Different Riding Styles
Your preferred riding style can influence your ideal road bike seat height.
10.1. Endurance Riding
- Slightly Lower Seat Height: A slightly lower seat height can improve comfort and reduce strain on your knees and lower back, making it ideal for long-distance rides.
- More Upright Position: Consider a more upright riding position to reduce pressure on your hands and wrists.
- Saddle with Padding: Choose a saddle with ample padding to cushion your sit bones and minimize discomfort.
10.2. Climbing
- Slightly Higher Seat Height: A slightly higher seat height can improve power output and efficiency when climbing steep hills.
- Forward Saddle Position: A slightly forward saddle position can help you engage your glutes and hamstrings for more climbing power.
- Stiff-Soled Shoes: Wear stiff-soled cycling shoes to maximize power transfer to the pedals.
10.3. Sprinting
- Higher Seat Height: A higher seat height can allow for a more powerful and aggressive sprinting position.
- Forward Saddle Position: A forward saddle position can help you generate more power from your quads and glutes.
- Aero Bars: Consider using aero bars to reduce wind resistance and improve aerodynamics during sprints.
10.4. Touring
- Comfortable Seat Height: Prioritize comfort over performance when setting your seat height for touring. A slightly lower seat can reduce strain on your body during long days in the saddle.
- Upright Position: Maintain a comfortable, upright riding position to reduce pressure on your hands, wrists, and neck.
- Durable Saddle: Choose a durable saddle that can withstand the rigors of long-distance touring.
11. The Impact of Crank Length on Road Bike Seat Height
Crank length can significantly impact your road bike seat height. Longer cranks effectively increase the distance your legs need to travel, so you may need to lower your seat slightly to compensate.
- Shorter Cranks: Shorter cranks can allow for a higher seat height and a more efficient pedal stroke, particularly for riders with shorter legs or those who prefer a higher cadence.
- Longer Cranks: Longer cranks can provide more leverage and power, but they may require a lower seat height to avoid overextension and discomfort.
- Experiment: Experiment with different crank lengths to find what feels most comfortable and efficient for your body and riding style.
 Specialized Roubaix SL8 Expert
12. Choosing the Right Saddle for Optimal Road Bike Seat Height
The right saddle can make a world of difference in your comfort and performance. When choosing a saddle, consider the following factors:
- Width: Choose a saddle that is wide enough to support your sit bones properly.
- Shape: Experiment with different saddle shapes to find what feels most comfortable for your body. Some riders prefer a flat saddle, while others prefer a curved saddle.
- Padding: Consider the amount of padding you need. More padding isn’t always better. Too much padding can actually increase pressure and discomfort.
- Cutout or Channel: A saddle with a cutout or channel can relieve pressure on your perineum and improve comfort.
- Material: Choose a saddle made from a durable and comfortable material, such as leather or synthetic.
13. Addressing Common Issues with Road Bike Seat Height
Here’s how to troubleshoot common issues related to road bike seat height.
- Knee Pain: If you’re experiencing knee pain, your seat height may be too high or too low. Try adjusting your seat height in small increments and assess the changes.
- Lower Back Pain: Lower back pain can be caused by a seat that’s too high, forcing you to rock your hips from side to side. Lower your seat slightly and see if the pain subsides.
- Saddle Soreness: Saddle soreness can be caused by a saddle that’s too narrow, too hard, or positioned incorrectly. Try a different saddle or adjust the tilt and fore/aft position of your current saddle.
- Numbness: Numbness in the perineal area can be caused by a saddle that’s putting too much pressure on your nerves and blood vessels. Try a saddle with a cutout or channel, or adjust the tilt of your saddle.
14. Seeking Professional Road Bike Fit Assistance
If you’re struggling to find the perfect road bike seat height on your own, consider seeking professional assistance from a qualified bike fitter. A professional bike fit can provide a personalized assessment of your individual needs and make recommendations for optimizing your bike fit.
- Benefits of a Bike Fit: A professional bike fit can improve your comfort, performance, and injury prevention.
- Finding a Bike Fitter: Look for a bike fitter who is certified and has experience working with road cyclists.
- What to Expect: During a bike fit, the fitter will assess your flexibility, riding style, and any existing injuries or discomfort. They will then make adjustments to your bike to optimize your position and improve your riding experience.
15. Maintaining Your Road Bike Seat Height Over Time
Once you’ve found the perfect road bike seat height, it’s important to maintain it over time.
- Regular Checks: Check your seat height regularly to ensure that it hasn’t slipped or changed.
- Mark Your Position: Use a marker or tape to mark your seat post at the correct height. This will make it easier to return to your preferred position if you need to make adjustments.
- Consider Seasonal Changes: Your flexibility and riding style may change with the seasons. Be prepared to make small adjustments to your seat height as needed.
16. Advanced Techniques for Optimizing Road Bike Seat Height
Explore these advanced techniques to further refine your road bike seat height.
- Dynamic Seat Height Adjustment: Some riders experiment with adjusting their seat height slightly during a ride, depending on the terrain and riding conditions.
- Power Meter Analysis: Use a power meter to analyze your pedal stroke and identify areas for improvement. Adjusting your seat height can help you optimize your power output and efficiency.
- Video Analysis: Record yourself riding from the side and analyze the footage to identify any inefficiencies in your pedal stroke or body position.
17. Staying Updated on the Latest Road Bike Seat Height Research
Stay informed about the latest research and best practices for road bike seat height.
- Follow Industry Experts: Follow leading bike fitters, coaches, and researchers in the cycling industry to stay up-to-date on the latest developments.
- Read Cycling Publications: Subscribe to cycling magazines and websites to learn about new techniques and technologies for optimizing your bike fit.
- Attend Workshops and Seminars: Attend workshops and seminars on bike fitting to learn from experts and network with other cyclists.
18. Addressing Road Bike Seat Height Concerns for Women
Women may have unique considerations when it comes to road bike seat height.
- Saddle Selection: Choose a saddle designed specifically for women’s anatomy. Women’s saddles typically have a wider sit bone area and a cutout or channel to relieve pressure on the perineum.
- Professional Bike Fit: Consider getting a professional bike fit from a fitter who is experienced in working with women cyclists.
- Listen to Your Body: Pay attention to any discomfort or pain and make adjustments to your seat height and saddle position as needed.
19. Road Bike Seat Height and Injury Prevention
Proper road bike seat height is crucial for injury prevention.
- Knee Injuries: A seat that’s too high or too low can put excessive strain on your knees, leading to pain and potential injuries.
- Lower Back Injuries: A seat that’s too high can cause you to rock your hips from side to side, leading to lower back pain and potential injuries.
- Saddle Sores: A saddle that’s not properly fitted or positioned can cause saddle sores and discomfort.
- Numbness: Numbness in the perineal area can be caused by a saddle that’s putting too much pressure on your nerves and blood vessels.
- Regular Maintenance: Check your seat height and saddle position regularly to ensure that they haven’t changed.
20. Road Bike Seat Height FAQs
Here are some frequently asked questions about road bike seat height.
- Q1: How do I measure my inseam for bike fit?
- Stand with your back against a wall, wearing your cycling shoes. Place a book or flat object between your legs, mimicking the pressure of a saddle. Have someone measure from the top of the book to the floor. This is your inseam length.
- Q2: What is the heel method for determining seat height?
- The heel method is a quick way to establish a baseline seat height. Sit on the saddle and place your heel on the pedal at the bottom of the pedal stroke. Adjust the seat height until your leg is fully extended with your heel on the pedal.
- Q3: How do I know if my seat is too high?
- If your seat is too high, you may experience lower back pain, hip rocking, or difficulty reaching the pedals.
- Q4: How do I know if my seat is too low?
- If your seat is too low, you may experience knee pain, excessive fatigue, or a choppy pedal stroke.
- Q5: What is saddle tilt and how do I adjust it?
- Saddle tilt refers to the angle of your saddle in relation to the ground. Adjust saddle tilt to alleviate pressure points and improve comfort.
- Q6: What is saddle fore/aft position and how do I adjust it?
- Saddle fore/aft position refers to the horizontal position of your saddle in relation to the bottom bracket. Adjust saddle fore/aft position to optimize weight distribution and pedaling efficiency.
- Q7: How does crank length affect seat height?
- Longer cranks may require a lower seat height to avoid overextension and discomfort.
- Q8: Should women use different guidelines for seat height?
- Women may have unique considerations when it comes to road bike seat height. Choose a saddle designed specifically for women’s anatomy and consider getting a professional bike fit from a fitter who is experienced in working with women cyclists.
- Q9: How often should I check my seat height?
- Check your seat height regularly to ensure that it hasn’t slipped or changed.
- Q10: When should I seek professional bike fit assistance?
- Consider seeking professional assistance if you’re struggling to find the perfect seat height on your own or if you’re experiencing pain or discomfort while riding.
Finding the perfect road bike seat height is an ongoing process of experimentation and adjustment. By following these tips and techniques, you’ll be well on your way to achieving a comfortable, efficient, and injury-free riding experience.
Visit usabikers.net today to discover more articles, join our community forums, and connect with fellow motorcycle and road bike enthusiasts. Whether you’re seeking advice on bike maintenance, gear recommendations, or the best routes for your next adventure, usabikers.net is your ultimate resource for all things biker and cycling. Join us and elevate your riding experience to new heights!
Address: 801 Sturgis Main St, Sturgis, SD 57785, United States
Phone: +1 (605) 347-2000
Website: usabikers.net