
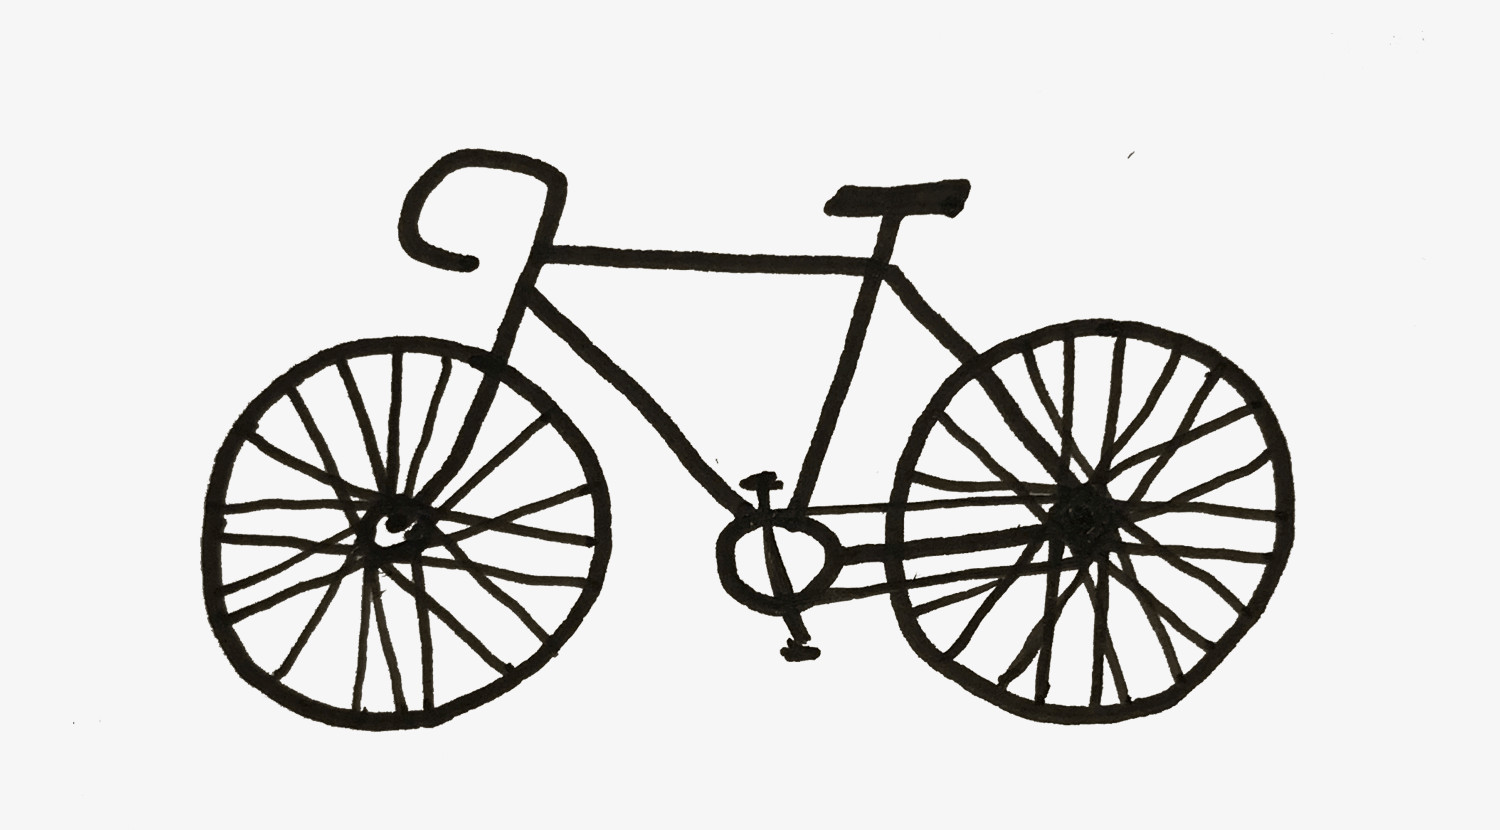
Drawing a bicycle can seem like a daunting task. With all its complex angles and parts, it’s no wonder many aspiring artists shy away from sketching this everyday vehicle. But fear not! This guide will break down the process into simple, manageable steps, proving that anyone can learn How To Draw A Bike, even if it’s not perfectly accurate. Let’s get started and learn to draw a bicycle with this fun and easy tutorial!
First, we’re going to start with a basic foundation for our bicycle frame.
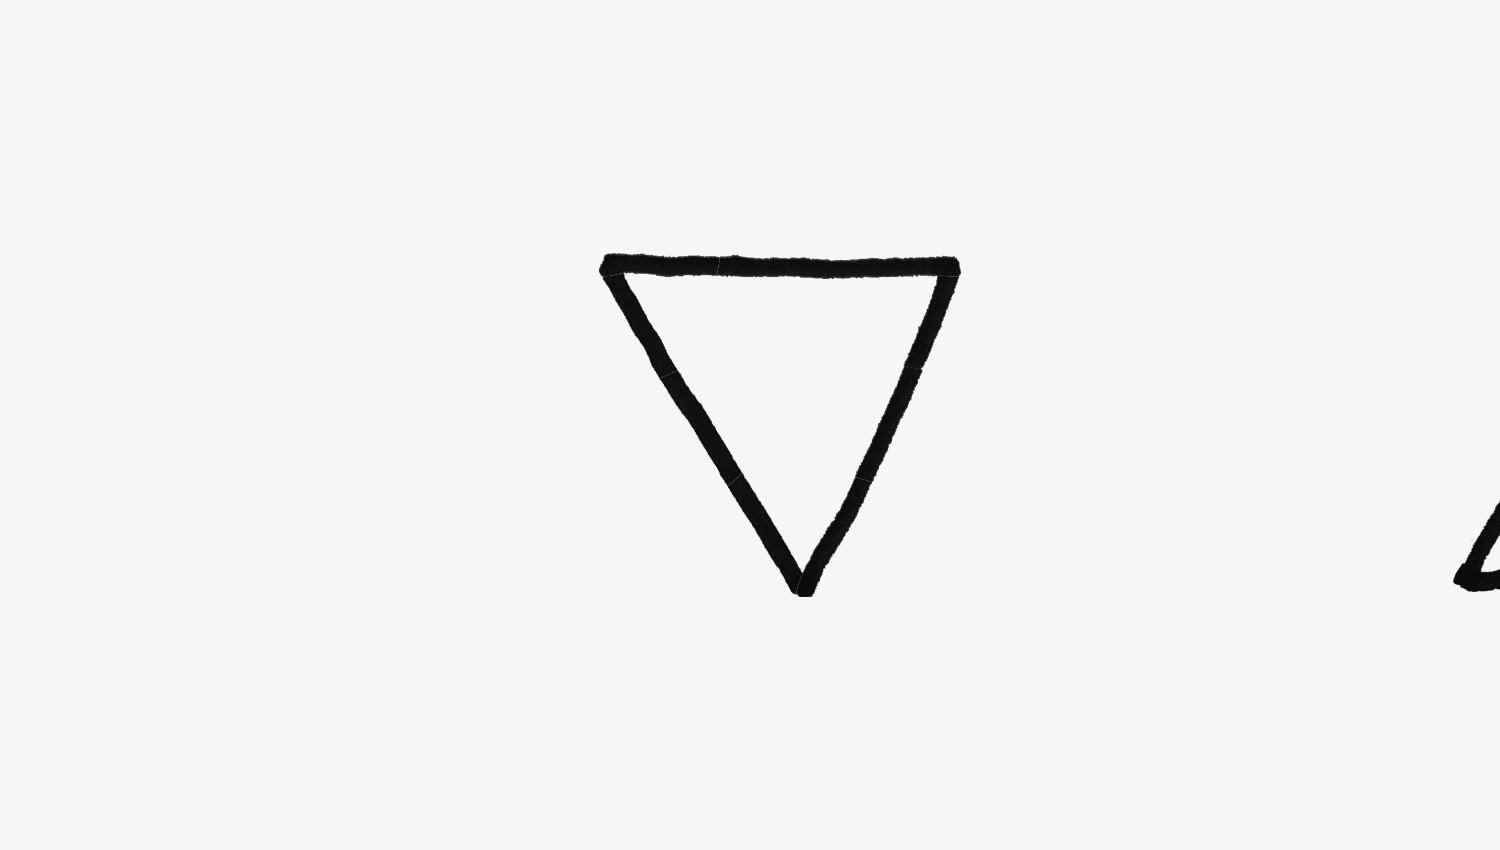
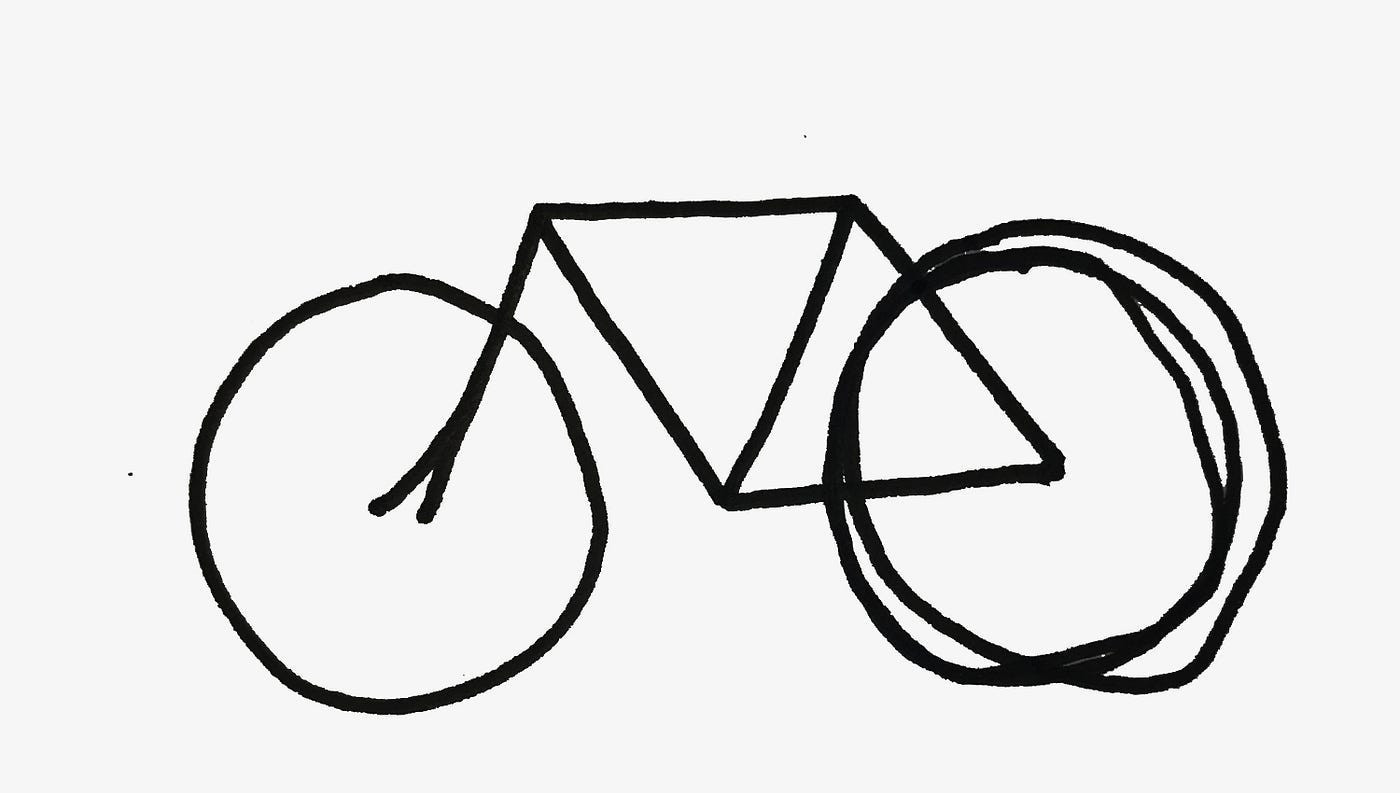
 Start drawing a bike with an upside down triangle for the frame.
Begin by sketching an upside down triangle. This will form the main part of your bicycle frame. Don’t worry about perfection at this stage; we’re just establishing the basic shape of the bike.
Next, we’ll add another geometric shape to build upon our frame structure.
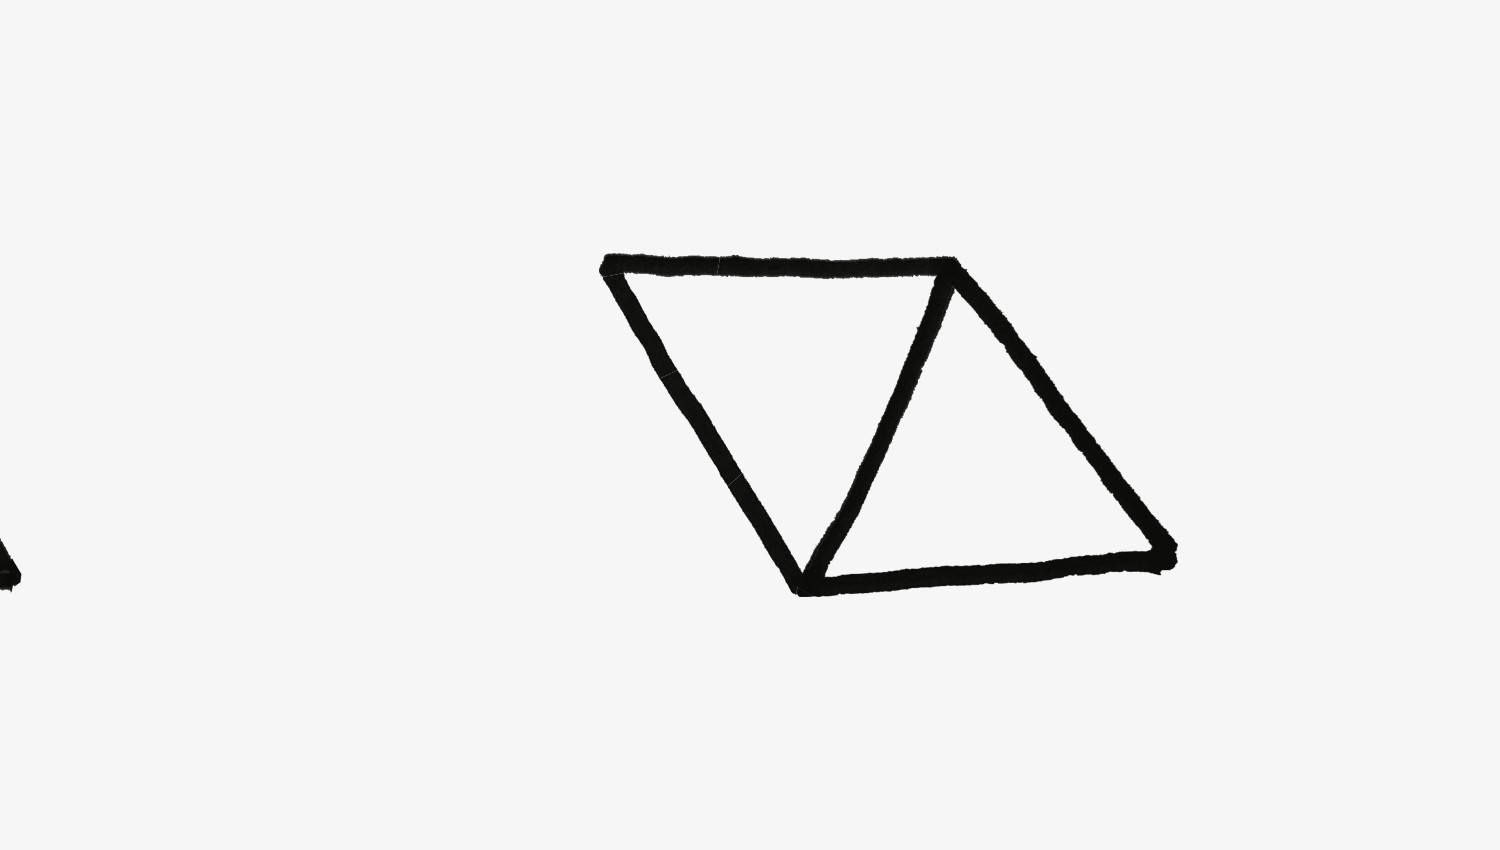
 Draw a bisected diamond shape connected to the triangle to extend the bike frame in this step of the drawing guide.
Now, draw another triangle and attach it to the side of the first one. Imagine creating a bisected diamond shape by adding this second triangle. This helps to further define the bike’s frame and gives it more structure.
We’re going to refine the shape a bit more in this step to get closer to a bicycle silhouette.
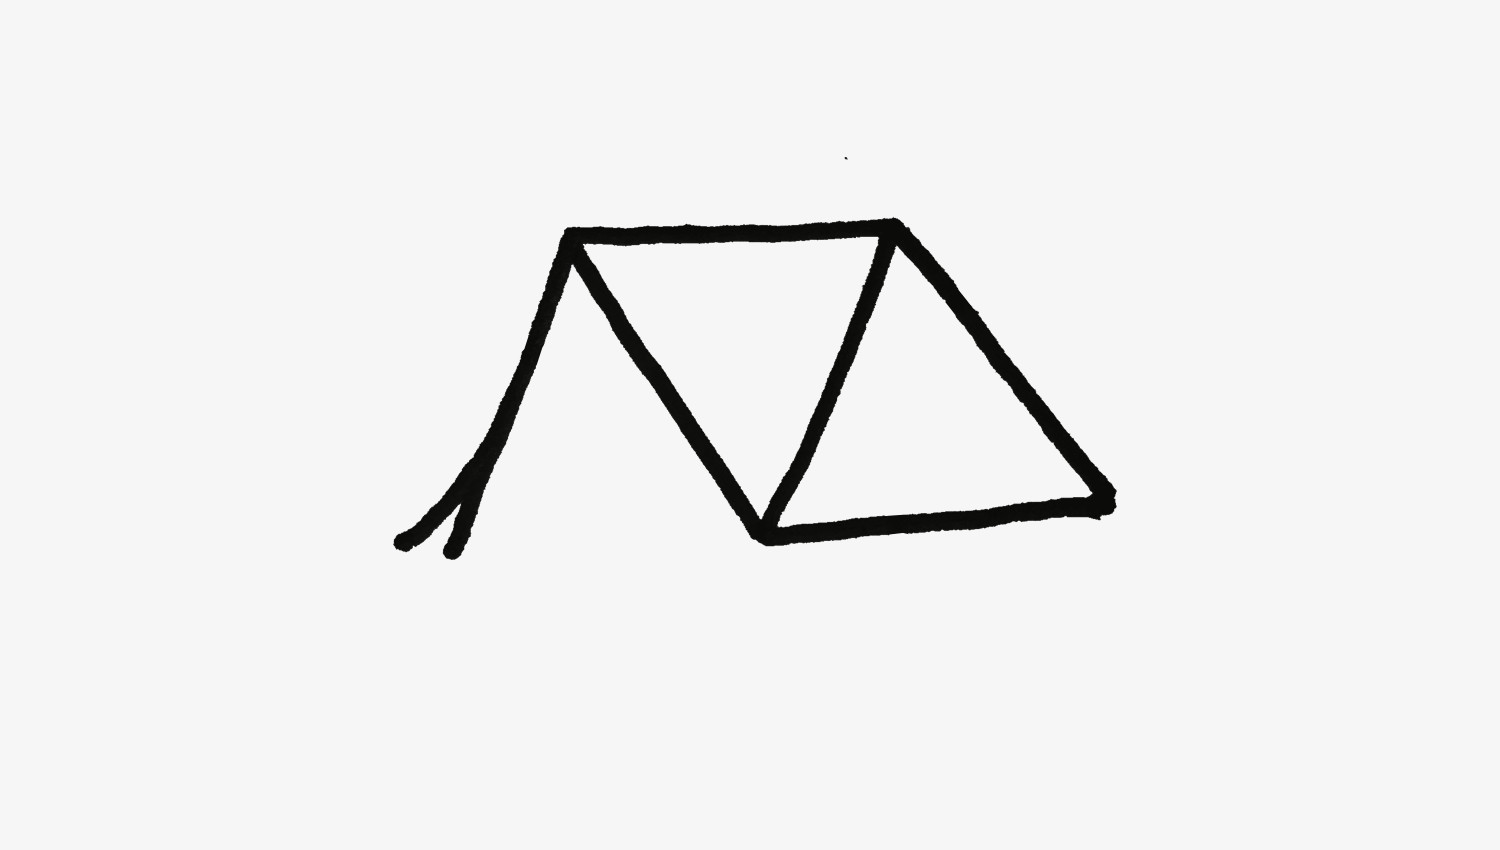
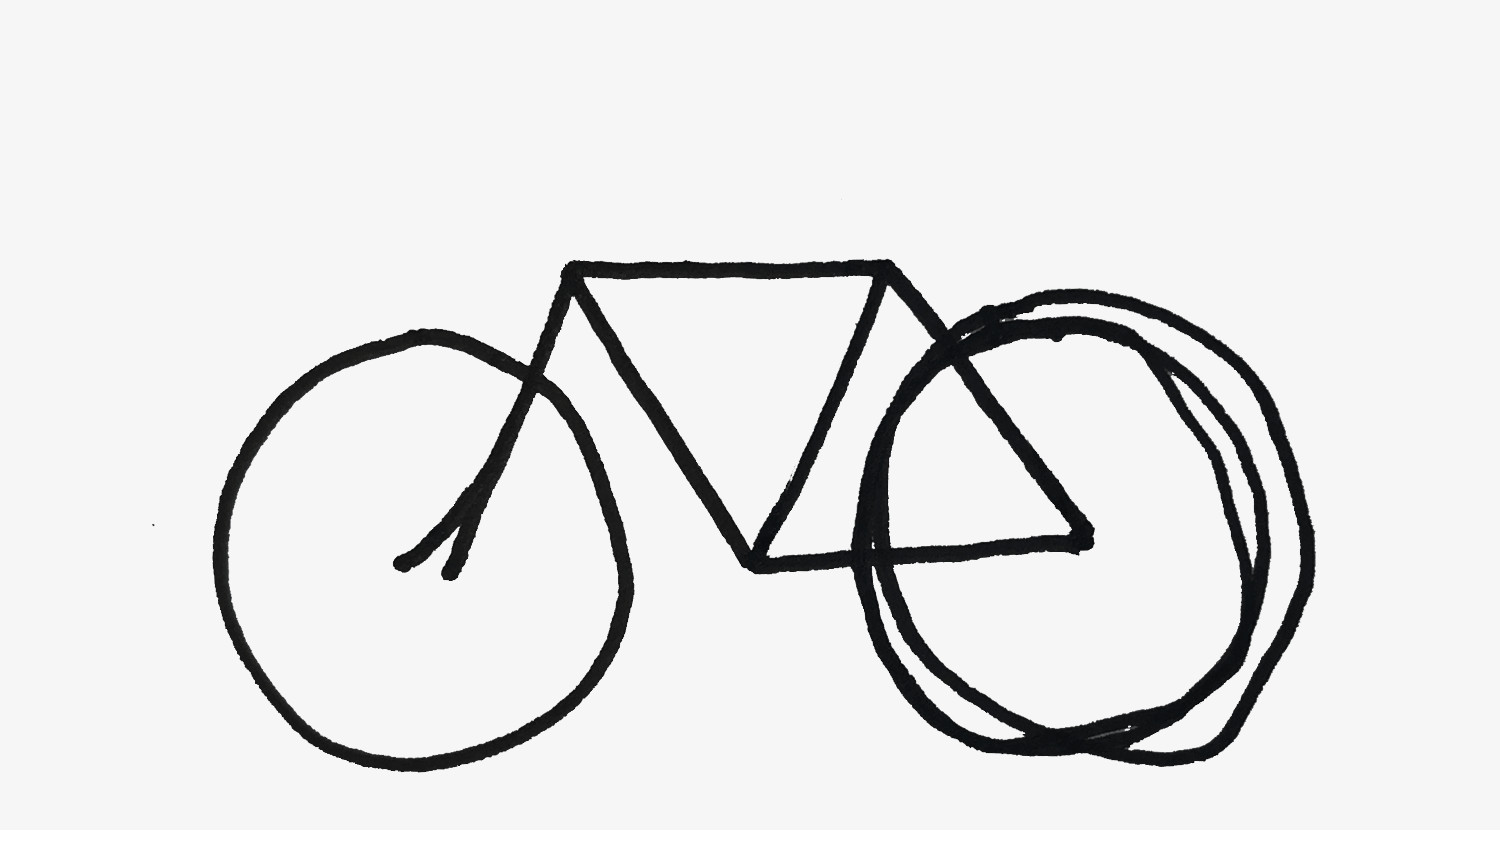
 Sketch an incomplete triangle shape on the opposite side to continue forming the bicycle frame in this drawing tutorial.
On the opposite side, sketch another triangle. However, this time, don’t draw the bottom line of the triangle. We’re aiming for a more open shape here to represent the rear part of the bike frame.
Let’s smooth out some of those harsh lines to make our bicycle drawing look more fluid.
 Refine the bicycle frame sketch by curving the straight line of the triangle for a more realistic bike silhouette.
Remember that leftover straight line from the previous step? Let’s change that to a curve. This small adjustment will soften the look of the frame and make it appear more like a real bicycle.
Now it’s time to add the wheels, a crucial part of any bike drawing!
 Sketching the first wheel of the bicycle drawing, a simple circle for this step in the guide.
Drawing wheels might seem simple, but getting them right is key. Start by drawing a circle where the front wheel should be.
Oops! Maybe the first attempt at the back wheel wasn’t perfect. That’s alright; drawing is all about practice and correction.
 Correcting the bicycle wheel sketch, redrawing a better circle over the initial imperfect attempt for this art tutorial.
Don’t worry if your first wheel isn’t perfect! If you’re not happy with it, just draw a better one right over the top. Mistakes are part of the process, and you can always fix them as you go.
Looking at the overall geometry, we can tweak the frame a bit to improve the bike’s proportions.
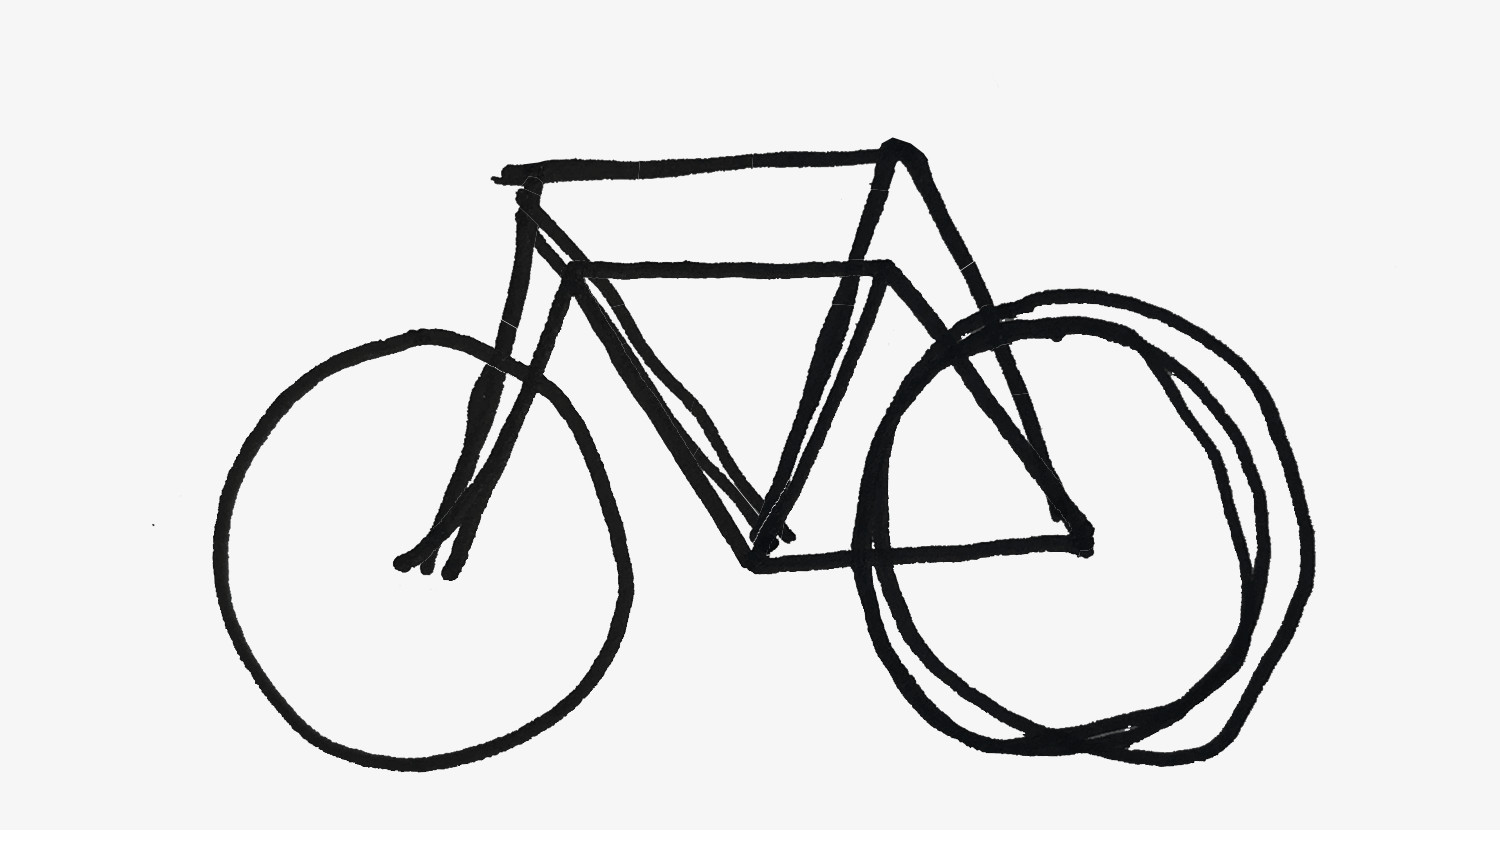 Adjusting the geometry of the bicycle frame in the drawing process to enhance the overall look and proportions.
Now that we have the basic frame and wheels, let’s adjust the frame geometry to make it look more balanced. This might involve tweaking the angles and curves we drew earlier.
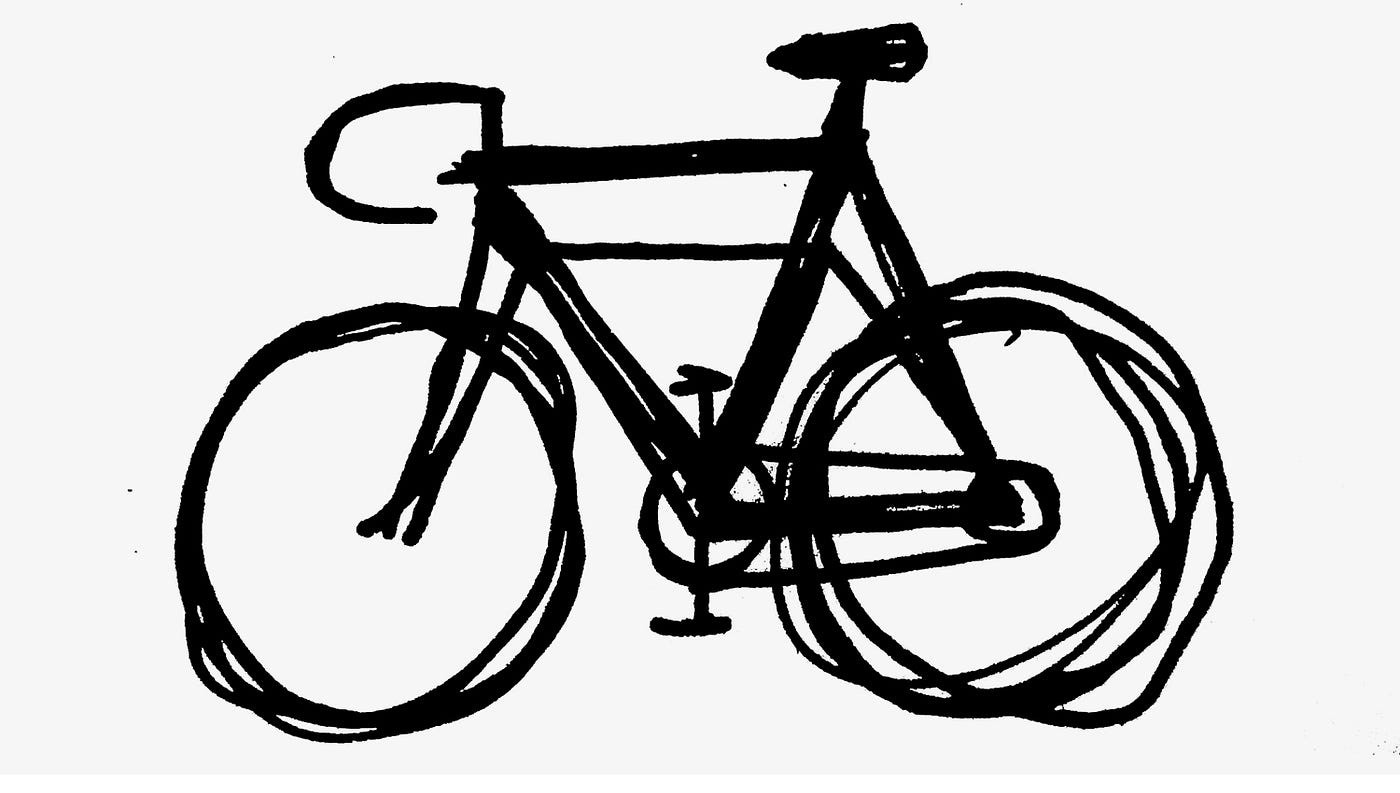
No bike is complete without handlebars and a seat! Let’s add these essential components.
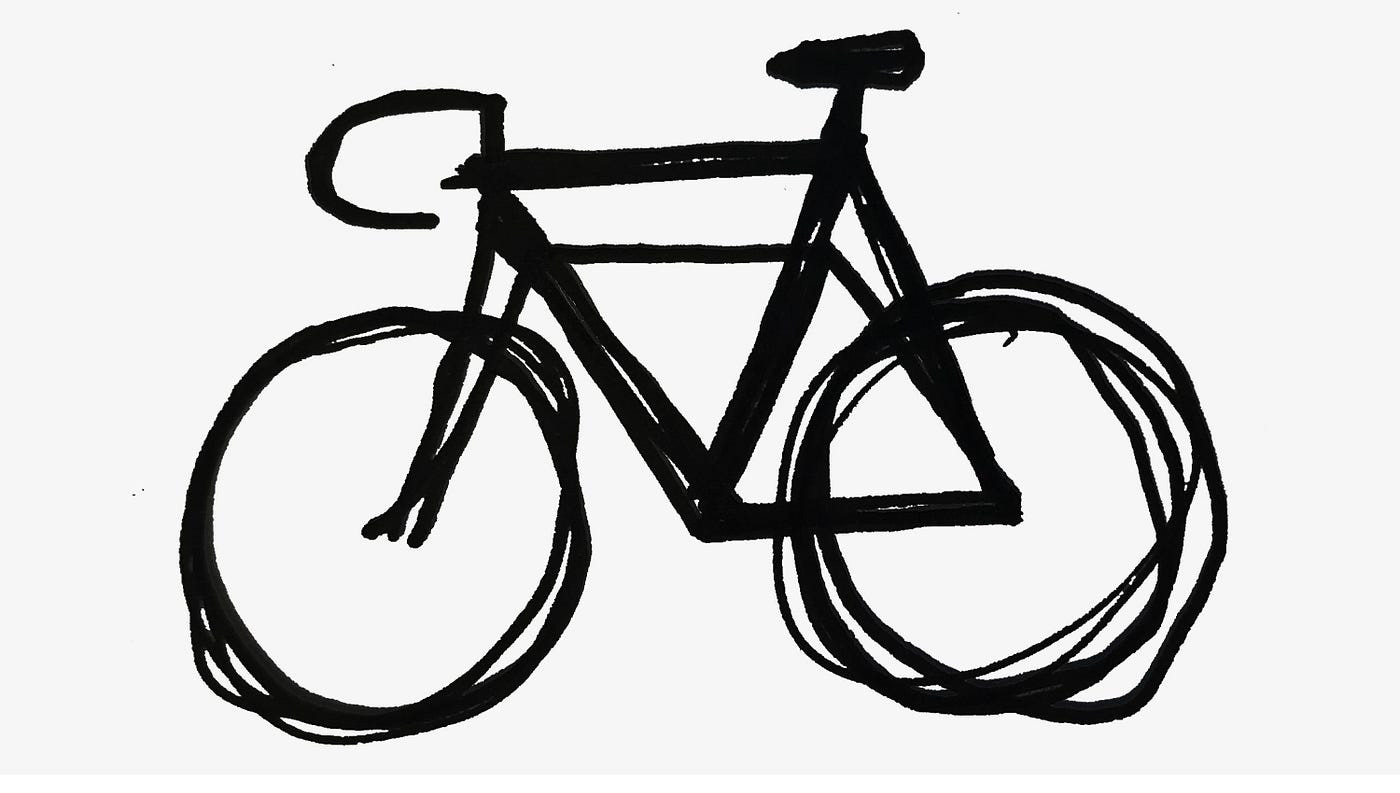 Adding handlebars and a saddle to the bicycle sketch, essential elements to complete the bike drawing.
Don’t forget to add the handlebars and the saddle (seat). These are essential parts that make a bicycle recognizable. Think about the placement and size relative to the frame.
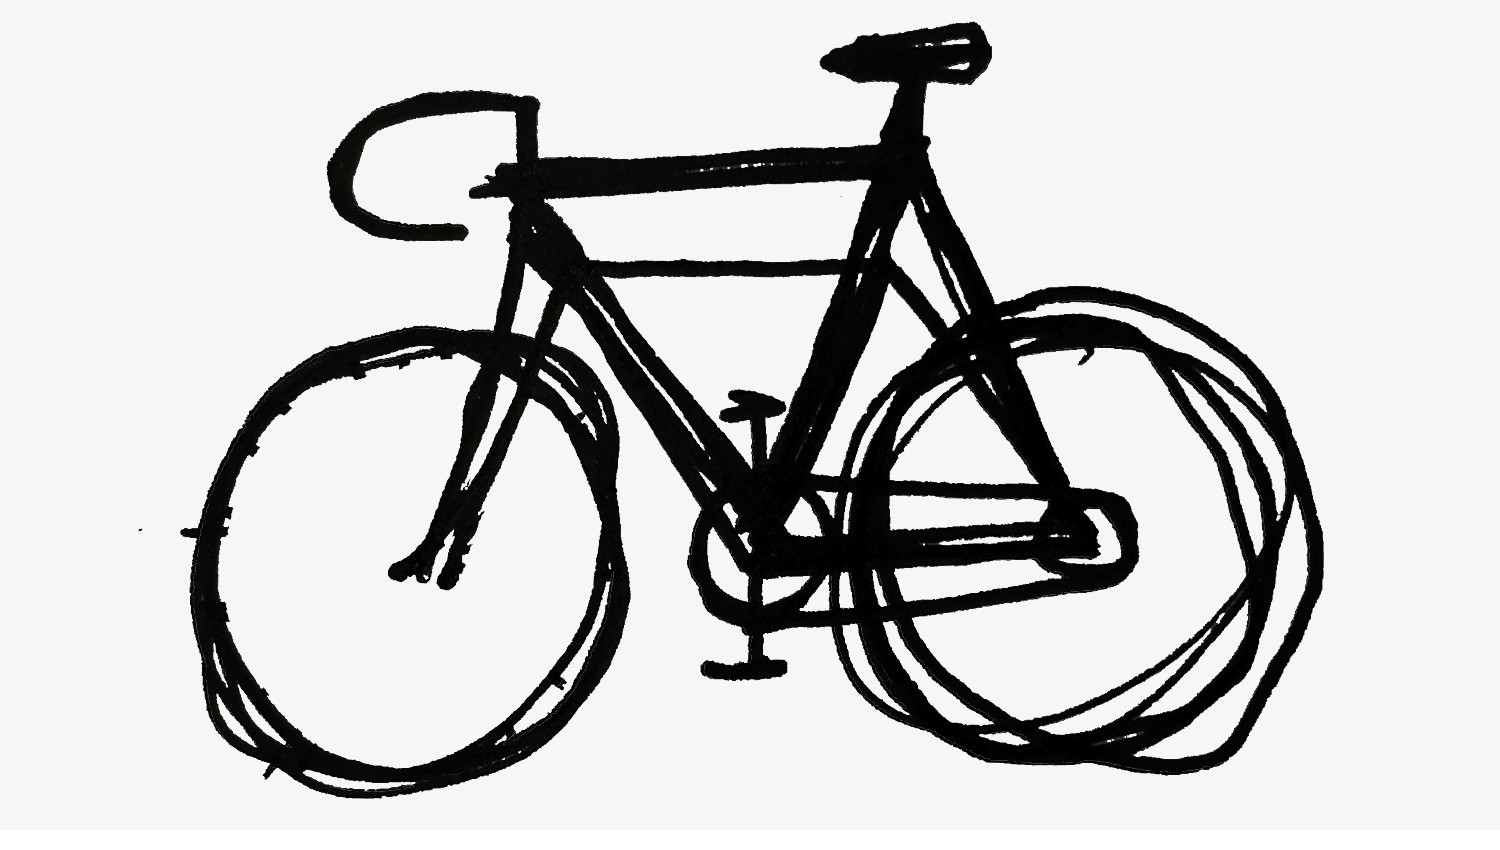
Sometimes, bold lines can help to define shapes and even hide minor imperfections in a drawing.
 Using heavy lines to draw over parts of the bicycle sketch, a technique to emphasize shapes and refine the drawing.
A helpful technique is to draw heavily over parts of the bike that you’re happy with. This can help to emphasize the correctly drawn sections and subtly distract from areas you’re less confident about.
Now we’ll add the pedals and the drive chain to make our bicycle functional in the drawing.
 Drawing pedals and a drive chain onto the bicycle sketch, adding functional details to the bike illustration.
Let’s add the pedals and the drive chain. These components are important for showing how the bike moves and adds a layer of detail to your drawing.
Spokes can seem complicated, but they really enhance the look of bicycle wheels.
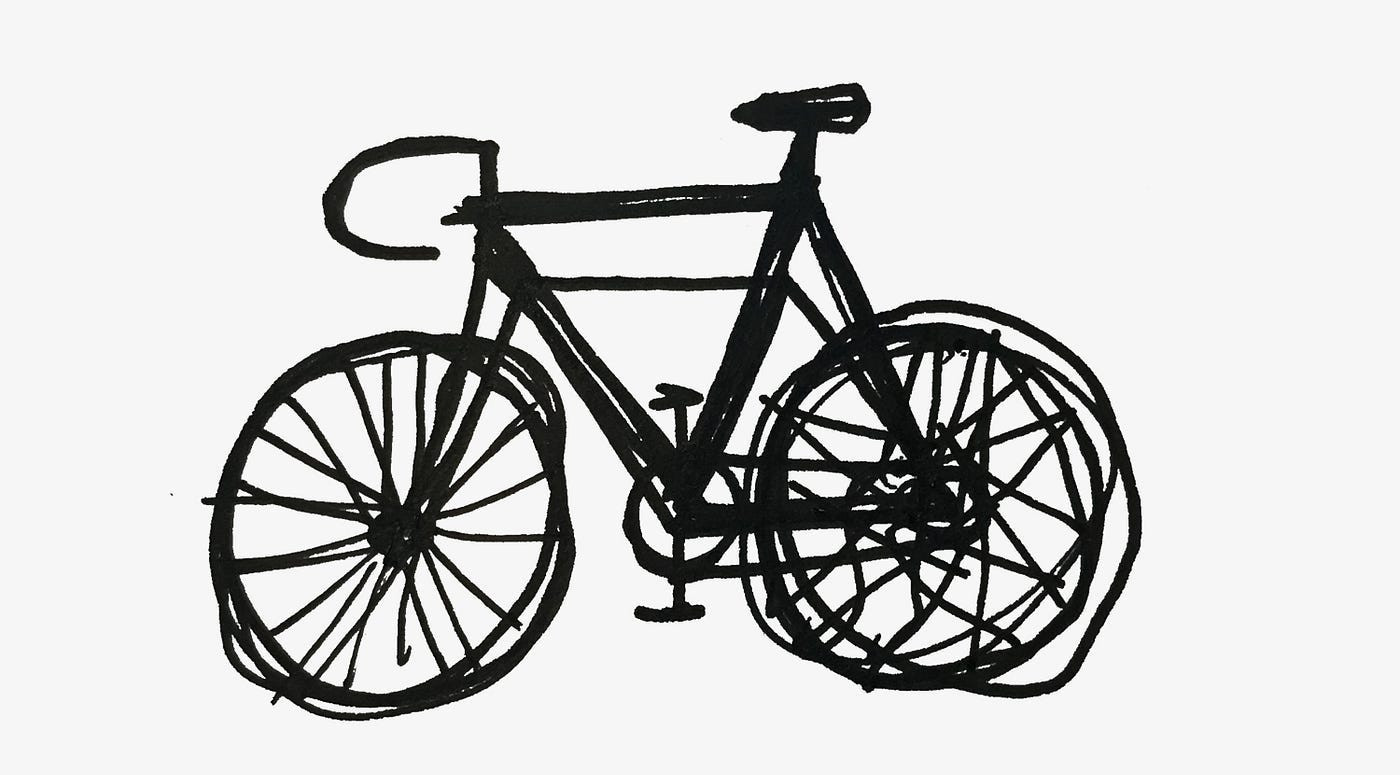 Adding spokes to the front wheel of the bicycle drawing, intricate details that enhance the realism of the wheel.
Adding spokes to the wheels can seem tricky, but they make a big difference in making your bike drawing look more complete. For the front wheel, try a simple spoke pattern.
The back wheel of a bicycle often has a more complex structure, especially with gears.
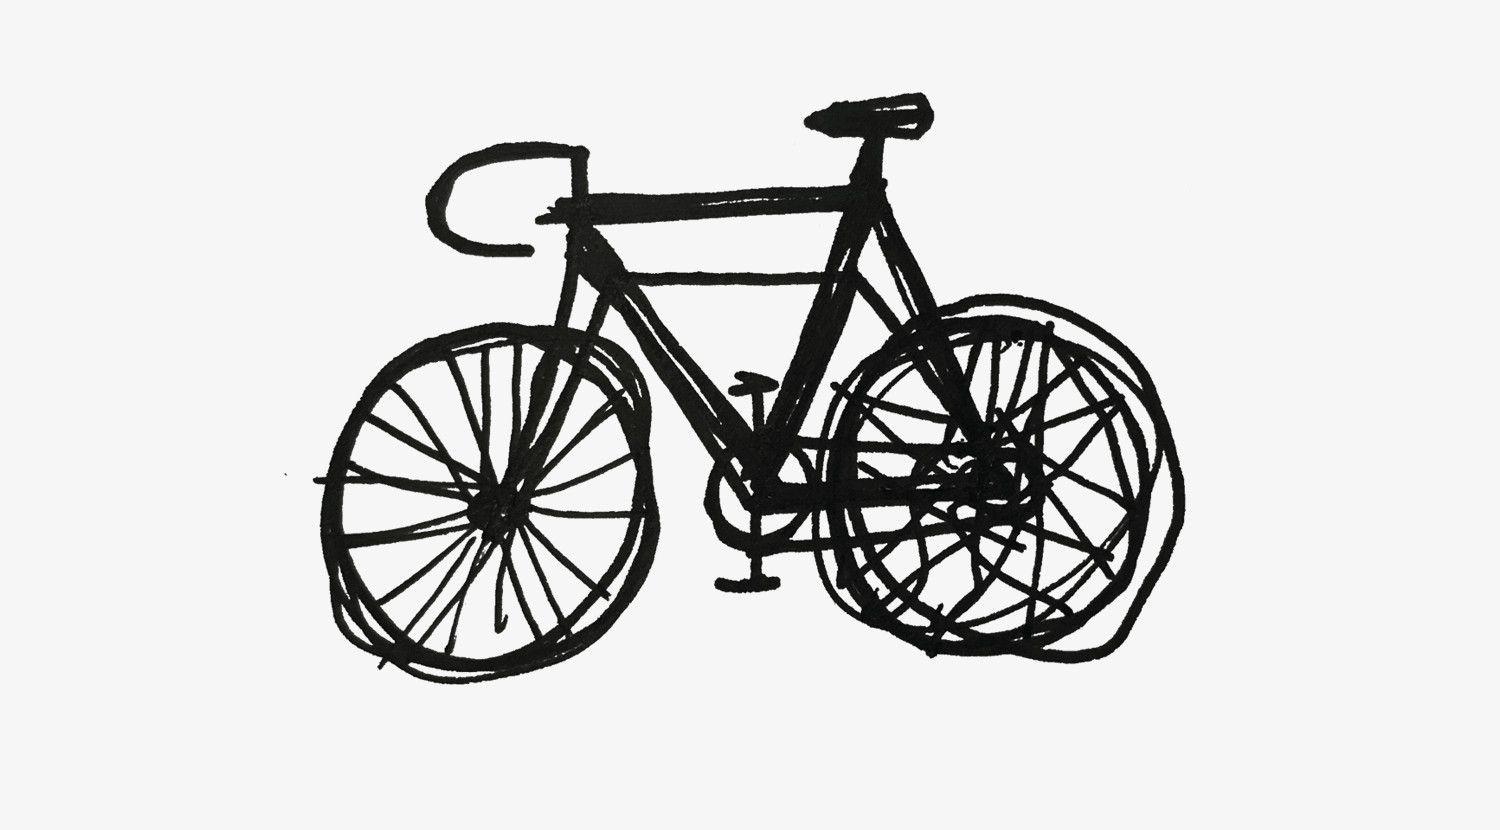 Drawing spokes for the back wheel of the bicycle, illustrating the more complex structure typical of rear bicycle wheels.
The back wheel’s spokes can be a bit more complicated due to the gears and cassette. Don’t worry about getting it perfectly accurate; a reasonable representation will do just fine.
To add a sense of motion and energy to our drawing, let’s incorporate speed lines!
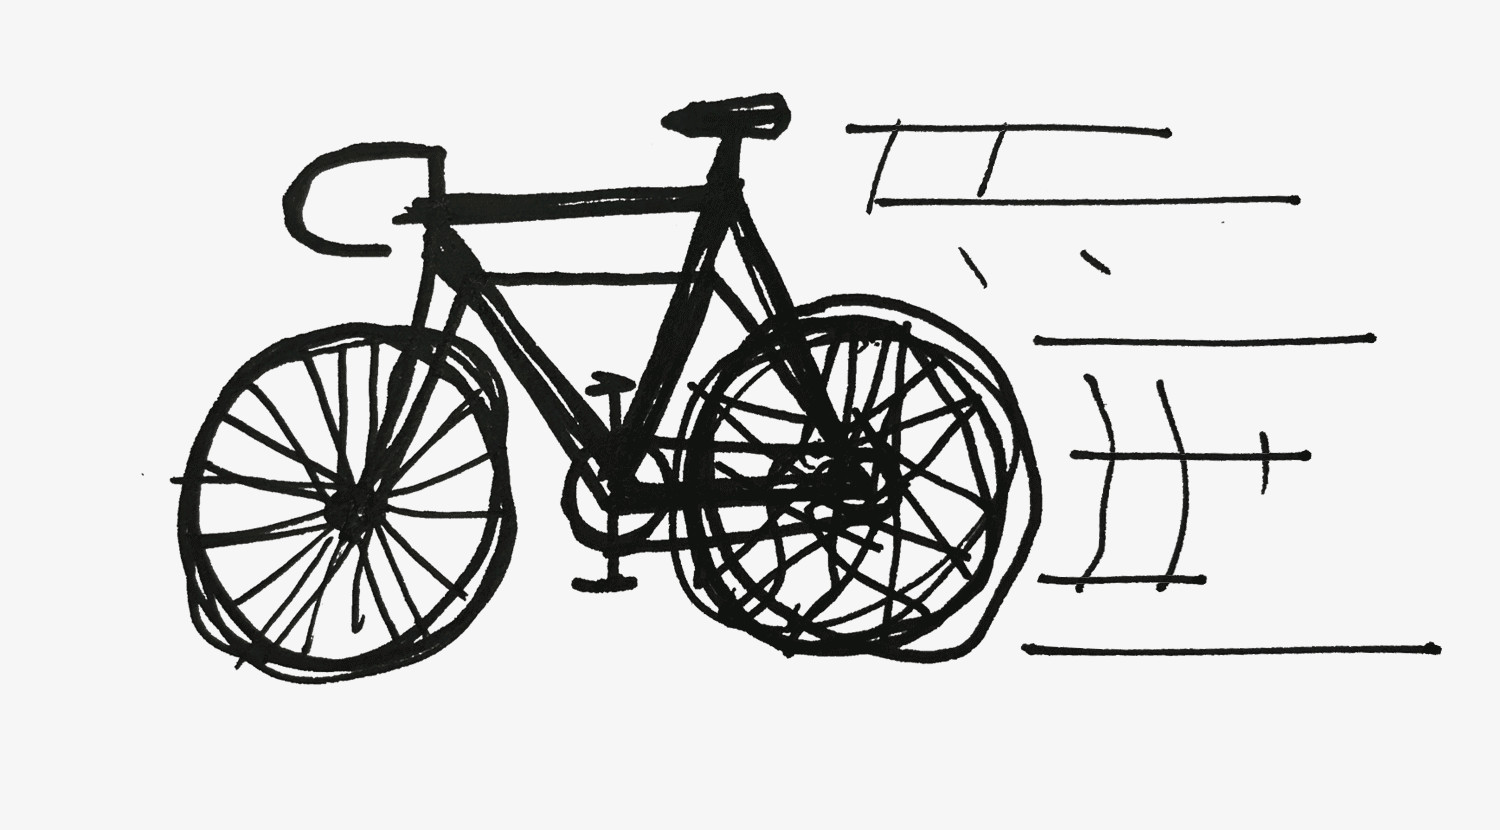 Adding speed lines to the bicycle drawing to create a sense of motion and speed in the artwork.
If your bike drawing feels a bit static, add some speed lines! These lines behind the bike will give the impression of movement and make your drawing more dynamic.
And for a final touch of fun and drama… why not add some flames?
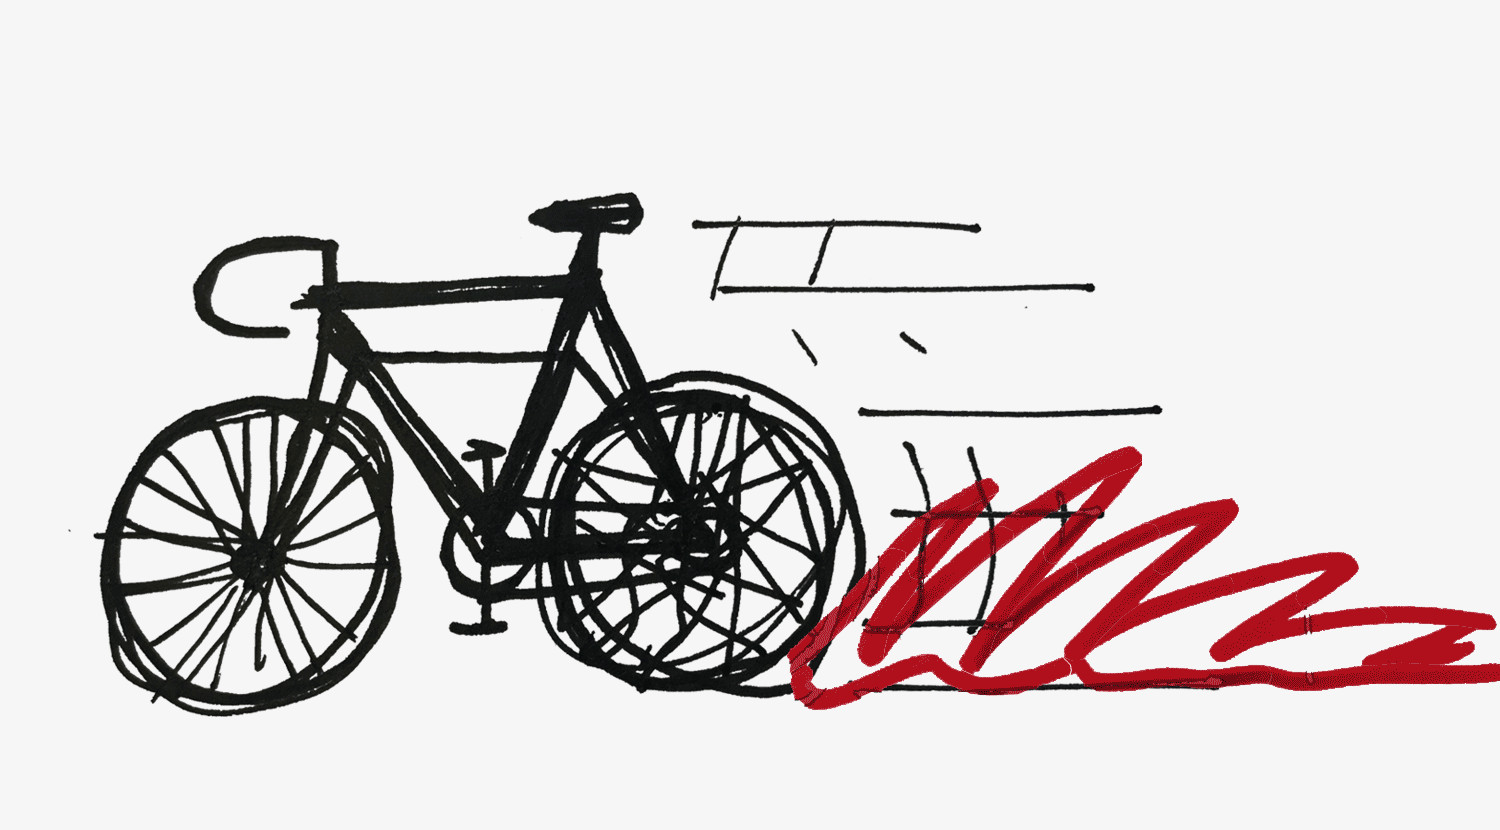 Adding flames to the bicycle drawing for a humorous and dramatic effect, finishing off the fun art tutorial.
For a bit of humor and to really make your drawing stand out, you can even add flames! This is just for fun and emphasizes that drawing is about creativity and not always about perfect realism.
So there you have it! You’ve drawn a bike! It might not be perfect, and that’s absolutely okay. Drawing is about enjoying the process and expressing yourself. Don’t be afraid to experiment, make mistakes, and most importantly, have fun. Now that you know how to draw a bike, grab your pencils and keep practicing!